Wiring harness design in CATIA V5 - 3D modeling Week 7 Challenge
Wiring harness design in CATIA V5 - 3D modeling Week 7 Challenge
Objective:
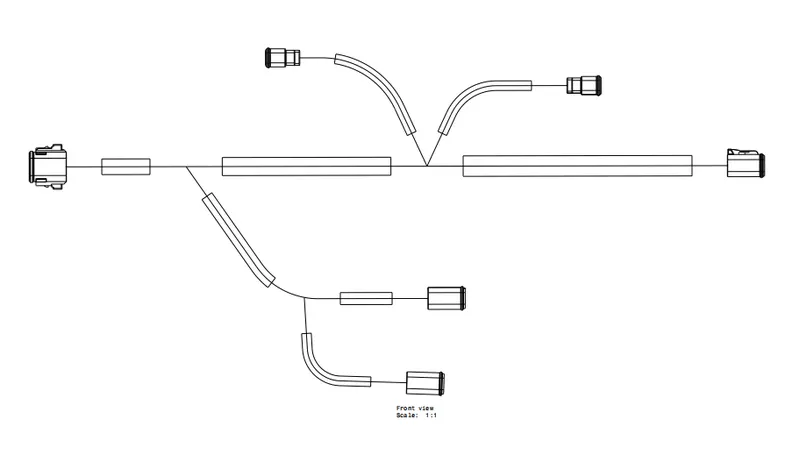
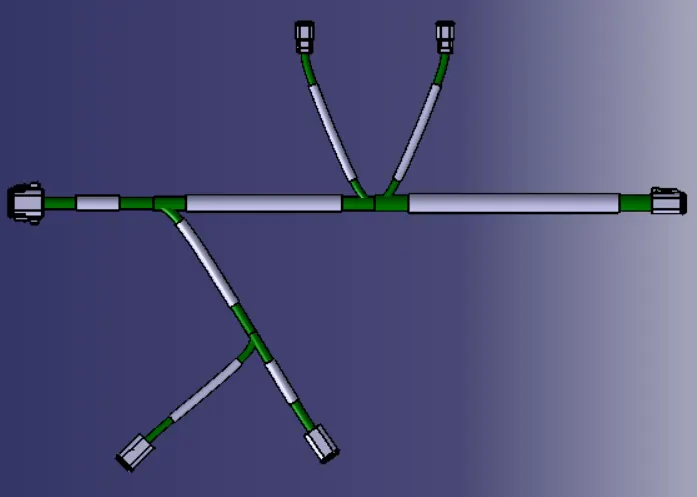
Flatten the harness assembly completed in “ week 4 challenge”. Place the flattened view on drawing sheet. Ensure bundles with protective coverings has different visuals on drawing view.
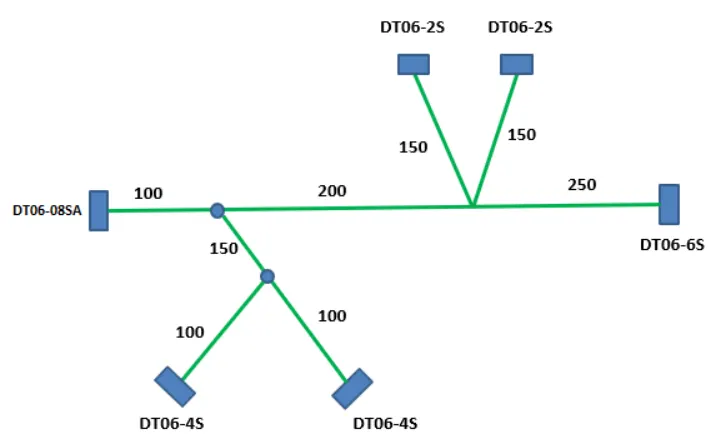
Step 1: Open the Harness Model in Catia Electrical Harness Workbench.
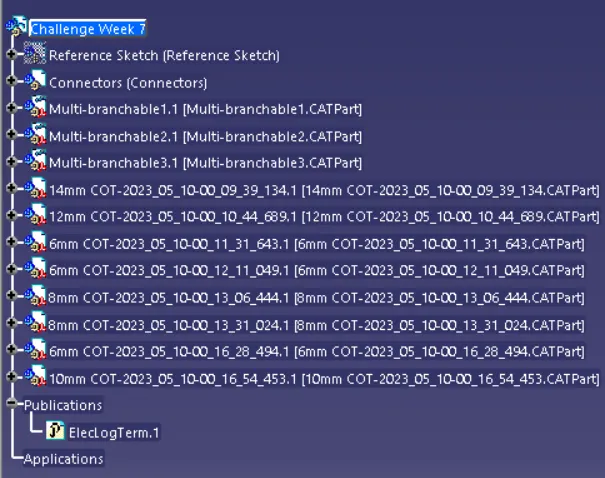
Feature Tree:
Design Procedure for Harness Flattening
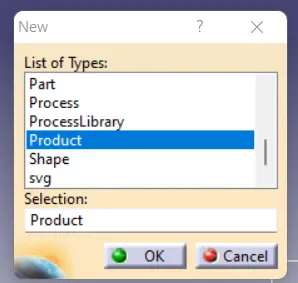
Step 1: Press CTRL+N to create a New Product
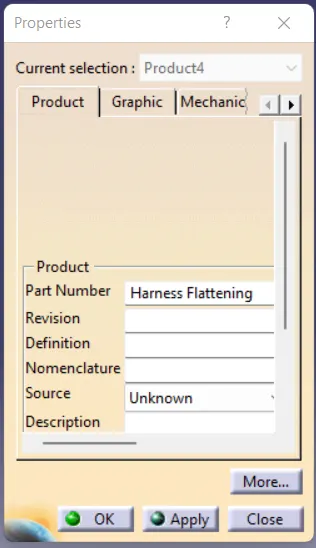
Step 2: Rename the New Product
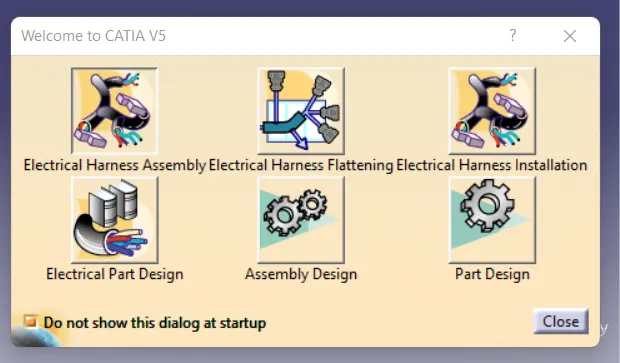
Step 3: Switch to Electrical Harness Flattening Workbench
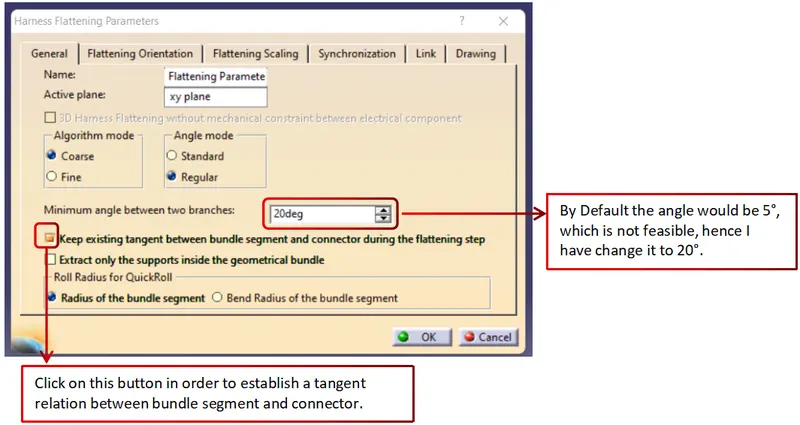
Step 4: Defining Harness Flattening Parameters

General Setup
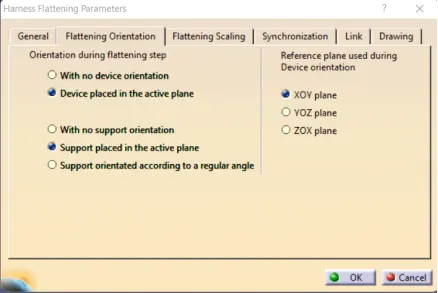
Flattening Orientation:
No Change in Flattening Orientation
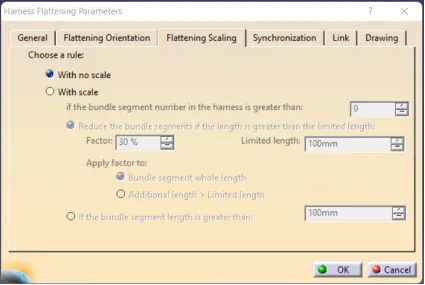
Flattening Scaling:
No Change in Flattening Scaling
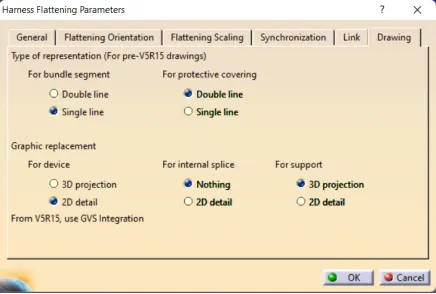
Drawing Tab:
In 2D representation the Bundle segment will be represented in single and protective covering (COT Tube) will be represented as double line.
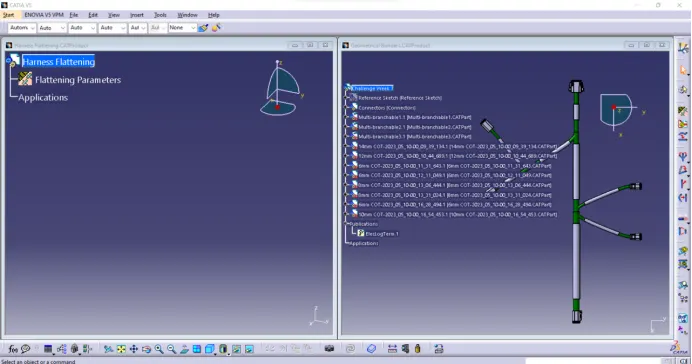
Steps to be done in Catia Workbench:
Once you have done initial parameters setup for Harness Flattening. Make sure to keep only 2 windows open in Catia.
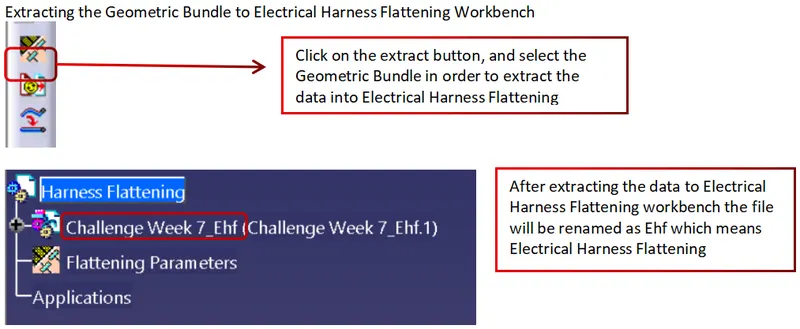
Flattening of Harness Bundle

Option 1:
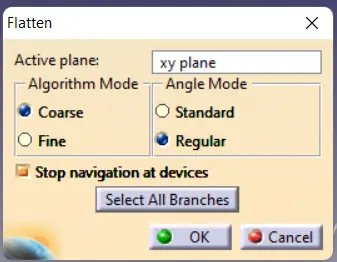
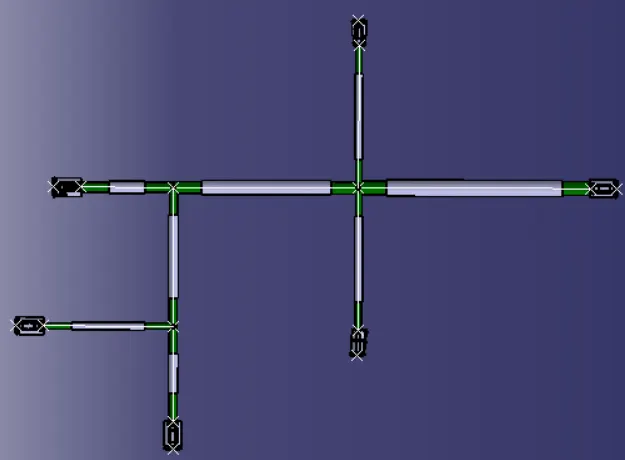
Option 2:
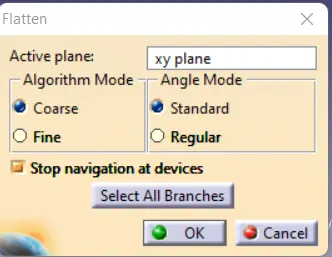
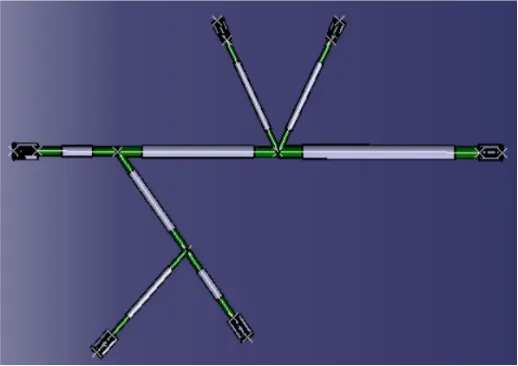
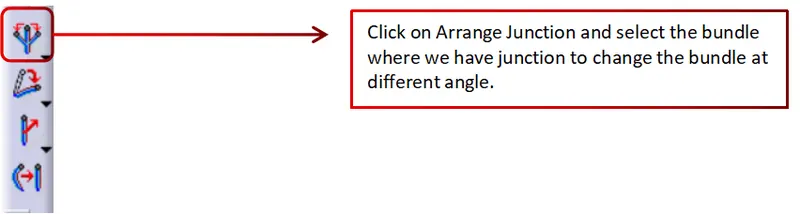
Arrange Junction: Umbrella Like @ 90°
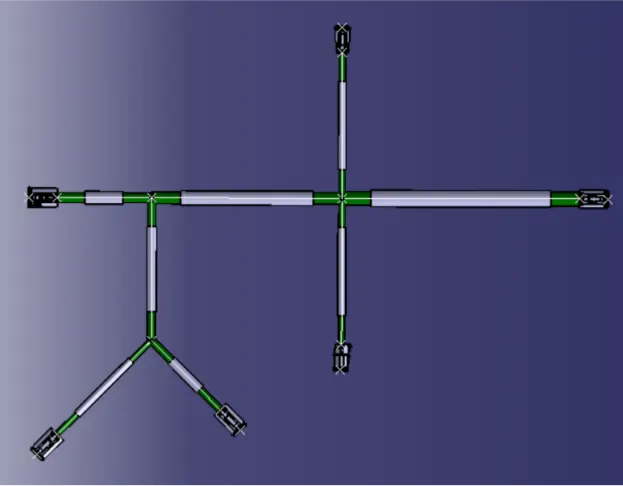
Umbrella Like @ 45°
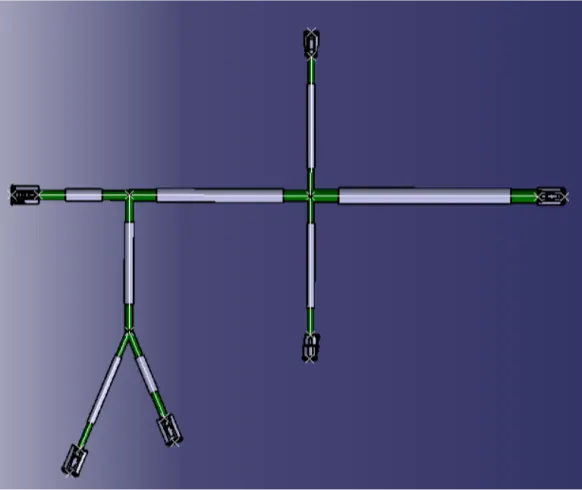
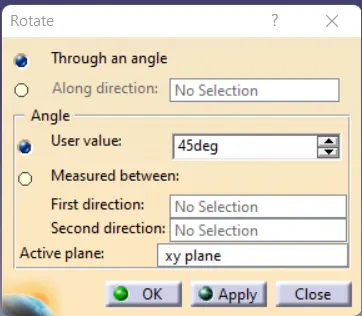
Rotate:
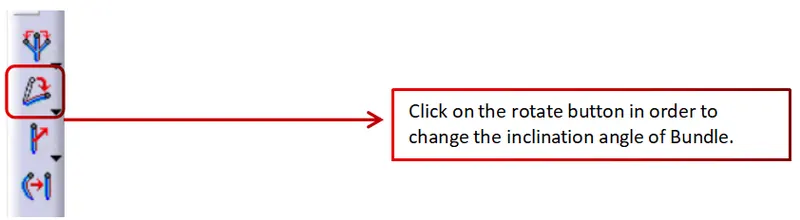
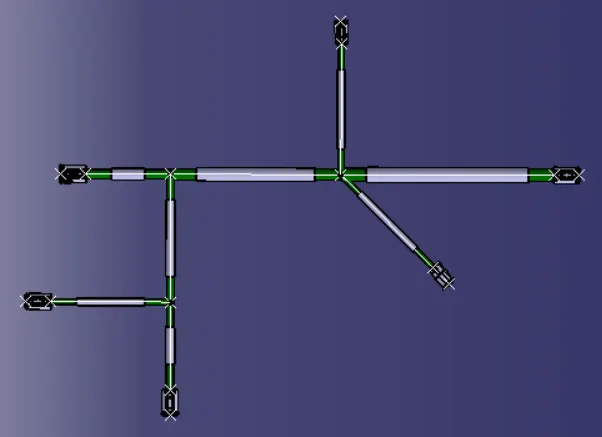
Rotate @ angle 45°
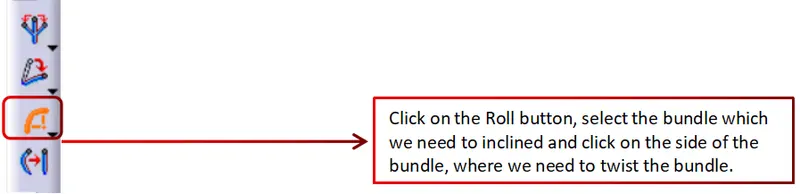
Roll:
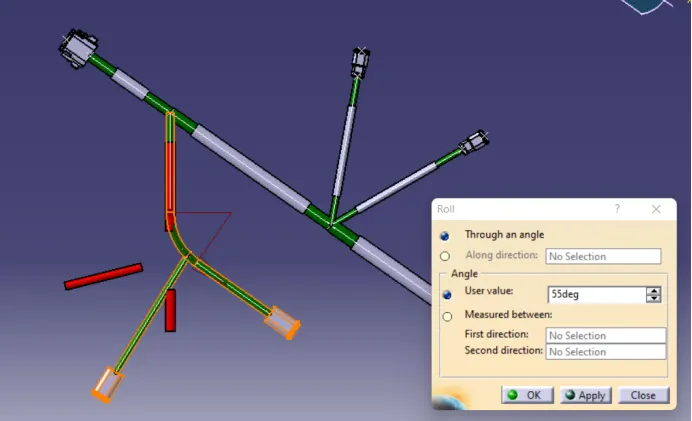

Flattening Trial 1
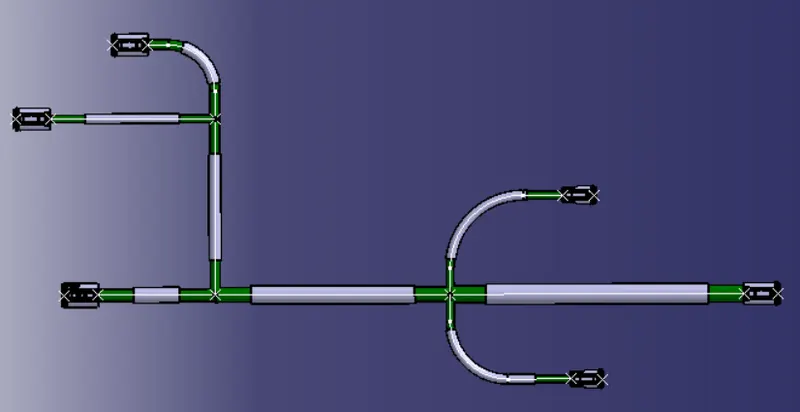
Flattening Trial 2
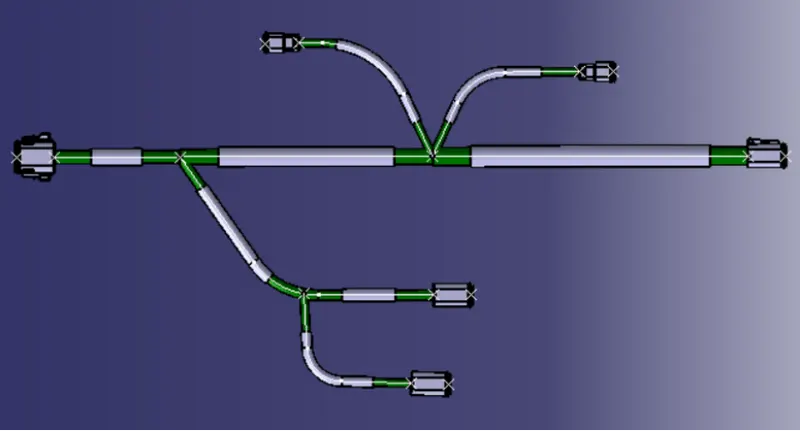
Creating the 2D representation of Flatten Harness:
Creating 2-D Sketch
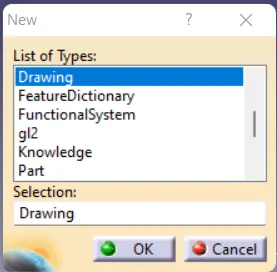
Selecting the Drawing Sheet
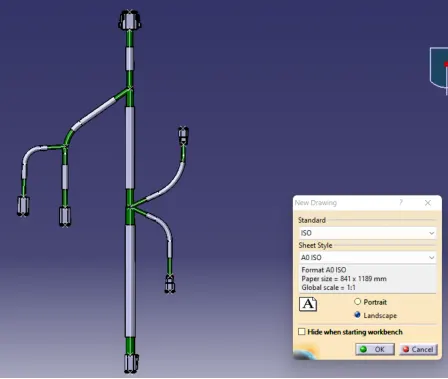
Importing the Flatten Harness Model into 2D Drawing
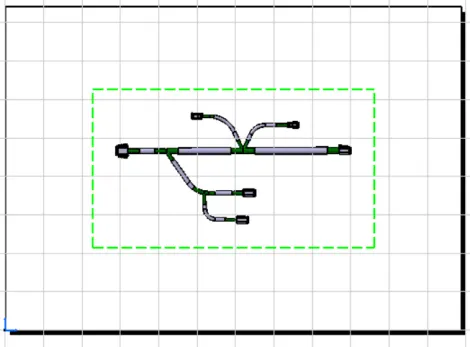
Final 2D representation of View