Wiring harness design in CATIA V5 - 3D modeling Week 7 Challenge
ELECTRICAL HARNESS FLATTENING
Electrical harness flattening is one of the catia V5 feature which enables us to convert the view the wiring harness bundles in a single plane . it is necessary to check the bundle continuity before proceeds to the harness flatteneing workbench. Once the cat product file is ready fr flattening then create a new product and define some flattening properties . The settings provided for the flattening product is stored in the tree stucture
They are basically
Setting 01:
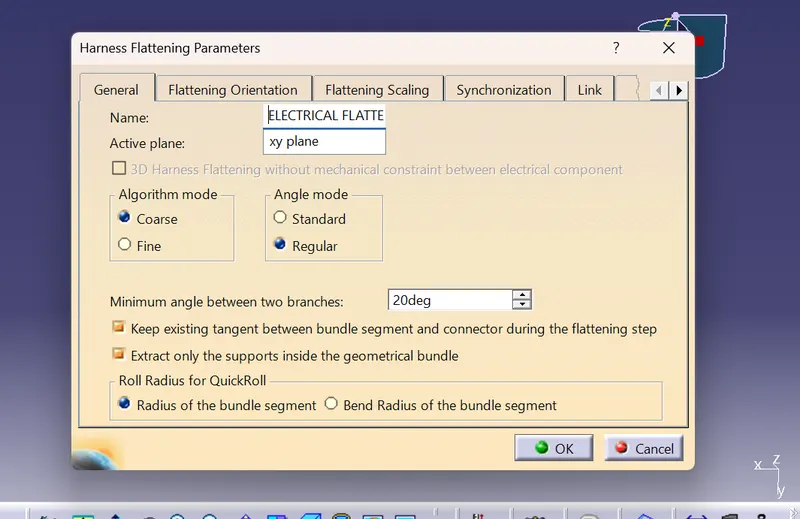
- we need to provide the name for the flattenings and the active plane that the flattening should be done
- the minimum angle should be kept at approx 20 Degrees
- The tangent (vector position )for the bundles should be adopt from the geometrical bundle of the wiring harness assembly cat product file
- We need to check the Extract the supports only from the geometrical bundle so that no background data is allowed for flattening in the workbench
- Roll radius of the qickball or for the roll feature is obtained from the radius of the bundle segment
Setting 02:
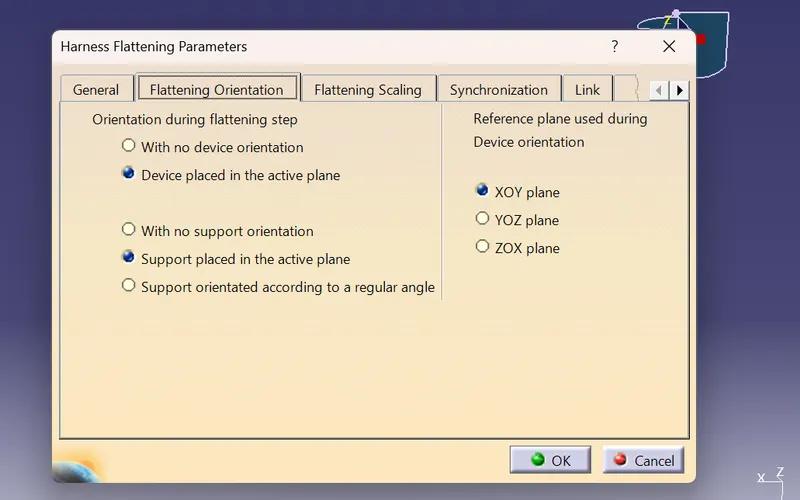
These are the parameters which are adjusted by the catia automatically so continue without making any considerable changes in the flettening orientation settings
Setting 03:
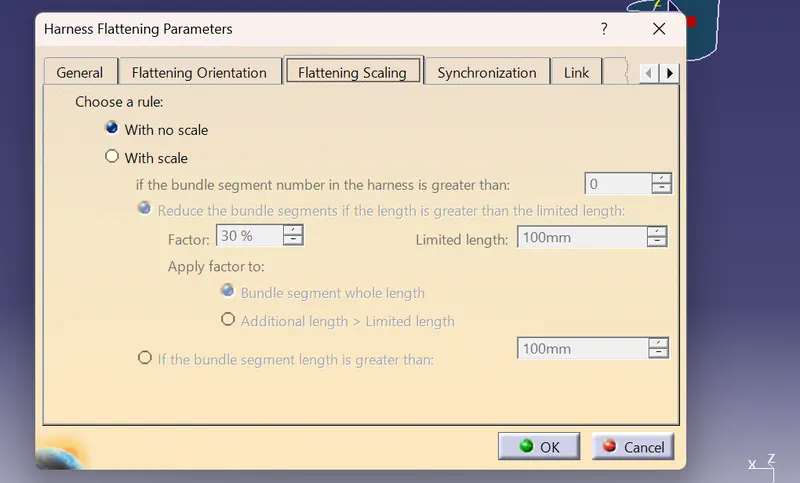
The flattening scaling is very useful as it would like to fake the dimension of the product in the flattening workbench as adjusted as the wiring harness product components are very long so just dont alter anything any continue
Setting 04:
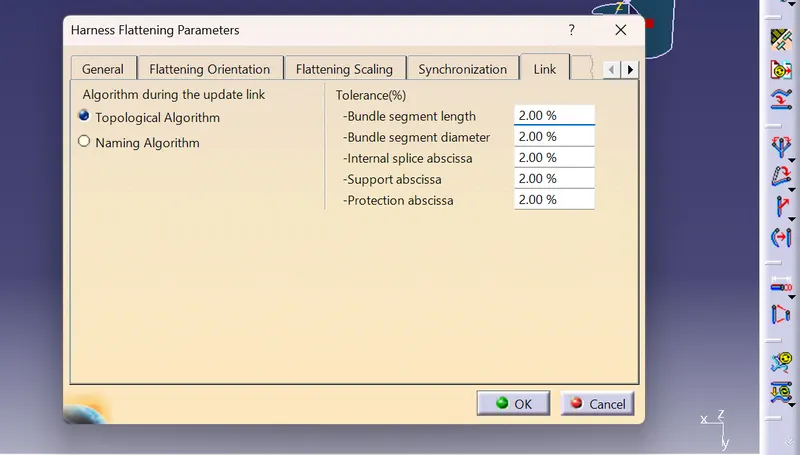
These are the parameters which are adjusted by the catia automatically so continue without making any considerable changes in the link settings
Setting 05:
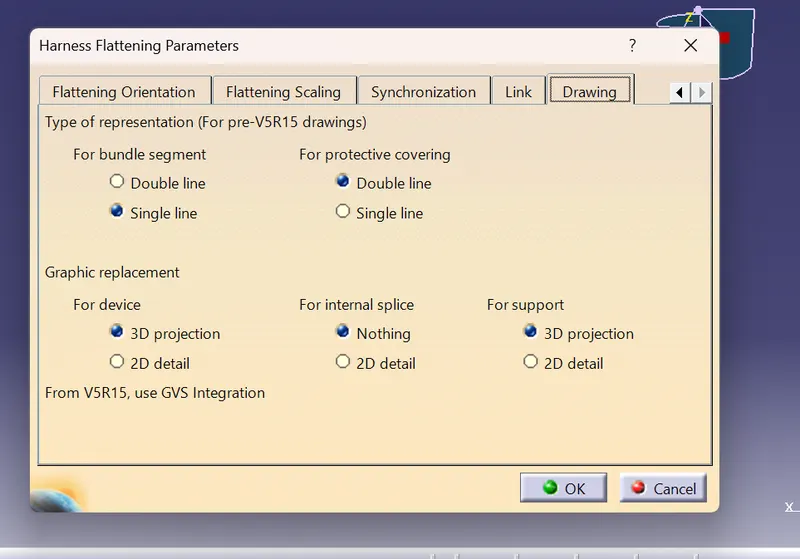
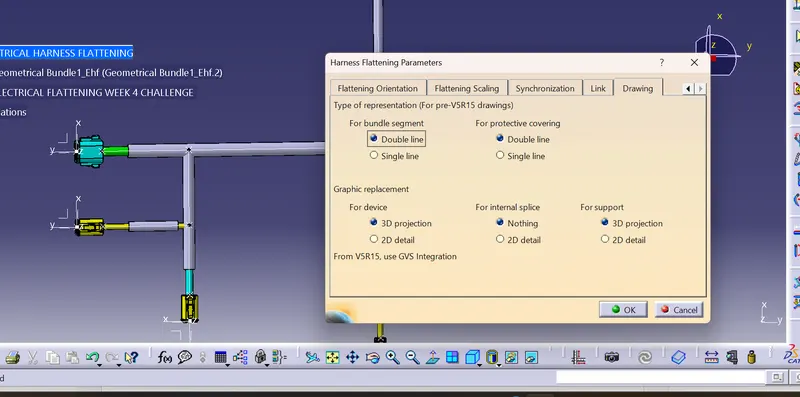
The bundle segment representation either in single line / double line
For rotective covering single line / double line
This the setting which will help us to get the better output in the drawing sheet adopted from the flattening
Aim : To create the wiring harness flattening sheet for the challenge 4 cat product
First we need to craete anew product and apply the flattening settings required and store in a desired location
Now open the challenge 04 cat product and save this product to the same desired location where the flattening cat product is saved so that when any changes are ,ade in the challenge 04 cat product those changes can be easily adopted to the flattening product by using the synchronize feature in the flattening workbench 
Now open the two products vertcally side by side and click on the flattening product < Extract command < geometrical bundle of the week 04 challenge product
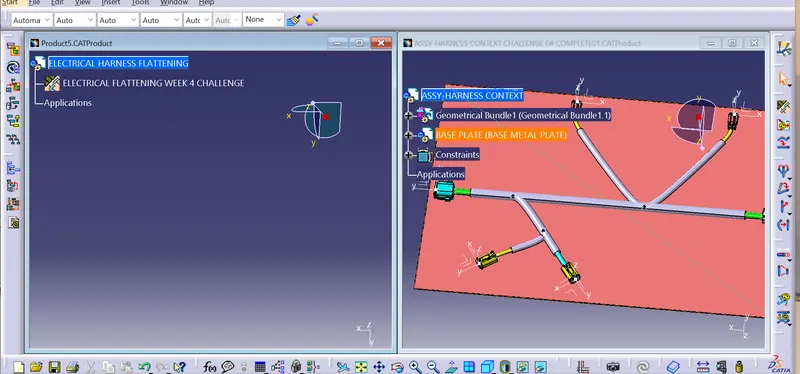
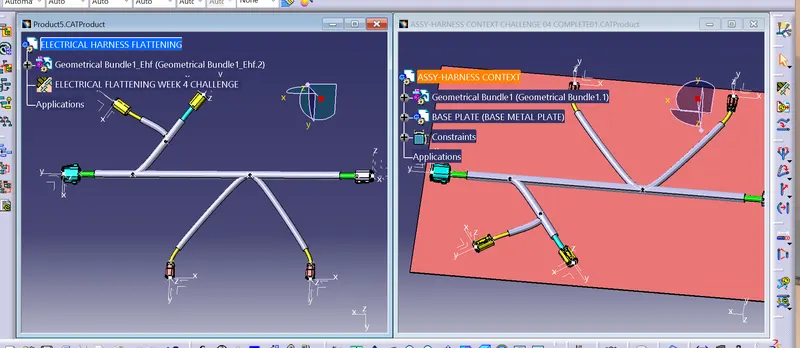
So the challenge 04 is extracted to the flattening workbench
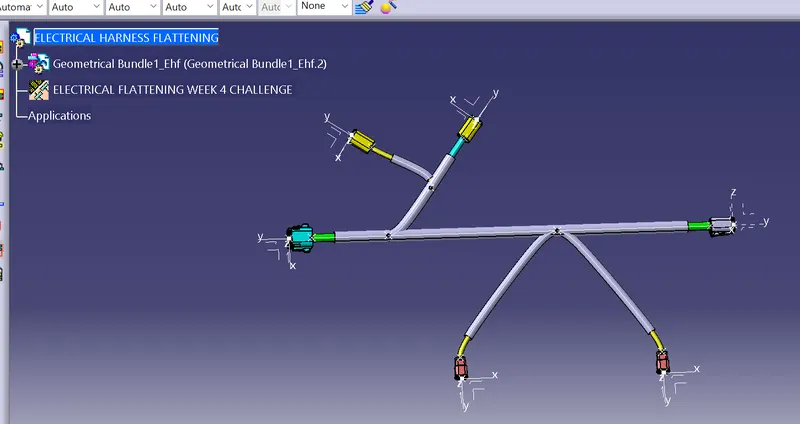
And the geometrical bundle is stored in the format of EHF ( electrical harness flattening )
Now select the flatten feature and select the face from the product and select any banch from the bundle segment or click on select all branches So here we select the face of the product so we need to alter the active plane from XY to the face selected in the flattenng setting
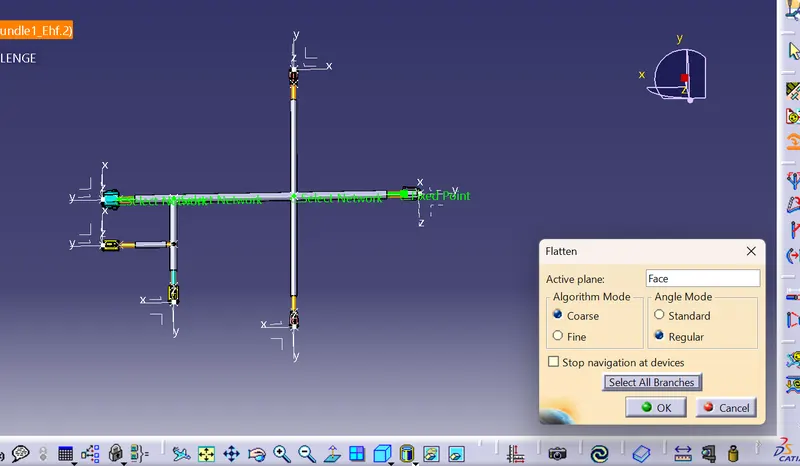
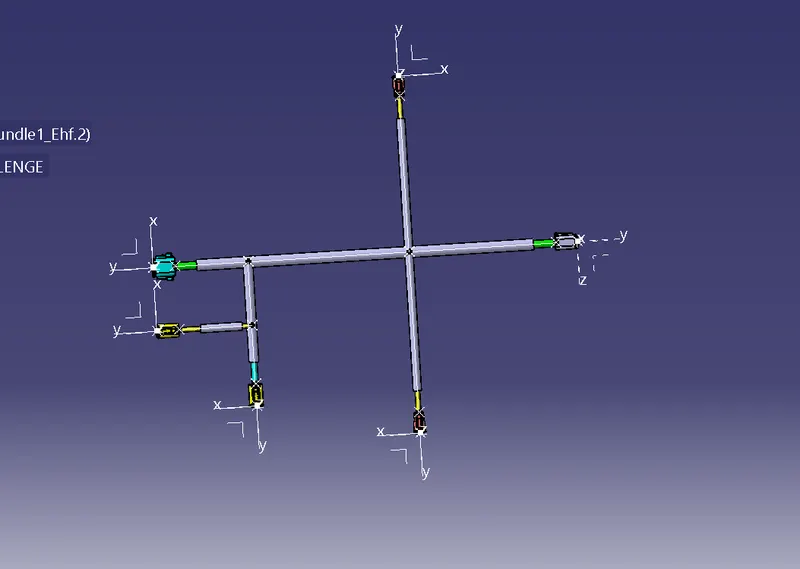
Some commands in the fattening workbench
Rotate :
here we can rotate the componemts
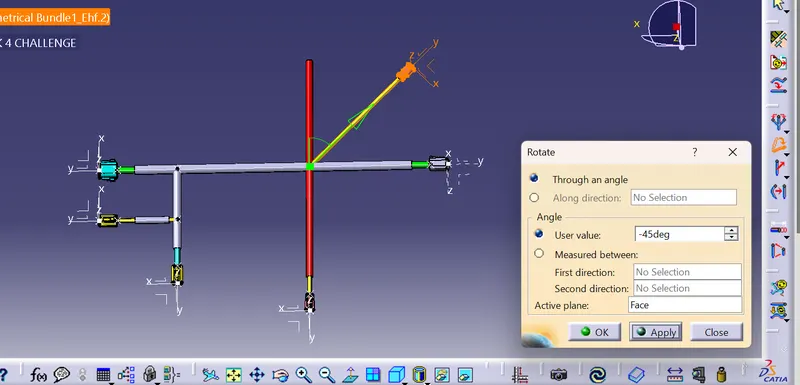
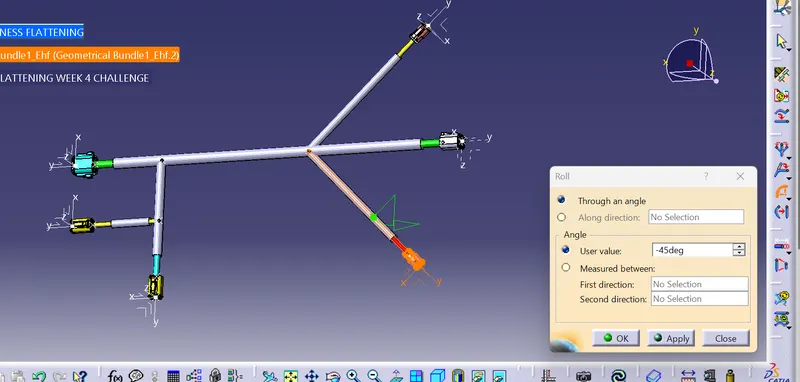
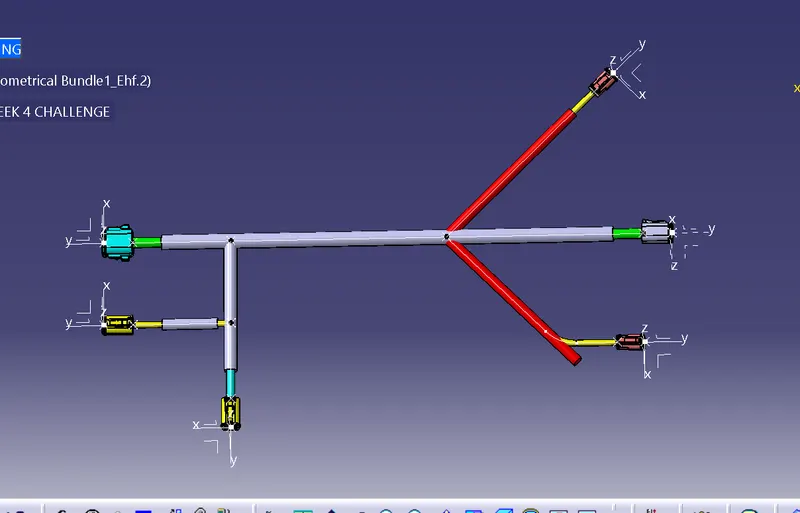
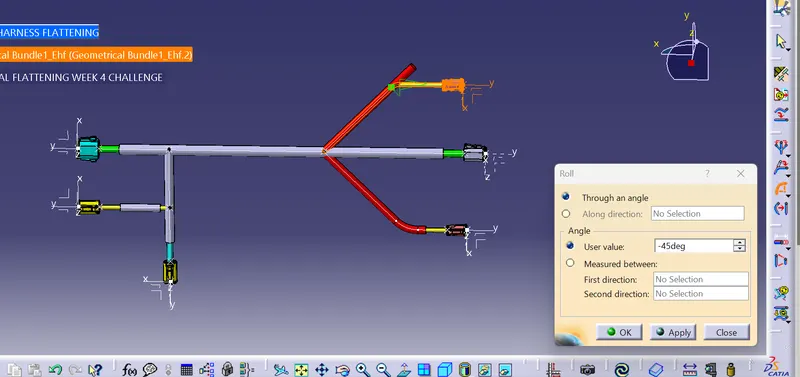
Roll :
Here we can able to rotate the compoent with some angle and the radius at the bend
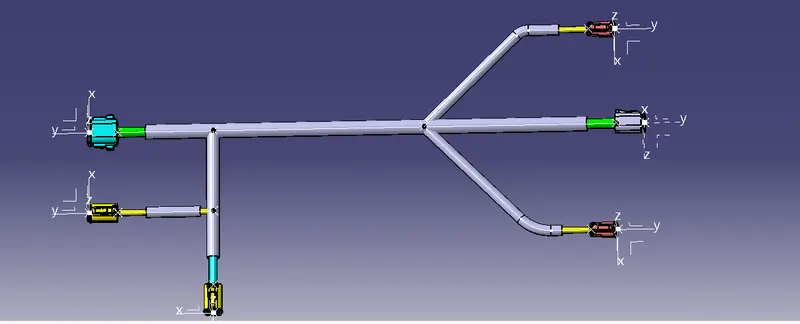
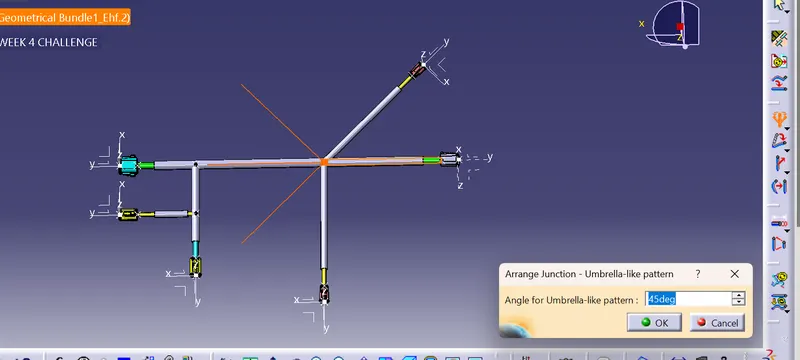
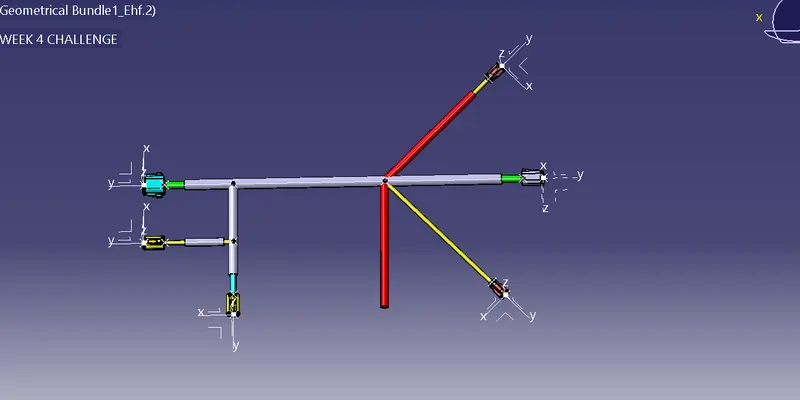
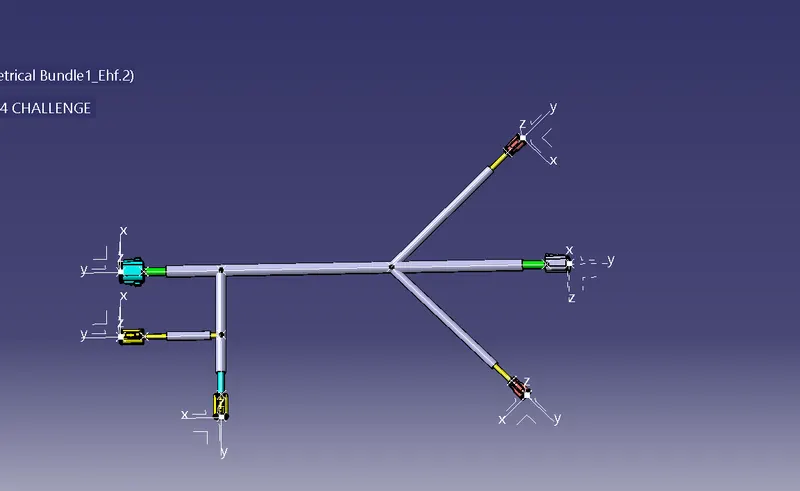
Arrange junction - umberalla like :
In this we can able to arrange the 3 Branches connected at the same point in the format of umberalla like
Scaling :
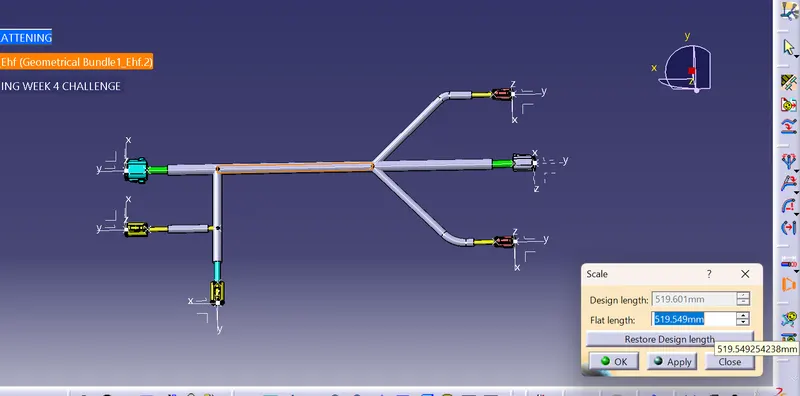
Here the scaling for the particular branches can be done it is a fake dimension so that the final dimensions remains unaltered
Now save the component
Now create a new drawing sheet
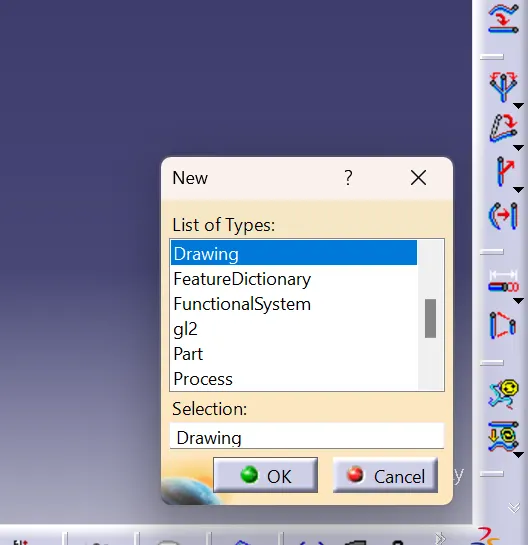
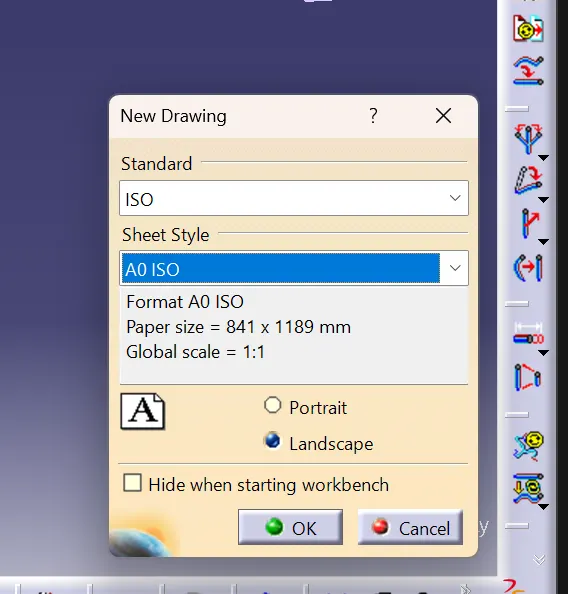
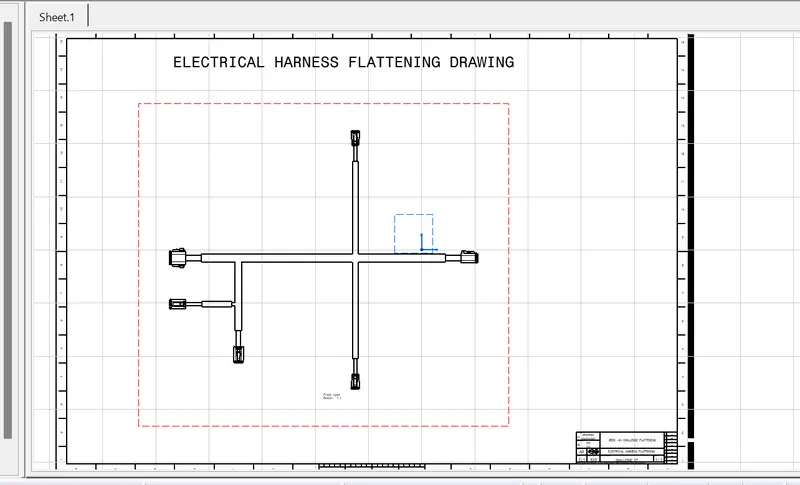
The drawing sheet be like
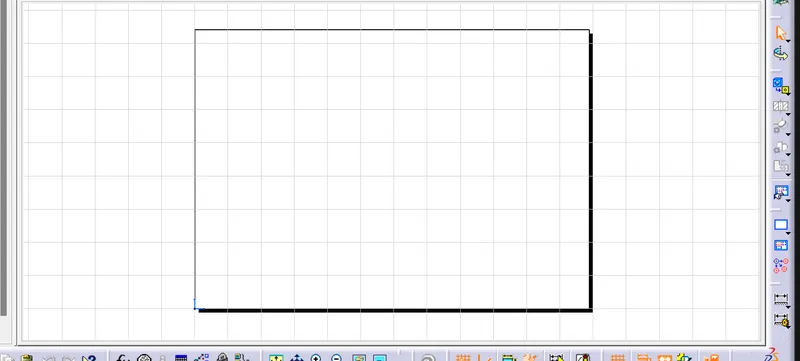
Now use the front feature to extract the product to the drawing sheet
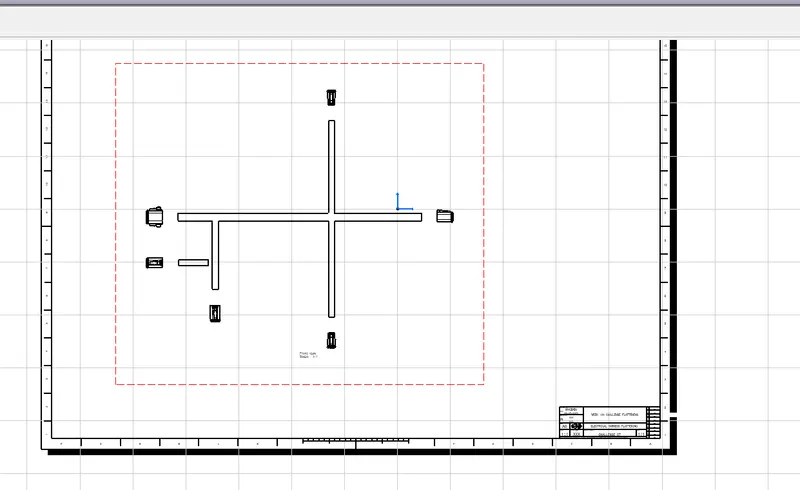
Mark some changes in the sheet settings so tat all parts are visible
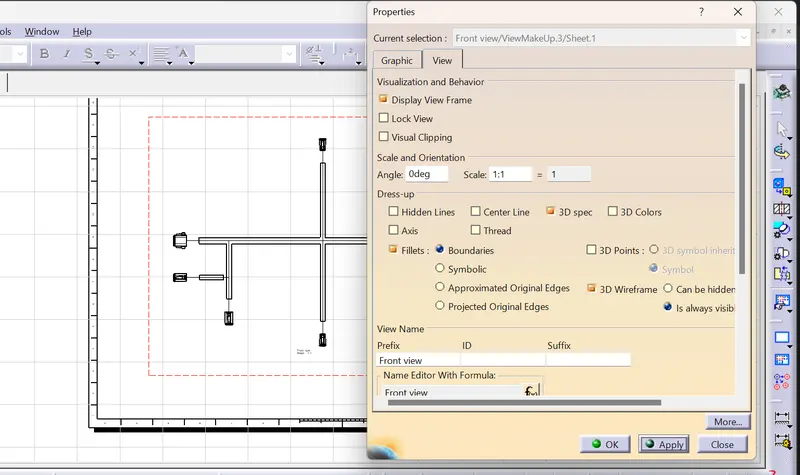
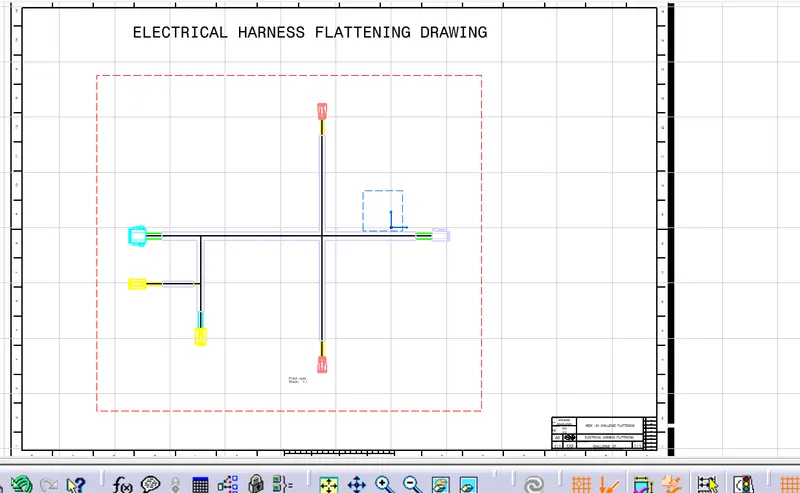
Select the 3D wire frame and select is always visible and 3D colors is selected
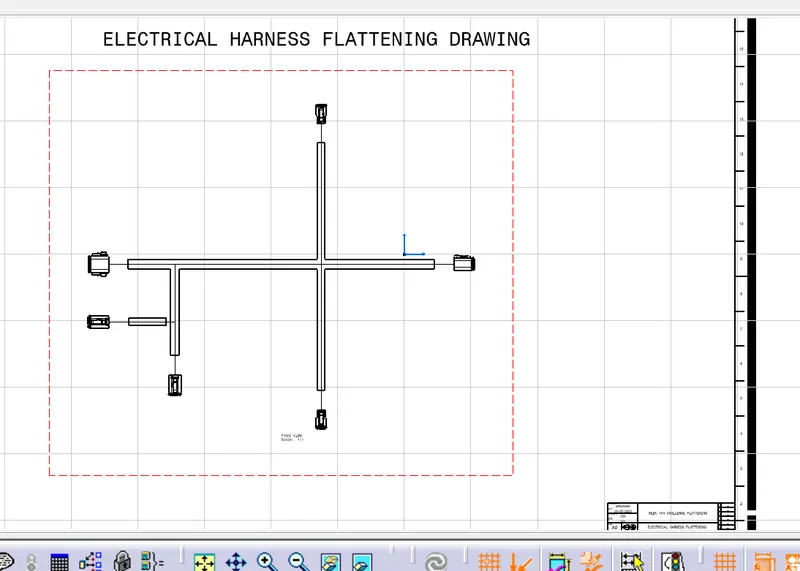
Now add the 3D points then it would be like the
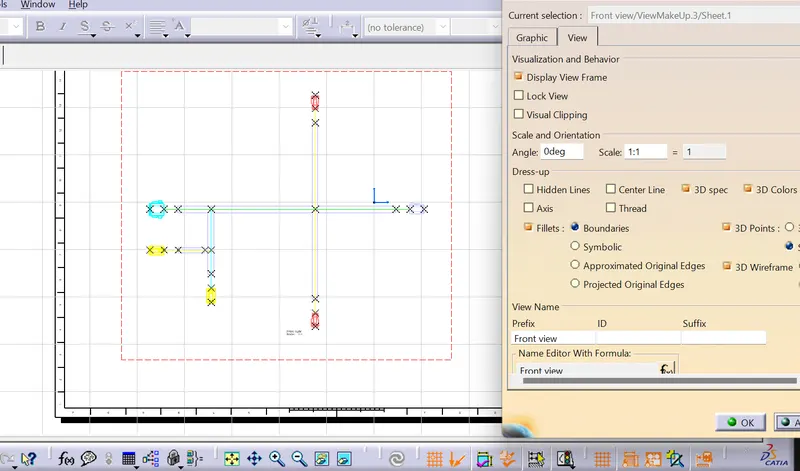
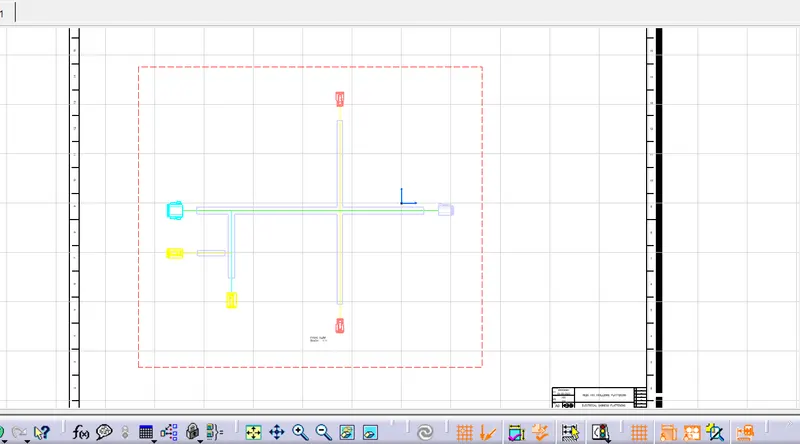
When we make the changes in the flattening setting making the segments and protective covering double line the result would be like
conclusion:
hence the flattening drawing sheet is created by using the wiring harness flattening workbench taking the reference poduct as the week 04 challenge and poaste all the obtained images required and attach the cat product files and the cat drawing files below using teh browse option