Wiring harness design in CATIA V5 - 3D modeling Week 7 Challenge
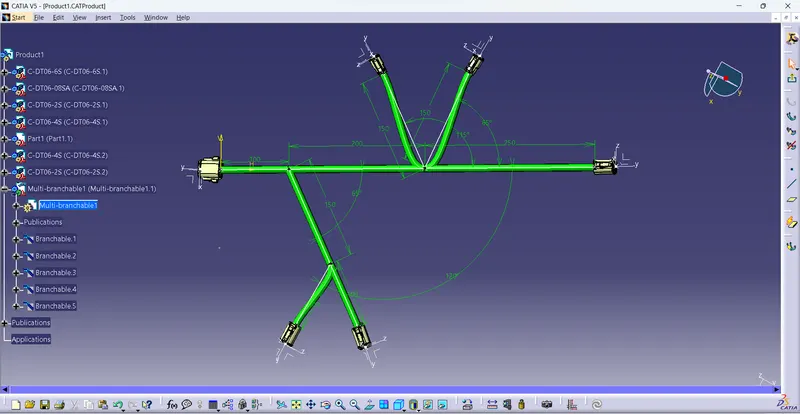
Q1. Flatten the harness assembly completed in “ week 4 challenge”. Place the flattened view on drawing sheet. Ensure bundles with protective coverings has different visuals on drawing view.
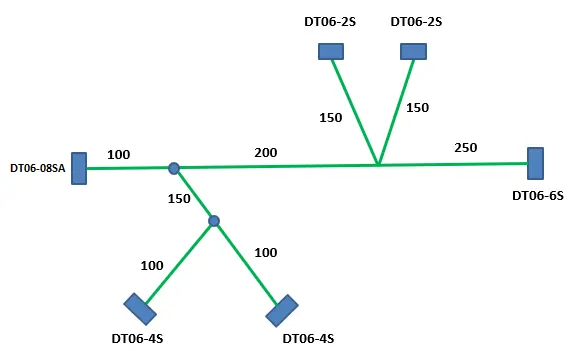
AIM- To prepare a flattened view of a previously created harness assembly
OBJECTIVE-
- The objective of this project is to create a flattened view for a harness assembly and then place it on the drawing sheet.
- It is desired that the bundles with protective coverings are represented with different visuals on the drawing sheet.
- To make a flattened view of any wiring harness we should be working on the Electrical Harness Flattening workbench of CATIA V5.
- We should make sure that the flattening file should be in the same folder where you have all the parts of the harness assembly.
CONTENT-
The following steps are to be done to complete this project.
STEP 1- Defining Harness Flattening parameters
- First, we should make a new product file inside the Electrical Harness Flattening workbench.
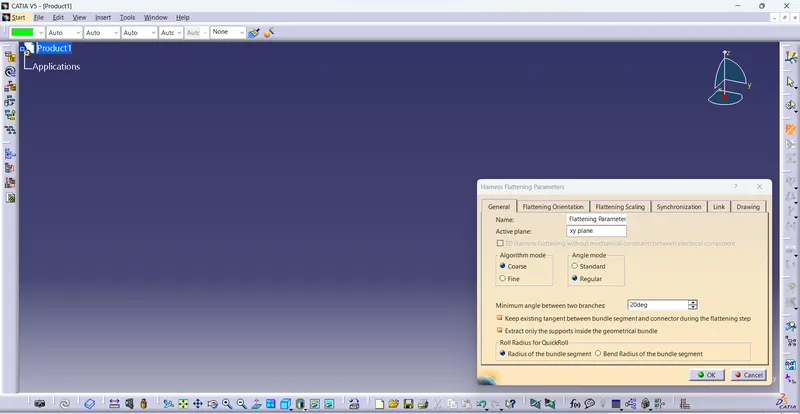
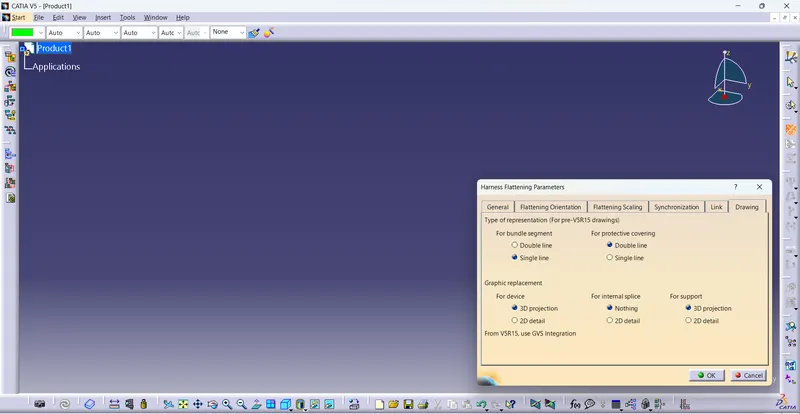
- Second, we should define the harness flattening parameters by clicking on its icon as shown above.
- In the general tab, we should select the settings as shown above.
- After the general tab settings are complete we should define the settings for the drawing tab as shown below.
- It should be noticed that the types of representation for the bundle segment and protective covering are different from each other.
- Also for devices, "3D projection" can be used if the connectors are added to the electrical drawing catalog.
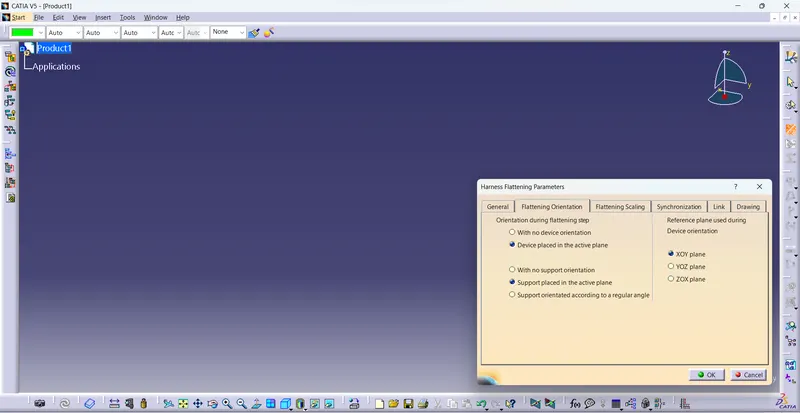
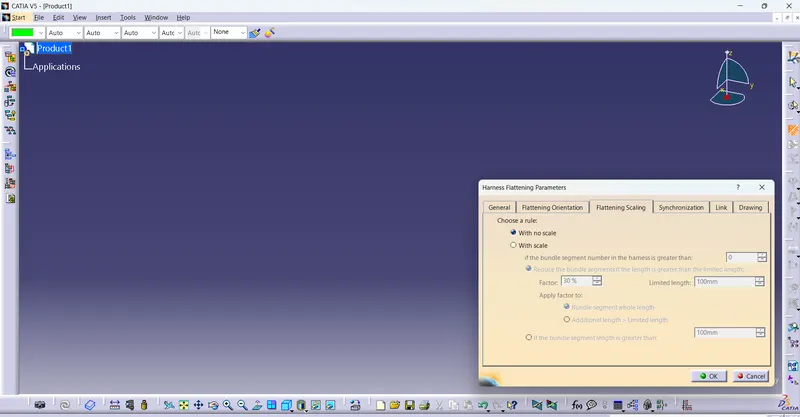
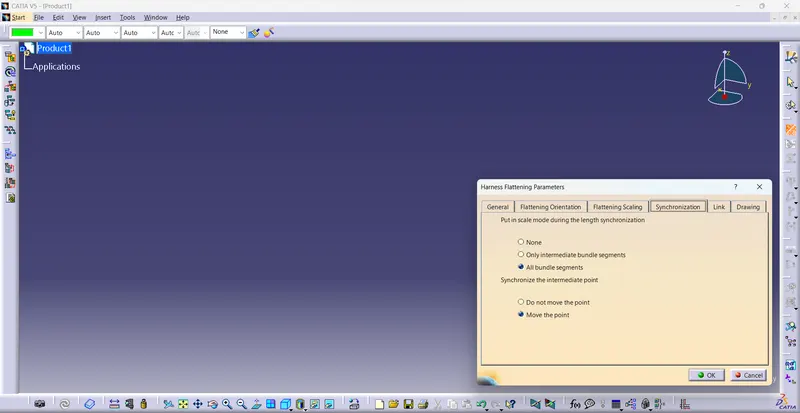
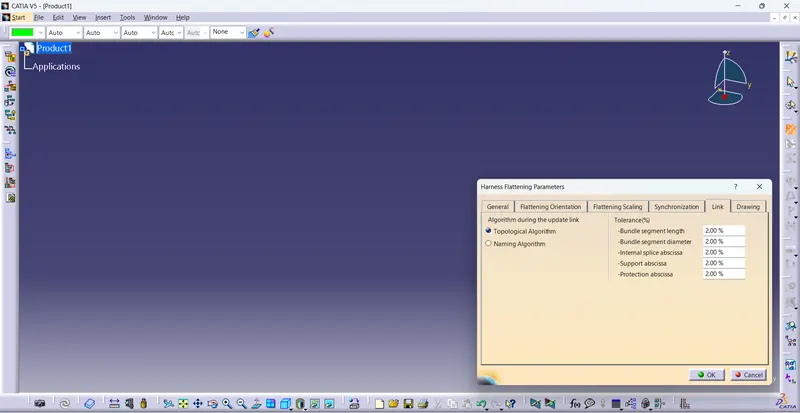
STEP 2- Rename the product file as the Flattening Product.
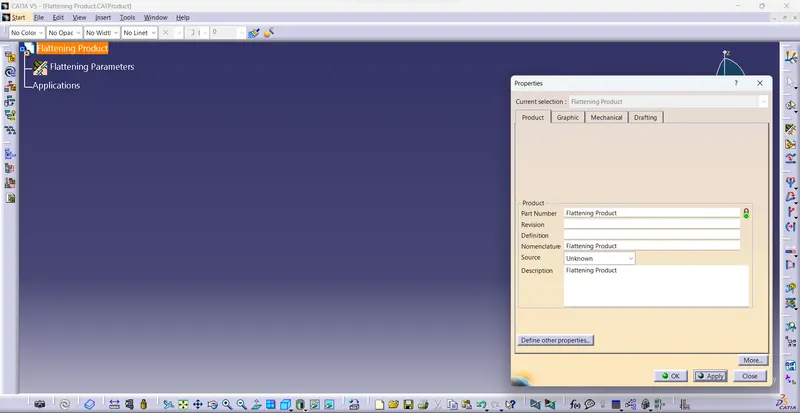
STEP 3- Bring the harness assembly into the newly created Flattening Product by using the "Extract" feature.
- First, we should align the Flattening Product and Harness Bundle tabs vertically.
- Now, as shown below, we should use the "EXTRACT" feature in the electrical harness flattening workbench to bring the harness assembly into the Flattening product.
- It should be noted that our geometrical bundle assembly or harness assembly file is now changed to an "EHF" file which stands for "Electrical Harness Flattening".
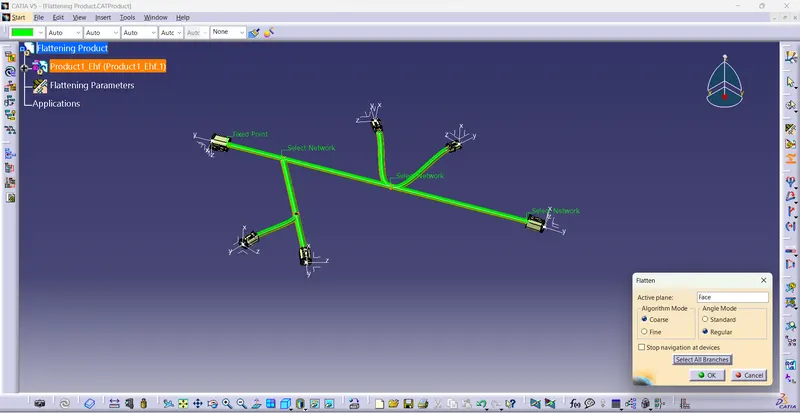
STEP4- Flattening of the harness
- To flatten the harness we should select the flatten plane and then select all the branches present in the harness assembly as shown below.
- The above image shows the raw flattened view of the wiring harness along the selected XY-Flattening Plane.
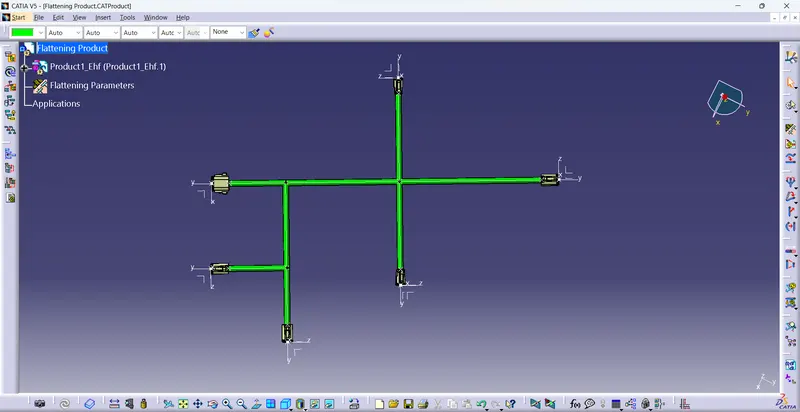
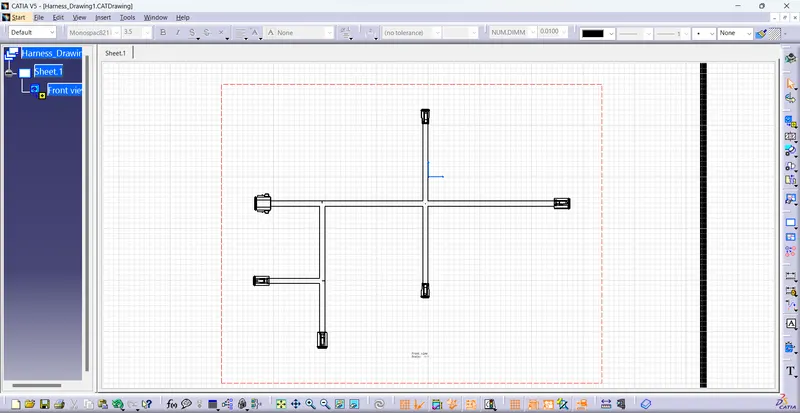
STEP 5:- Convert in drawing of the harness