Wiring harness design in CATIA V5 - 3D modeling Week 7 Challenge
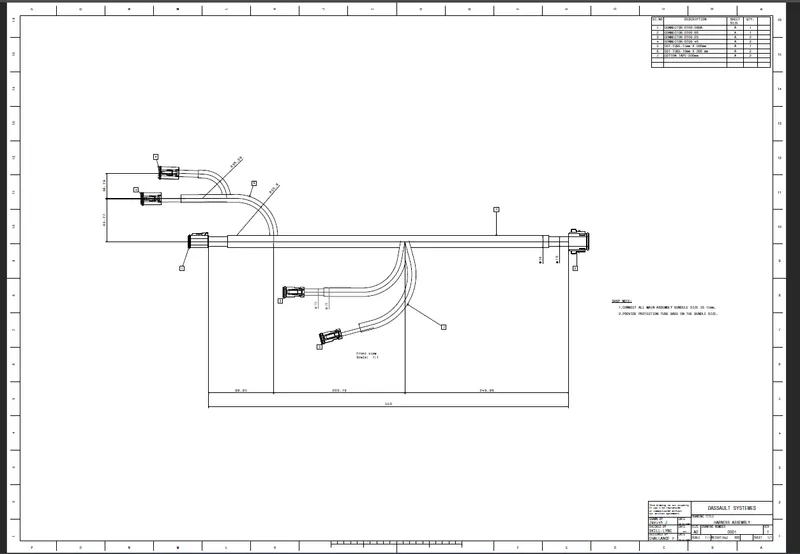
Flatten the harness assembly completed in the “ week 4 challenge”. Place the flattened view on the drawing sheet. Ensure bundles with protective coverings has different visuals on the drawing view.
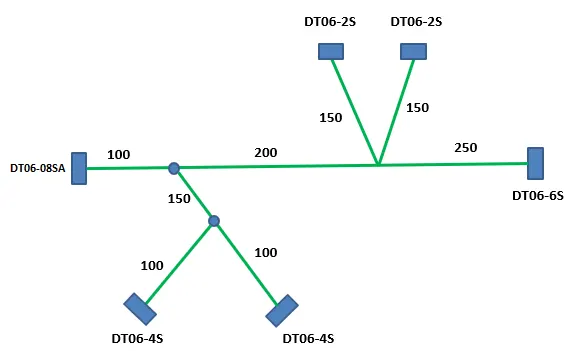
Electrical harness assembly:
- First, create the harness routing between the given connector and form the layout.
- Route the bundle to the given layout.
- Create the branch point and Add the harness using the Bundle geometry.
- Route the bundle using multiple bundle commands.
- Add a branch point to connect the bundle from connector to bundle.
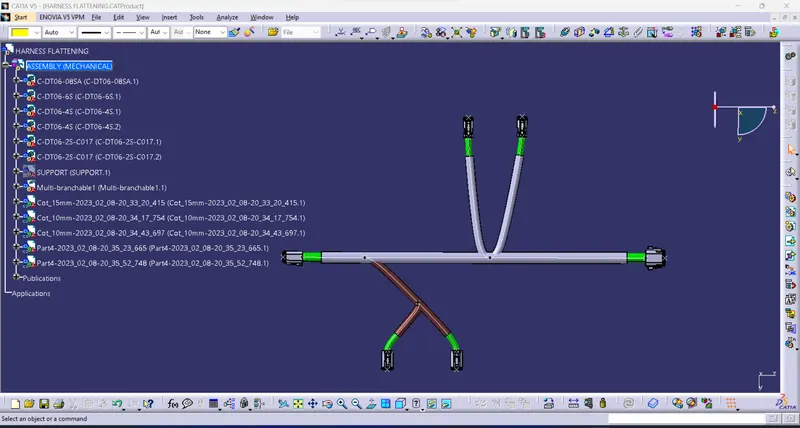
Electrical Harness Flattening:
- Harness flattening is used to straighten the bundle.
- it is a 3d representation of the bundle routing front view.
- It shows bundle routing information from connector to connector distance and branch point and multiple bundle connection views.
Harness Flattening:
- first, generate the harness flattening parameters.
- Then "Extract" the harness assembly.
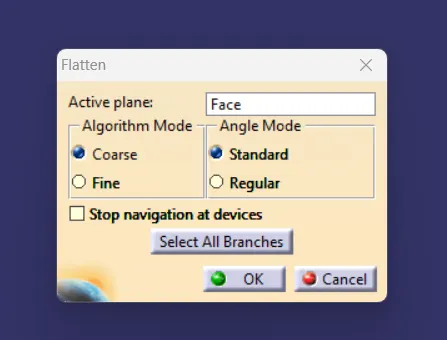
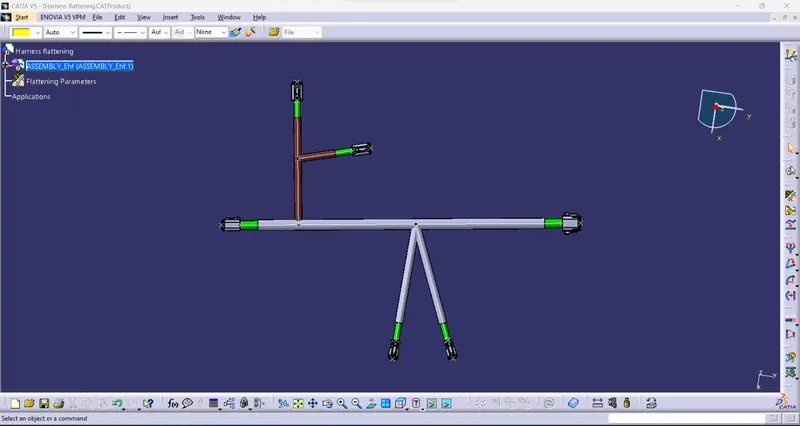
- Next, be using the "Flatten" command to select all bundles to flatten the harness.
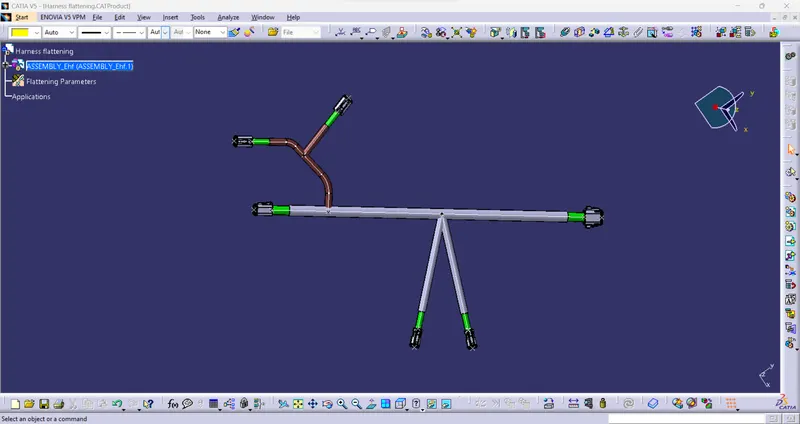
- To arrange the bundle based on the 3d representation view arrangement.
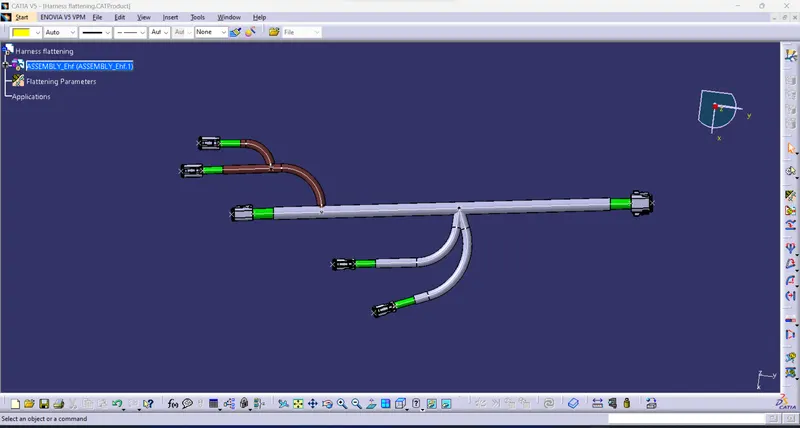
- To adjust the bundle use the "Rotate" command.
- Using the "Roll" command to rotate the bundle required direction.
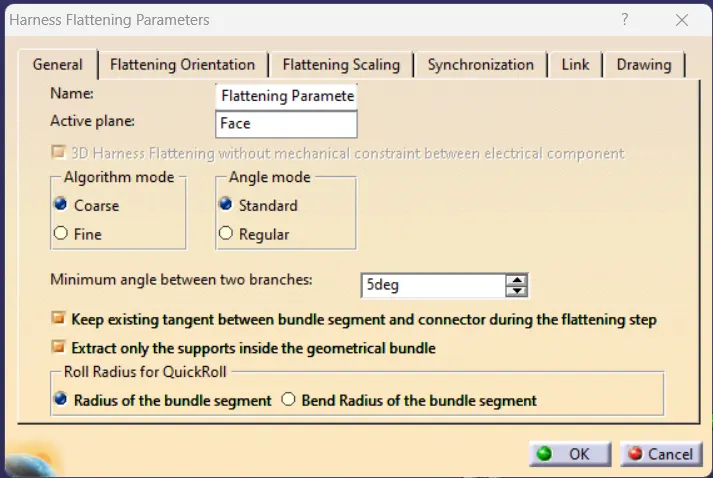
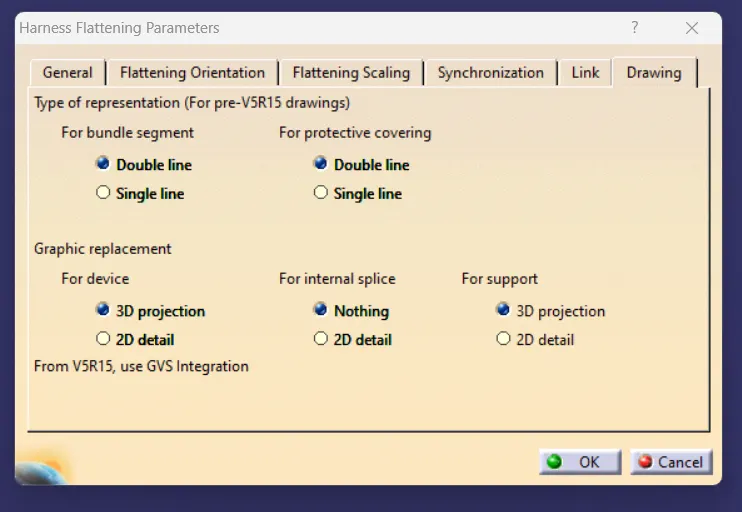
2D DRAWING:
- Add the 2d drawing based on the Electric Harness Flattening.
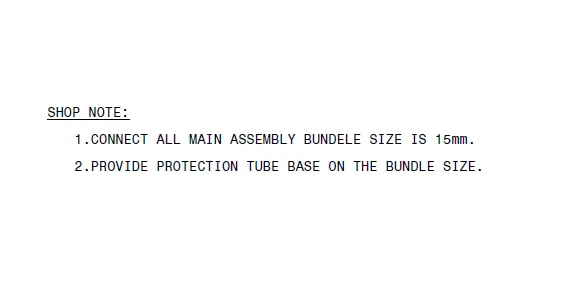
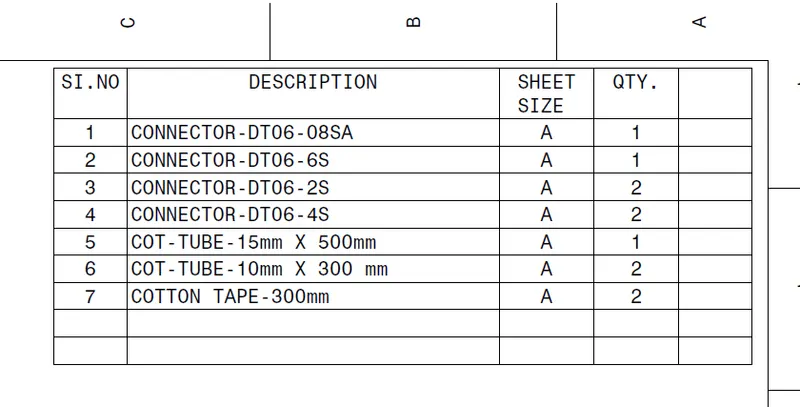
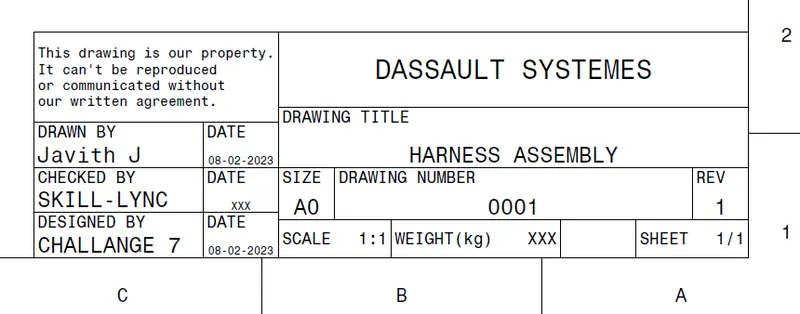
- Add title block, BOM table, and note for customer or shop.
- Add balloons and dimensions based on the harness routing drawing.