Wiring harness design in CATIA V5 - 3D modeling Week 7 Challenge
Wiring harness design in CATIA V5 - 3D modeling Week 7 Challenge:
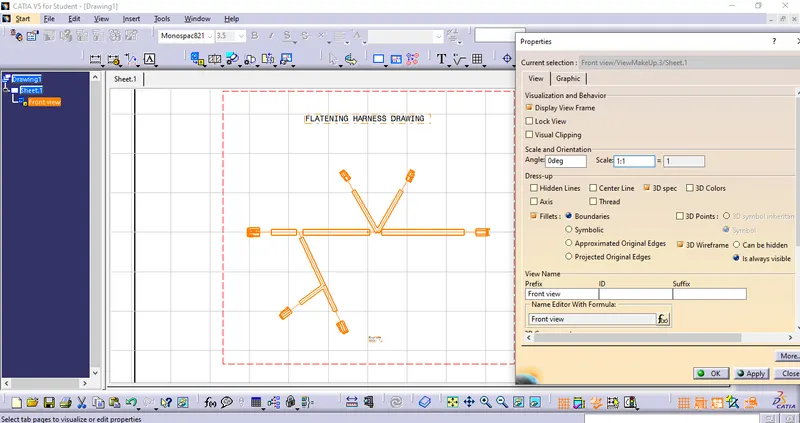
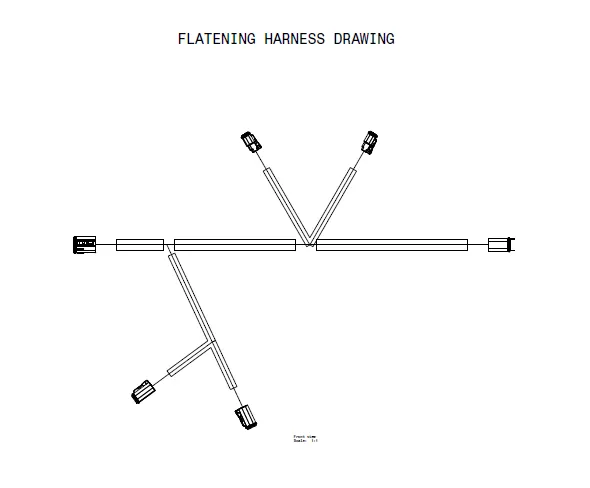
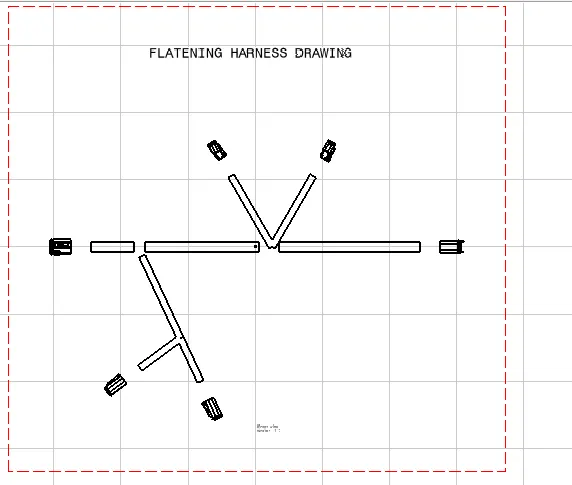
Q1. Flatten the harness assembly completed in the “week 4 challenge”. Place the flattened view on the drawing sheet. Ensure bundles with protective coverings have different visuals on the drawing view.
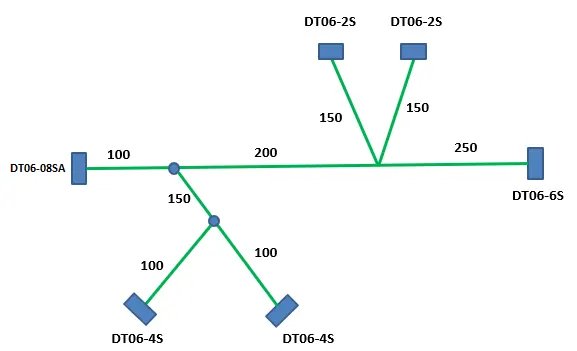
- STEPS FOR FLATTENING THE ASSEMBLY:
- open the existing assembly which should be flattened.
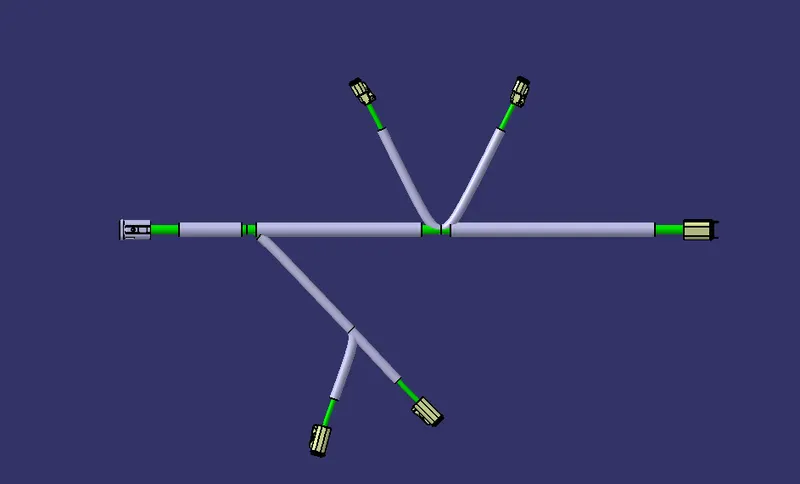
- After opening the file create the new product file.
- Rename it first and save the file in the same location where the existing assembly was saved.
- Switch to electrical flattening assembly.
- Set the flattening parameters.
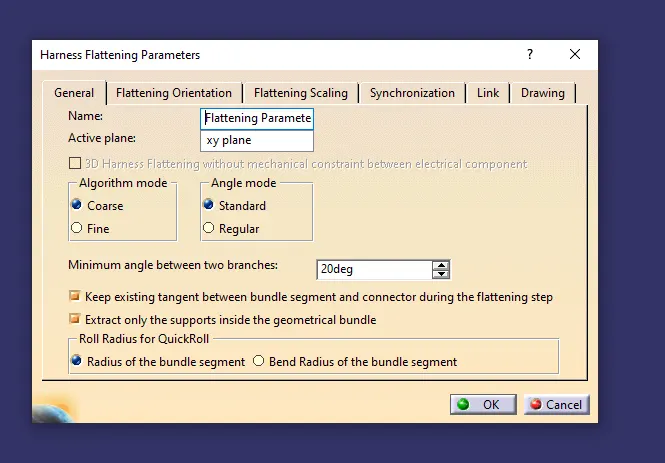
- After setting the parameters, select the extract tool to extract the existing assembly.
- Once it's extracted, go to flatten tools.
- select the plane in which respect we have to flatten the assembly.
- With the help of the Rotate tool, arrange the representation of the assembly.
- Hence the assembly gets flattened.
- CREATING 2D DRAWING:
- After flattening the assembly, create a new drawing.
- select the front view tool and select the view from the flattening assembly
- As there might be some mismatched will be there.
- To solve that refer to the given pic.
- Check the parameters of the flattening workbench,
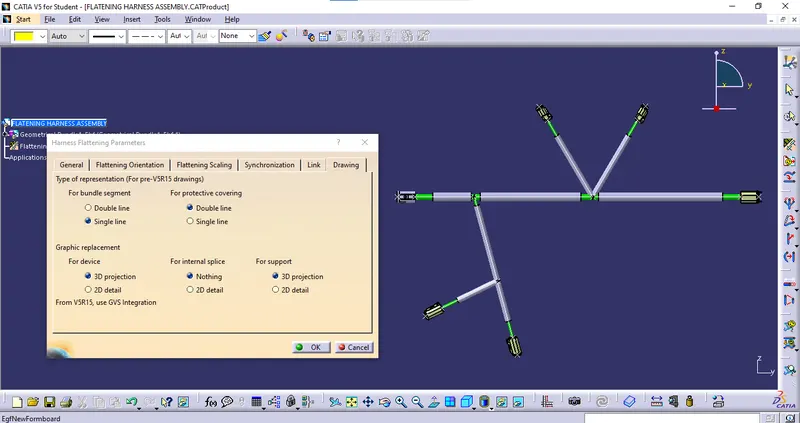
2. right click on the 2d drawing and enable the 3d wireframe and make it always visible.
- After applying the setting, we get our desired drawing on the sheet.