Wiring harness design in CATIA V5 - 3D modeling Week 7 Challenge
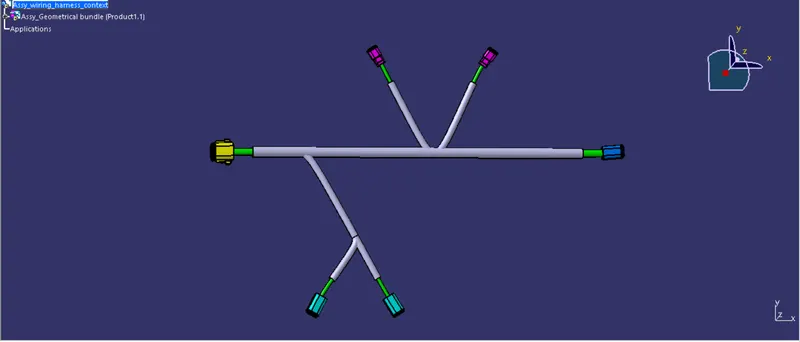
AIM ; To flatten the wire harness assembly completed in week 4 assignment and create flattened view on drawing.
OBJECTIVE
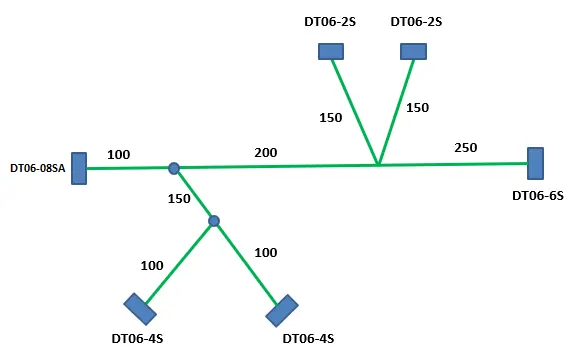
To flatten the wireing harness assembly completed in previous week 4 challenges and arrange the wire bundle as per the layout and then place the flattened view on a drawing sheet, also ensure that bundles with protective coverings has different visuals.
FLATTENING STEPS AND PROCEDURE
- The first step of the flattening process is to create a new product file and switch to the electrical harness flattening workbench
- after that define the harness flattening parameters in order to flattening the wiring harness assembly and save the product file in the same folder the wiring harness assembly is stored.
- The flattening parameters given as per the fig below
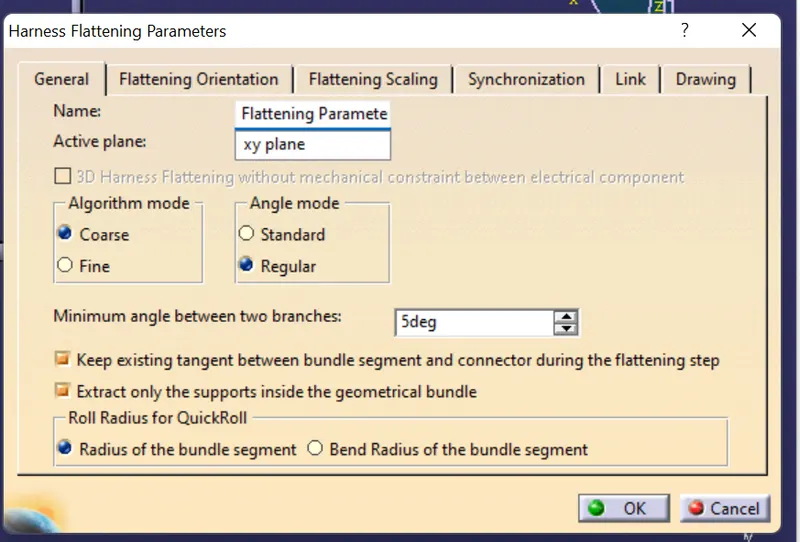
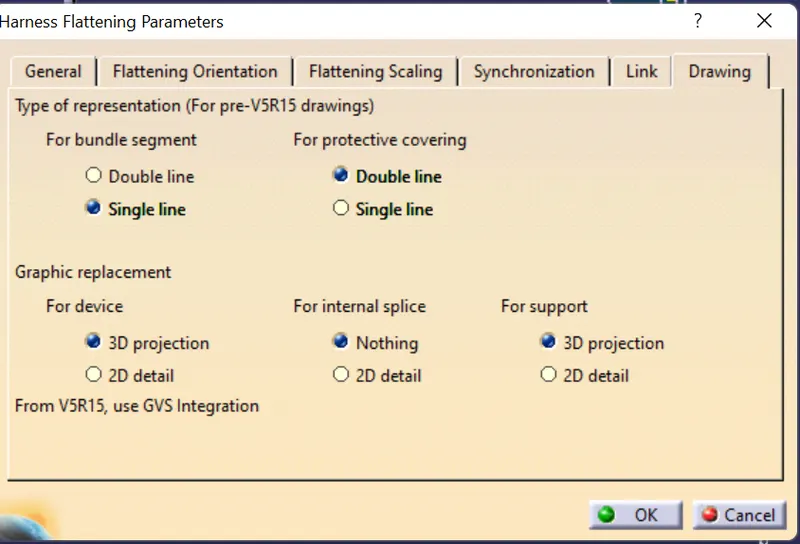
- The next step affter giving the parameters are to extract the geometrical bundle product file from the wiring harness assembly using the extract options in the electrical harness flattening workbench
- The extracted product file is comes and saved in the form of ehf extentions
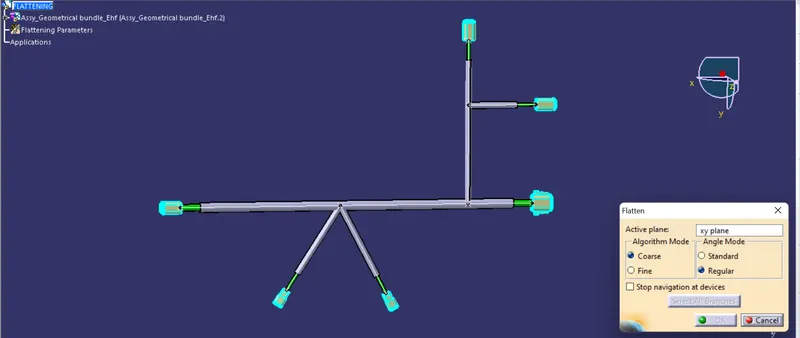
- After that by using the tool flatten option we can able to flatten the wiring harness assembly
- for that selct the plane for flattening and then select the branch and give select all branch command.
- Then we get the flattened wiring harness assembly ,flatten operation works only on the fully connected bundles only
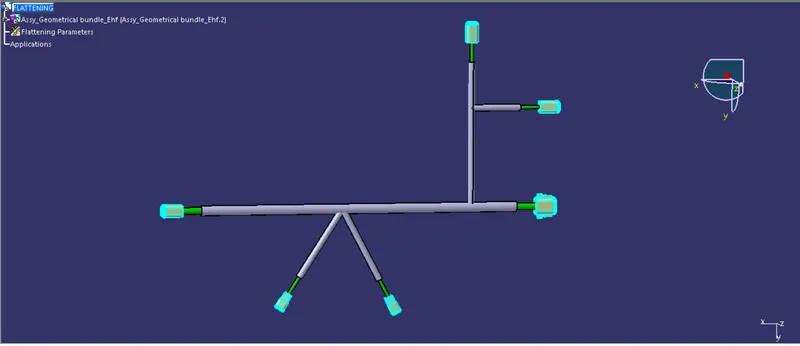
- In the wiring harness flattening workbench there is various commands to arrange the bundles like straighten, roll, rotate etc.
- Here rotation command is used in one place for the rotation of the bundles.
DRAFTING
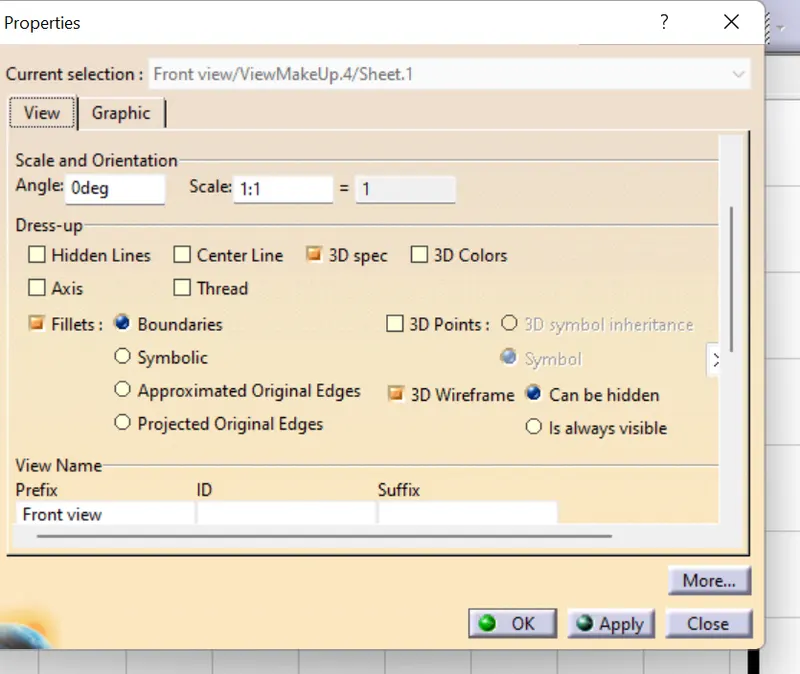
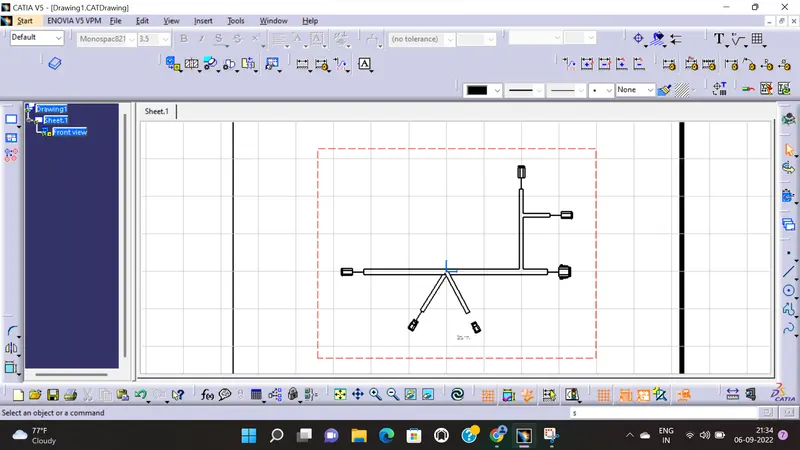
- Drafting is done by ,at first creating a new drawing and save the file in the same locations and then by using front view options and select the flattened surfaceof the wiring harness bundle.
- If we want to add templates then we can that also here i am not adding any additional features.