Wiring harness design in CATIA V5 - 3D modeling Week 5 & 6 Challenge
Wiring harness design in CATIA V5 - 3D modelling Week 5 & 6 Challenge
AIM
Create two electrical harnesses using the given layout and interconnect them as a single harness assembly, check the bundle continuity, bundle warnings and give annotations to the harness assembly.
OBJECTIVE-
- The objective of this project is to first route the two Harness A and Harness B as per the given harness layout.
- PROCEDURE
- Step 1 :
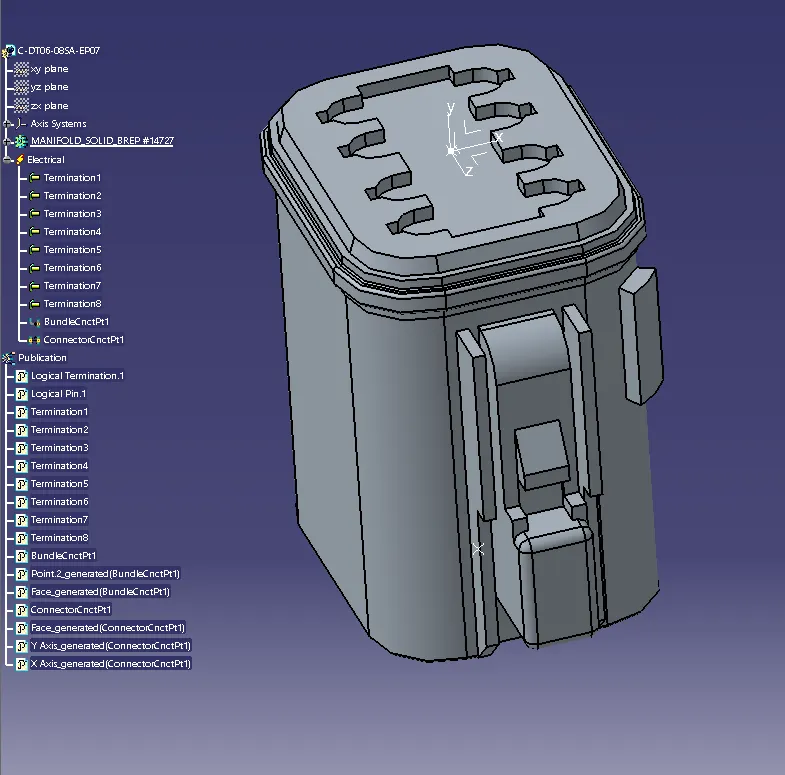
All the connectors are converted to Electrical part from Mechanical part and the Connector connection and Bundle connection parametere were defined along with axis system.
Each parts are opened as mechanical part and after introducing the axis system for both connector connection point and Bundle connection point
The workbench is changed to electrical workbench and the mechanical part is defined as electrical connector using 'Define connector' command.
After converting to electrical part using 'Define Connector connection point' the connection point is defined.
Then using 'Define bundle connection point' the bundle connection parameters were defined.
- Connectors for Harness A & B-
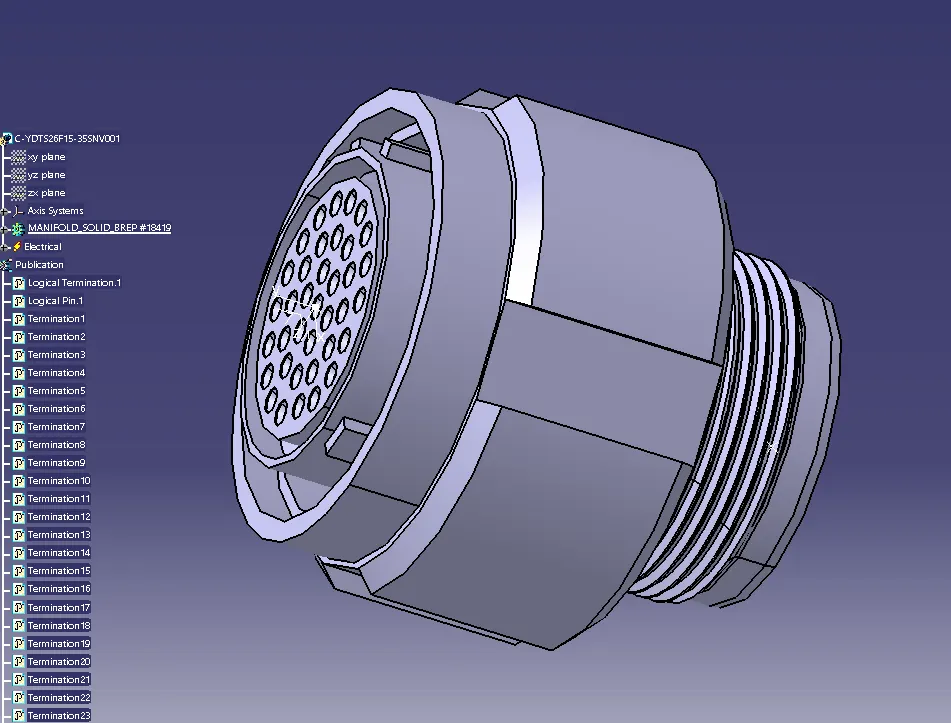
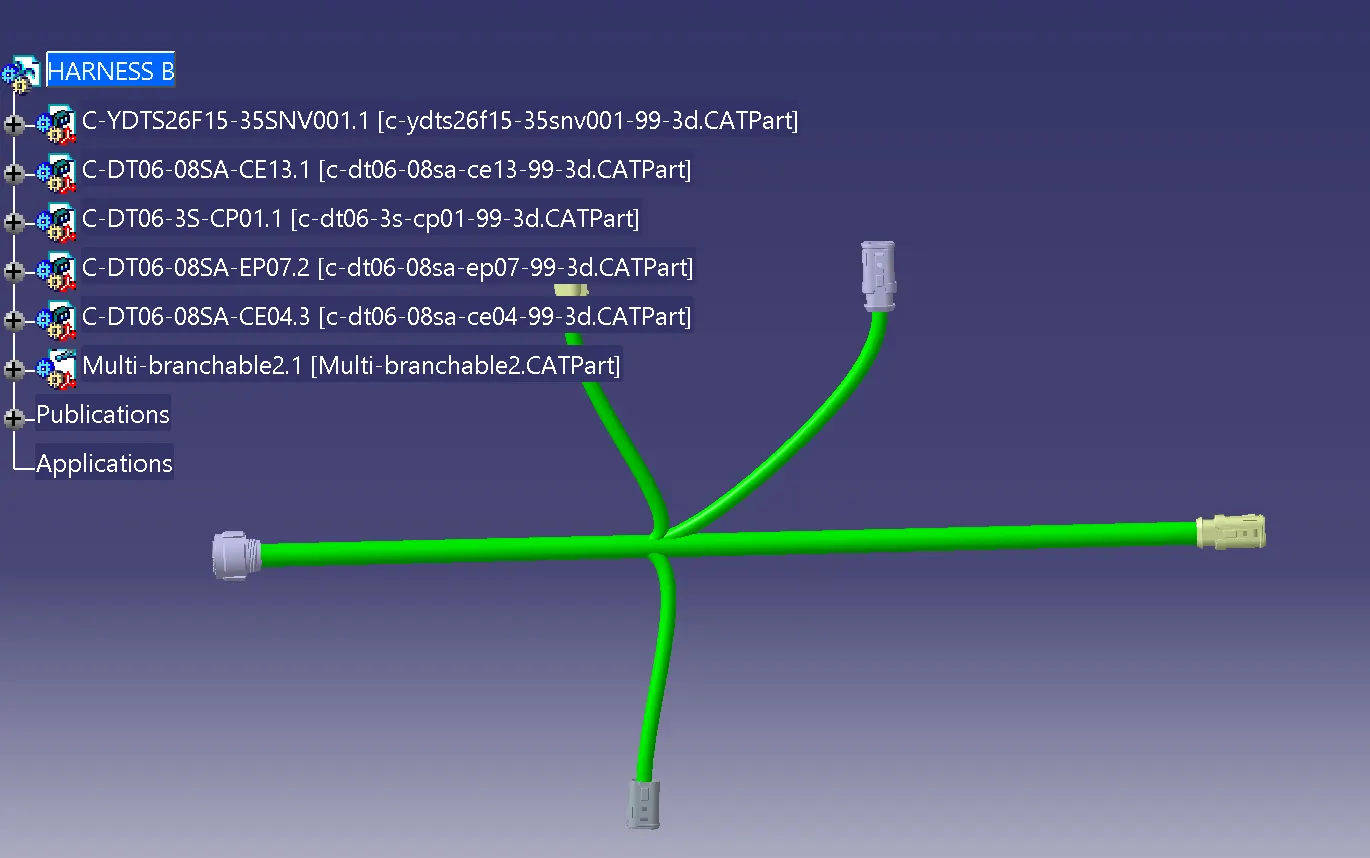
- C-YDTS26F15-35SNV001
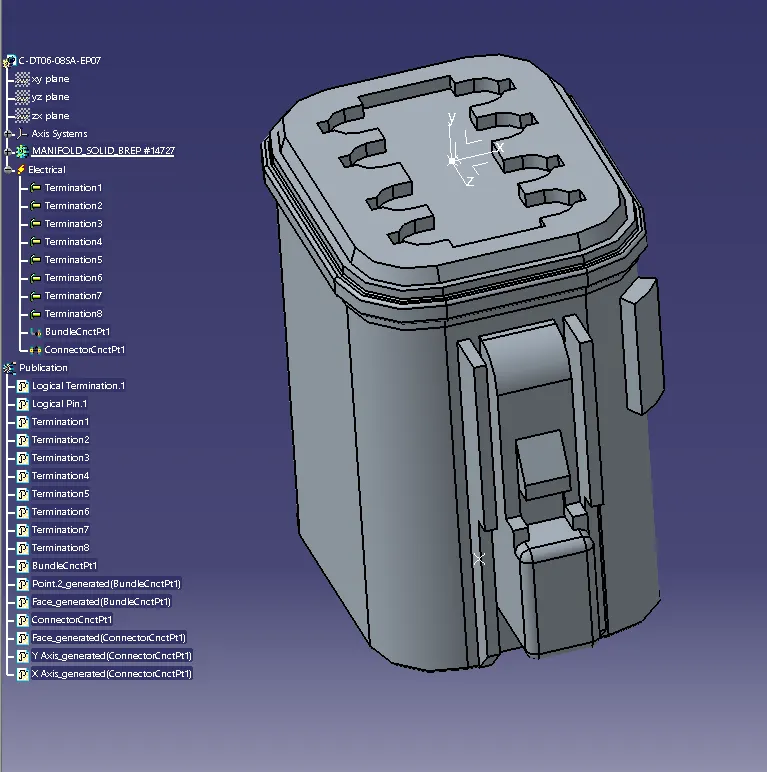
- C-DT06-08SA-EP07
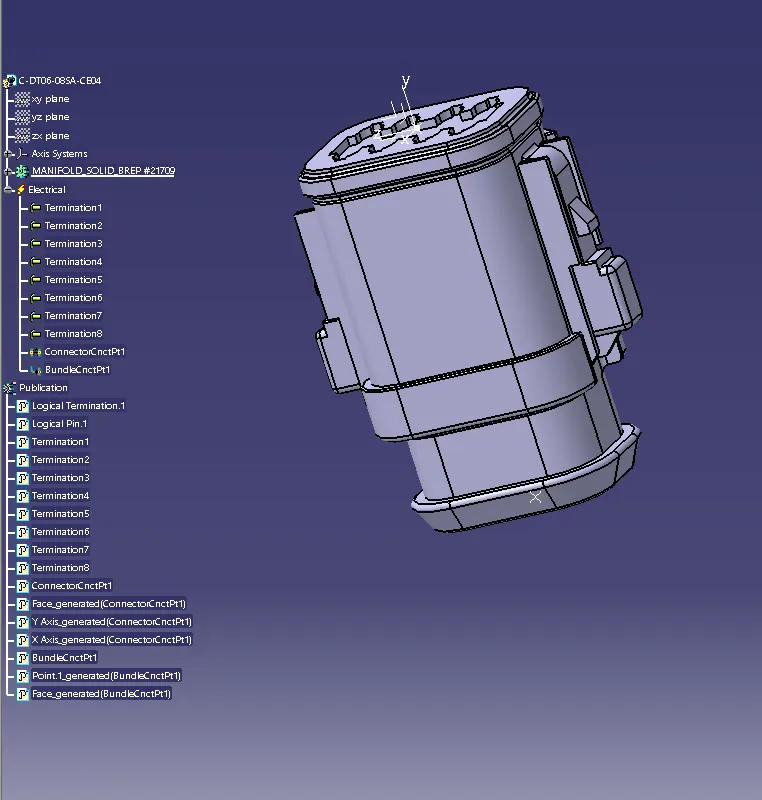
- C-DT06-08SA-CB04
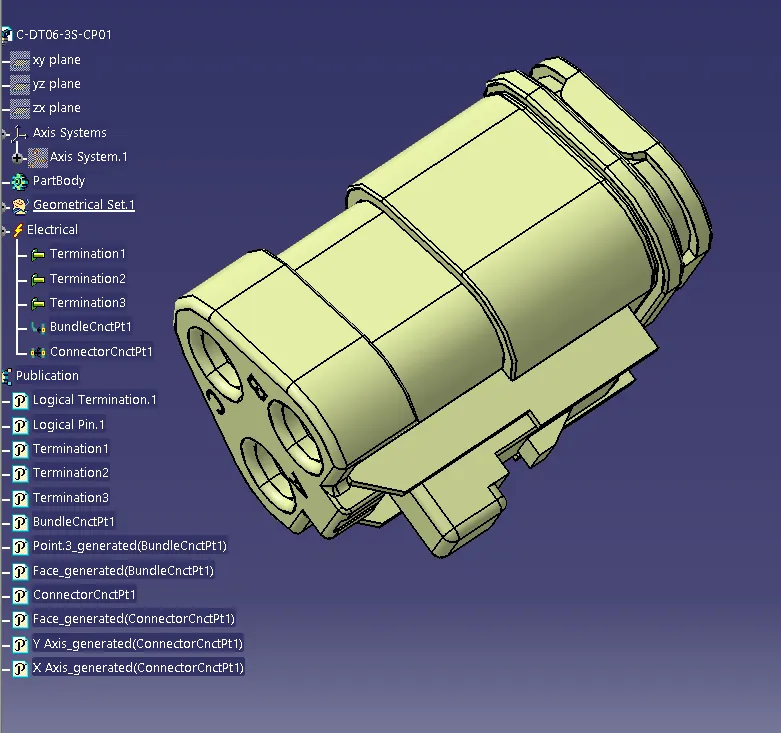
- C-DTO6-3S-CP01
- C-DT06-09SA-CB04
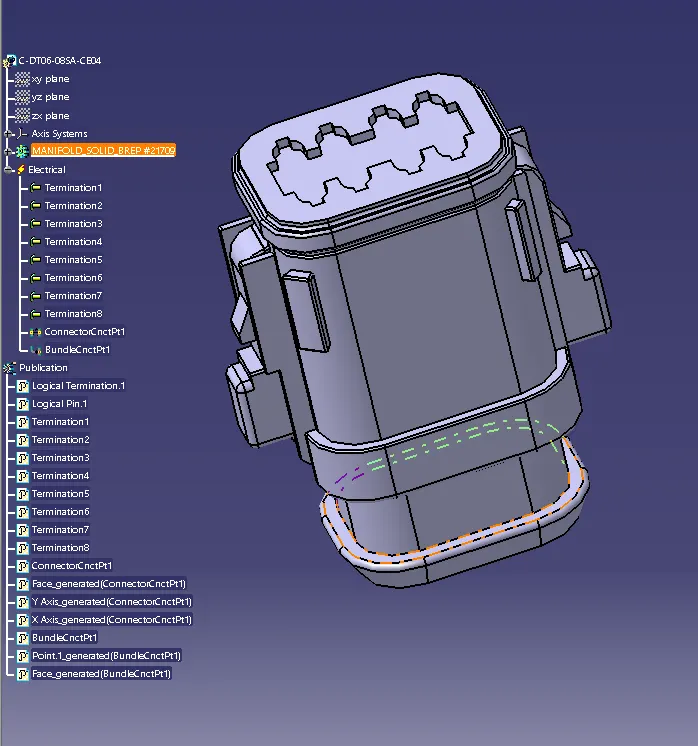
- C-1-174357-2
- C-DT06-08SA-EP07
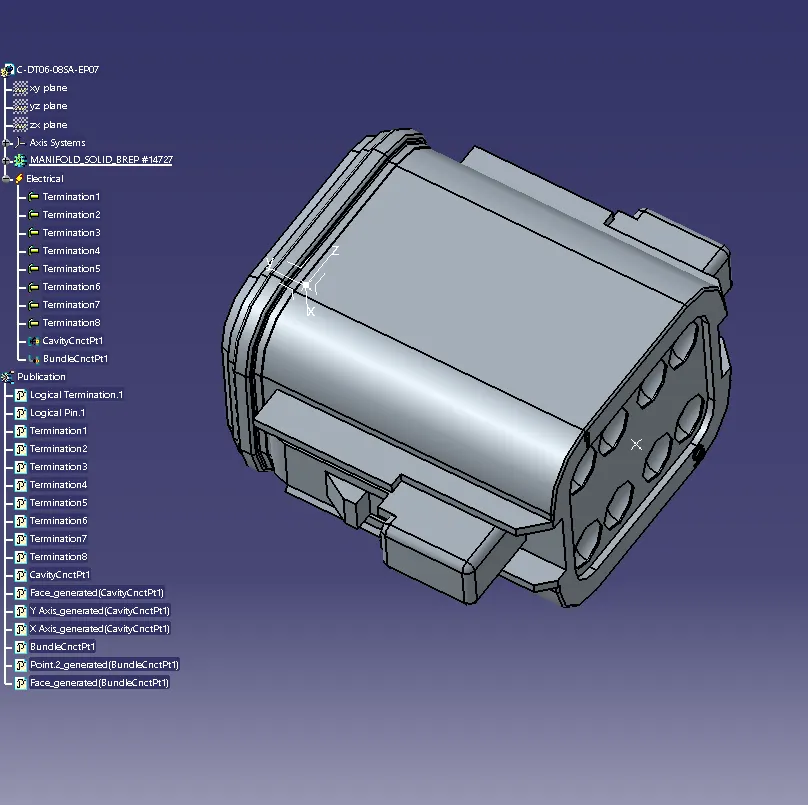
- C-DT04-08PA-C017
- Procedure for creating the harness
- Create a product fine and define it electrically using Geometrical Bundle option
- Create a reference drawing part for proper alignment of connectors.
- Using Snap, move and compass place the connectors at desired locations
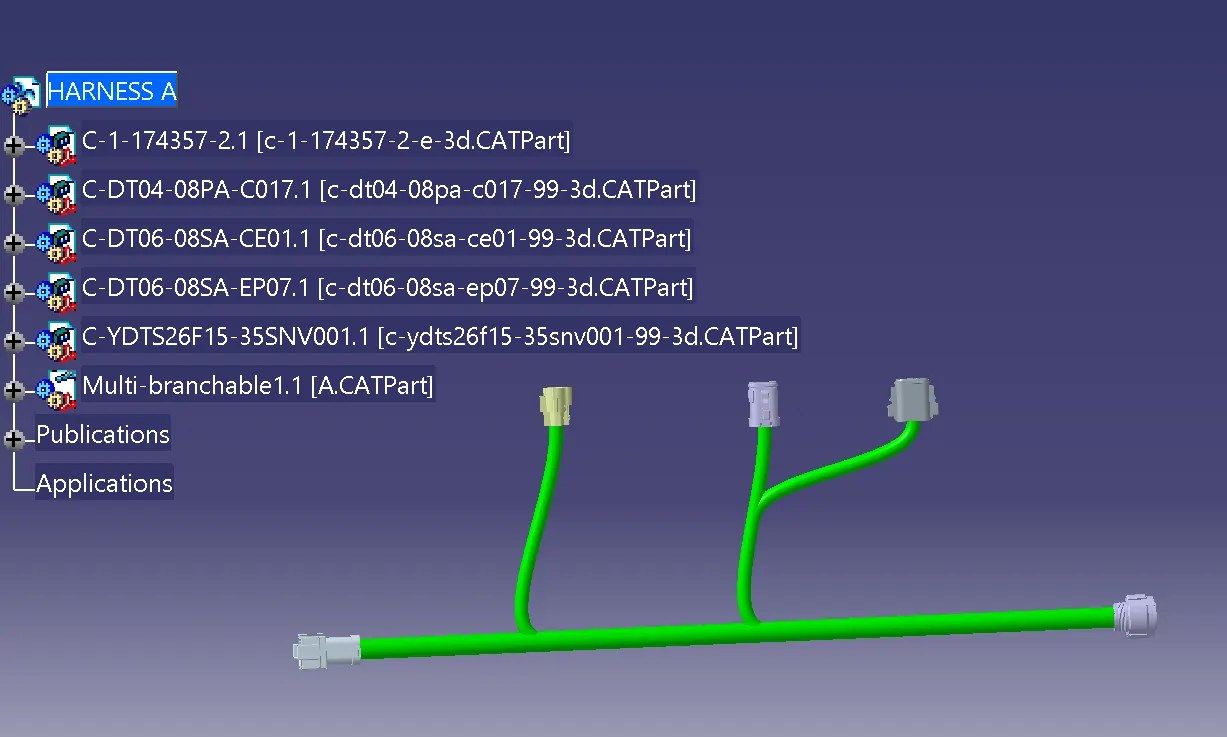
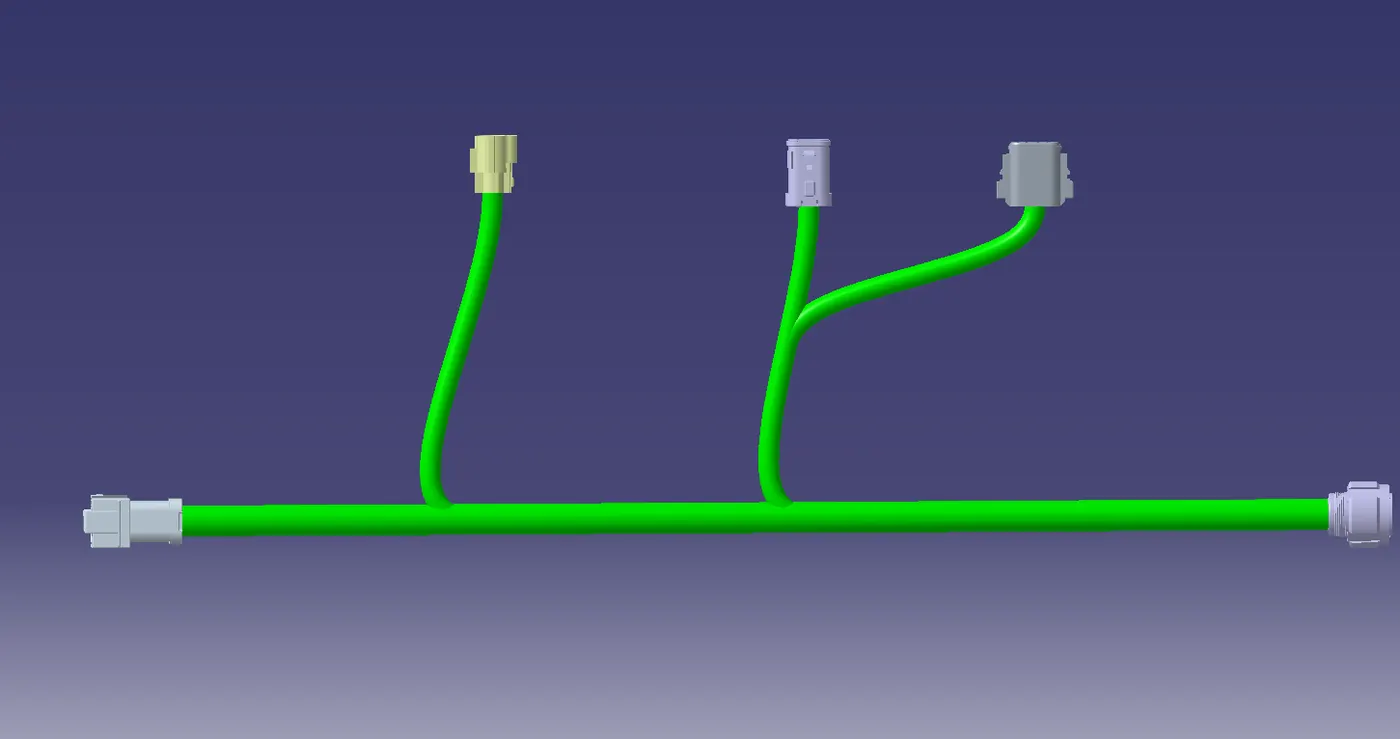
- Bundle segments are created with connectors bundle connection points. (Bundle diameters are assumed as 10mm and 5mm)
- Create branch point on the main multi branchable bundle.
- Create sub multi branchable segments.
HARNESS-A
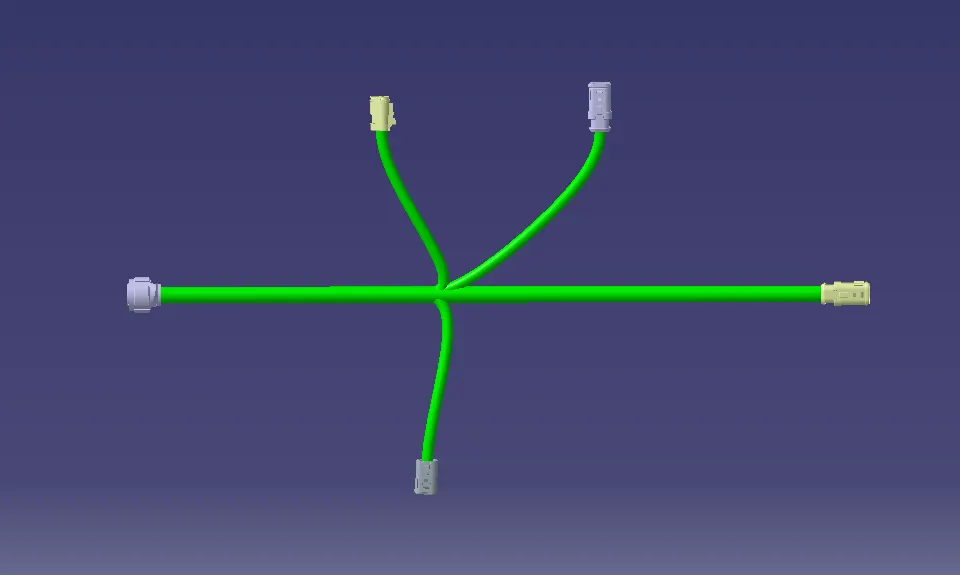
- HARNESS-B
- HARNESS BUNDLE SEGMENT CONNECTIVITYA-
- Now in this step, we have to check bundle continuity in both Harness A and Harness B.
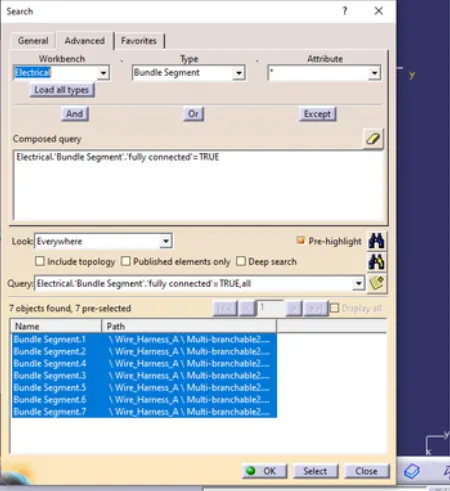
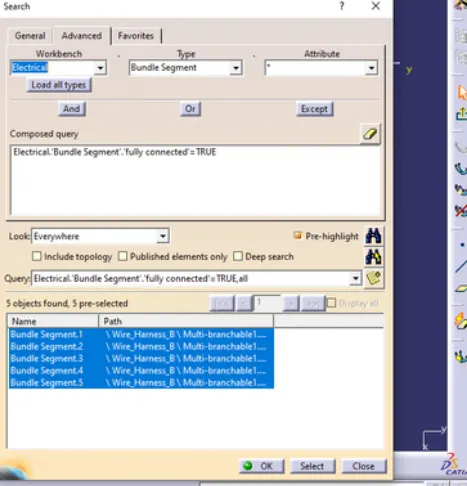
- So for that, go in Edit>Search>Workbench-Electrical>Type-Bundle segment>Attribute-fully connected.
- We will get one window, in that selecting True option will show all the connected bundle segments while selecting False option will show all the non-connected bundle segments.
- Now, we will check for True condition and search for result.
- All the bundle segments are showing connected. So there is bundle continuity in both Harness A & Harness B as shown in below images.
B HARNESS BUNDLE SEGMENT CONNECTIVITY-
- Then give annotations to the electrical components using flag note with leader option from annotation toolbar
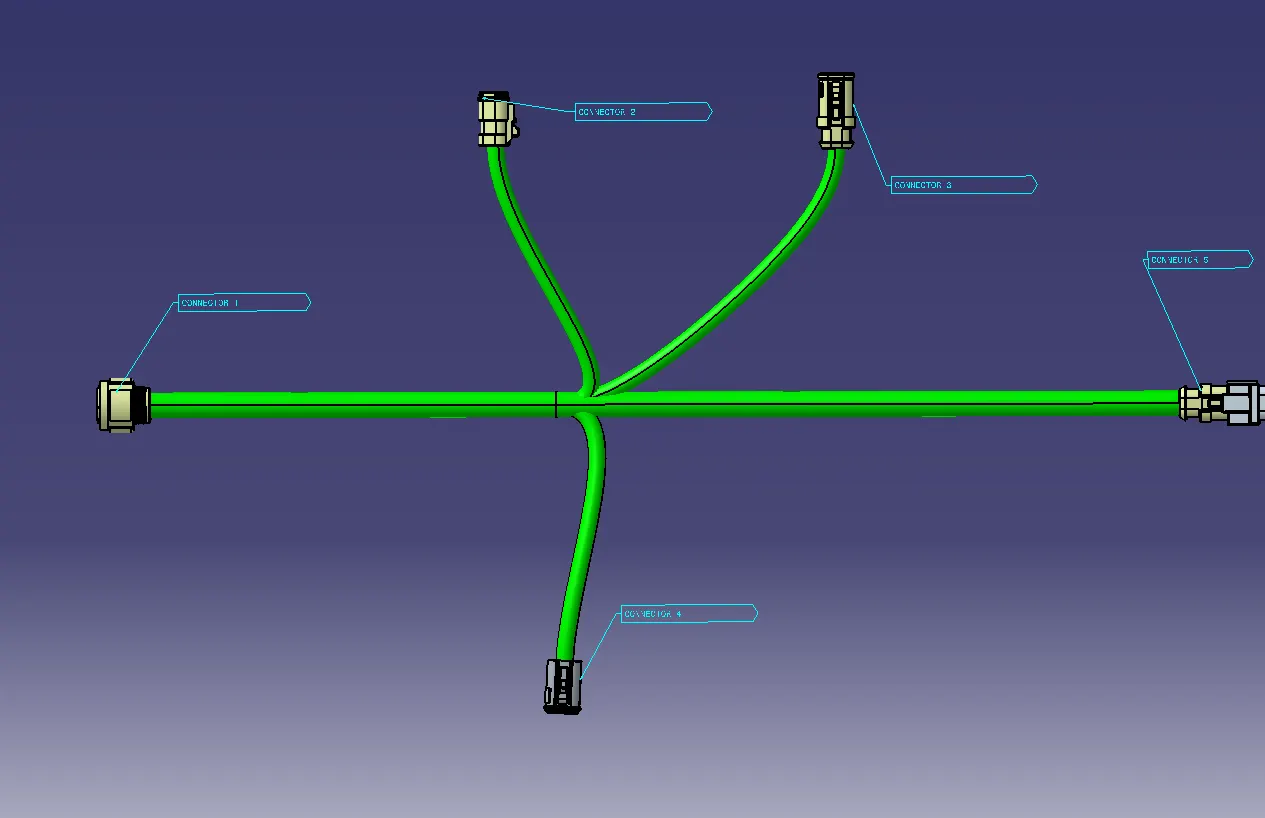
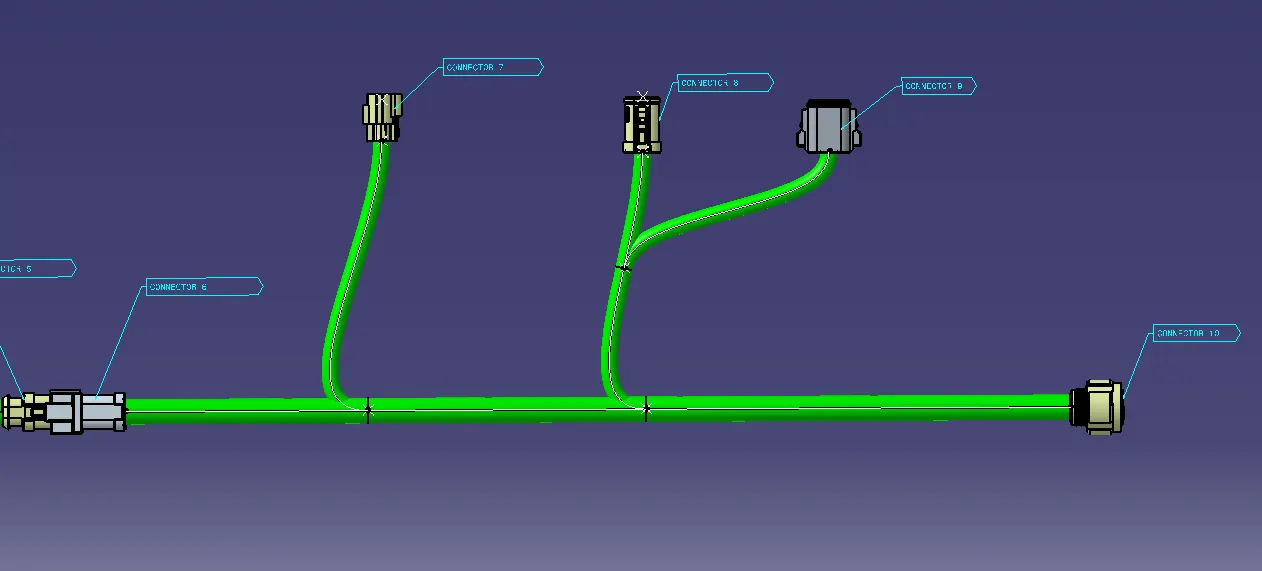
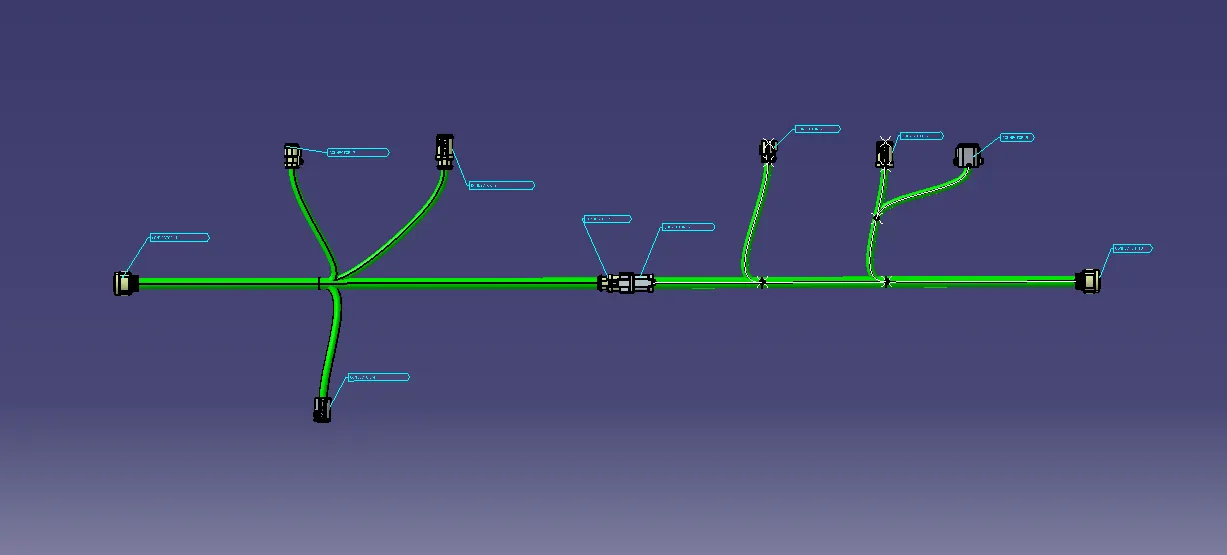
- In this step, we have to interconnect both Harness A & Harness B.
- For that, we have to create new product file and can give name as Assembly.
- Then, copy both harnesses and paste it in newly created product file or call both harnesses in mechanical assembly design as below image.
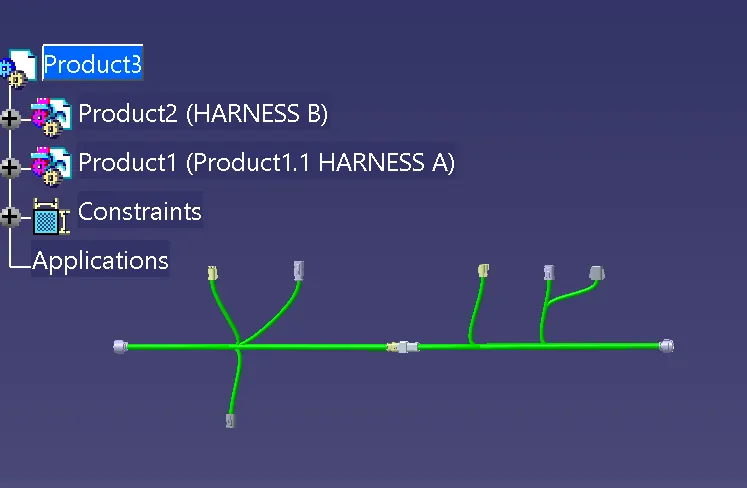
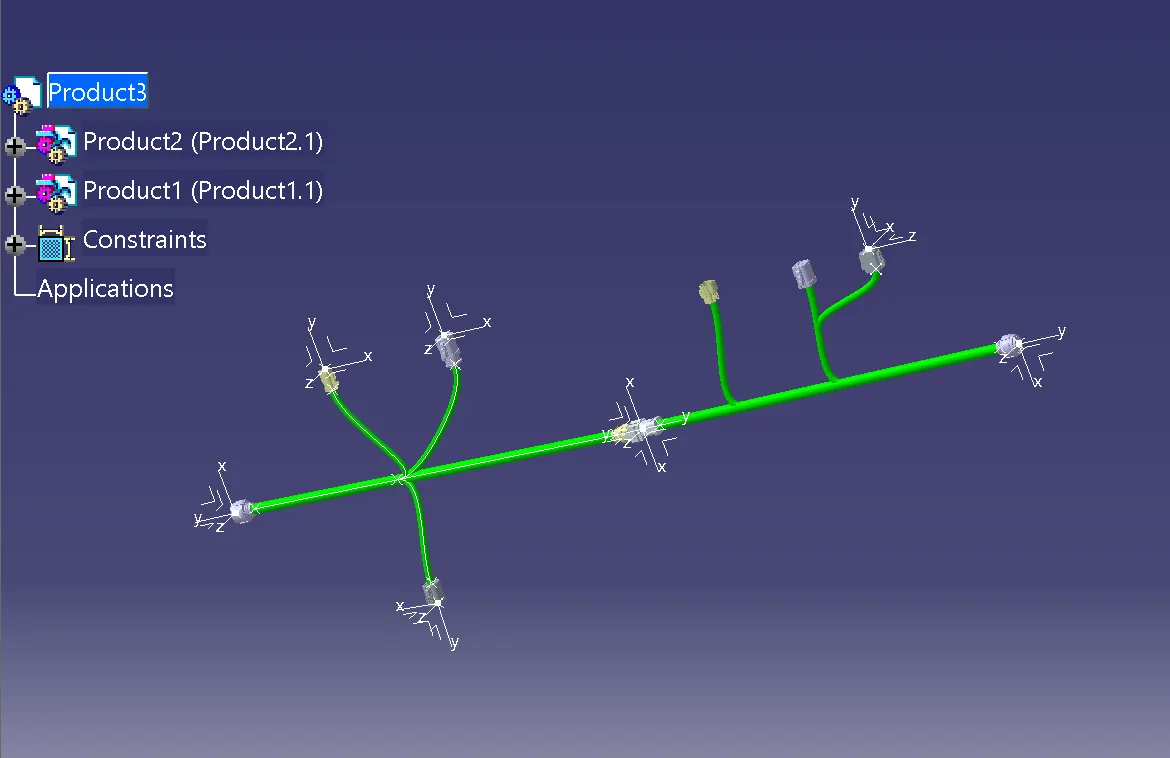
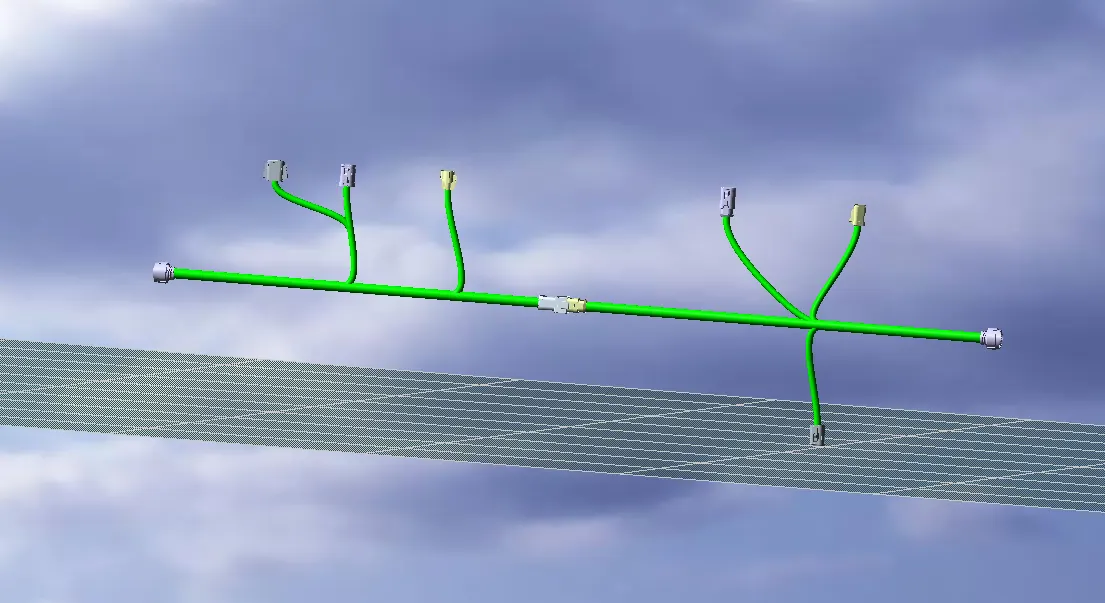
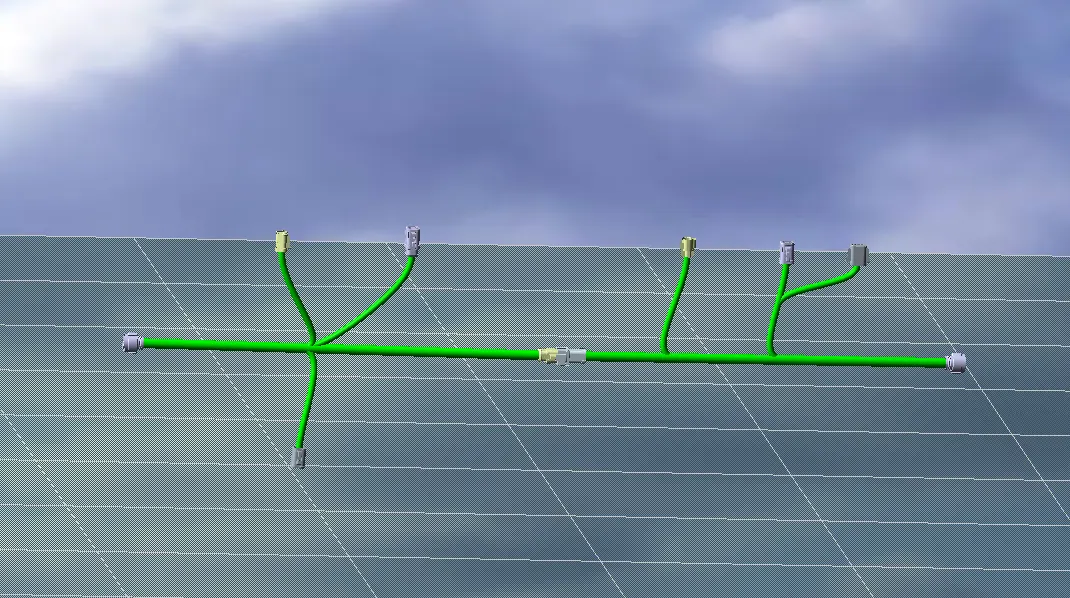
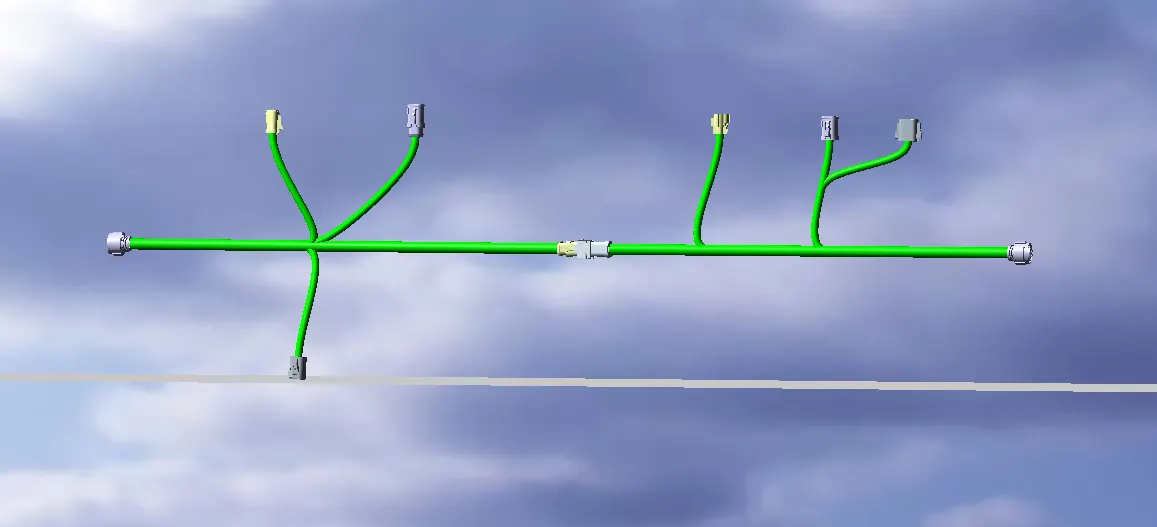
- We have to go in Electrical Assembly Design to connect both the harnesses electrically. So for that, select the option 'connect electrical devices' and both the harnesses will get connected electrically as below.
- As shown in below image, male connector should have to be inserted into the female connector.
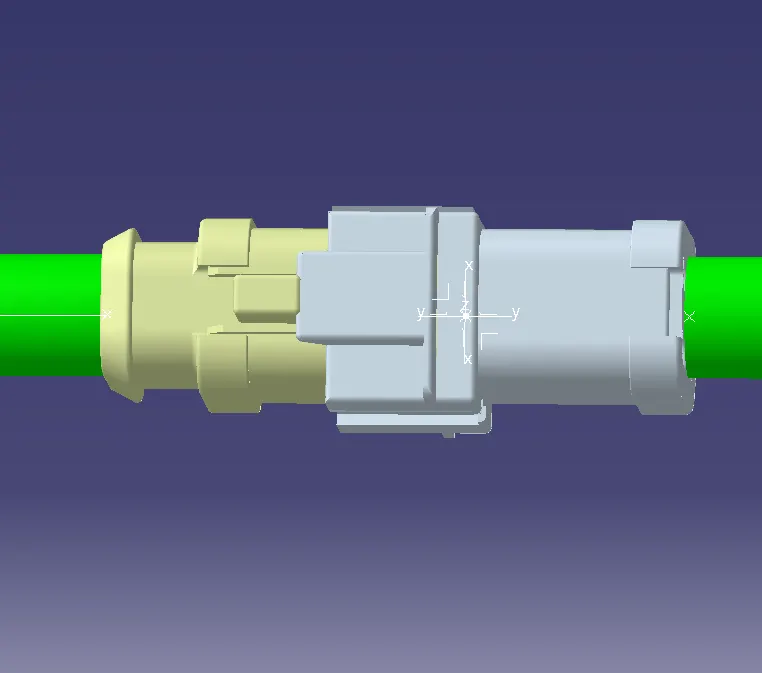
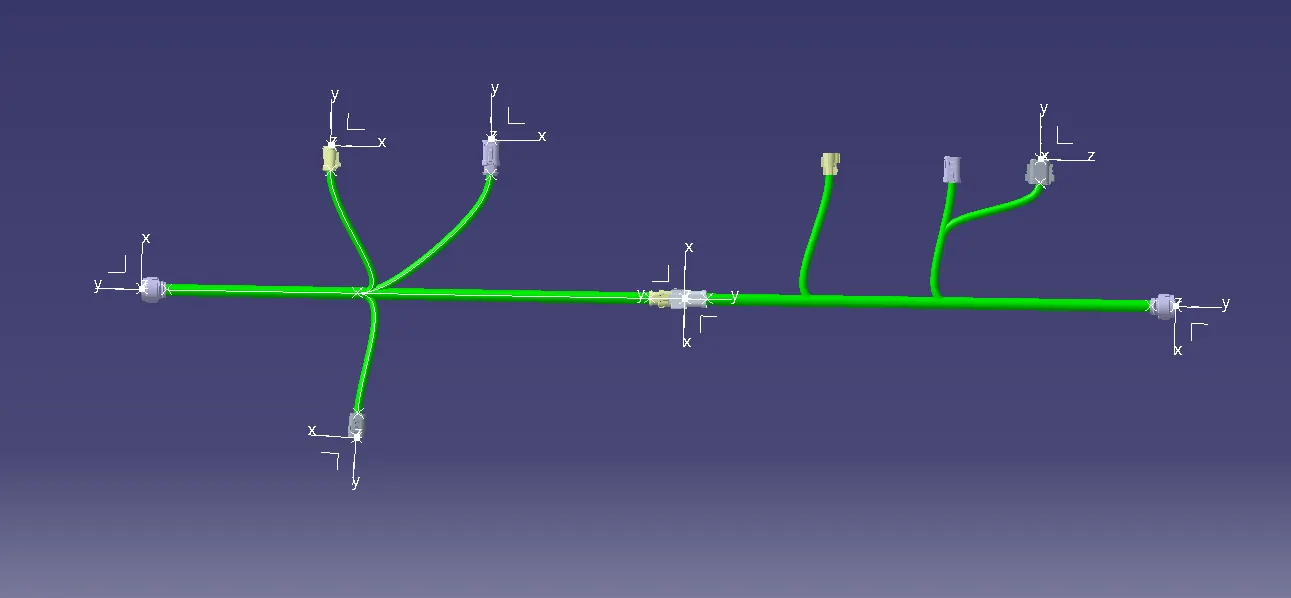
- Final Assembly Product
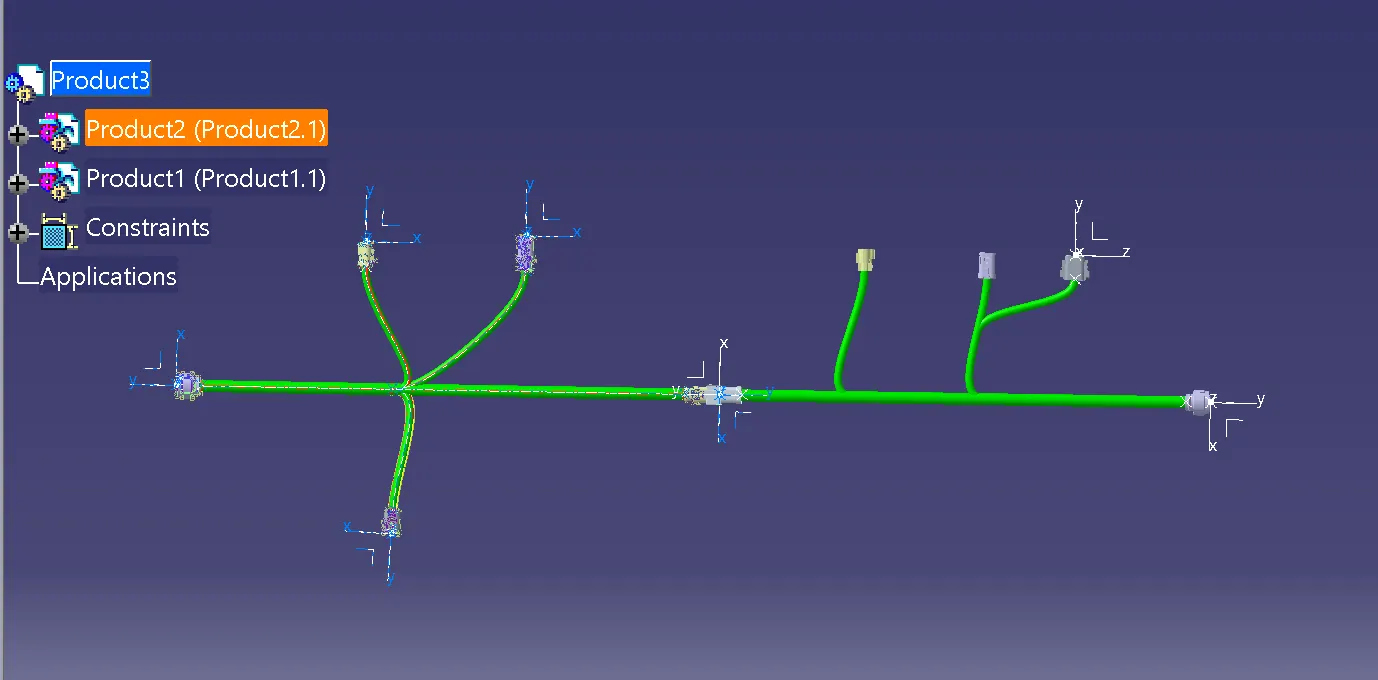
- To save CAT part file as IGS file, we have to use 'Save as' option as shown in below image.
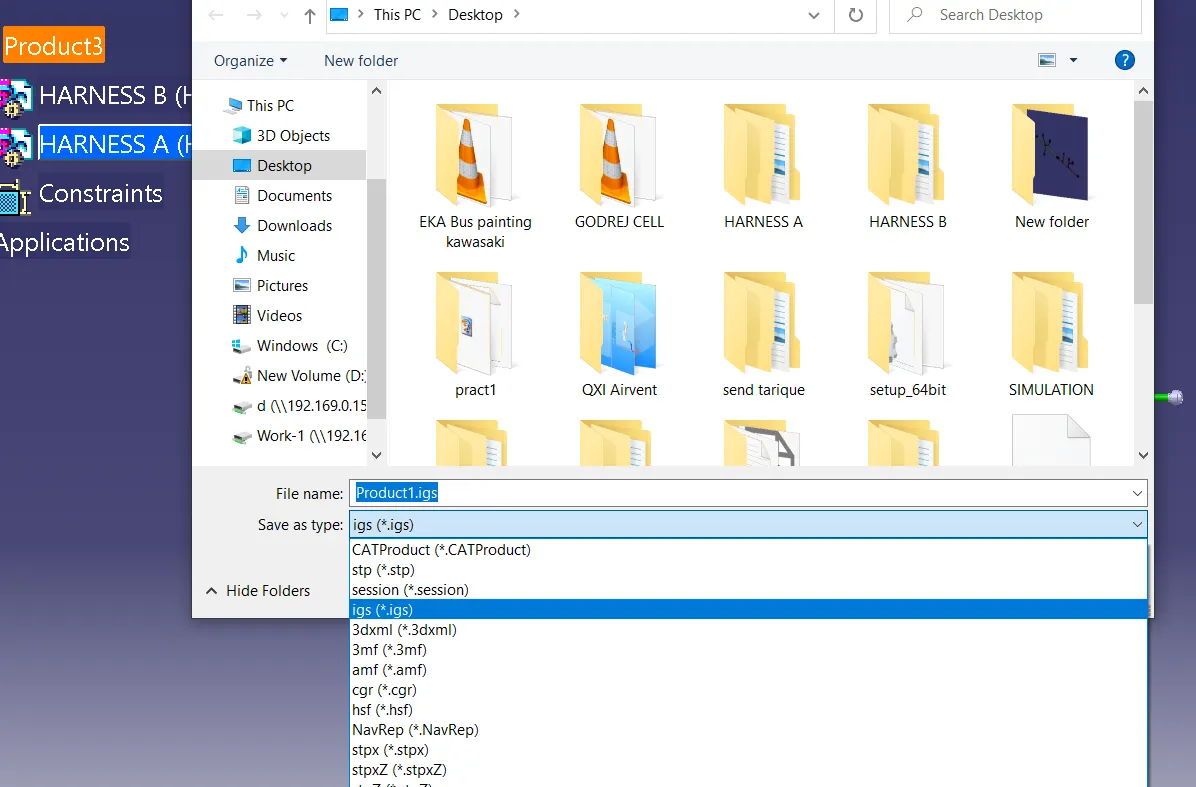
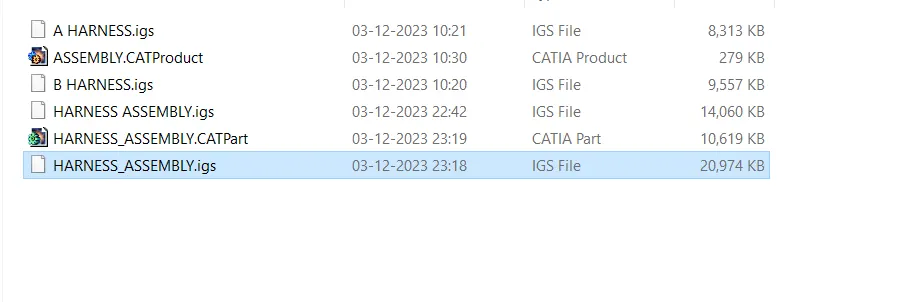
- So in this way, we have done with the harness routing and interconnection of both the harness A&B according to given layout. Both the harnesses are checked and corrected for bundle continuity, bundle warnings, annotations are added for all the connectors and at the end whole CAT part file is converted into the IGS format.