Wiring harness design in CATIA V5 - 3D modeling Week 5 & 6 Challenge
WIRING HARNESS - CHALLENGE 5 & 6
Aim : To create the wiring harness A And B using the connectors provide in the challenge and define them electrically and follow up the below mentioned requirements
The process involves the following steps:
- Download the 3D files
- Create the required geometric elements
- Define the part as electrical
- Define the connector connection point
- Define the bundle connection point
- save the part
- Create the reference base sketch support for aligning the connectors
- Create the geometric bundle
- Define the geometriucal bundle as wiring harness
- Create the bundle routing
- Check the bundle warnings
- Add the 3D annotations
- Add the protective covering (Cot tubes)
- Check the bundle continuity
- Creating the Cat part from the CAT product and save as the igs file
Wiring harness B :
In case of wiring harness A first of all we need to download the required inputs provide in the challenge
The input connectors provided are
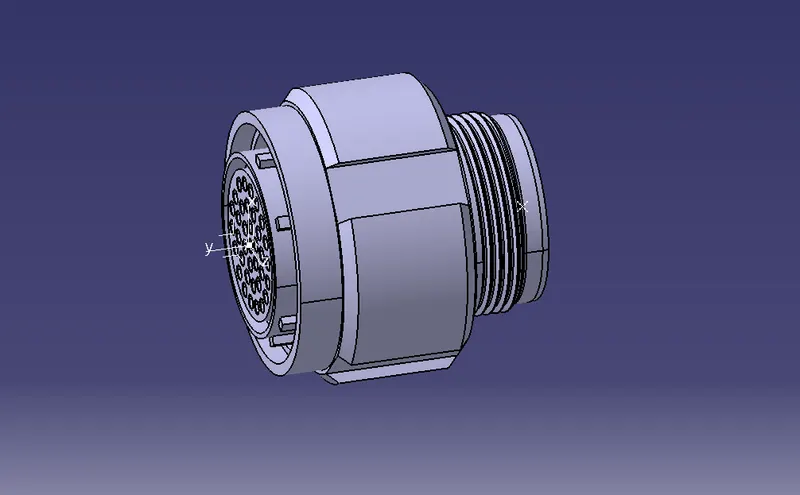
Connector 01:
The input connector 6 is along with the geometric reference elements
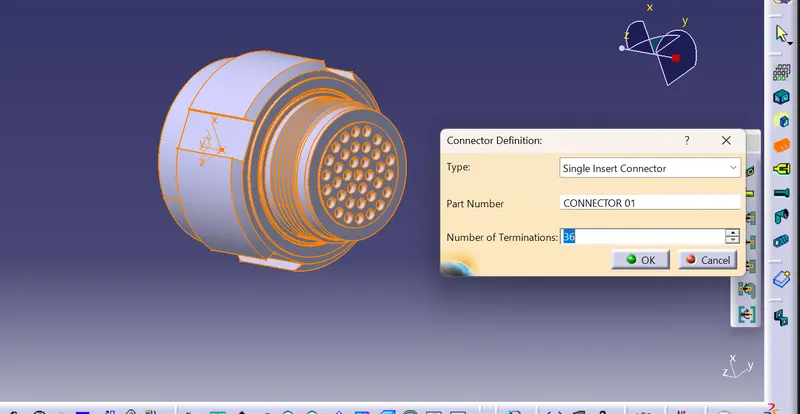
Define the part as the electrical by providing the number of terminations
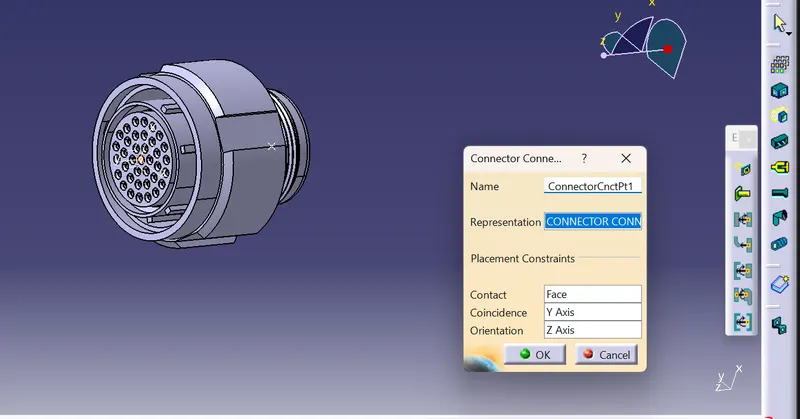
Define the connector connection point
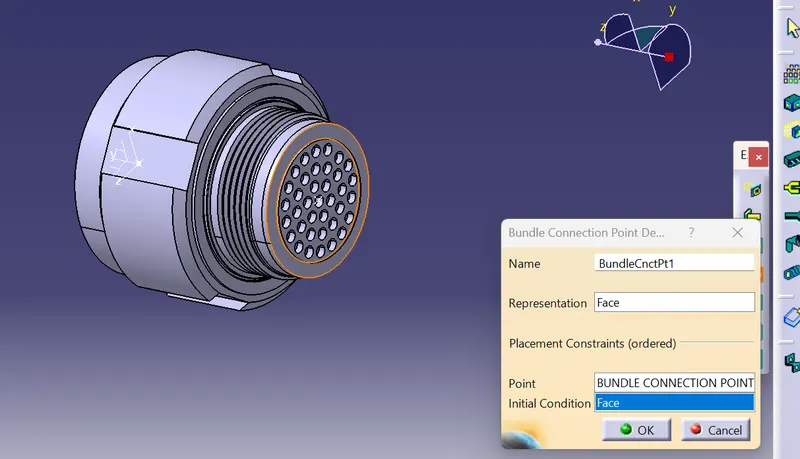
Define the bundle connection point
Now save the component
Connector 02:
the connector 02 along with the Geometric reference elements.
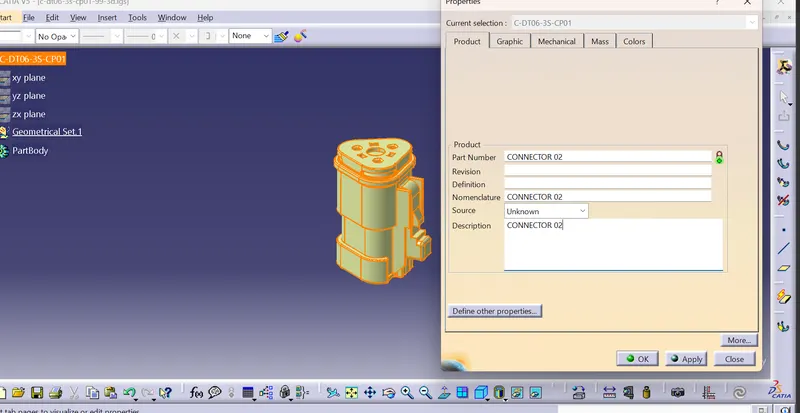
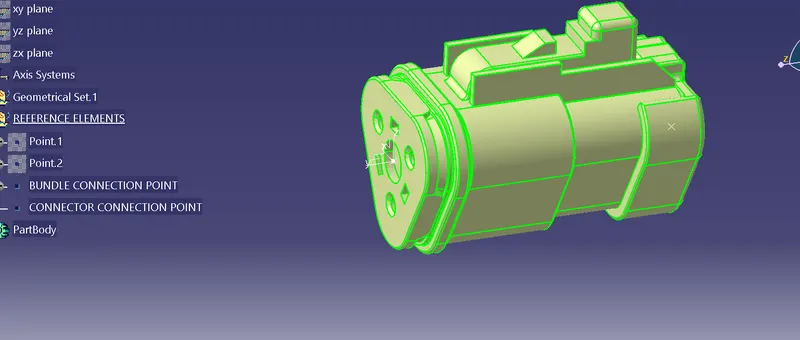
Define the part as the electrical
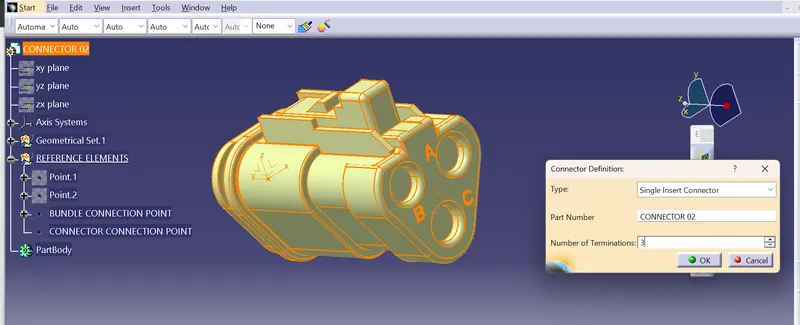
Define the connector connection point
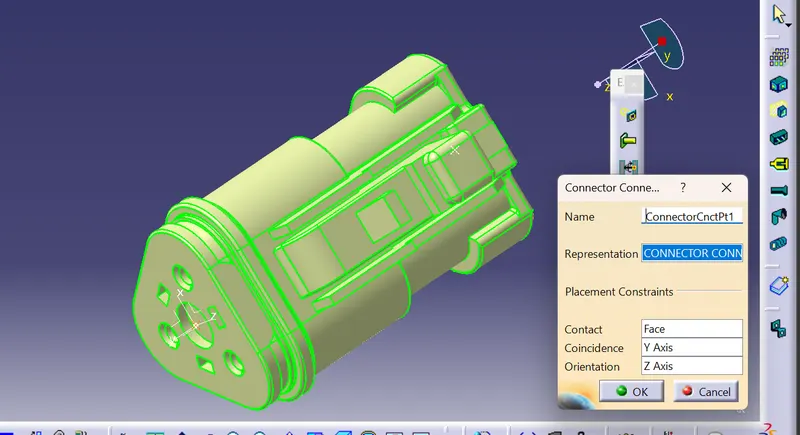
Define the bundle connection point
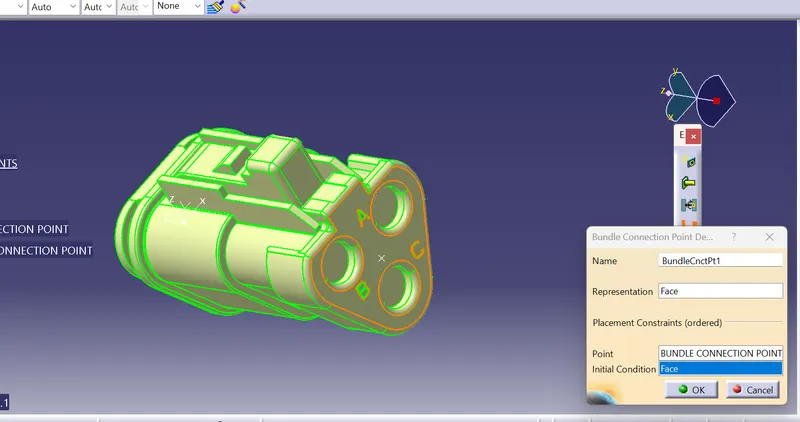
Save the component as the connector 02
Connector 03:
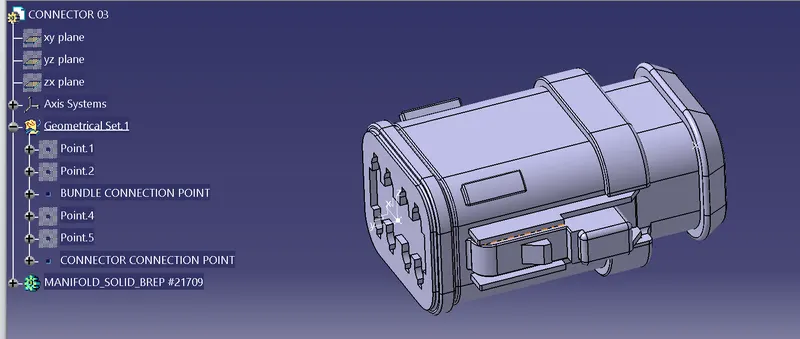
DEfine the part as the electrical
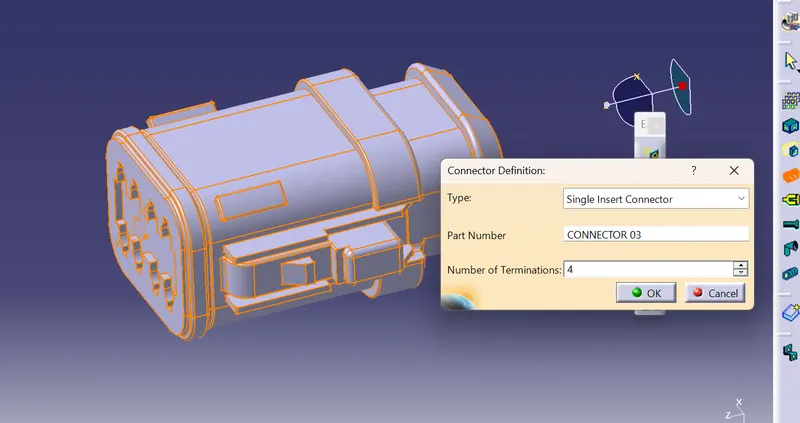
deffine the comnnnector connection point
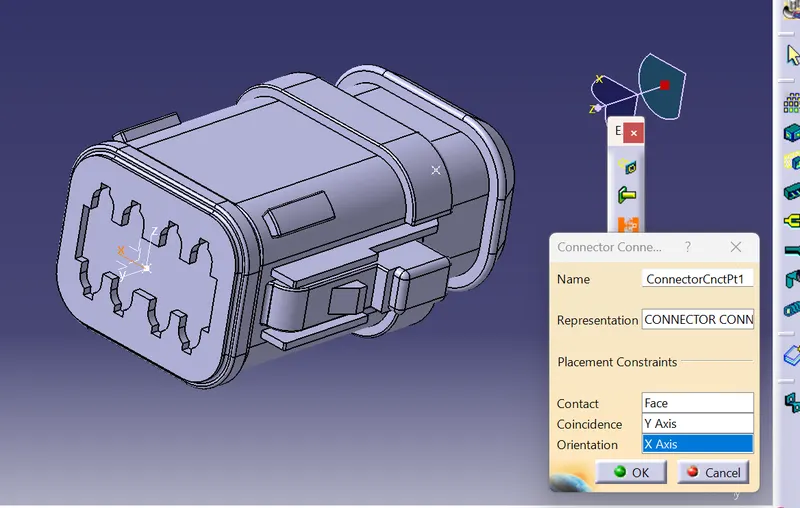
Define the bundle cionnection point
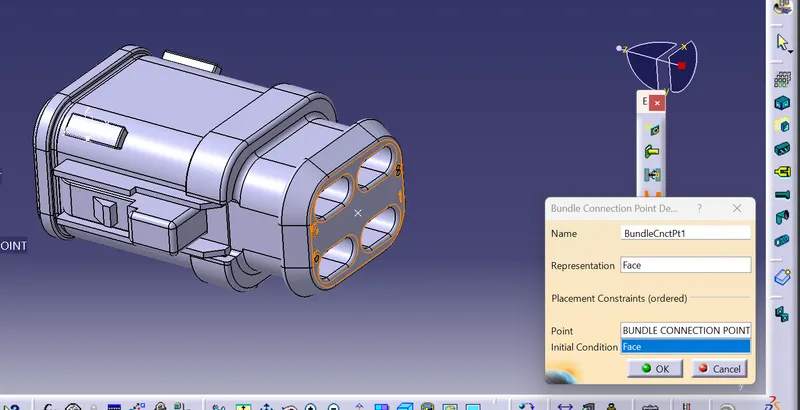
Save the component as the connector 03
Connector 04:
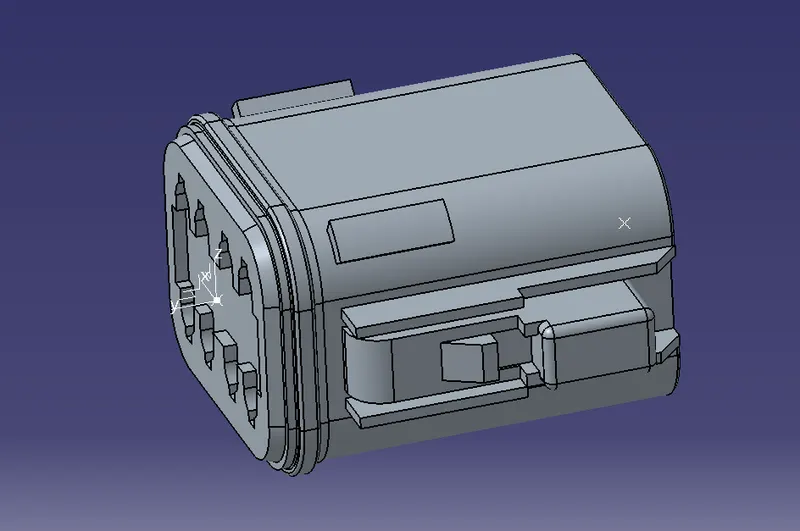
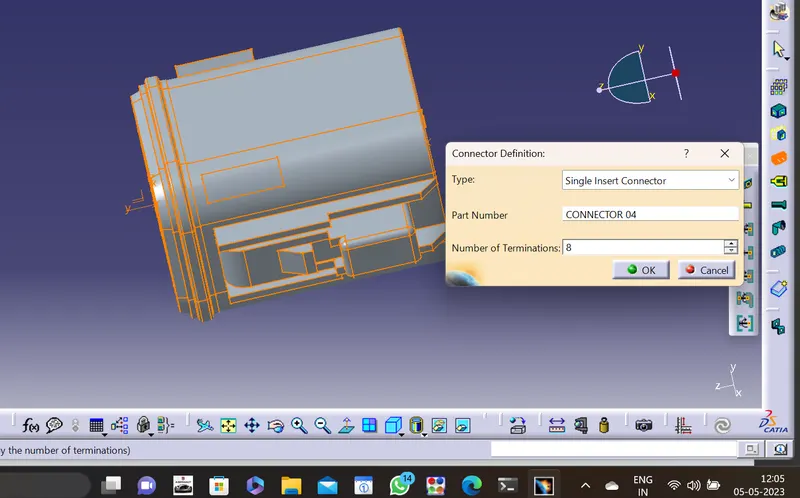
Define the part as the electrical
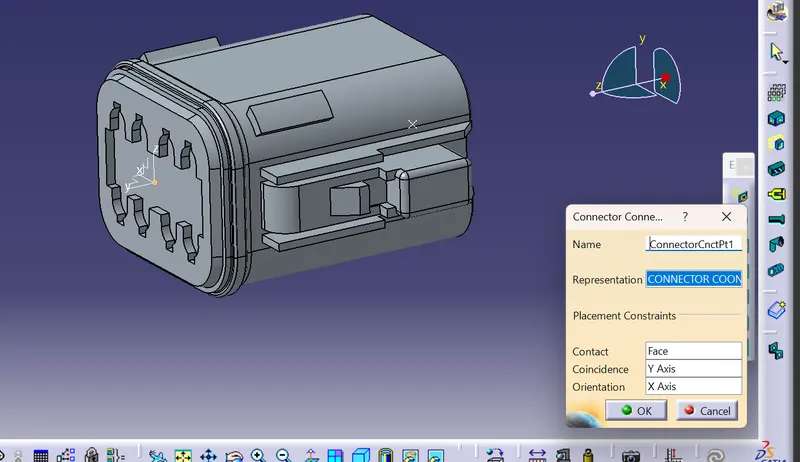
Define the connector connection point
Define the bundle connection point
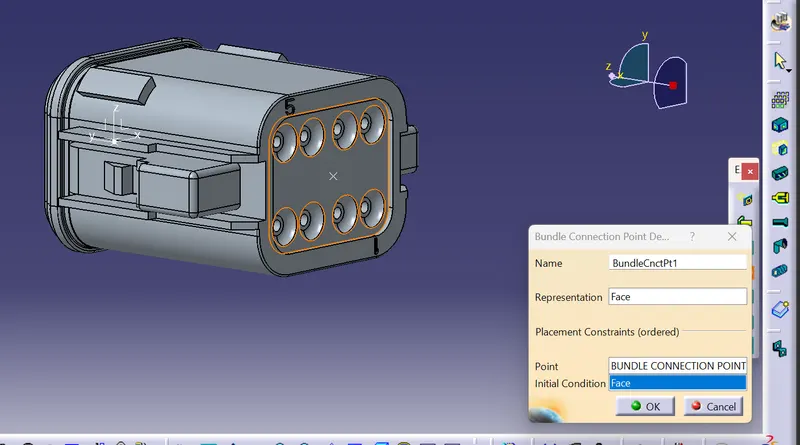
Save the file as the connector04
Connector 05:
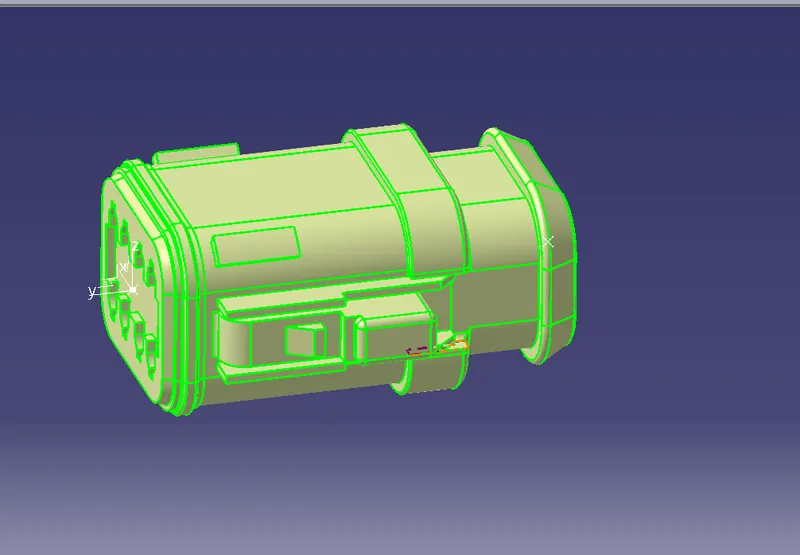
Define the part as the electrical
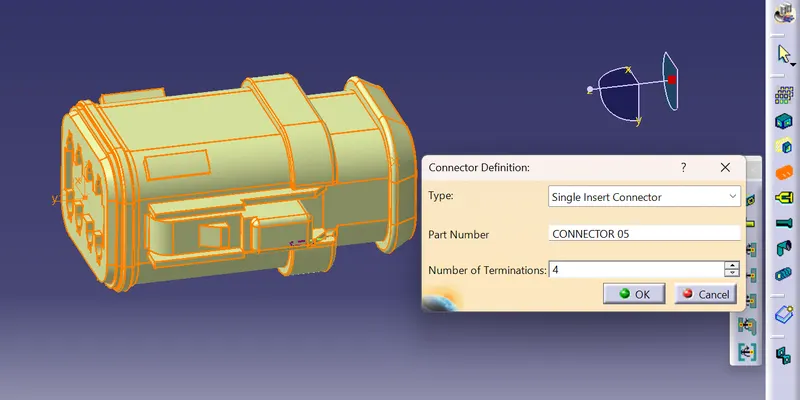
Define the connector connection point
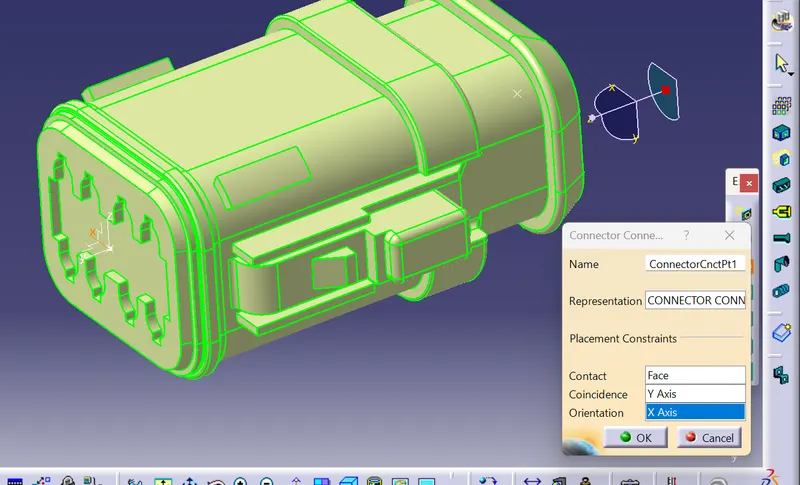
define the bundle connection point
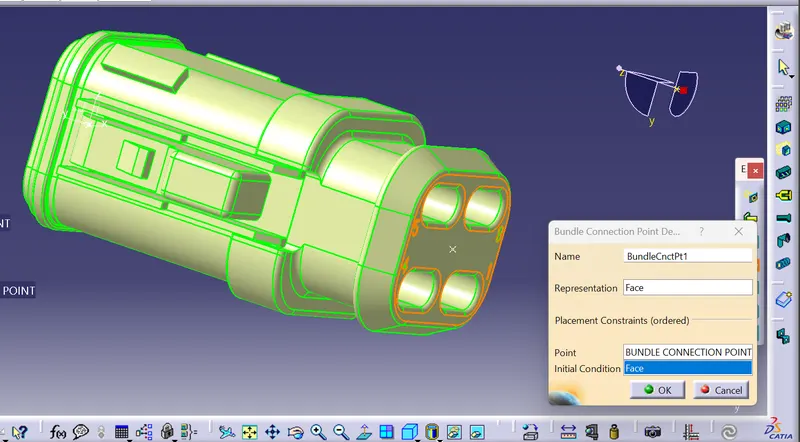
Save the component as the Connector 05
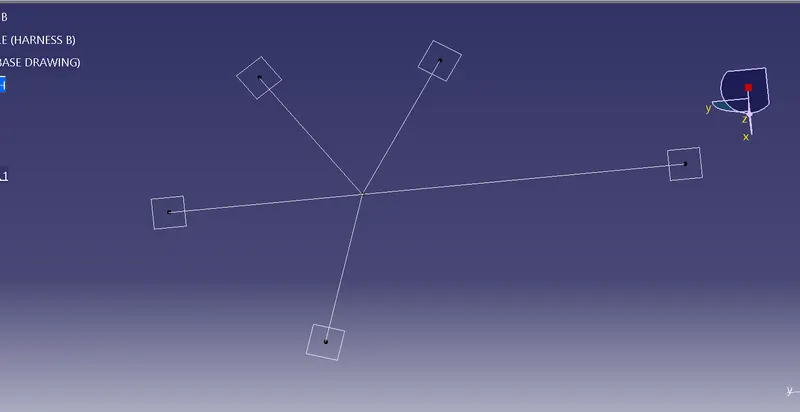
Create the base reference support sketch for aligning the connectors all together
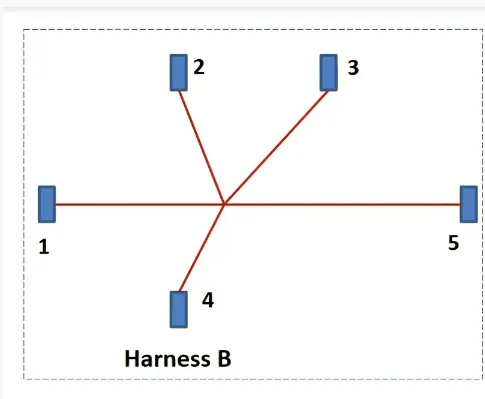
Thre replica of the sketch is
Cfreate the geometric bundle and add all the connectors to it
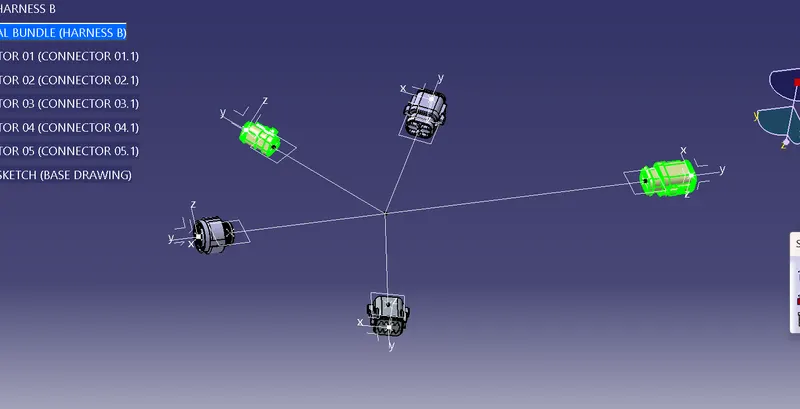
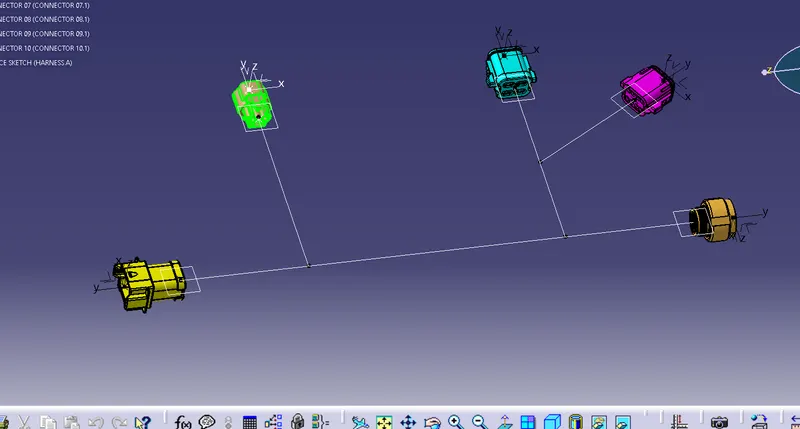
Change the colors of the connectors to distinguish between the connectors
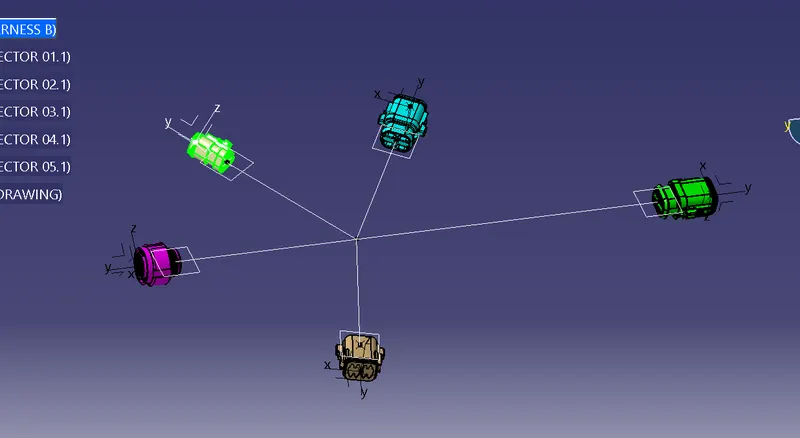
Define the geometric bundle as the harness assembly

The symbol of the product file changes
Now create the bundle routing by using the multi branchable feature
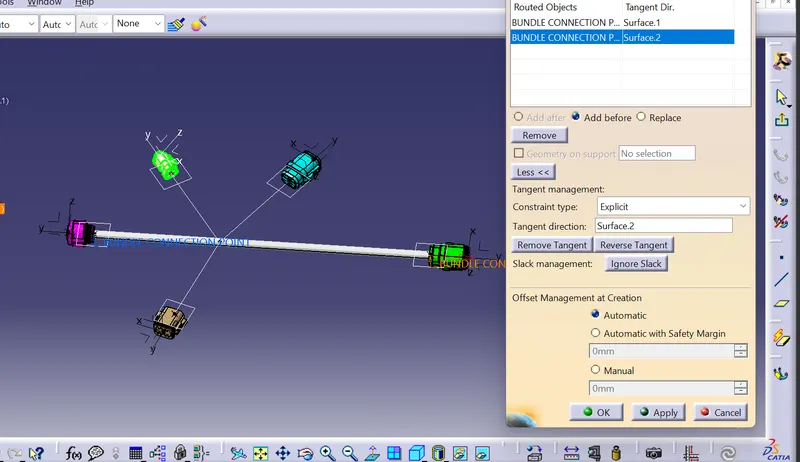
Now crete a branch point for geneerating the bundles for the other connectors
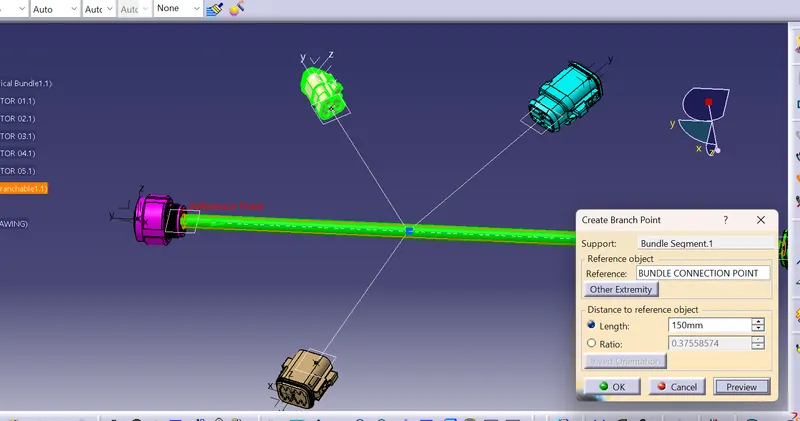
Now ctreate the bundle routing for all the connectors
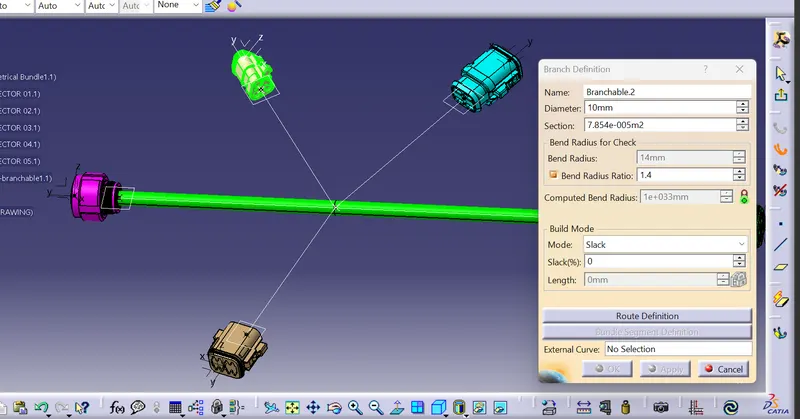
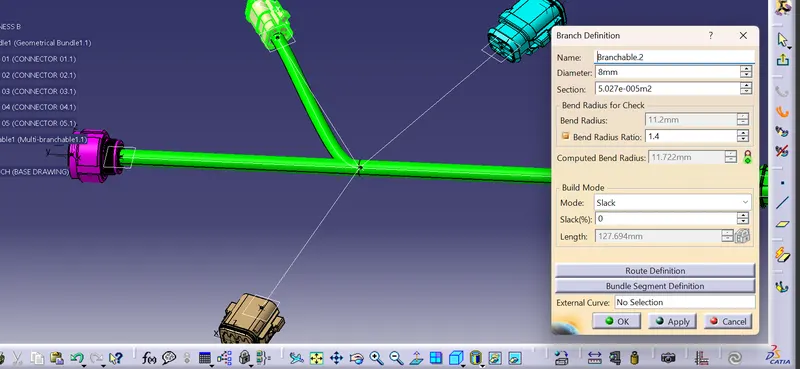
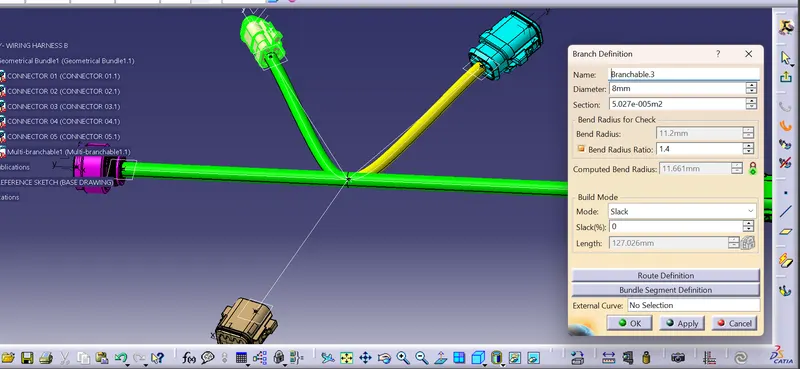
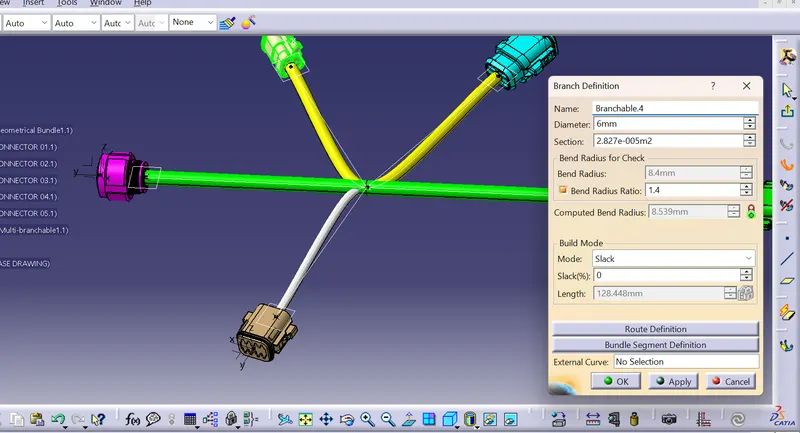
Bundle warnings:
As we can see that all the 3 branches of the connectors are start from the same branch point created so the bundle warning occurs the bundle warnings are usually realed to the bend radius, bundle diameter, or the vector position
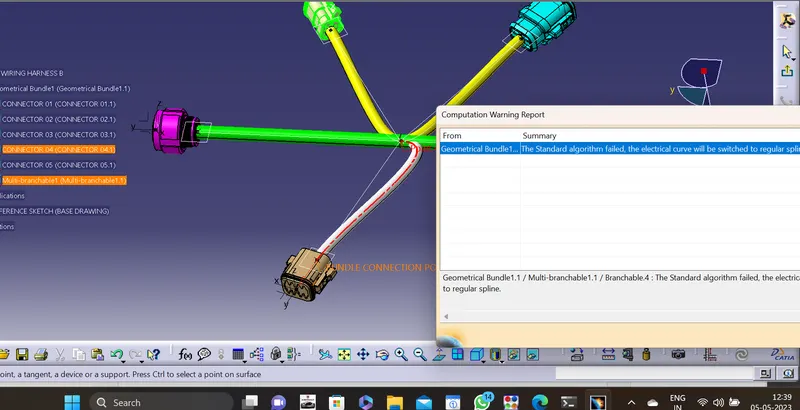
So the diameter of the bundle is creating the problem in this warniong so we need to make changes in the diameter
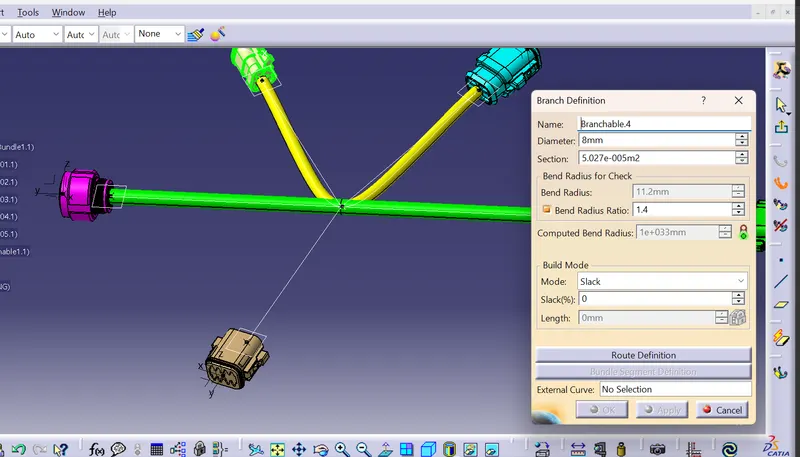
So the diameter is now changed from 8mm to 6 mm
Now the error is compiled
Create the 3D annotations :
To generate the 3D annotations go to the mechanical assembly workbench And use the view from reference command and a tools pallette is opened then use the
 then
then 
Use the front view option to create the annotation
and name the connectors as the
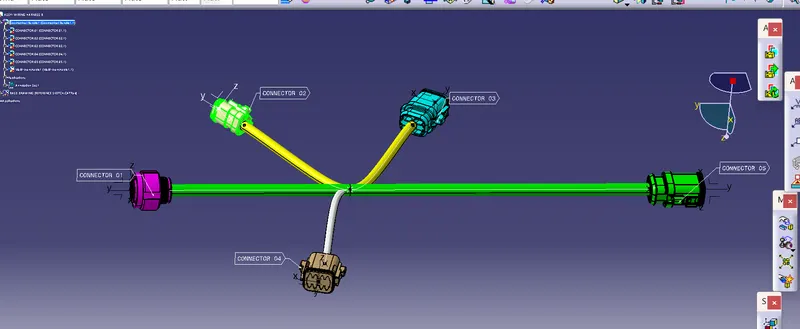
Add the protective coverings :
The diameters of the bundle routing wires are the 10mm, 8 mm, 6mm
So we need to use the cot tubes of diameter 12mm, 10mm, 8mm
First of all we need to cretae a catalogue.
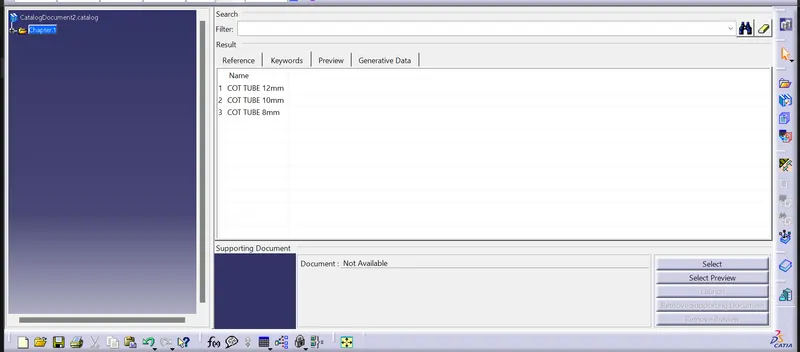
Create the 12mm cot tube
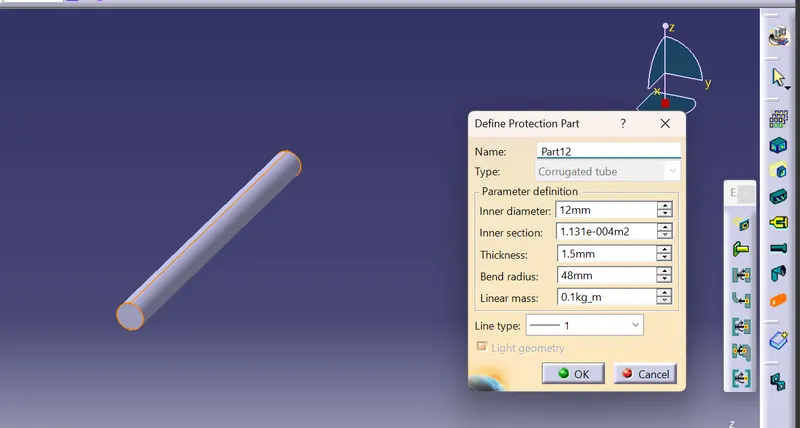
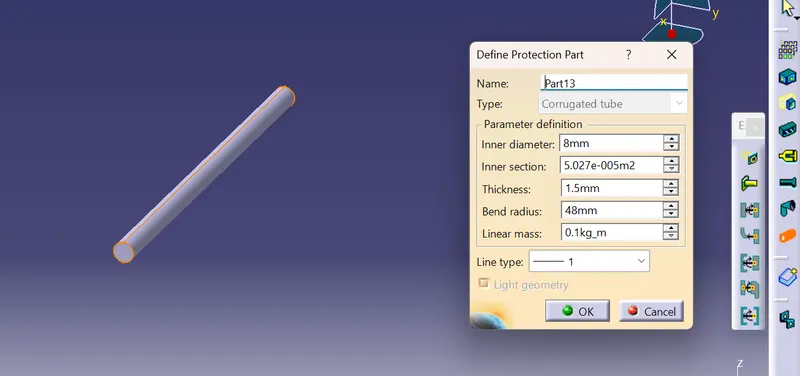
Crete the 10mm cot tube
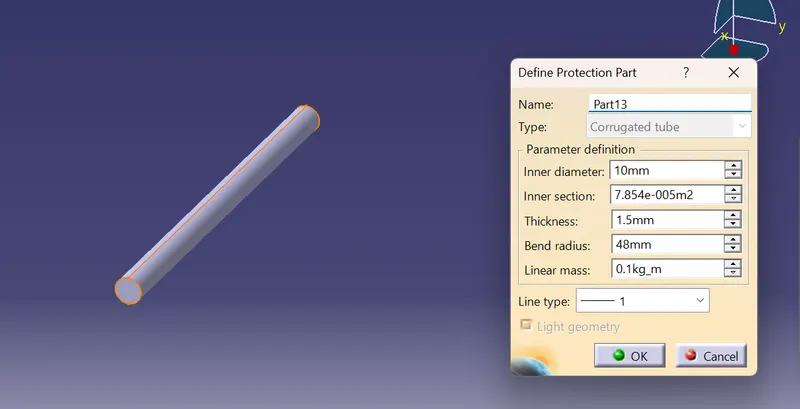
Create the 8mm
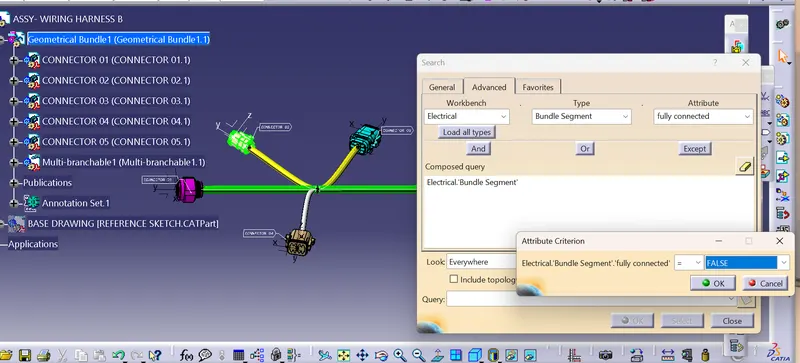
Create the bundle connectivity
for checking the bundle connectivity go to the edit option< search < Select electrical workbench < Bundle segment < Fully connected uncheck the false option
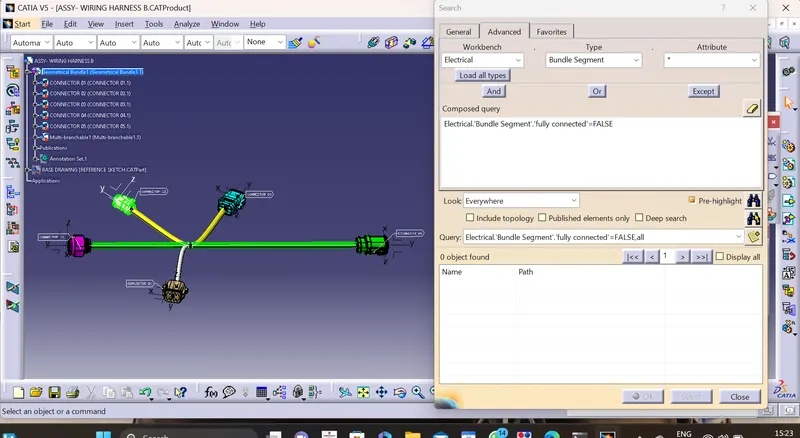
So the continuity of the bundle is good
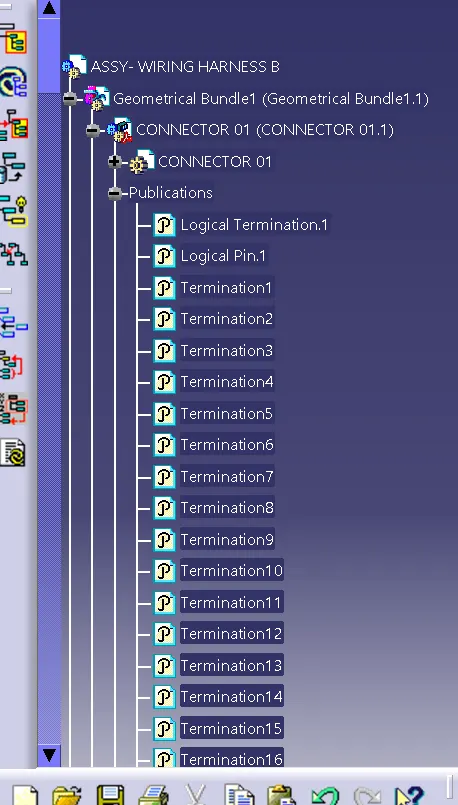
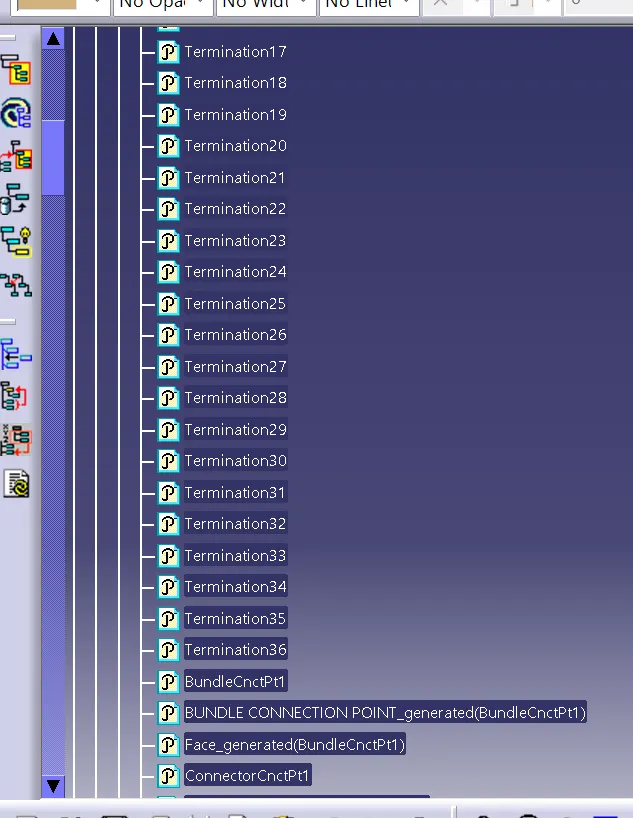
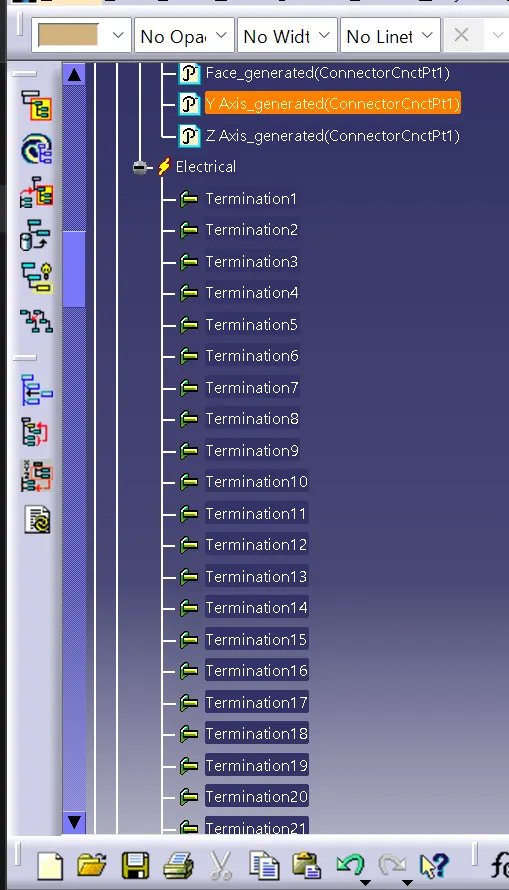
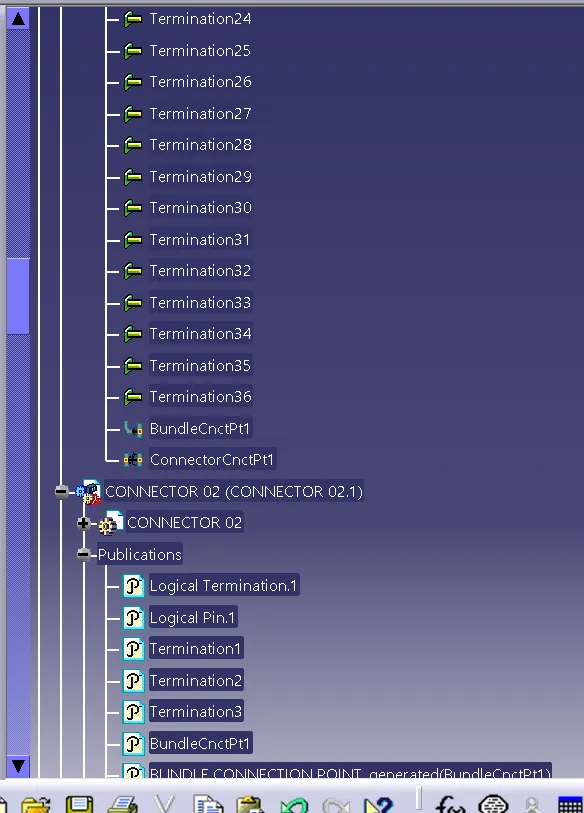
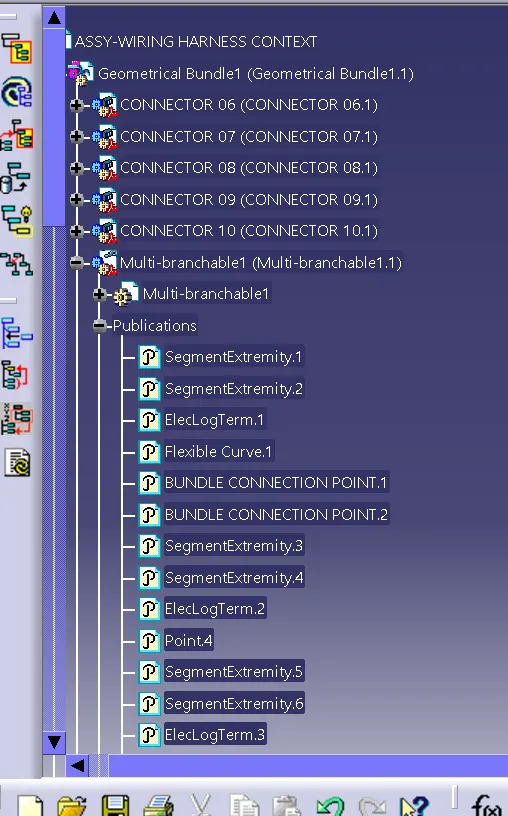
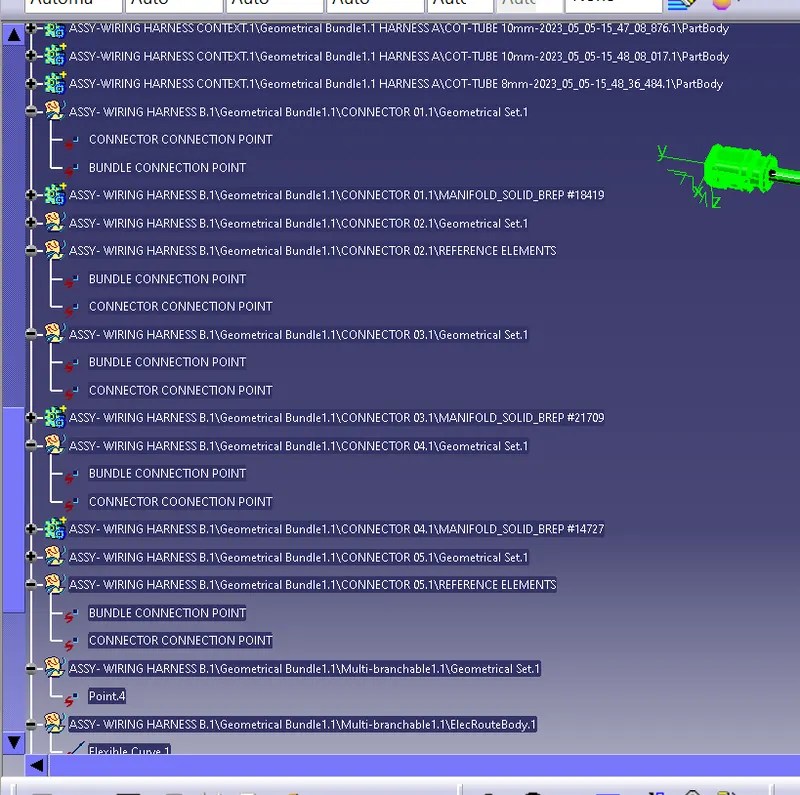
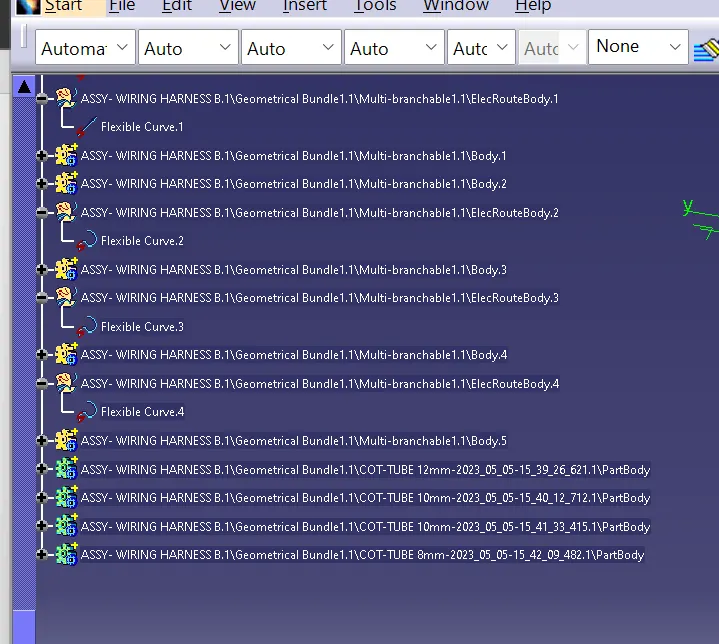
The tree structure is
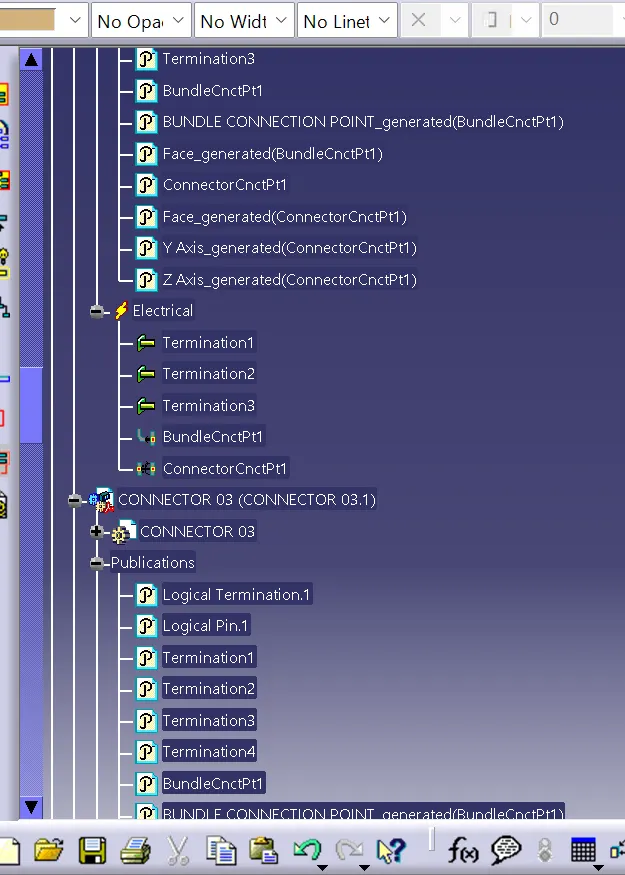
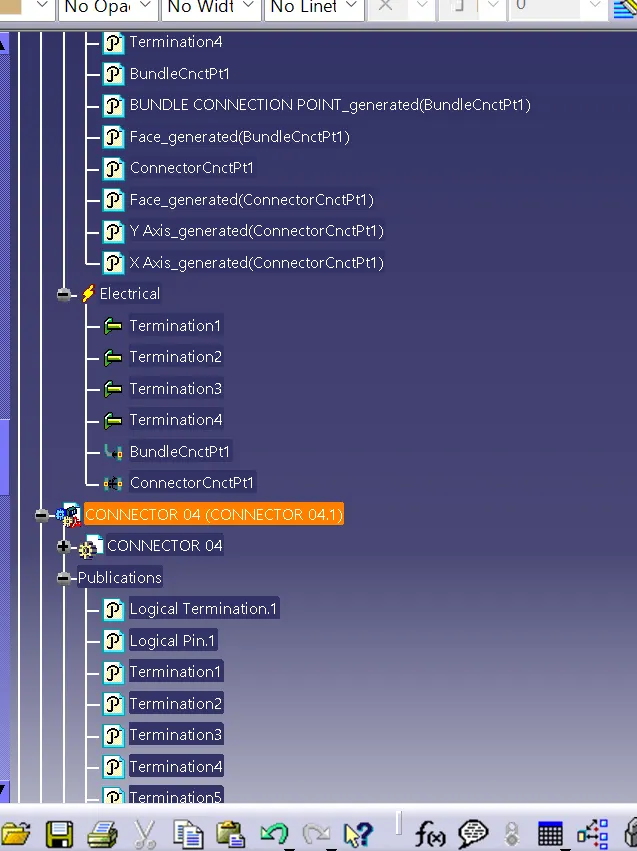
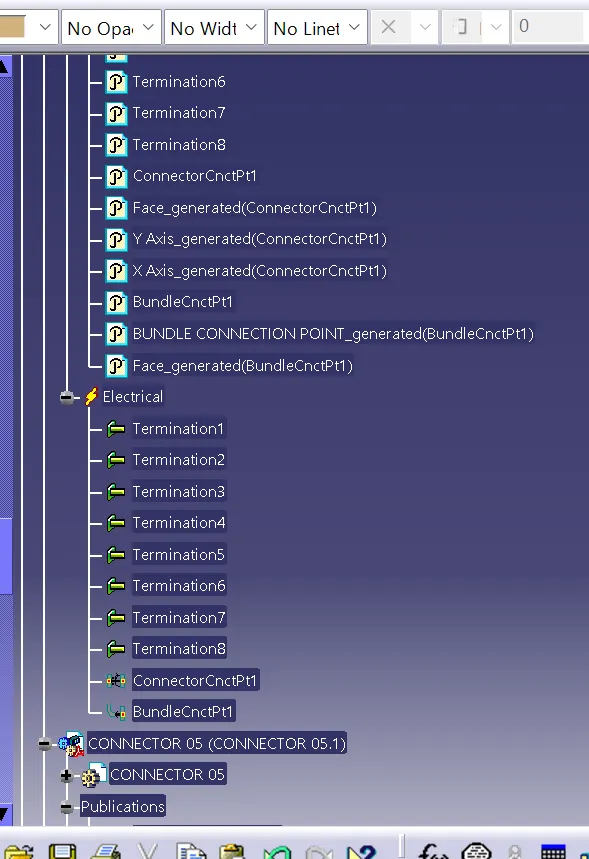
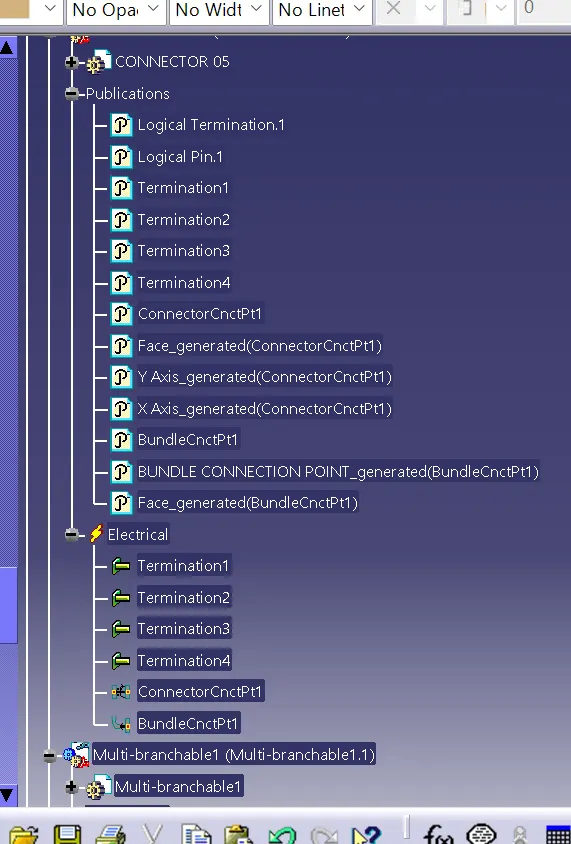
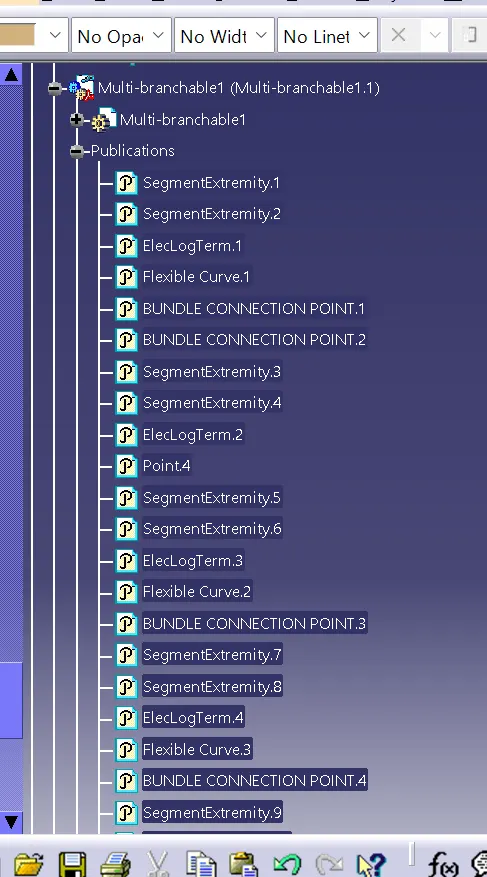
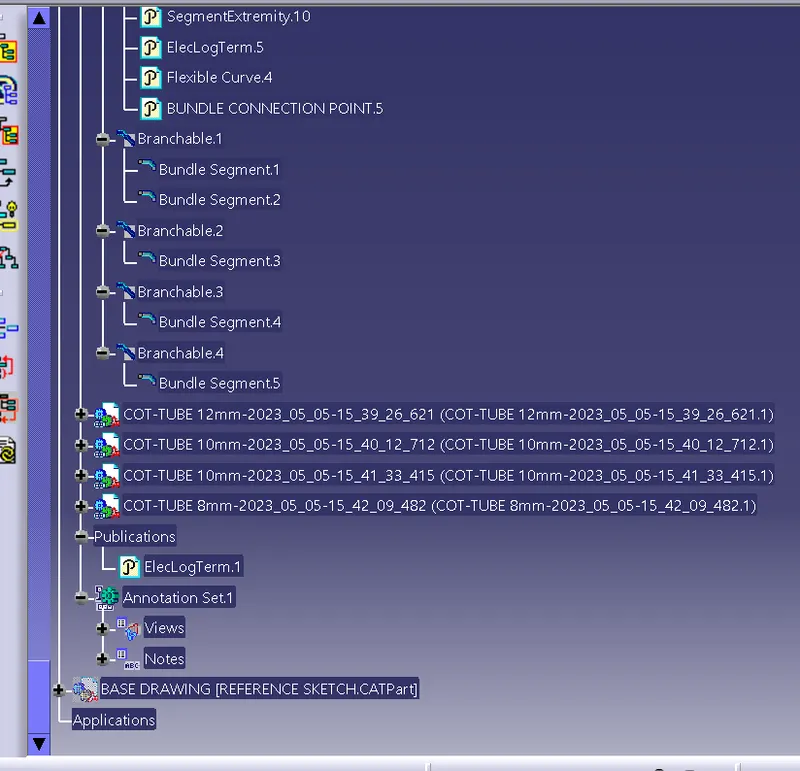
Harness A
Connector 06:
Define all the connectors for the harness A as mentioned in the above harness B just download the file create the required geomertrical elements , Define the connector connection point and the bundle connection point
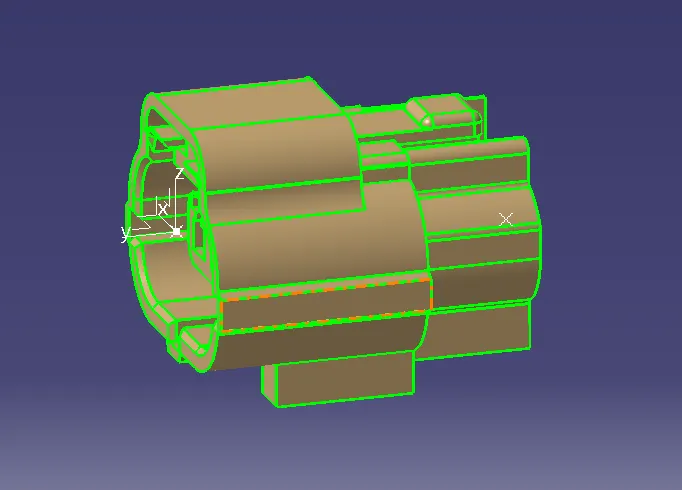
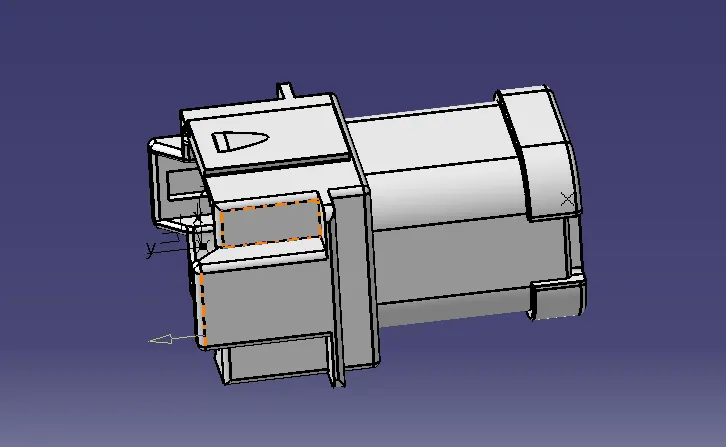
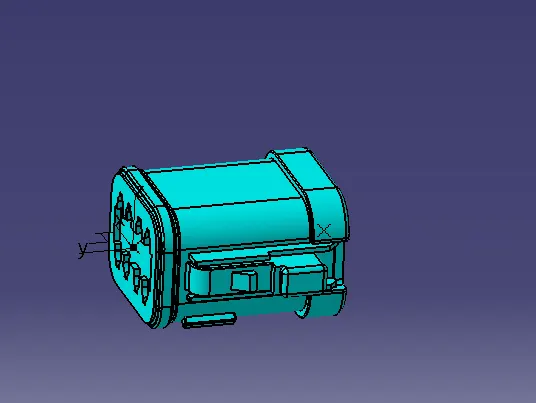
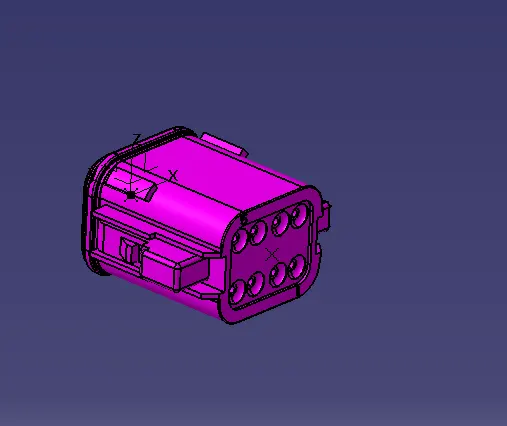
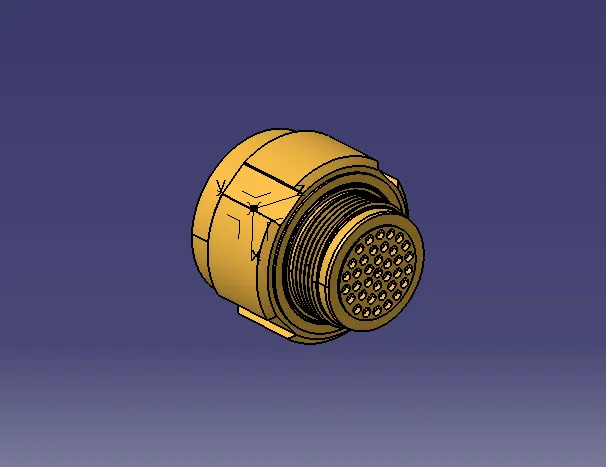
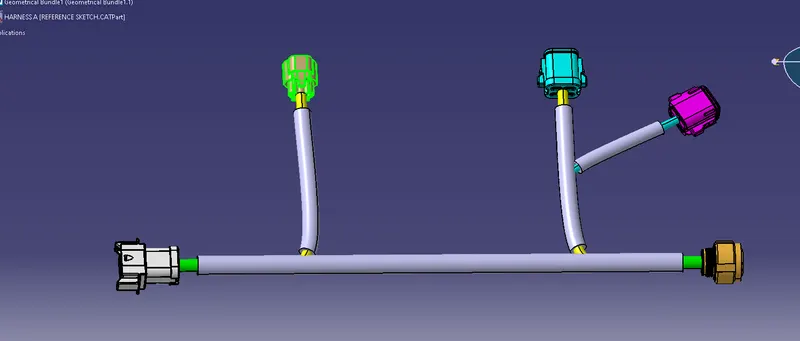
so the harness base supporting sketch is
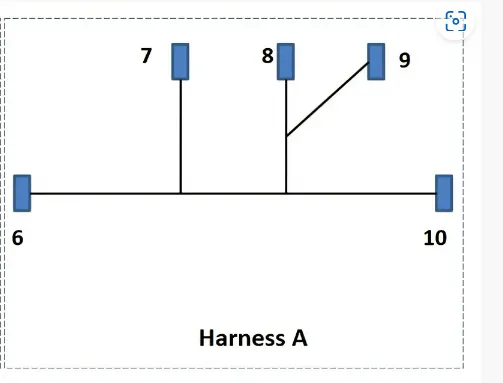
Sio we need to craete a sketch to align all the connectors in their respective positions
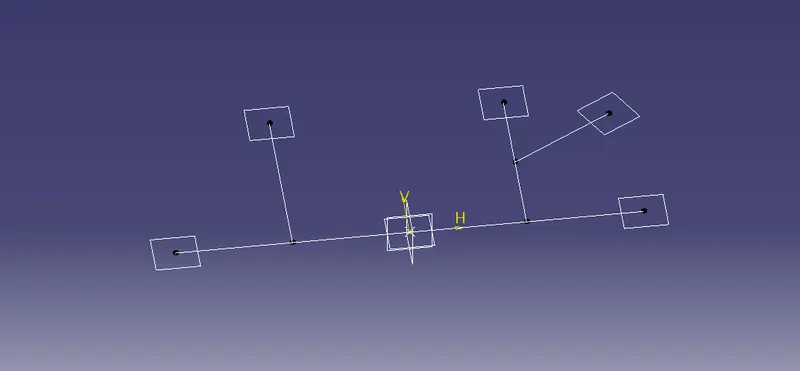
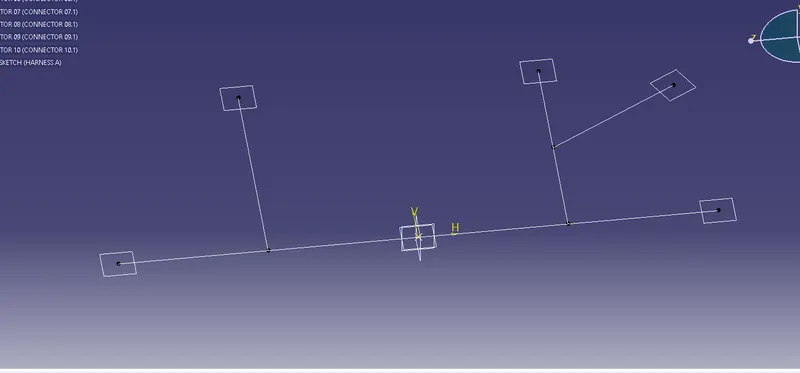
Now position the connector at desired locations
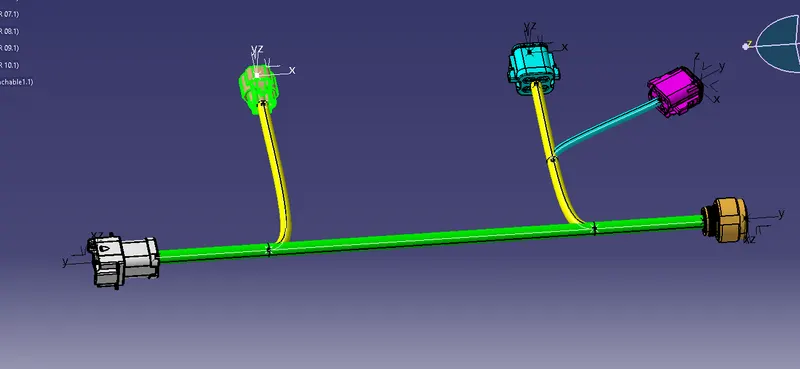
Now align the bundle segment wire by defining the geometric bundle as the electriclal harness component

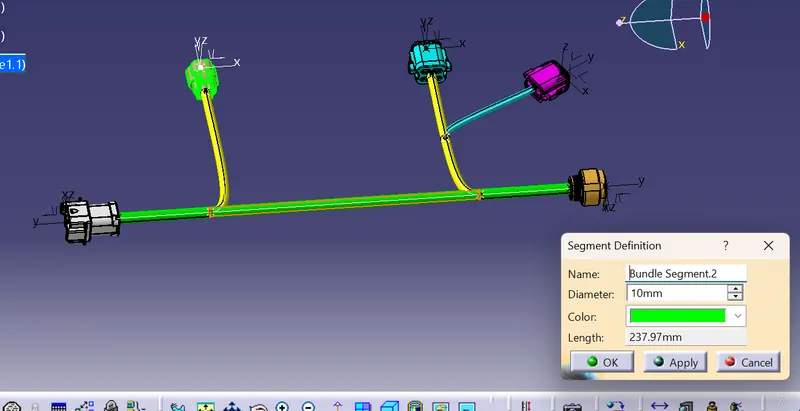
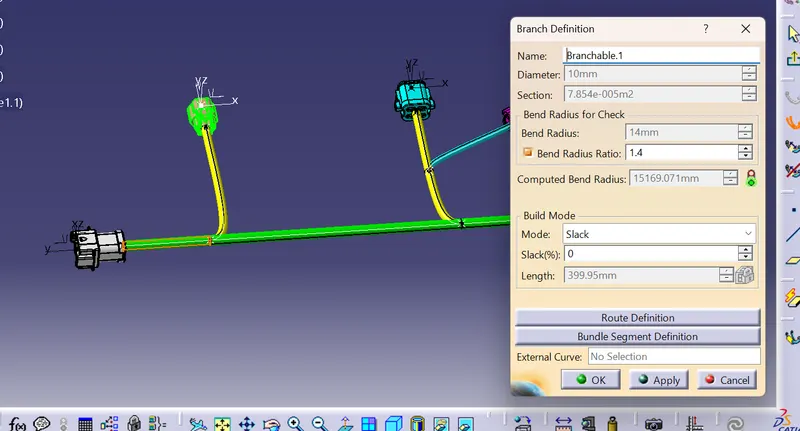
Bundle warnings
bundle warnings are generally encounter where there is an error pops uo in the bent radius , vector position and the bundle diameter
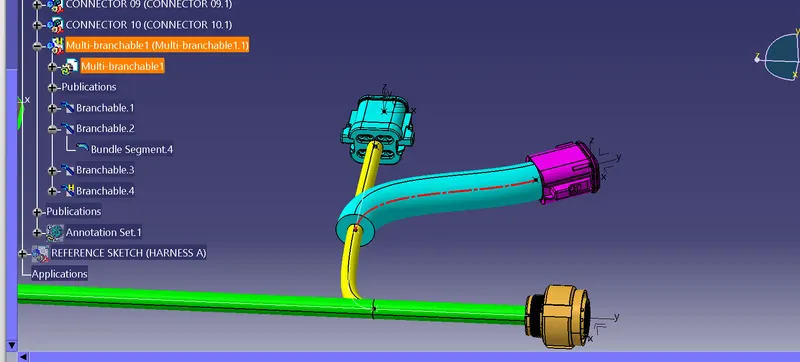
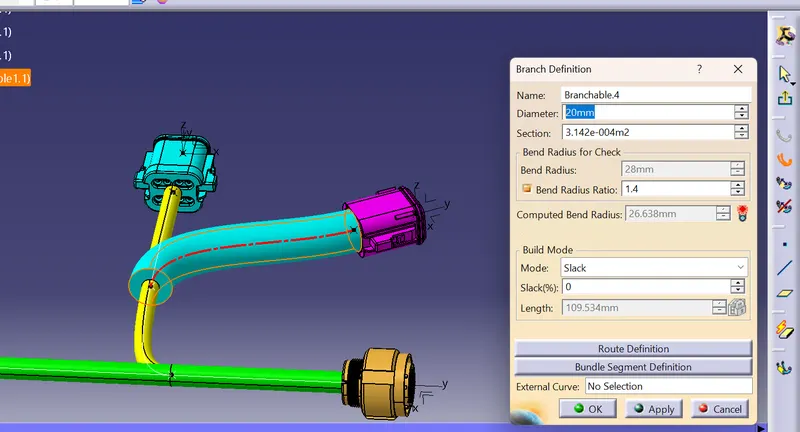
There is a decrease in the computed bend radius as required so the diameter has to be reduced to compile the error
Continuity check:
So check the continuity if the bundle
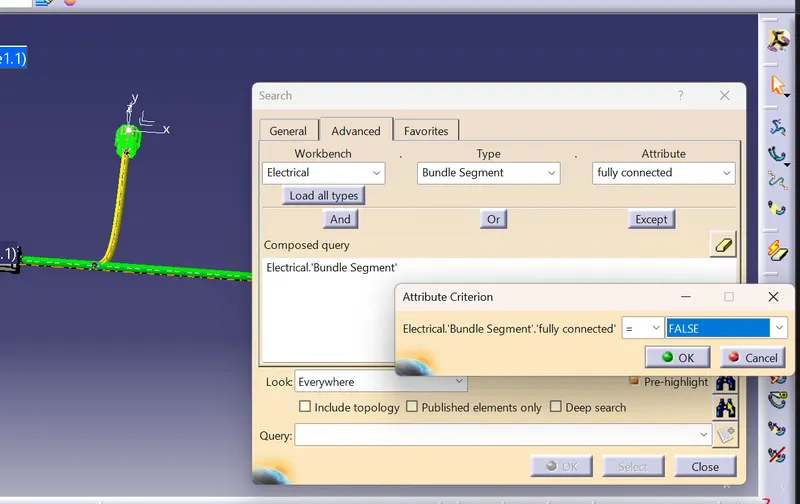
So an error pops up showing thet there is a discontinuity in the bundle harness routing
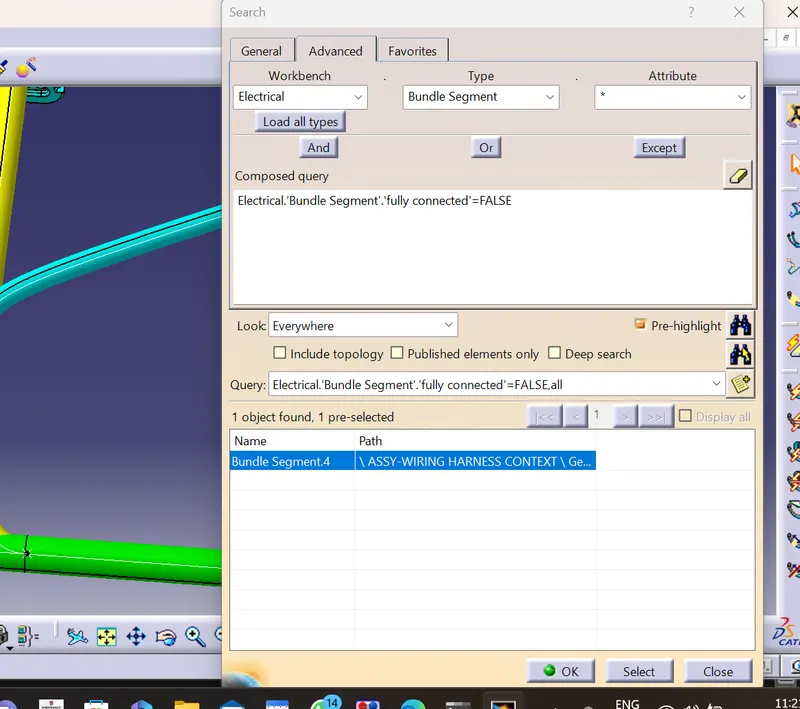
So we need to employ some resolution methods to compile the discontinuity error they are the
- Switch to the electrical harness installation workbench
- Select the problem bundle segment from the tree structure
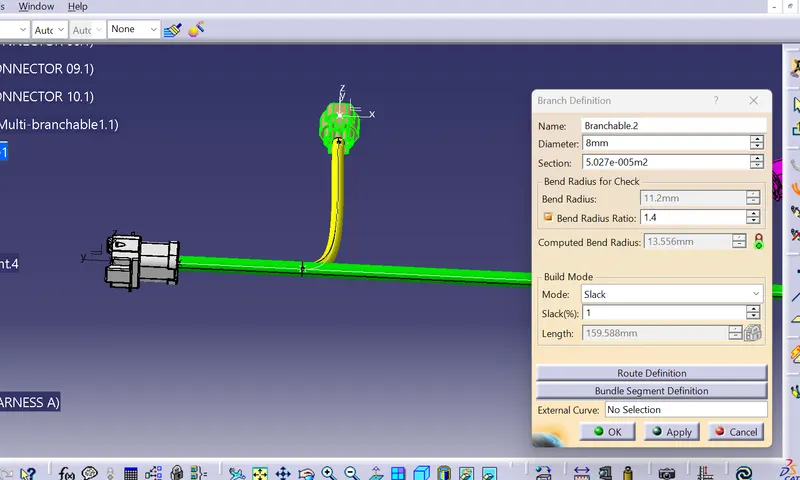
- Seklect the branch defnition icon
- Depending on the route of the bundle segment defnition
- adding slack or length
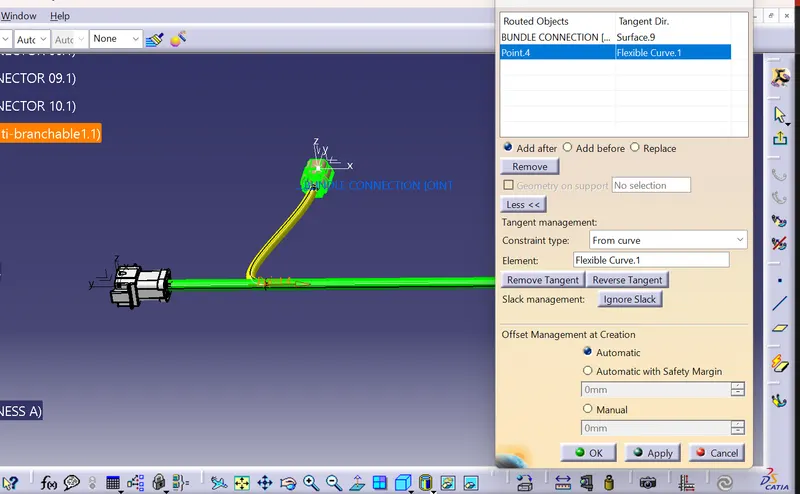
Reverese the vector position
Checking the diameter
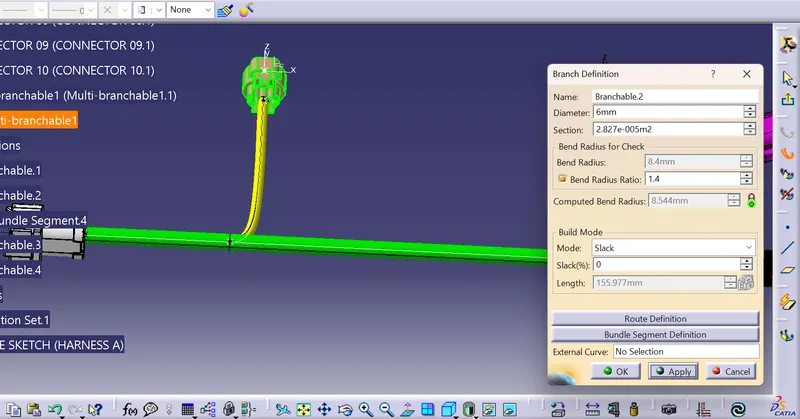
Out if all 3 the vector position helps us to resolve the issue .
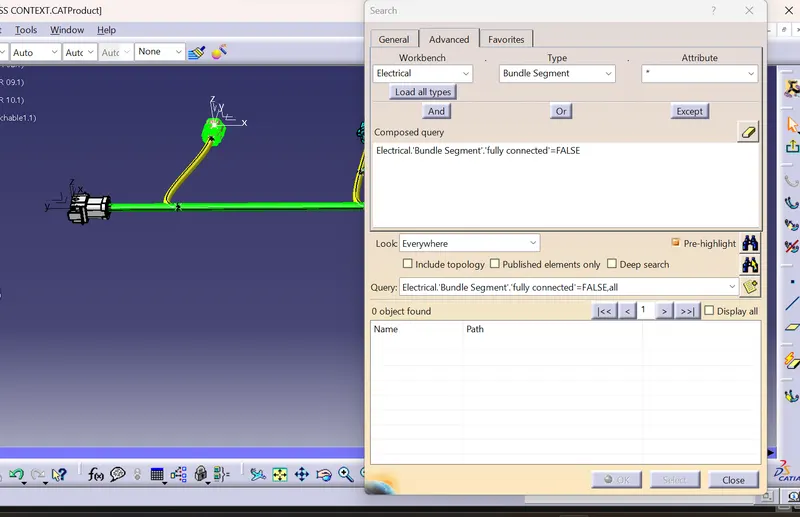 .
.
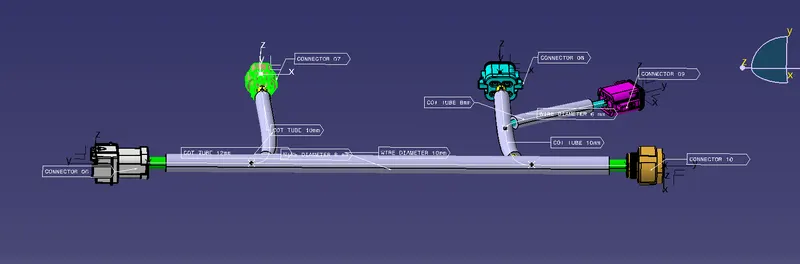
now annotate the product using 3D annotations as mentioned in the harness B
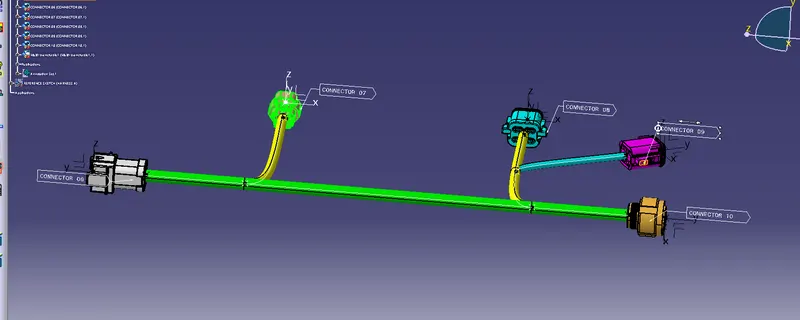
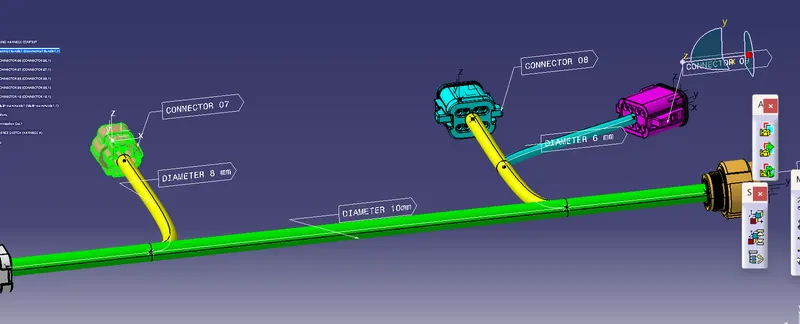
add the cot tubes from the sanme cata;logue used for the harness B
Now annotate the all components
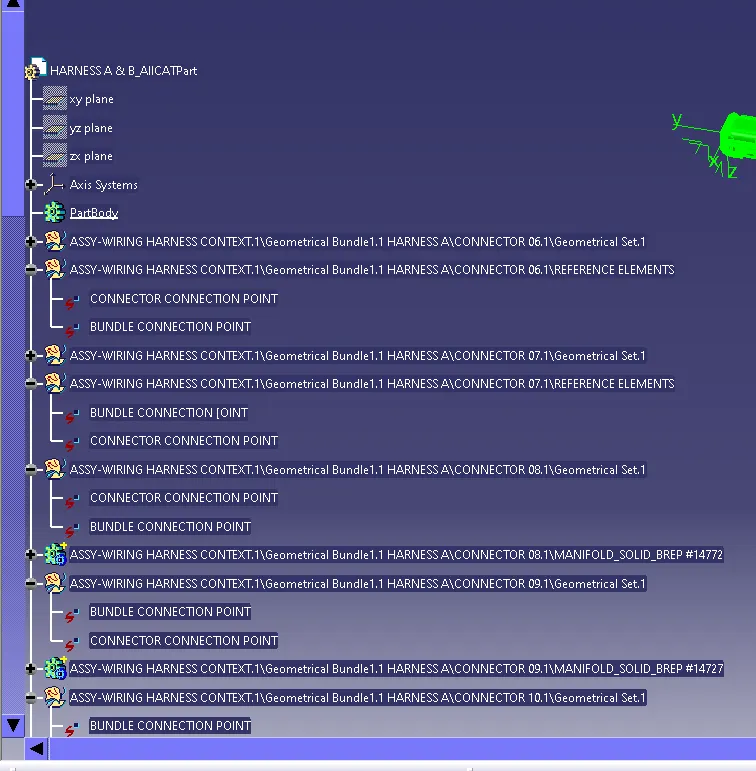
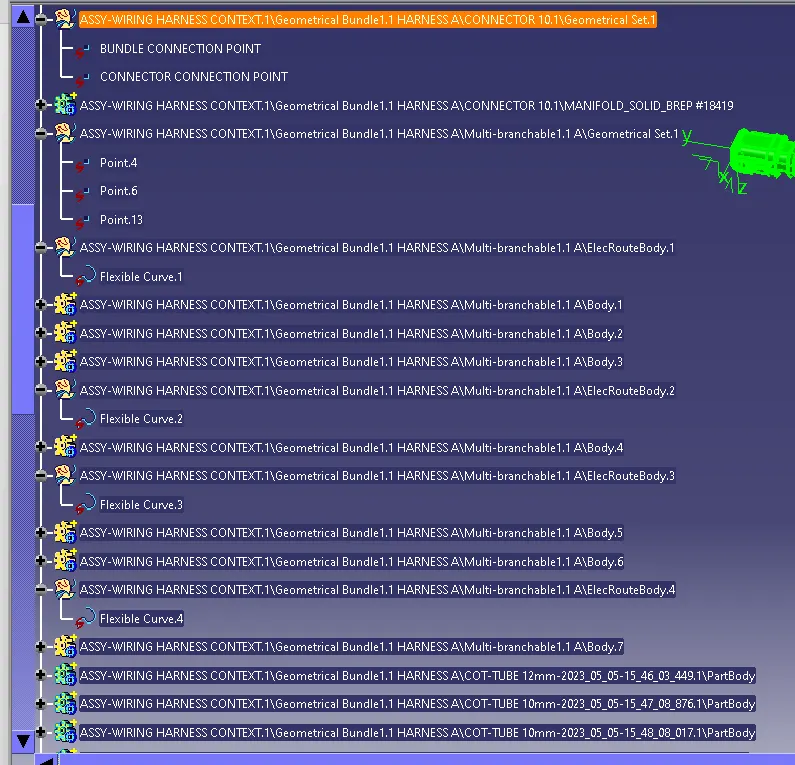
The tree structure is
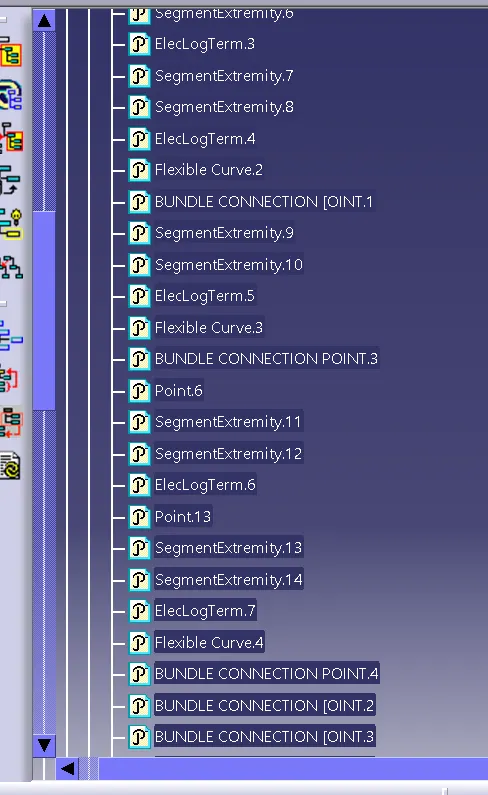
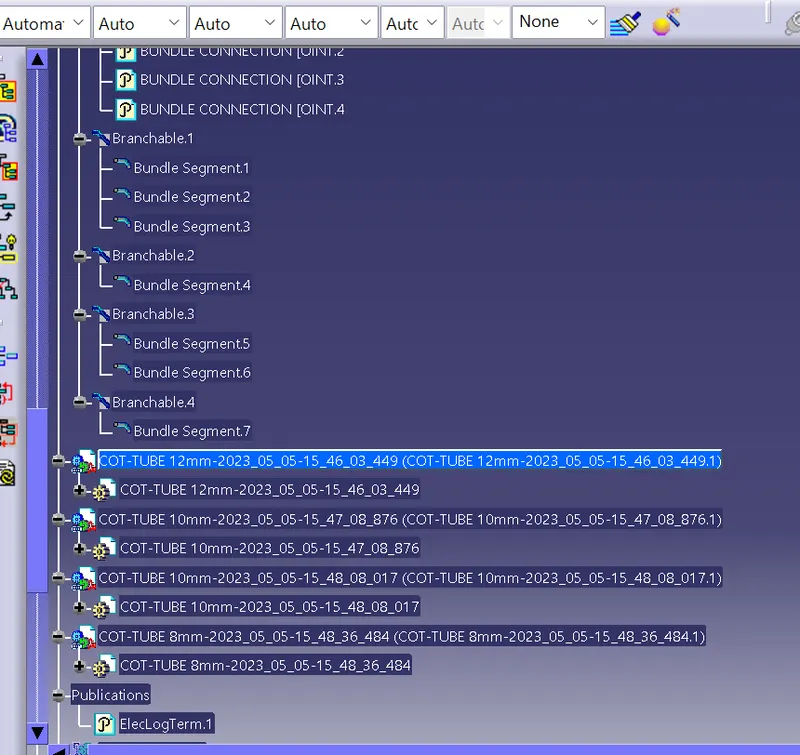
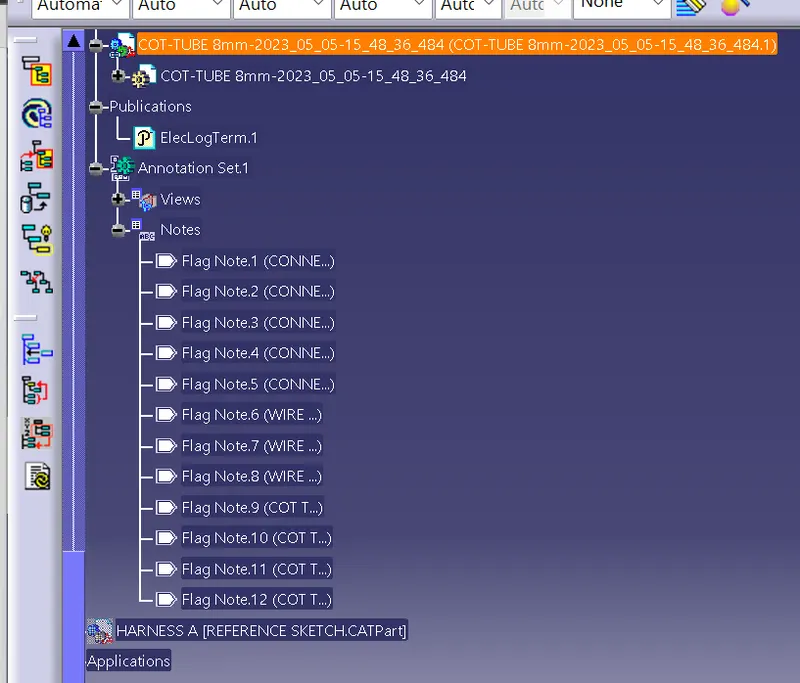
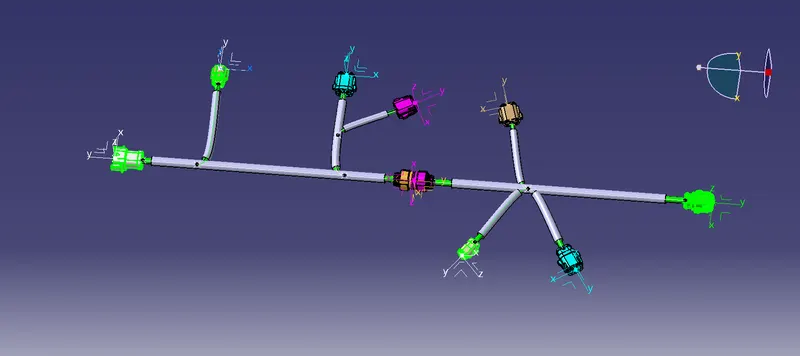
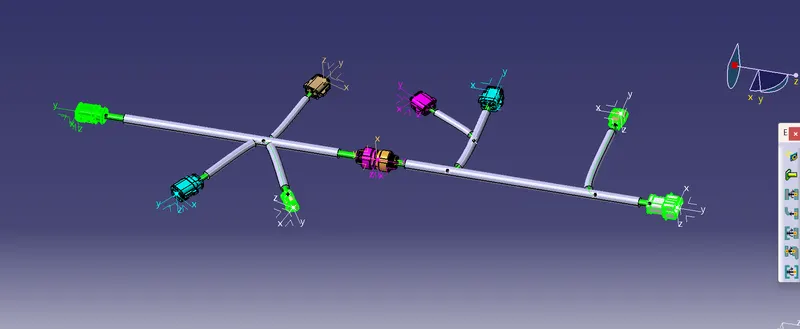
Now combine the harness A and the gharness B and go to the tools < generate act opart from the cat product and save the sile as the igs file
Conclusion :
Here all the connector components are assigned as per the base sketch and bundle formation is created with the good continuity connection and the 3D annotations are displayed with the named marked as the connector 1,2,3 etc and the resolution of the bundle warnings are complied and the cat product is converted to the igs file and all the attachments required ate attach in the browse option below
the end