Wiring harness design in CATIA V5 - 3D modeling Week 4 Challenge
Report on Wiring Harness Assembly
Introduction:
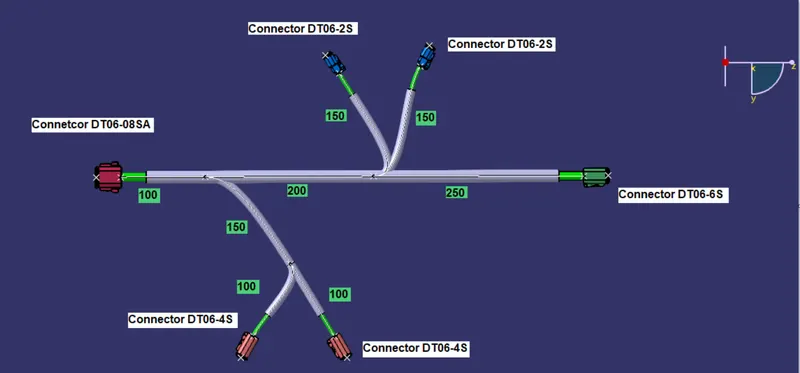
Routing the following harness layout in Electrical workbench. By making assumption for harness bundle diameters. Using Following connectors as shown in layout diagram.
Adding protective covering on all branches connected to DT06-2S & DT06-4S connectors. Keeping end extremity at 30mm (from connectors end)
Downloaded the connectors 3D data from www.te.com
- DT06-4S
- DT06-6S
- DT06-2S
- DT06-08SA
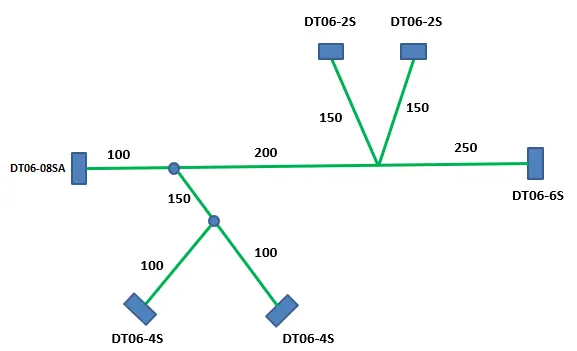
Routing of the bundles are done according to the layout given.
1.2) Defining the Mechanical connectors electrically and storing them in a Catalogue.
Steps that are to follow to define the following connectors as Electrical Connectors using Electrical Part Design Workbench in CATIA V5.
- Initially open the .igs file in CATIA V5 which was downloaded form "te.com".
- Now in part design workbench specify the Bundle Connection Point and Connector Connection Point. Adding Axis System would be a added benfite at this point of time.
- Then switch to Electrical Part Workbench in CATIA V5 and define the connecter first with no.of terminals.
- Now define the Bundle Conncetion Point and Connector Connection Point.
- Make sure to save the file in a requried folder. Do the same for all connectors.
- Now create a new catalog file and add family as Connectors and save them in apporpriate folder.
- Store the CATpart files in catalog by clicking on store device option and storing them in connectors catalog.
- Check the CATpart files are stored in catalog file.
Images of the Connectors with freature tree and Connectors Catalog
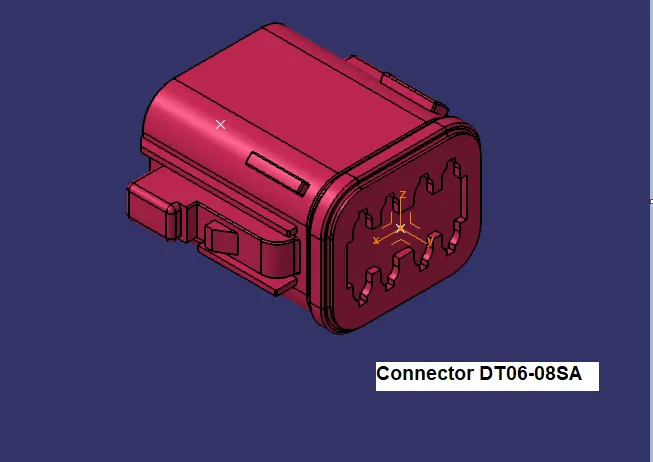
Screenshot of Connector DT06-08SA
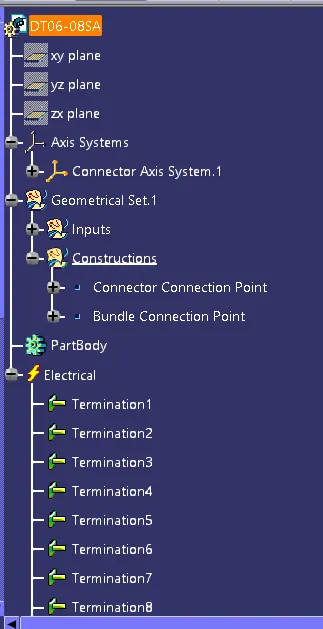
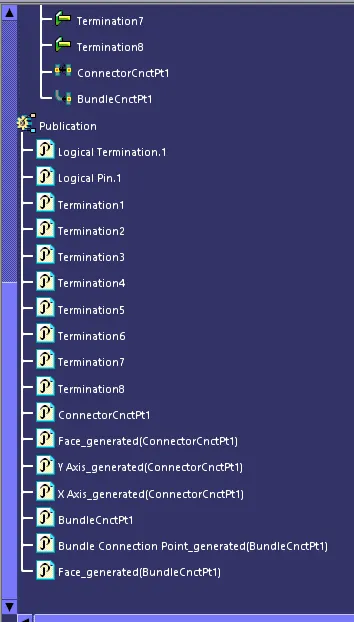
Screenshots of freature tree of Connector DT06-08SA
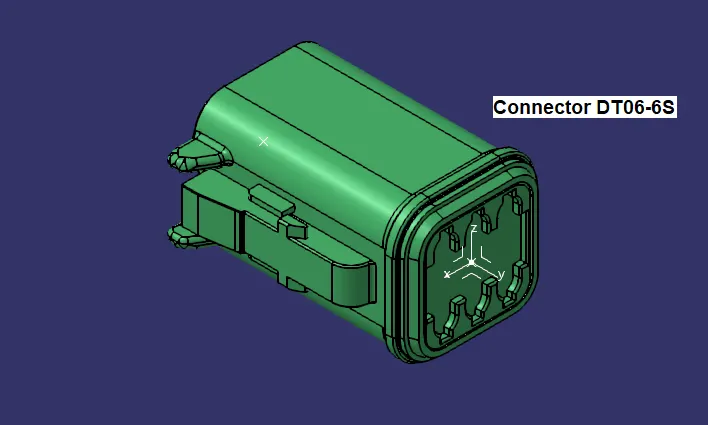
Screenshot of Connector DT06-6S
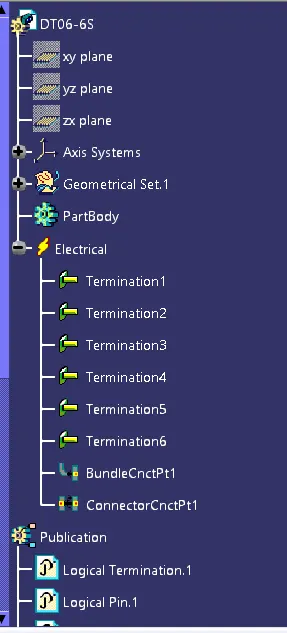
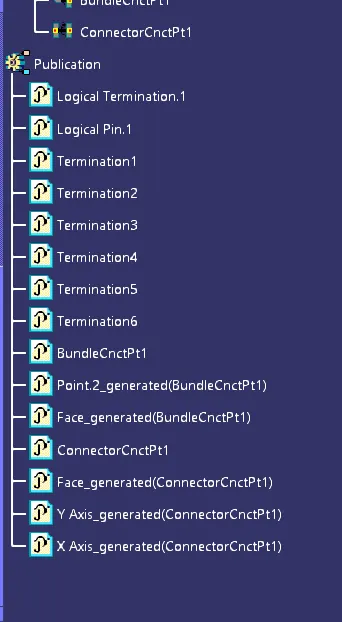
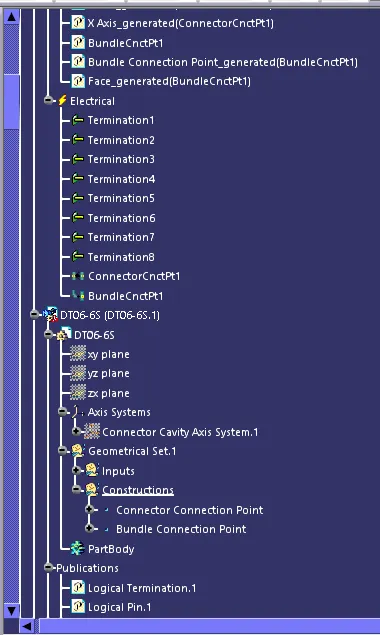
Screenshots of freature tree of Connector DT06-6S
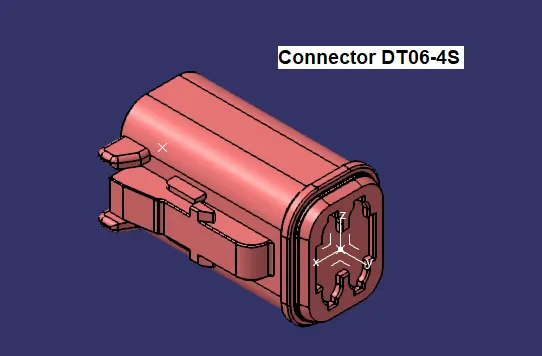
Screenshot of Connector DT06-4S
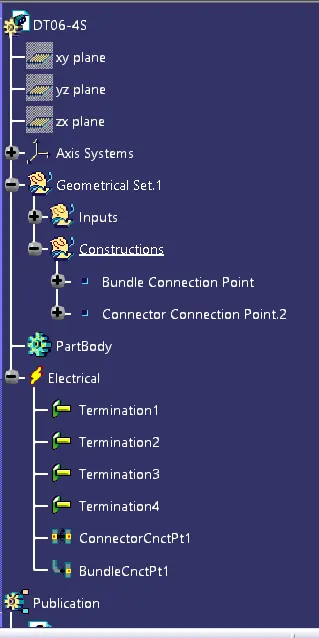
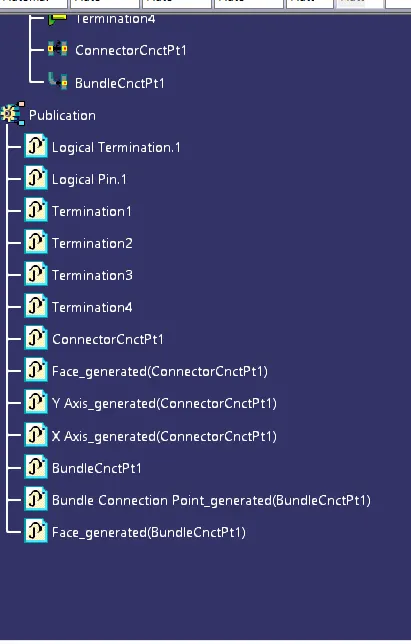
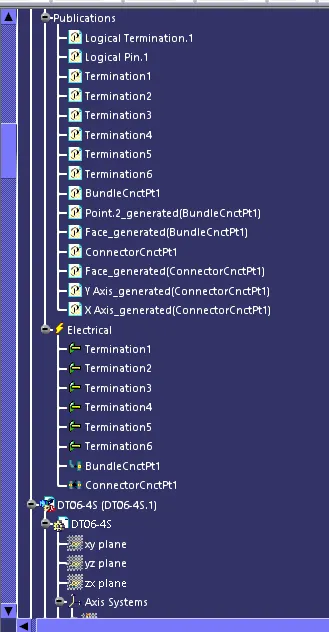
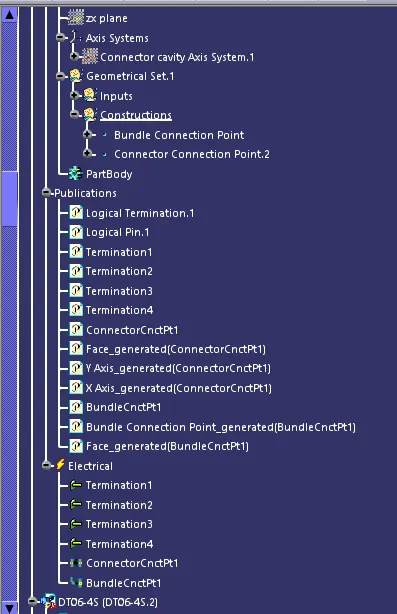
Screenshots of freature tree of Connector DT06-4S
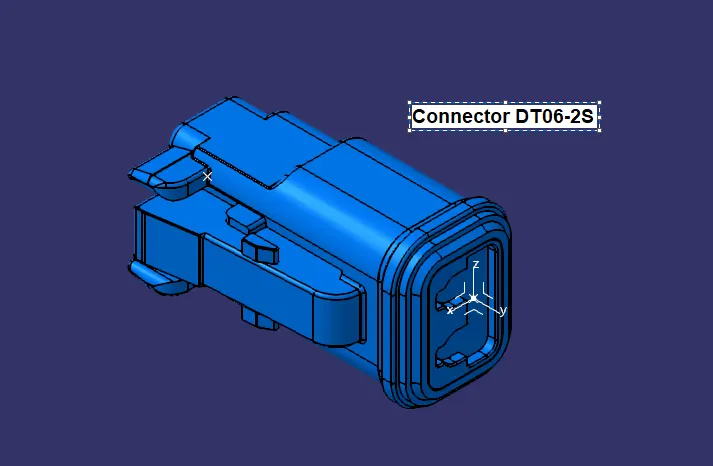
Screenshot of Connector DT06-2S
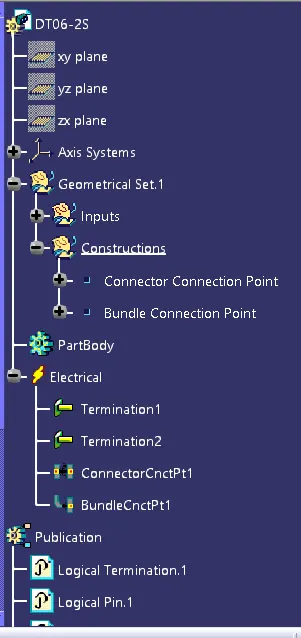
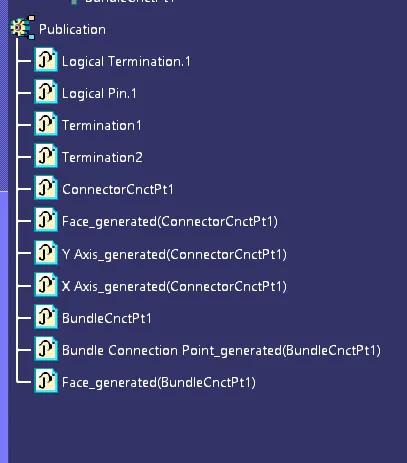
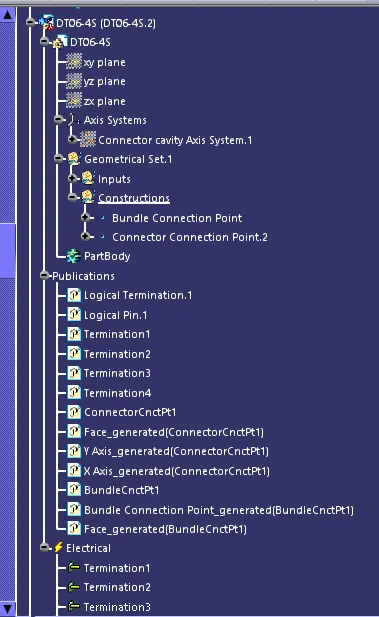
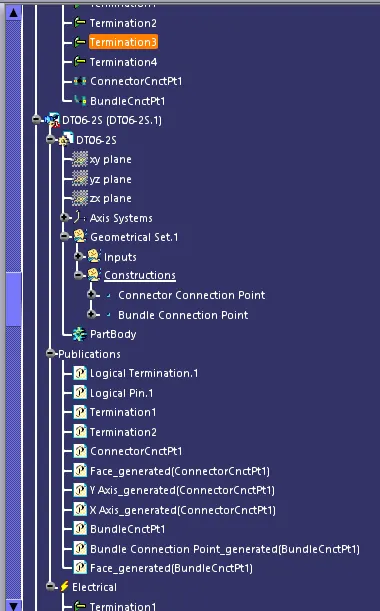
Screenshots of freature tree of Connector DT06-2S
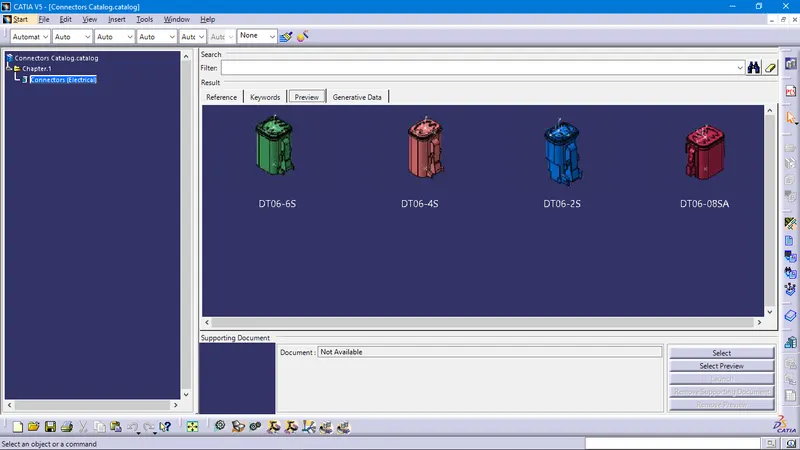
Screenshot of Connectors calatog.
1.3) Preparing the bundle routing for the connectors and orienting the bundle in proper direction using rotate command to create Wiring_Hrness Assembly
Steps to create the Wiring Harness Assembly Product file.
- Create a new product file and rename it as Wiring_Harness_Assembly.
- Now insert a new product file inside of it and convert the file into Geometrical bundle file by selecting the product file and clicking the option "Geometical bundle" under creation Tool bar in Electrical Harness Assembly Workbench.
- Now the file is ready to store the electrical data in it.
- By using the "Catalog Browser" option import required connectors from Connectors Catalog.
- Position them as shown in them as shown in the layout by using Translation and Rotation Option. This option can be found in "Assembly Design" Workbench only under Move Toolbar.
- Now add a Multi-Branchable file in Geometrical Bundle Product File by using "Multi-Branchable Document" option under Creation Toolbar in Electrical Harness Assembly Workbench.
- Now switch to Electrical Harness Installation Workbench and Click on "Branch definition" and create bundles. If at any point we need a sub-branch in routing from the main branch, we need to use "Add branch point" option so that there will be a break on main bundle.
- While creating the routing we also need to define the route definition by providing nessesary details like length and perfect tangents as we required.
- After Completion of the Routing add the protective coverings to the bundles created and making sure to keep end extremity at 30mm. (from connectors end)
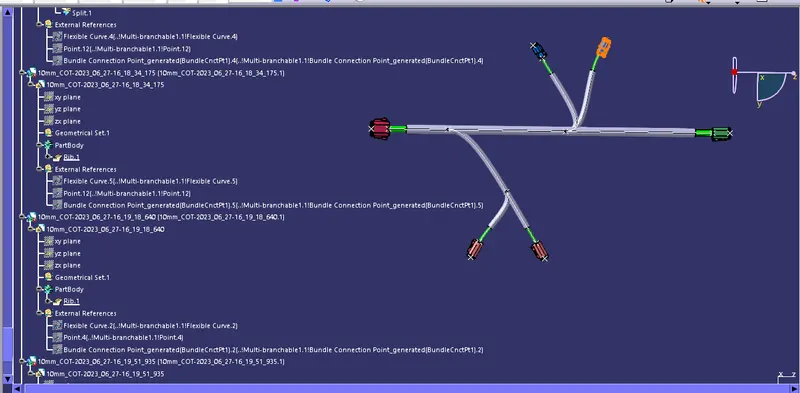
Images of the Assembly with freature tree
Screenshot of Wiring Harness Assembly layout 3D Model
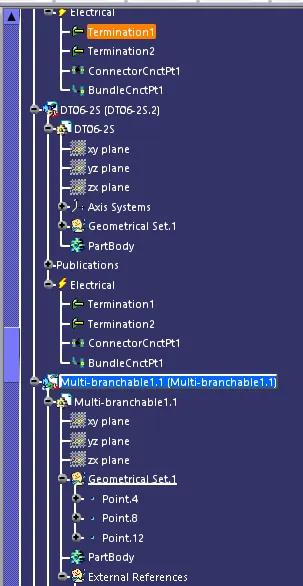
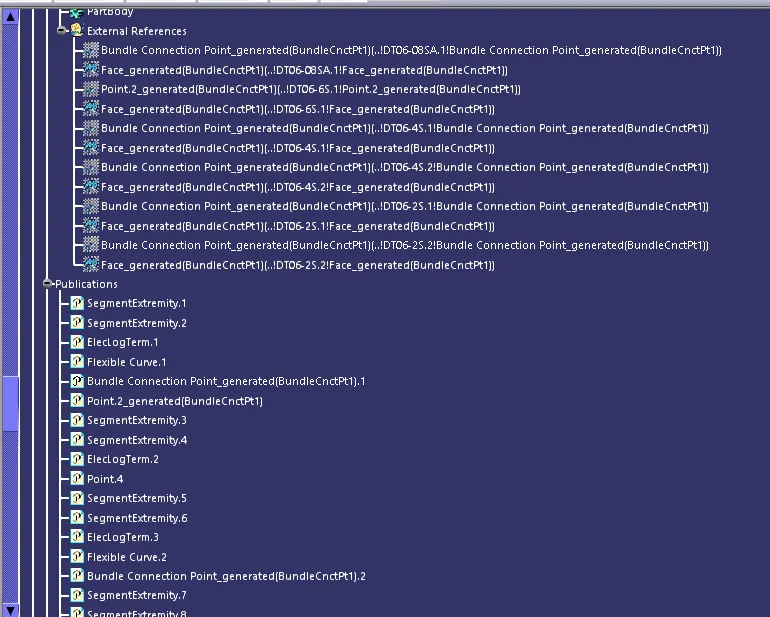
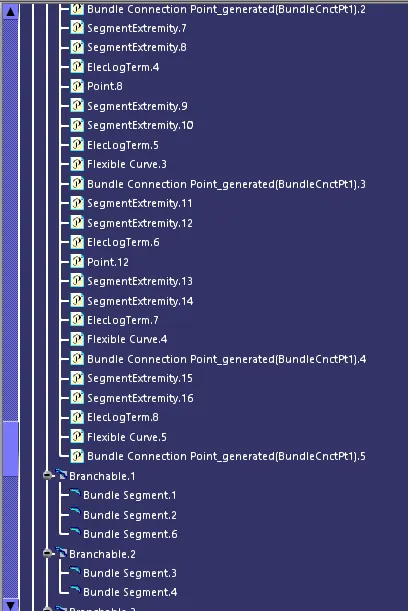
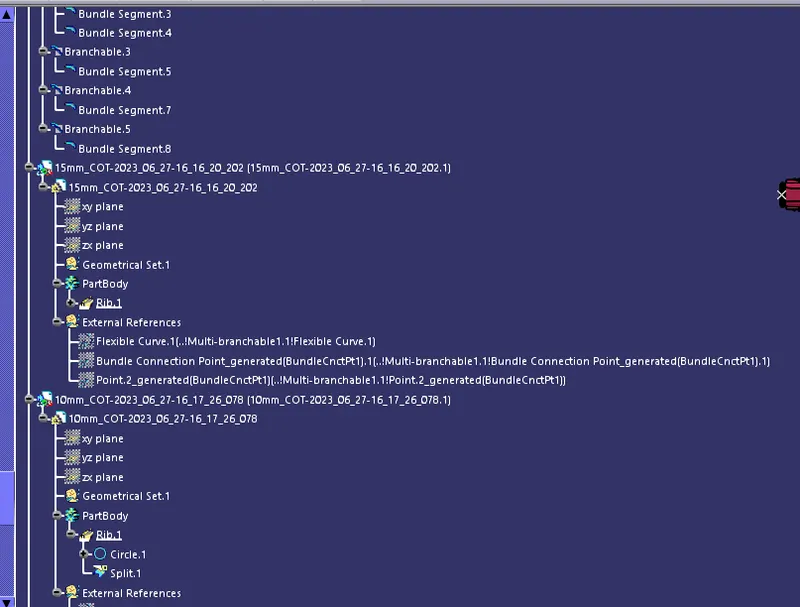
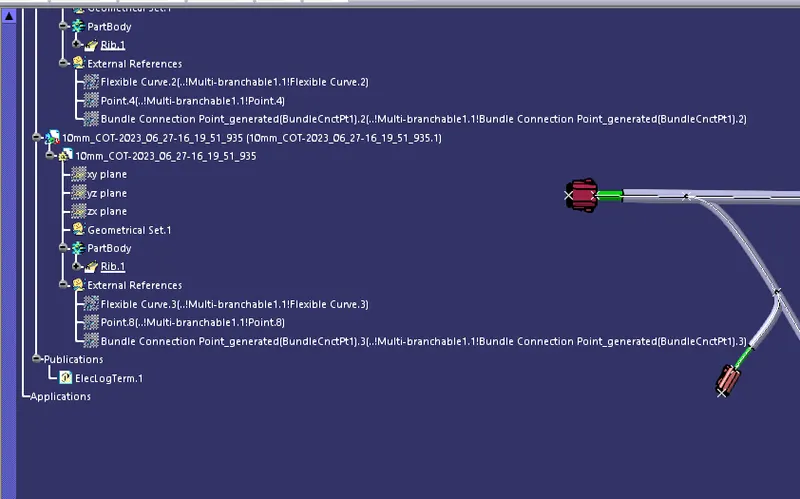
Images of Feature tree
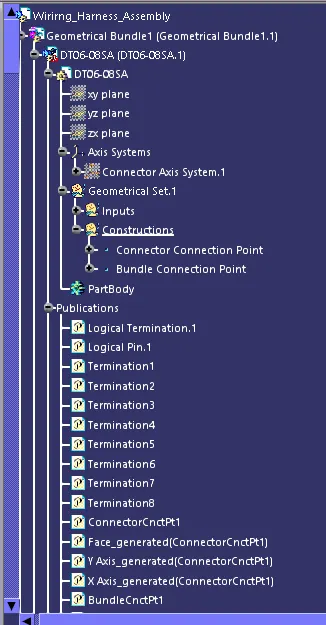
..........................
NOTE: All the files have been uploaded as a Single ZIP file and attached.