Wiring harness design in CATIA V5 - 3D modeling Week 4 Challenge
Q.1] First download the connectors from the above link.
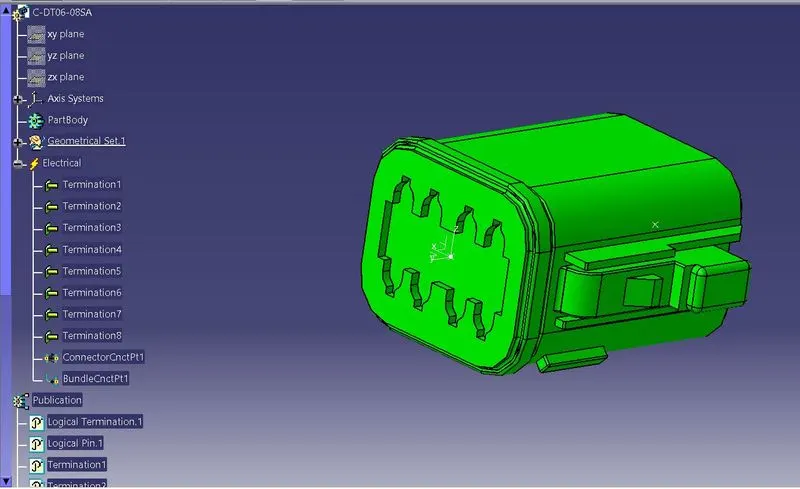
Convecting the Mechanical part into the Electrical part for that I had followed the following steps.
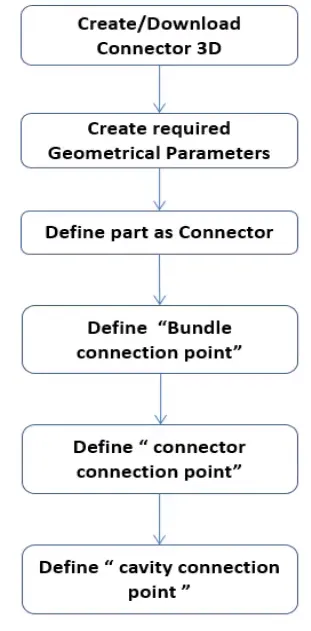
For DT06-2S
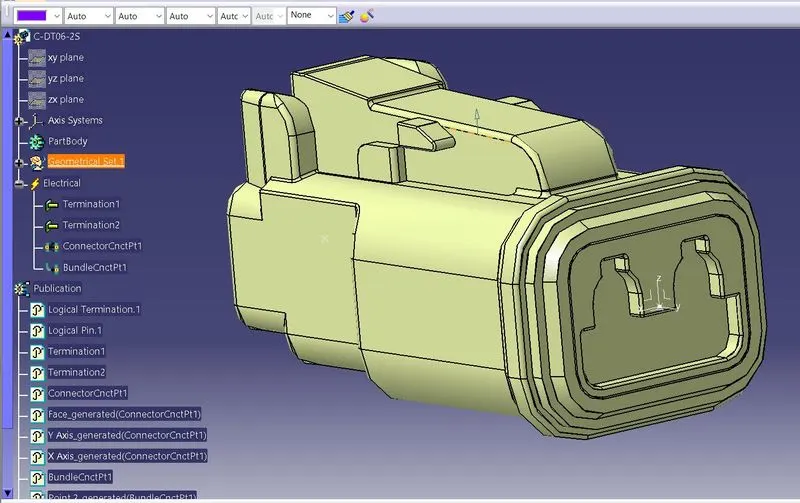
For DT06-4S
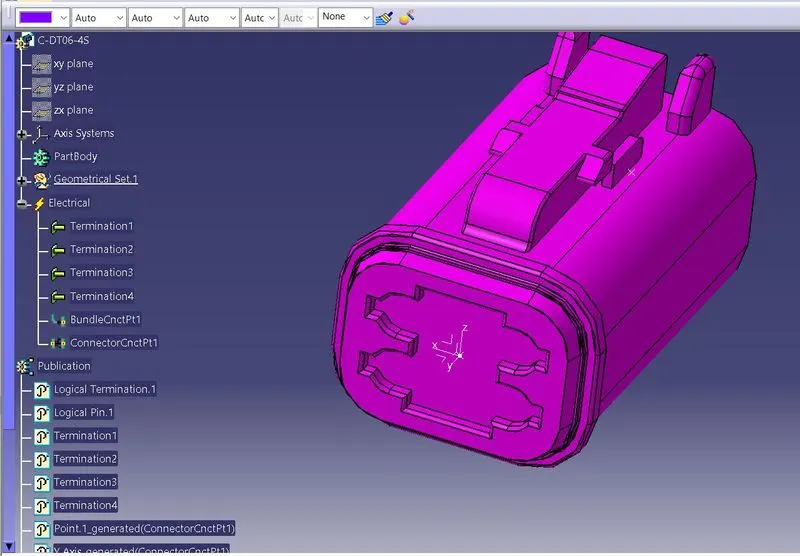
For DT06-6S
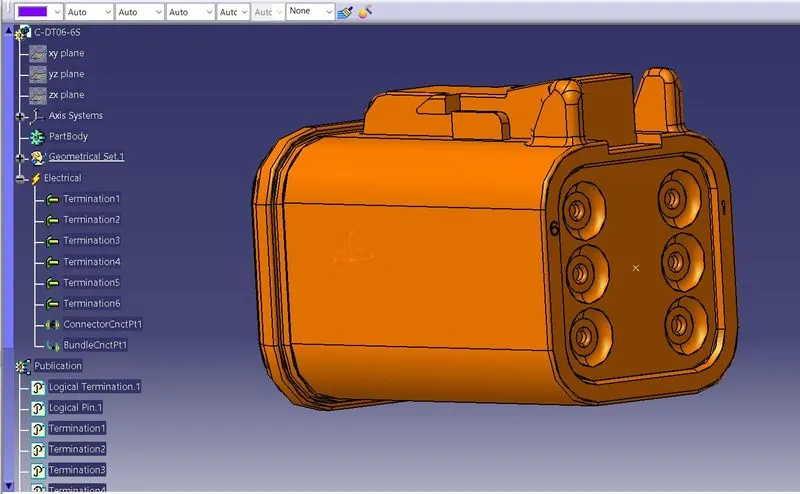
For DT06-08SA
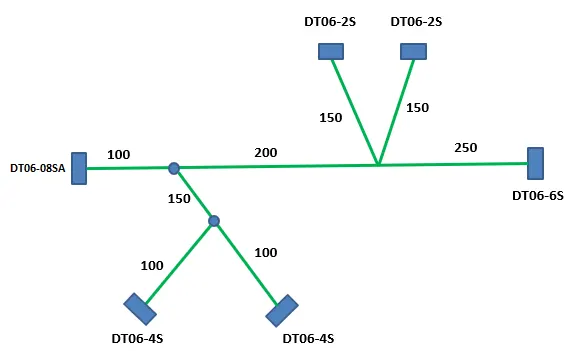
Arranging the Connectors by following the Layout
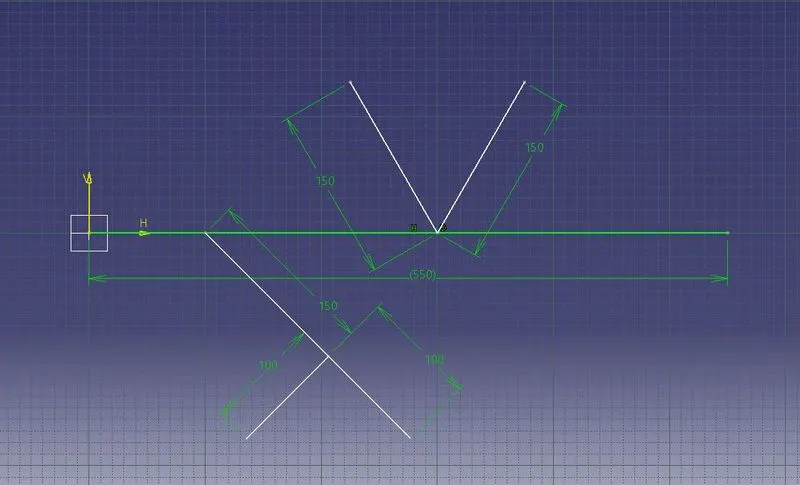
I'm using the sketch part for defining the lengh in this assembly.
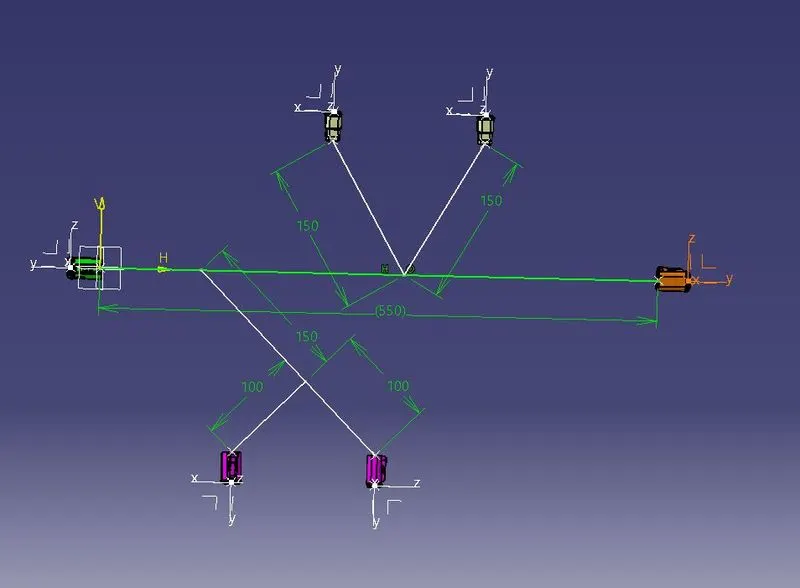
Then create an product for this assembly and ten add a sub assembly to upload the connectors in it and then add the sketch part file.
After adding this, try to place the connectors in a specific distance by using the snap tool in the Assembly design.
Creating Multi-Branching to the connectors
Before defining the Multi-Branching we want to define this as Electric bundle. For this we'll go to the Electrical Harness Assembly and then clicking the geometrical bundle option and then click the sub assembly. Then it become an electrically defined parts.
Then by using the Multi-Branchable Document and the Add Branch Point tool to define the wiring harness routing in this assembly.
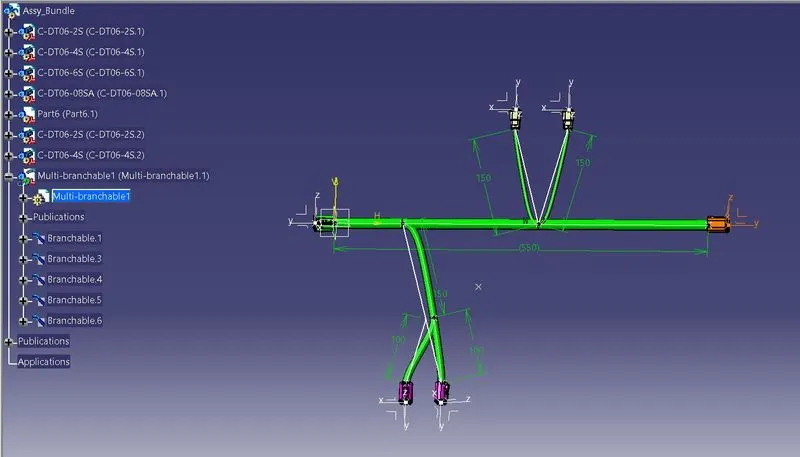
Finally we wanrt to give the protective covering to these wires.
By using the Protective covering tool in the Electrical Harness Assembly we'll make the wire protected by using the covering equipment like tape.
For this we've already store the COT tubes parameters in the saved Catalogue. So finally we've made the wiring harness routing in this assembly.
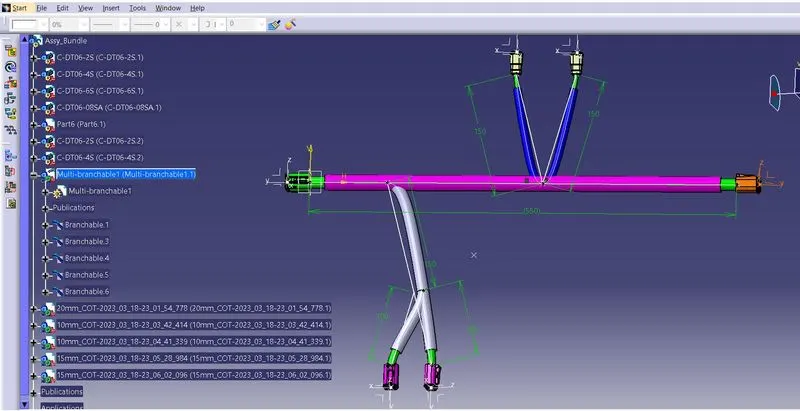
So, finally we created the layout as per the above diagram.