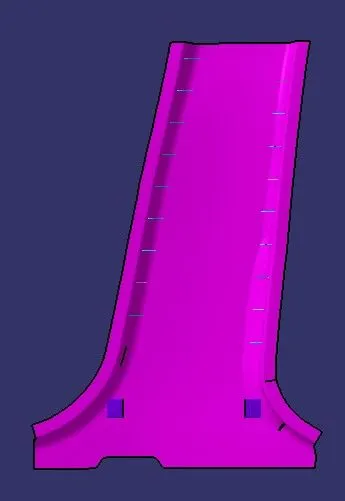
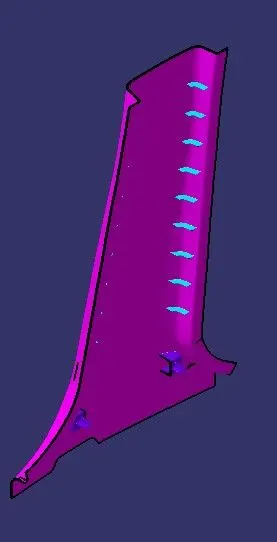
Master Section Development of B-Pillar
B-PILLAR CREATION USING THE MASTER SECTIONS AND ITS DRAFT ANALYSIS
Objective:
The main aim of this report is to explain how the B-pillar is created using the given class A surface and the given master sections by reversing the design process. And then, how the tooling axis is created and draft analysis done using that tooling axis for the given class A of B-pillar is explained. After this, the detailed explanation about B & C surface creations, attachment feature creations, lifter axis creation for the created attachment features and finally the overall draft analysis of B-pillar part is as follows.
Description:
B-pillar:
B-pillar is an interior trim of an automobile which is located at its door pillar. Commonly the plastic components at the interior of an automobiles are considered as interior trims.
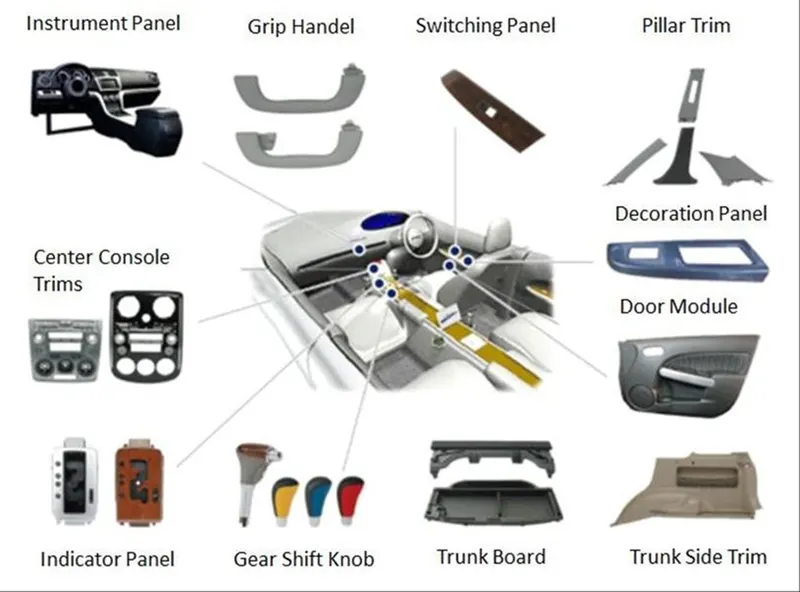
Some interior trims of an automobile are shown in the above picture.
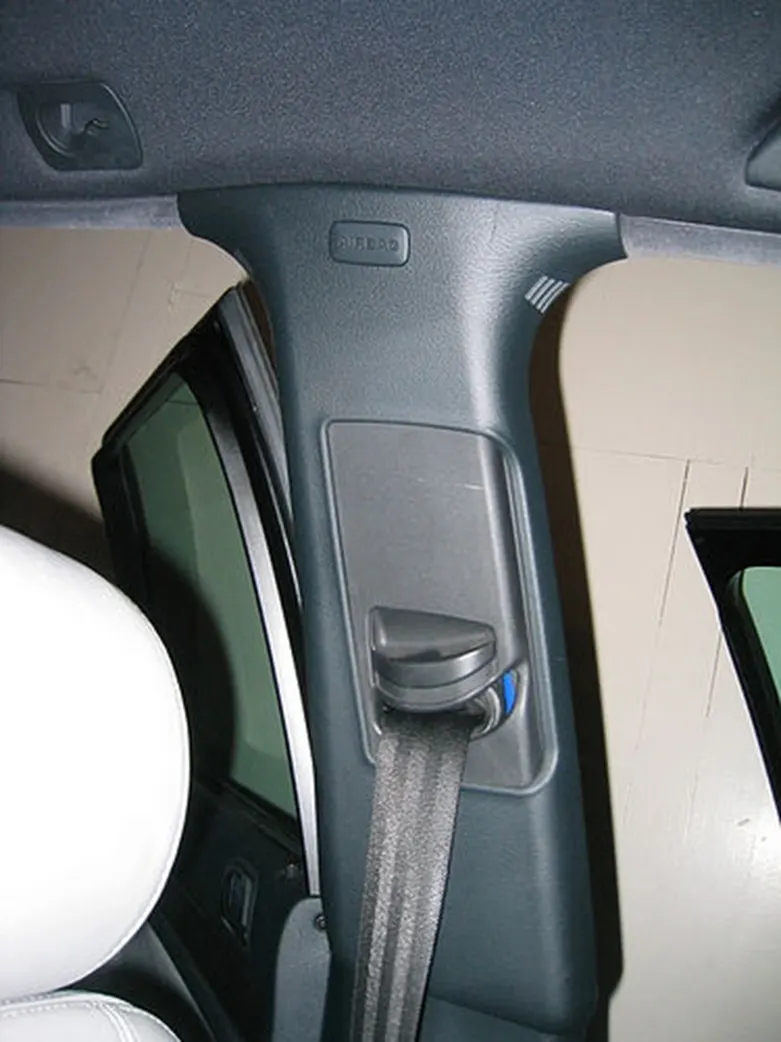
B-pillar is shown.
Class A surface:
The class A surface of a B-pillar is given to do the draft analysis and to create class B & C surface for solid part creation.
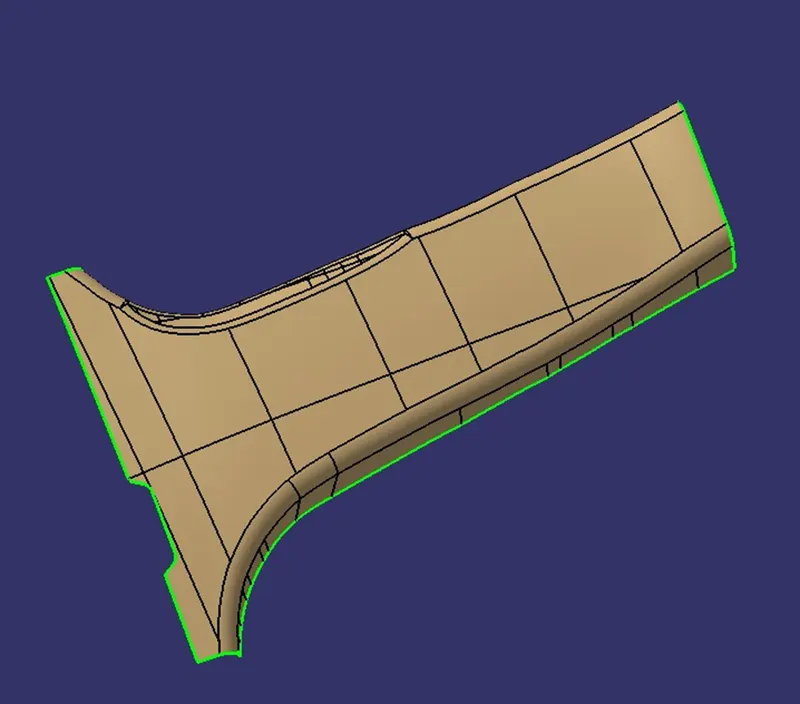
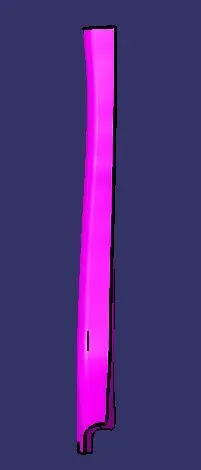
The given class A surface of B-pillar.
Test-1:
In this test the surface continuity of the given class A surface is examined to avoid gaps. If any gaps or discontinuity is present in the class A surface, we cannot thicken or use closed surface command to create a solid part out of it.
Joining:
By applying joining command to the class A surface, we can test the continuity of the class A surface of the given B-pillar by examining its edges.
Boundary:
By applying boundary command to the class A surface of the B-pillar, we can create a boundary line of the open edges. With help of this boundary line the continuity is tested visually.
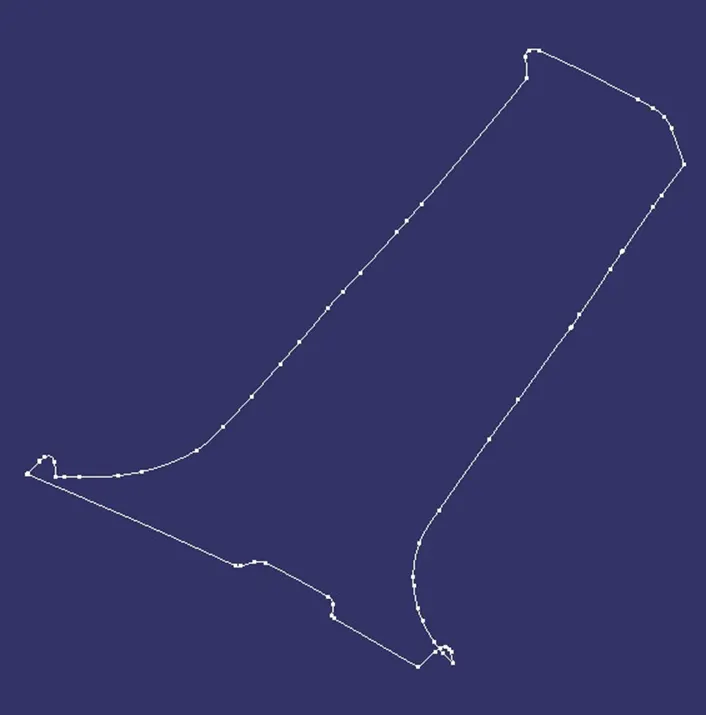
Boundary of class A surface shown in the above picture.
If any gaps or discontinuity in the class A surface is found we have to correct it for further process.
We can use either joining or boundary command for this test.
Test-2:
In this test, the tooling axis is created along the x, y and z directions, to choose the best tooling axis out of it, for reducing the tooling cost.
For this given class A of B-pillar, it contains master sections. So, we have to use those master sections for the creation of tooling axis.
Master sections:
Master section are the intersection of already created component along any planes which has information about that part. This master sections are the intersection curves used to inspect the created component in a 2D view and also used to understand the components.
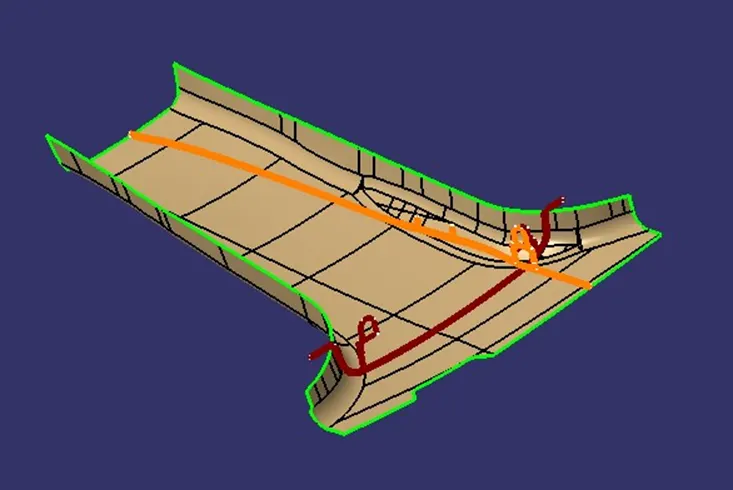
Class A with master sections is shown.
For the given class A, the master sections show the attachment feature of the B-pillar on the B side. So, we have to create tooling axis along the projection direction of those features to minimise the production cost and it is also difficult to achieve in other directions.
Tooling axis:
Tooling axis is used to define the direction of core and cavity movement of a moulding machine according to the component to be moulded.
Class A of B-pillar.
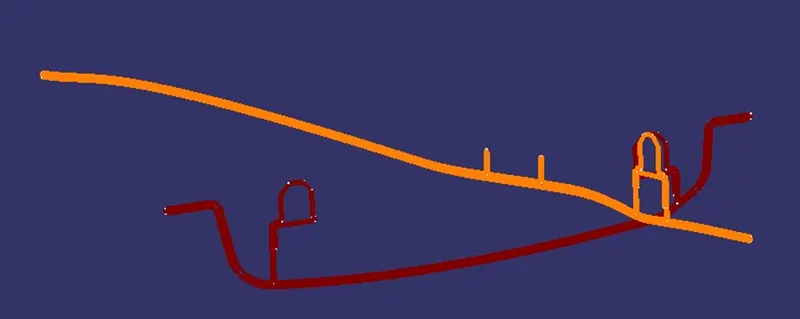
Master sections of B-pillar.
As we seen early, the projections of attachment features on the B side cannot be achieved in X & Z directions.
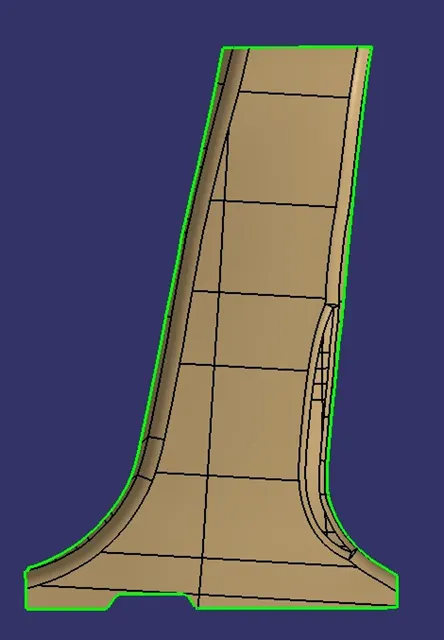
The given class A surface of B-pillar along X axis.
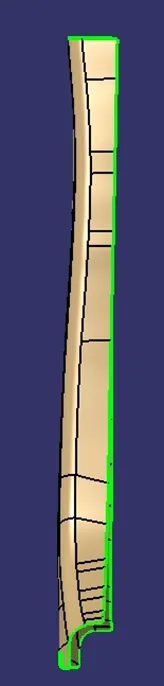
The given class A surface of B-pillar along Y axis.
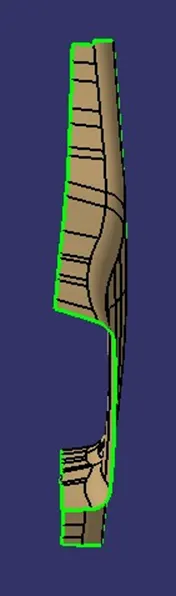
The given class A surface of B-pillar along Z axis.
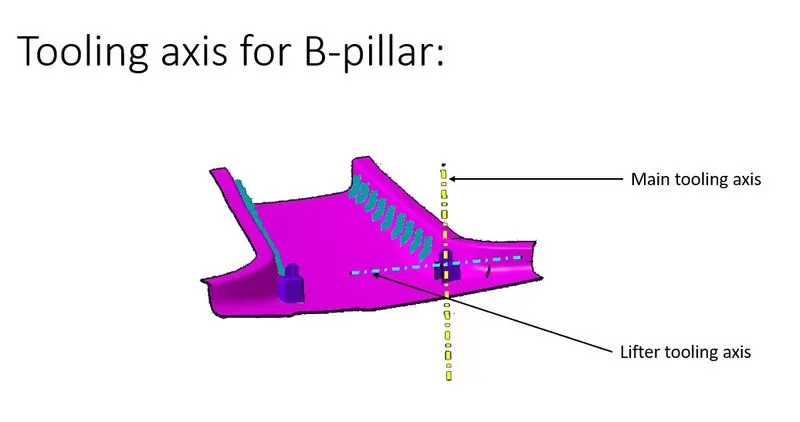
With reference to the pictures, the best way of creating the tooling axis is, to create some lines along the projection features and then bisecting those lines to create the required tooling axis by bisecting method.
Bisecting method:
Bisecting method is one type of method which is used in tooling axis creation. By using the bisecting line command, a bisecting line is created with reference to those lines created previously and to the point. This bisecting line is considered as tooling axis.

Final tooling axis is shown.
The tooling axis for the given class A has been created along the y direction. This tooling axis decides the movement direction of core and cavity to manufacture the B-pillar.
Draft analysis:
The draft analysis command enables you to detect if the part you drafted will be easily removed. This type of analysis is performed based on color ranges identifying zones on the analysed element where the deviation from the draft direction at any point, corresponds to specified values.
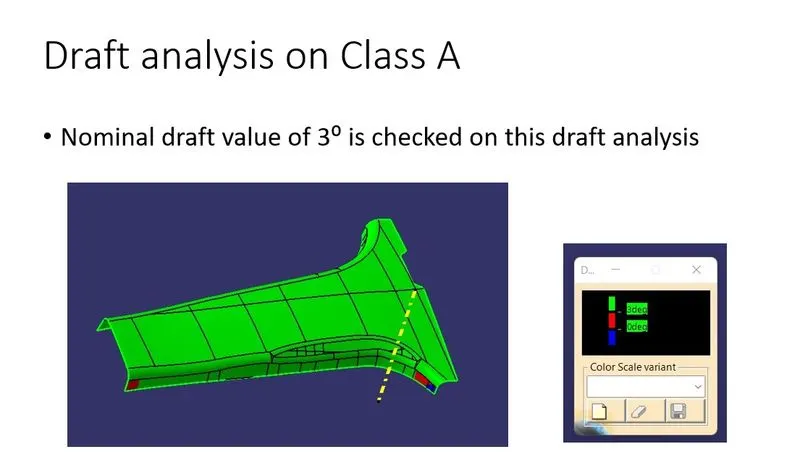
Draft analysis is carried out to check the drafts in the class A surface of B-pillar is feasible. The nominal draft for plastic components is 3º and 0.5º is the minimum draft value.
- After the creation of tooling axis, the feature draft analysis command is applied to do the analysis.
- By using the direction tool, the compass to define the new current draft direction is placed along the tooling axis. Then the draft direction is locked.
- In the display tool, the color scale is opened to give the limits for the draft analysis and then the surface is selected to test the draft for the given limits. If the color of the surface is changed to green, then the draft of that component is able to be manufactured.
- If the color of the surface is changed to red, then that class A surface is failed in draft analysis test and it is difficult to manufacture the component in cost effective manner.
- In this case, the class A surface of B-pillar is passed in the draft analysis and the part body of it can be created for further process.
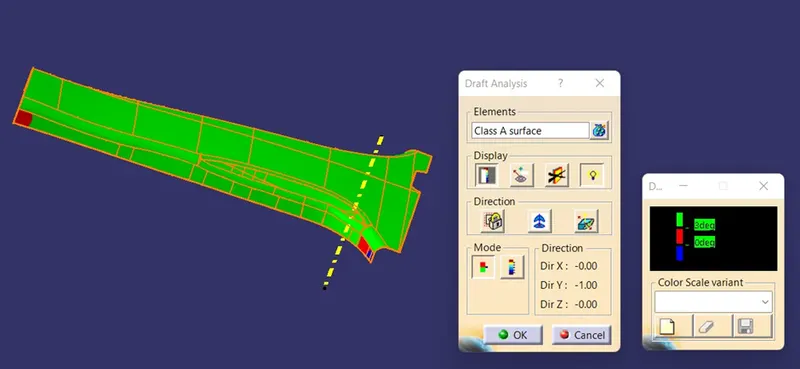
Draft analysis of the class A surface with nominal draft is shown in the picture.
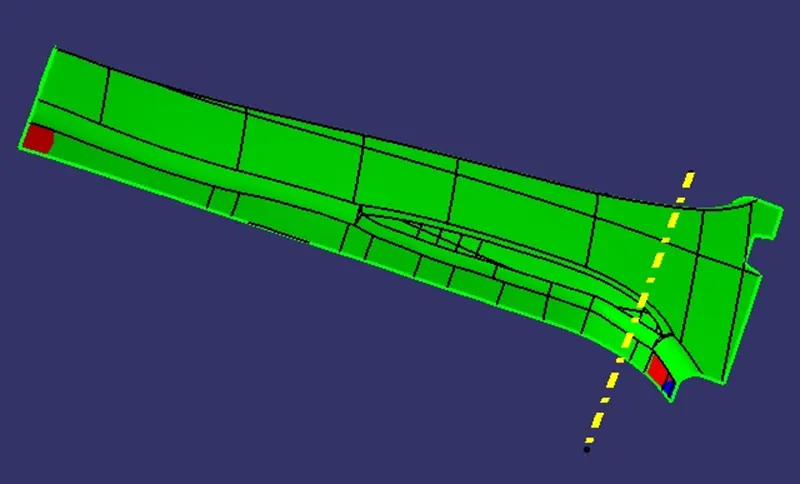
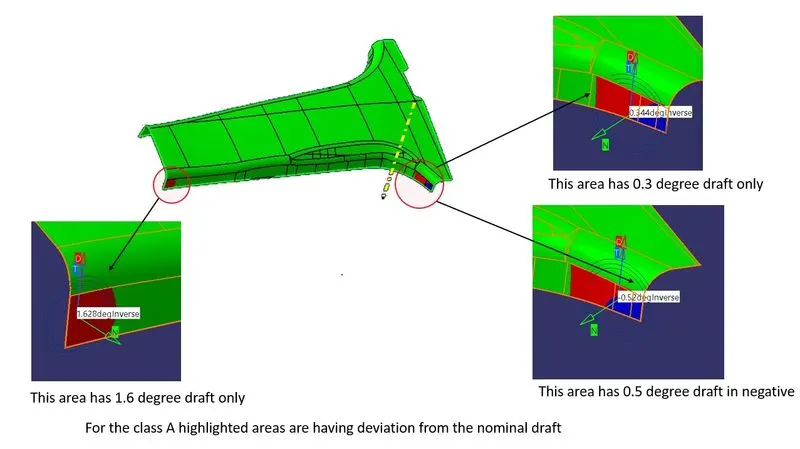
Draft analysed class A of B-pillar is shown.
Some of the surfaces on given class A is below than nominal draft, according to the tooling axis. So, the red color is indicated for that surface and the angle difference is neglected for that surface.
If we have the approval to further processing of the given Class A, then we ignore those surfaces.
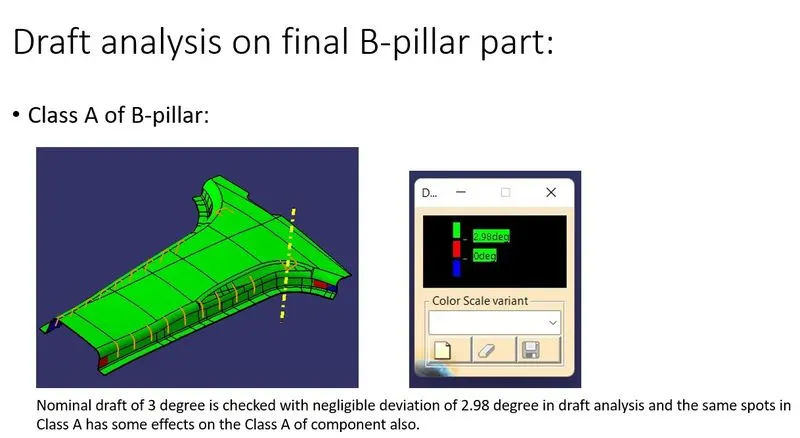
The same procedure is followed to conduct draft analysis on the solid part also,
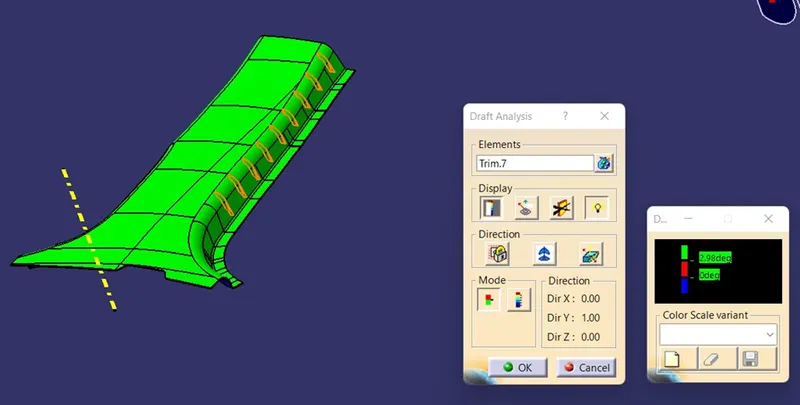
Draft analysis of the B-pillar part with nominal draft is shown.
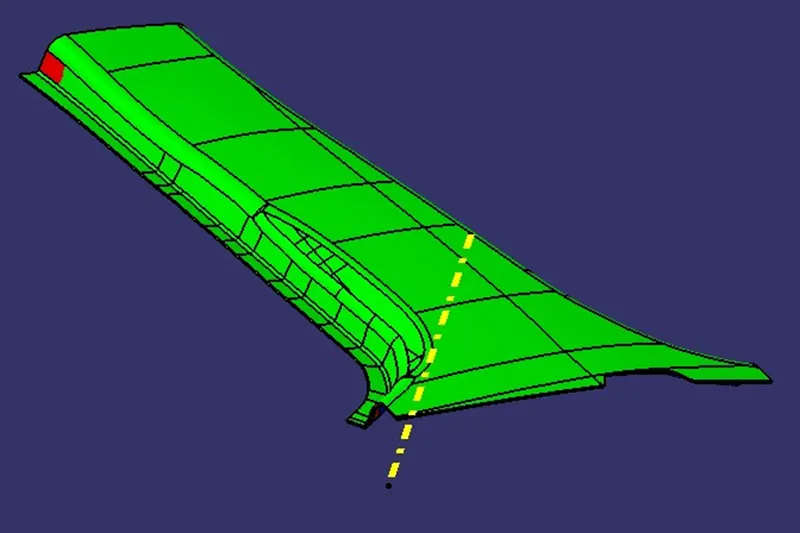
Draft analysed B-pillar is shown.
B Surface:
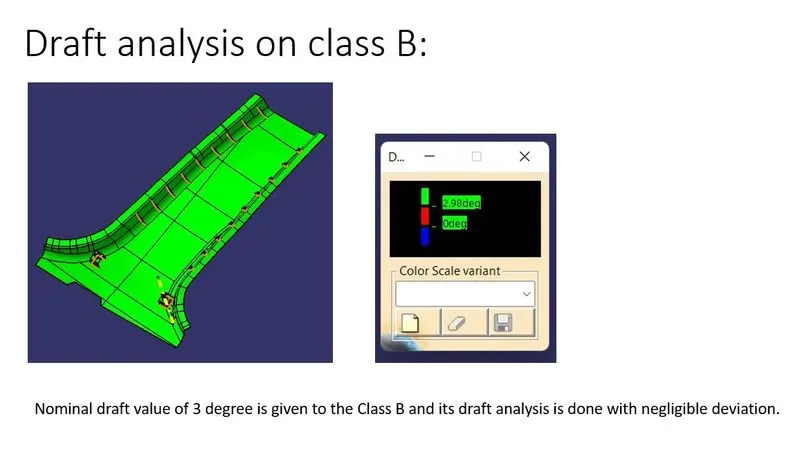
B surface are said to be the engineering surface which has all the ribs and fixing elements in it. This B surface is created with reference to the given class A surface.
- After completing the draft analysis, if the class A surface is passed then the class B surface creation starts.
- The given class A of B-pillar has some designer fillets and it cannot be recreated in the normal way, so we just going to offset the class A to create class B.
- Class A surface is offset to the required thickness value and then the fillets were applied.
- This offset surface is said to be class B surface.
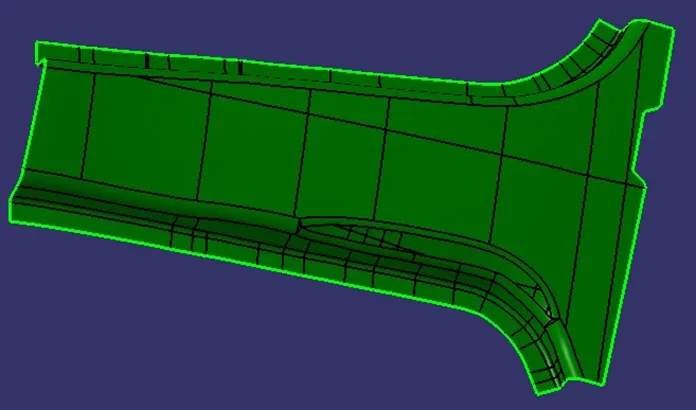
B surface shown in the above picture.
C Surface:
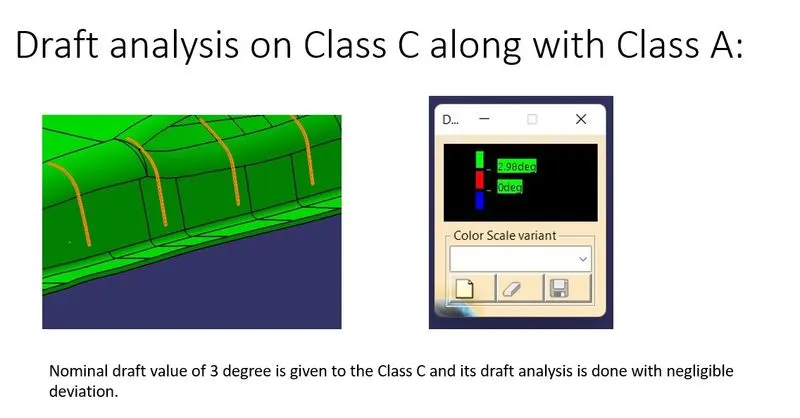
C surface are said to be the connecting surface of class A surface with the B surface.
- Boundary command is applied to the open edges of the class A surface to create a boundary line or multiple extract command is applied to extract the open edges.
- This boundary line or extracted line is used to create the sweep along the draft direction or perpendicular to reference surface with enough value to overlap the B surface.
- It is said to be class C surface.
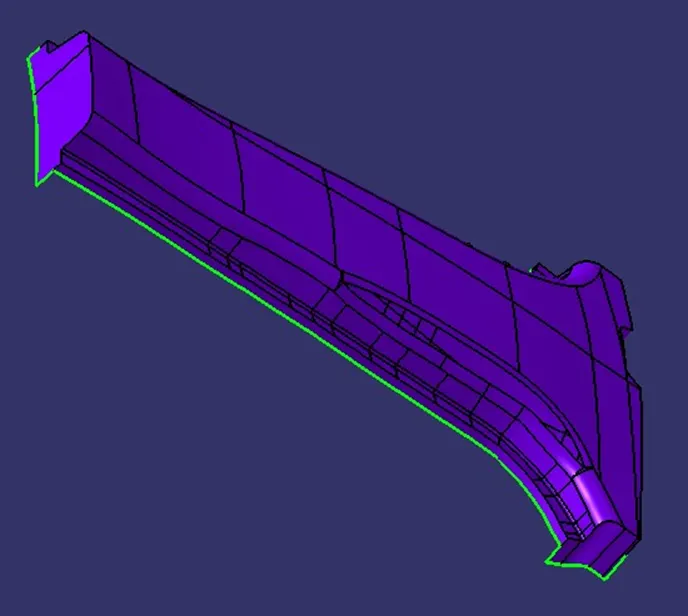
C surface with class A is shown in the above picture.
Closed surface:
Closed surface is the final surface used to create the solid part by applying the closed surface command in the part workbench.
- After the creation of class A, B & C surfaces, they are joined and trimmed to form the closed surface.
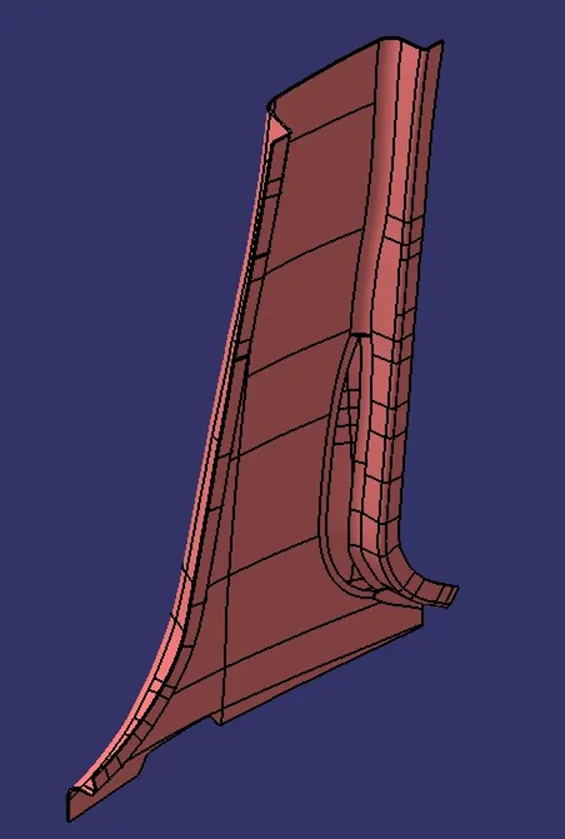
Closed surface is shown.
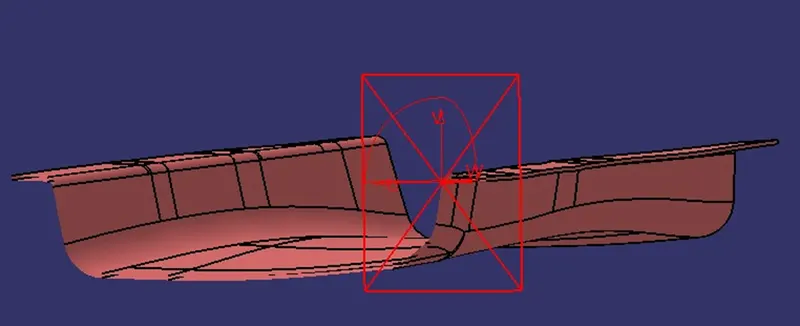
Sectioned view of closed surface.
Solid part:
Solid part is created by applying the closed surface command in the part workbench to the closed surface, which is created with the help of class A, B & C surfaces in the surface workbench.
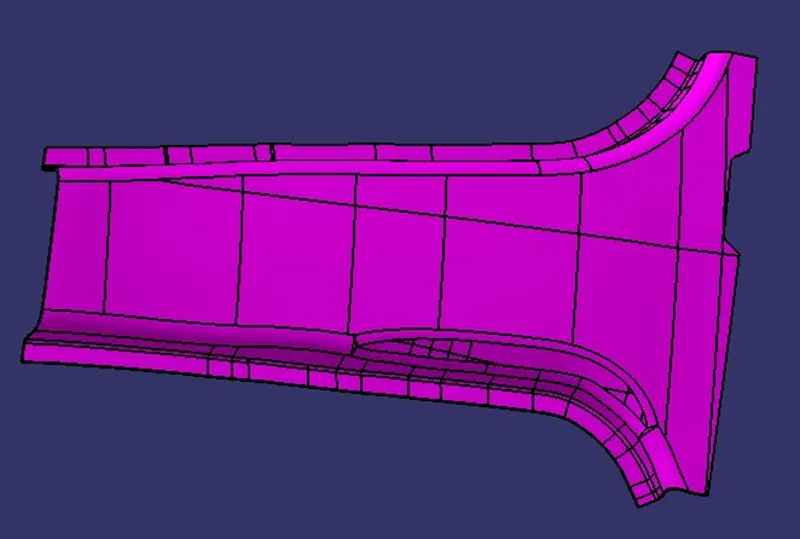
solid B-pillar part is shown.
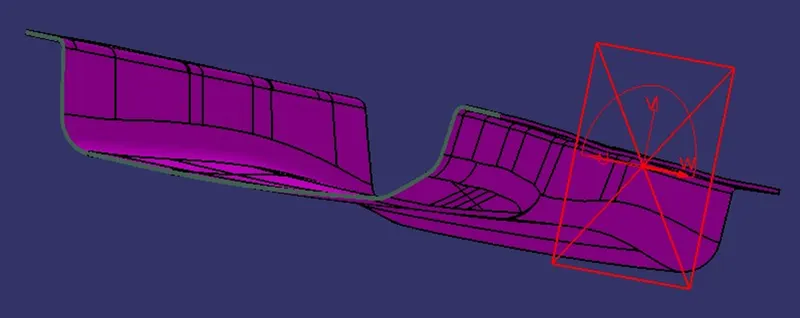
Sectioned view of B-pillar.
Attachment features:
Attachment features are the features present in B surface of the component, which are used to increase the stability and durability of the components to serve its purpose. It is also important to assemble or fix the components together in an efficient way.
Some important attachment features are:
- Ribs
- Screw bosses
- Dog house designs
- Locators
- Heat stakes.
For the B-pillar attachment features like ribs, dog house and locators are used.
Ribs:
Ribs are thin protrusions that extend perpendicular from a wall or plane to provide added stiffness and strength to the component or part. Ribs are used to reduce the manufacturing cost of components without compromising its stability and durability.
For the given B-pillar, one of the attachment features, ribs were created by following the standard design rules. The steps are as follows:
- After solid part creation of B-pillar, its attachment features creation on its B surface is carried out to create some ribs.
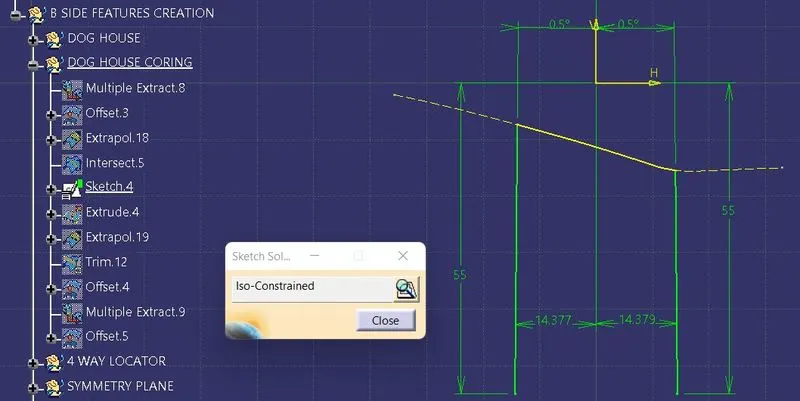
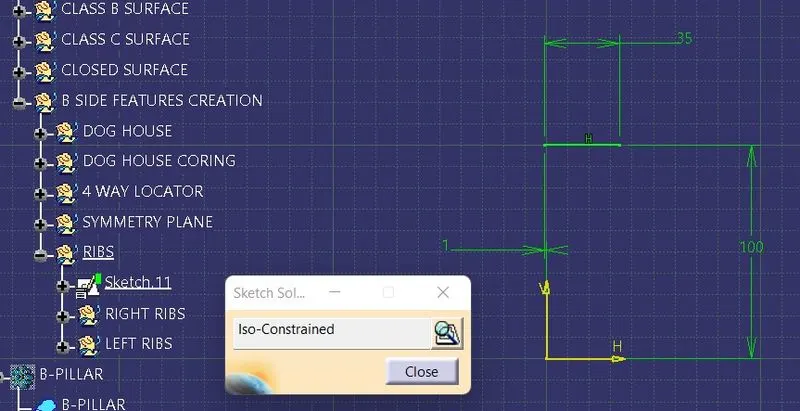
- By using the positioned sketch, a sketch is created along the plane which is created with reference to the master section.
- Those sketches were extruded along the tooling axis with some height value and then thickened in the part bench. “The standard thickness of ribs are 0.4 times or 40% of the components wall thickness and the height of ribs are 5 times the wall thickness”.
- After thickening, all sides of the ribs were drafted along the tooling axis. “The standard draft for ribs is greater than are equal to (5º)”.
- Then this rib parts are assembled with B-pillar by applying the union trim command on the Boolean operation.
- After that, fillets were applied to rib edges. “The standard fillet radius for ribs is maximum of 0.25mm”.
- The minimum gap between the ribs is 50mm for the given component.
- After the ribs creation, its root thickness is measured to ensure its standard value is achieved to avoid the plastic defects in the component.
- The root thickness is said to thickness at the junction were the ribs and the component are connected, it does not exceed 30% of component wall thickness according the design standards.
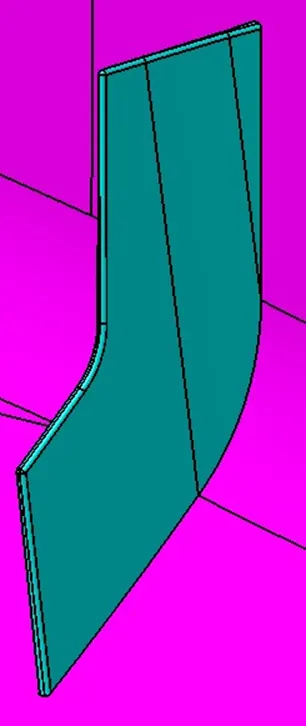
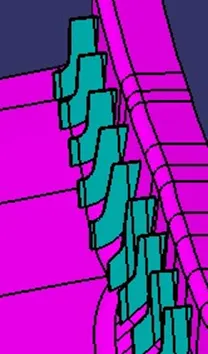
Ribs.
Draft analysis on ribs:
The draft analysis on ribs is conducted, to ensure its feasibility to manufacture. The same procedure is followed to do the draft analysis like before,
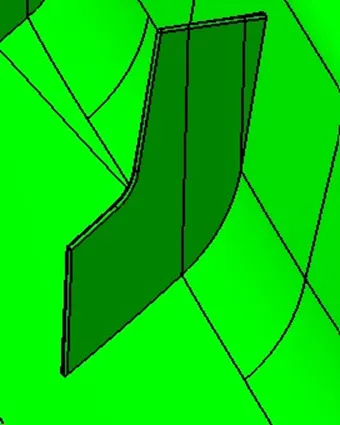
Draft analysed ribs attached with component is shown.
The created ribs are passed in the draft analysis.
Dog house:
Dog house is one of the attachment features used to support the screw bosses and other features in an elevated position to reduce the manufacturing cost of the component. It is present in the B or C surface according to its requirement.
Dog house standards:
- The thickness at the C region (C region is where the dog house contacts components wall) should be 40% of the main wall thickness to avoid the sink marks.
- The height of the B region (B region is where the thickness increases in the dog house) should be in between 3-6mm.
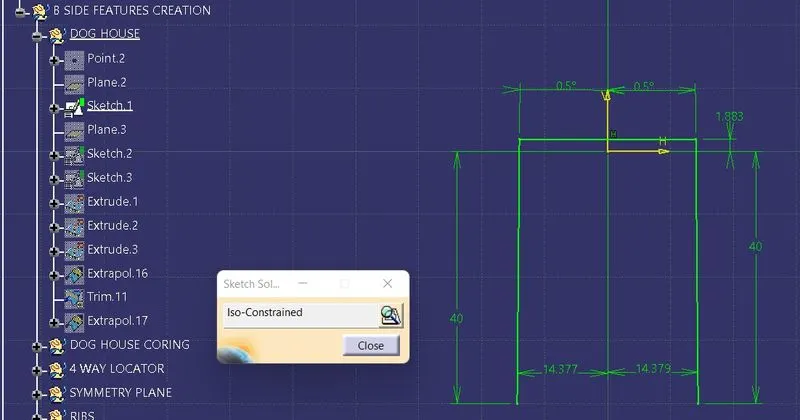
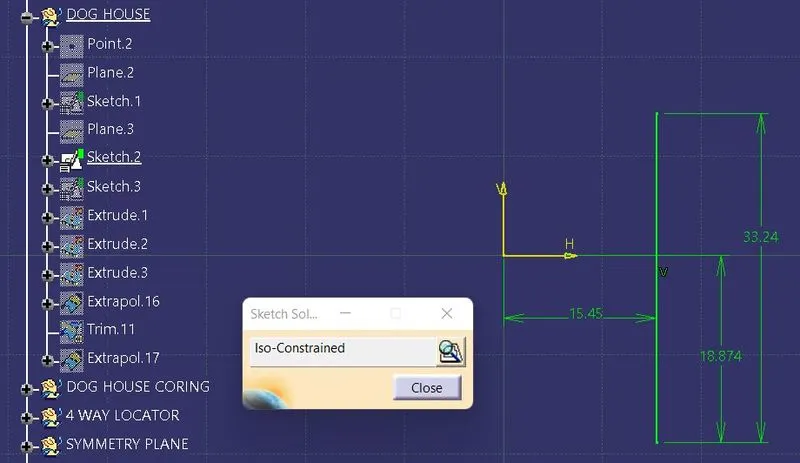
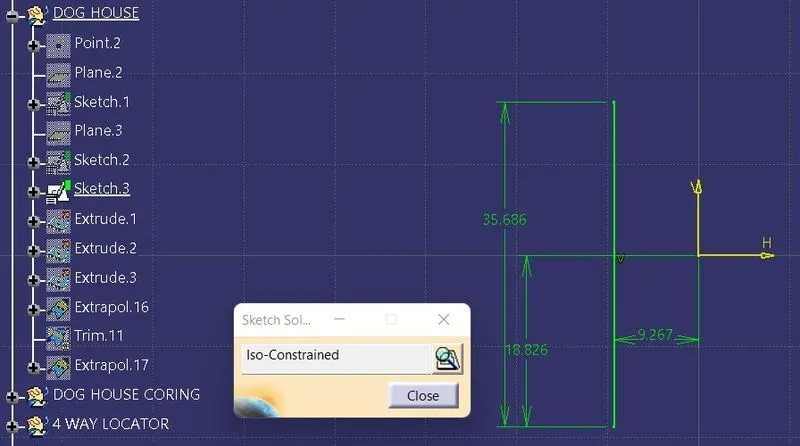
For the B-pillar, the attachment feature dog houses were created following the above-mentioned standards.
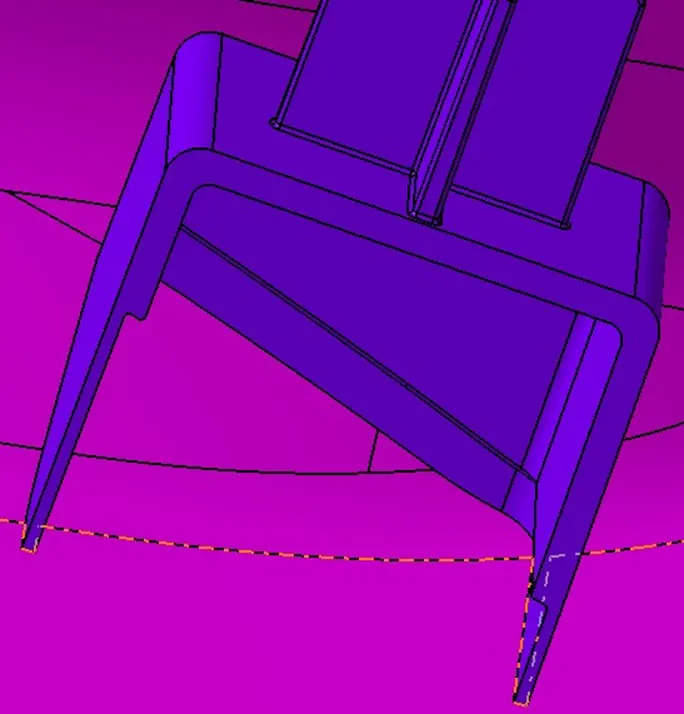
Dog house for B-pillar is shown.
Draft analysis on dog house:
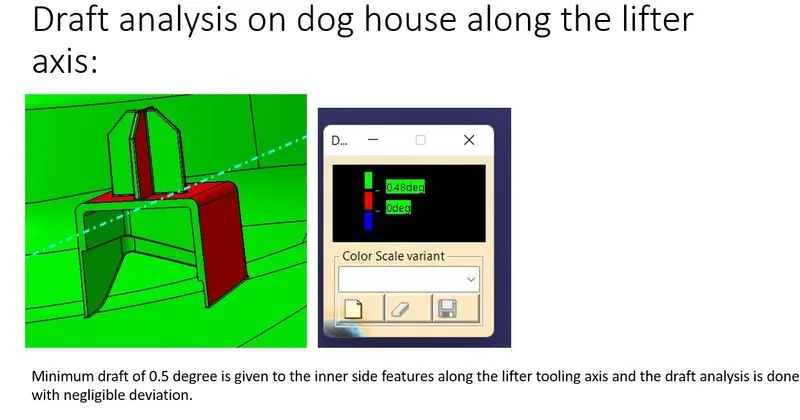
The draft analysis for dog house requires side core or lifter axis. Because it cannot be achieved by the core & cavity itself.
Side core: side core is an extra core which is used to manufacture the components which cannot be manufactured by core and cavity itself. It has separate tooling axis for its movement.
Lifter: lifter is a part of core which helps to manufacture the components were the side core is impossible to incorporate.
Side core or lifter axis: side core axis is used to define the movement direction of side core in the moulding operation.
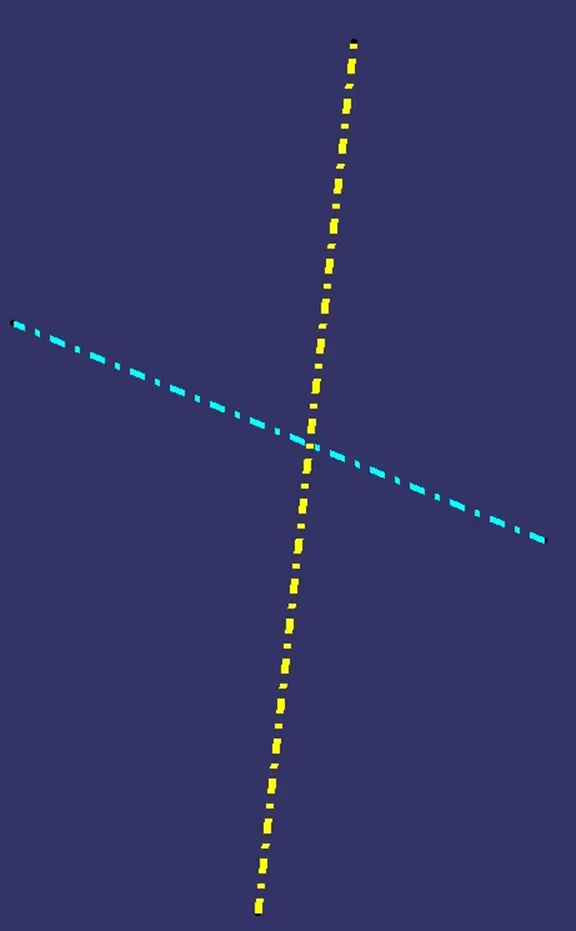
lifter axis.
The lifter axis is created along normal to the main tooling axis with reference to the point which is created between the projections of master section for the attachment features of B-pillar component.
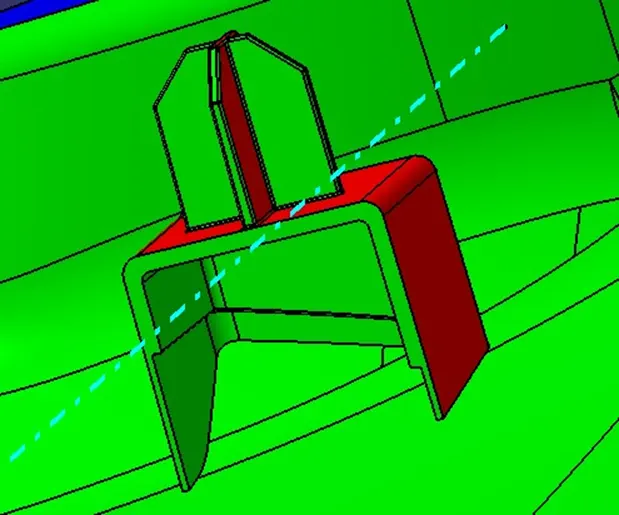
Draft analysis on dog house along main lifter axis is shown.
Locators: locators are the type of attachment feature of the plastic components which is used to arrest the degrees of freedom of the component to help its fixation. Locators are in two types, they are 2 way locator and 4 way locator.
To the given B-pillar component 4 way locators were created by following the 3-2-1 principle.
Steps involved in locators creation are,
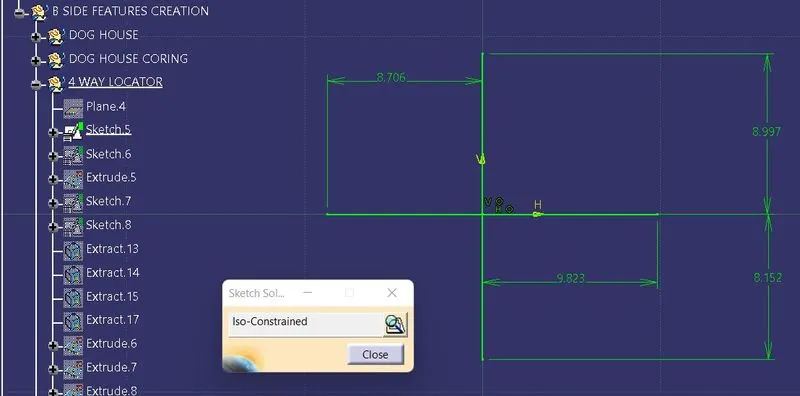
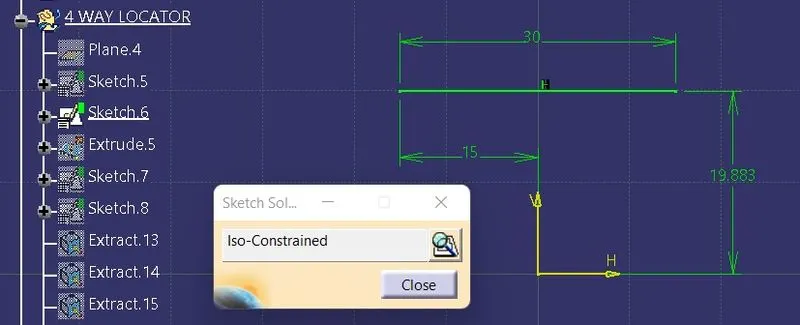
- After creating the part, positioned sketches were created normal to the part according to the requirements.
- Then these sketches are padded along the tooling axis with a height which is enough to go over the clearance panel and translated to the required positions.
- After padding, the sides are drafted along the tooling axis with 0.5º and the required edges are chamfered and filleted.
- In completion of locators creation, some Boolean operations are used to assemble and union trim the locators with the dog house designs.
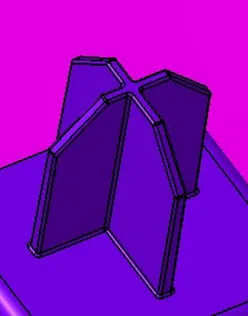
4 way locator.
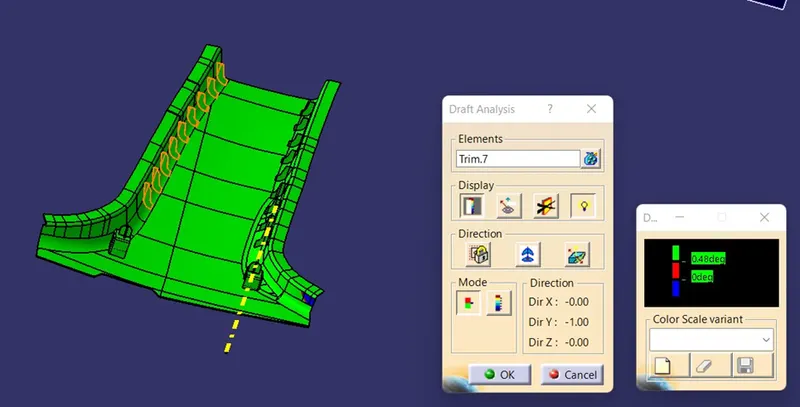
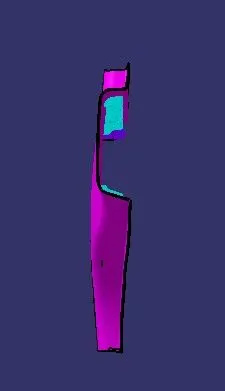
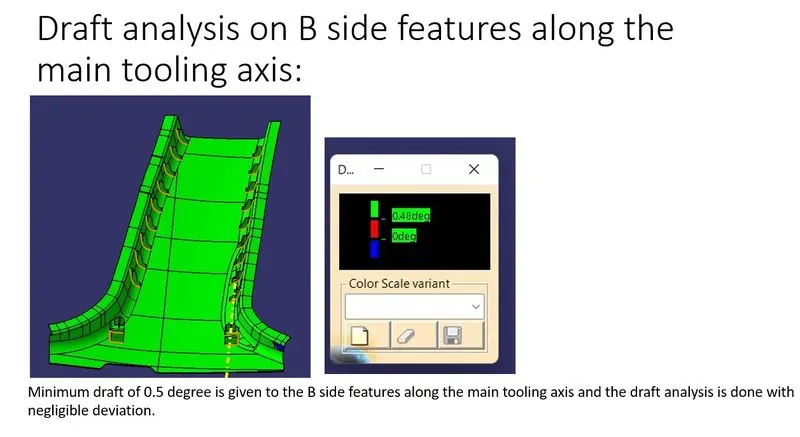
Draft analysis on B-pillar with its attachment features with minimum draft is shown.
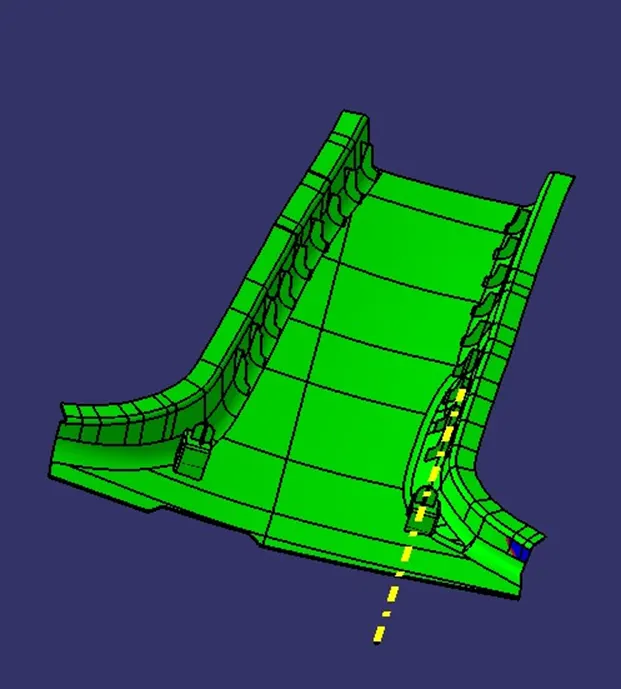
Draft analysed attachment features along with the component is shown.
Conclusion:
The steps and standards involved in tooling axis creation, B & C surface creation, attachment feature creation and draft analysis of B-pillar component is explained in detail with reference images for understanding the design process which is done using CATIA V5.