Week 9 - Project - Master Section Development
MASTER SECTION WITH B PILLER
1. The Tree Structure and Gemometrical Sets
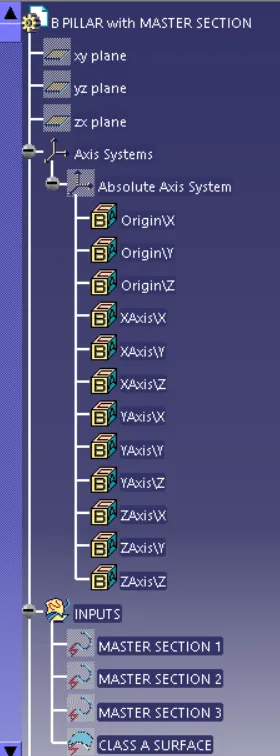
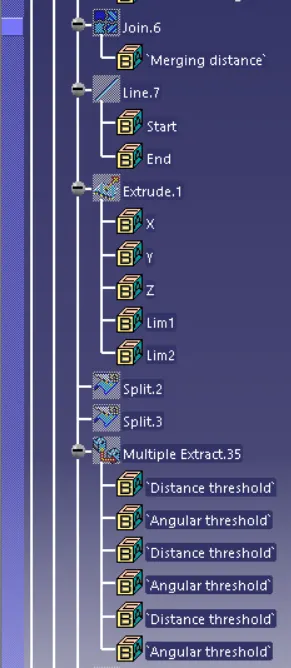
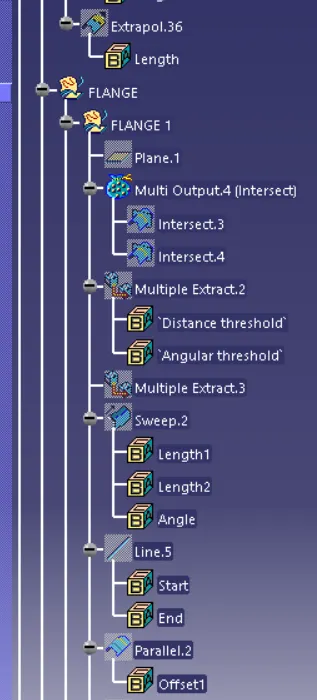
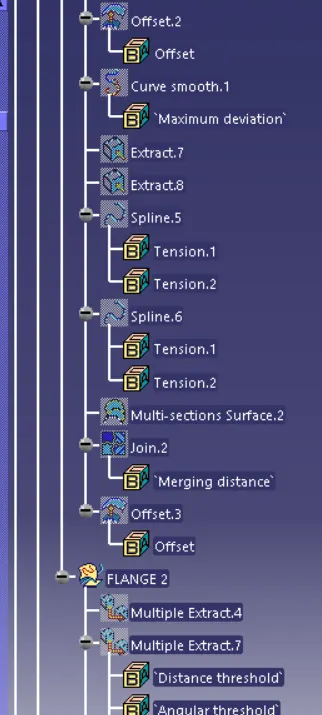
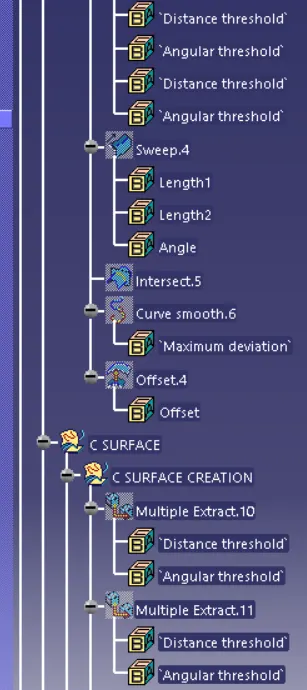
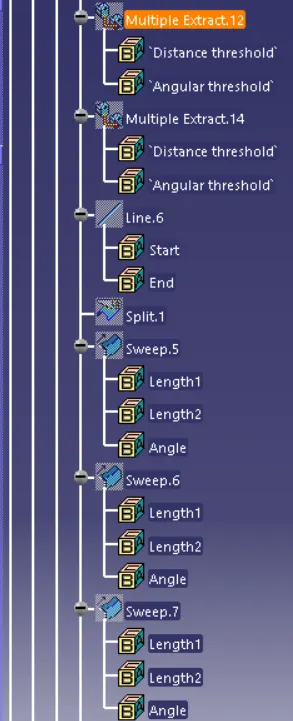
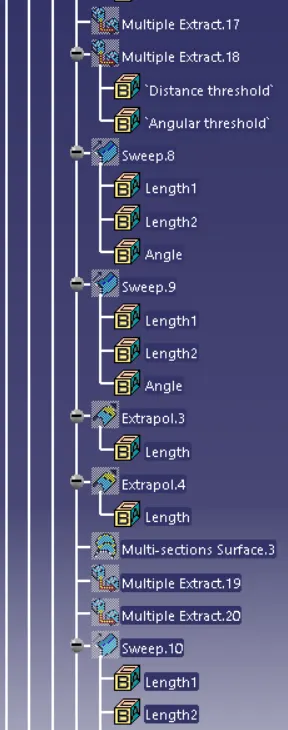
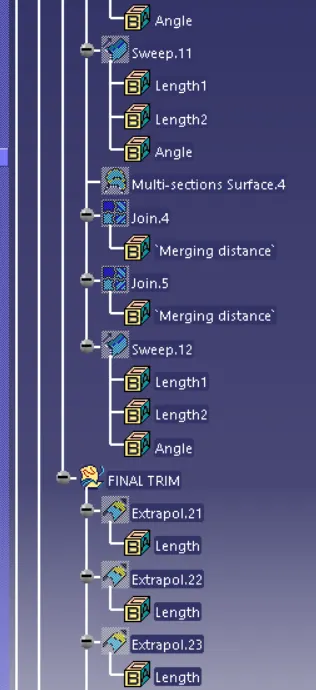
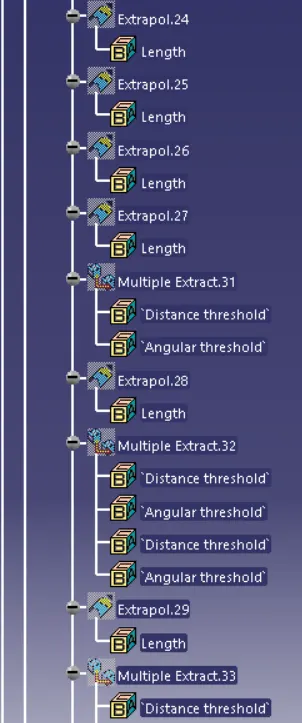
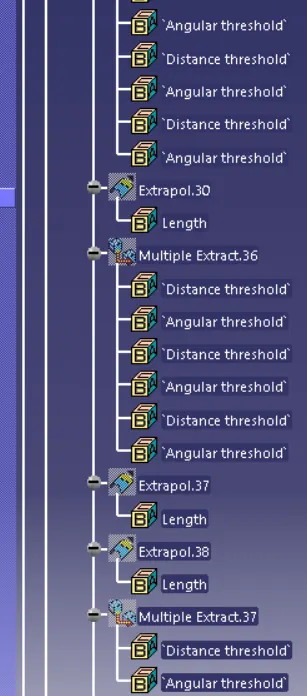
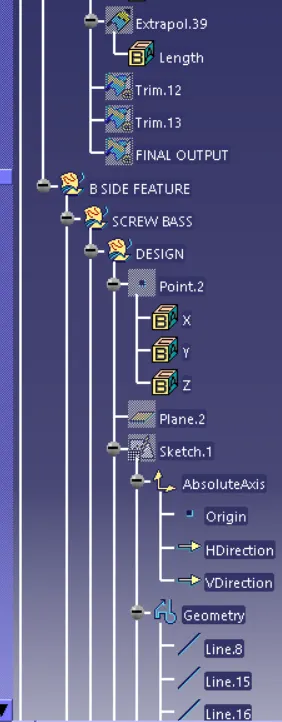
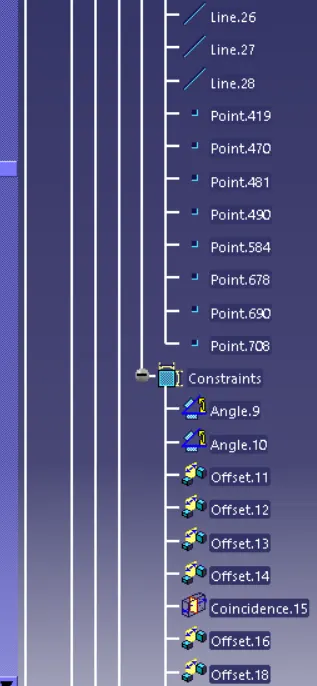
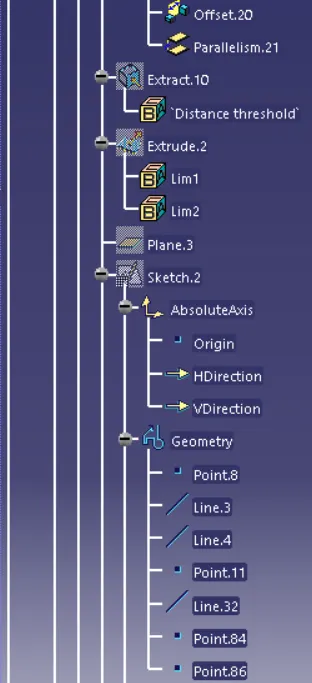
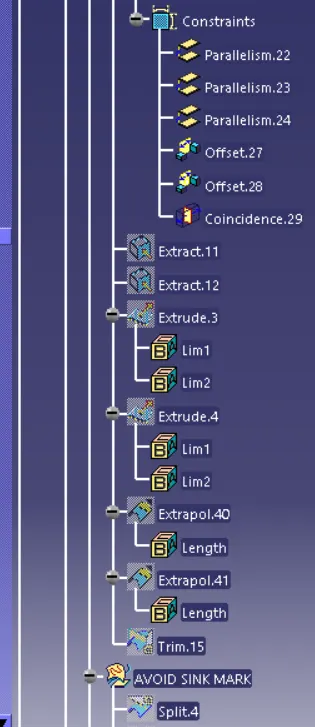
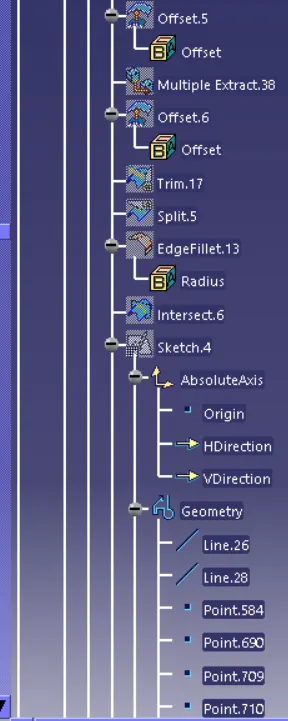
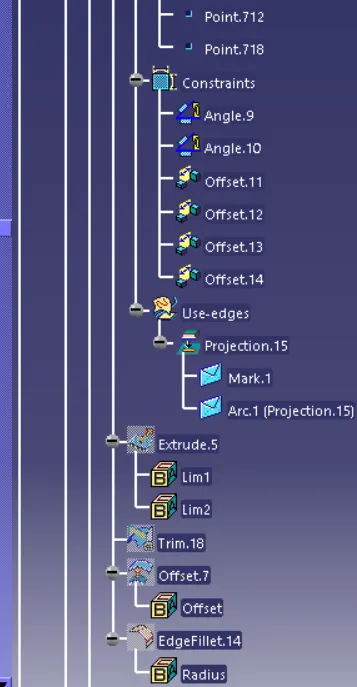
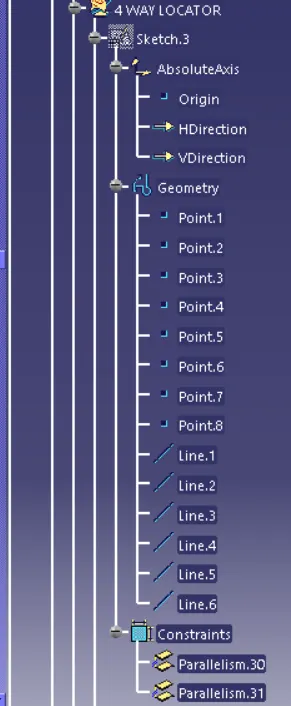
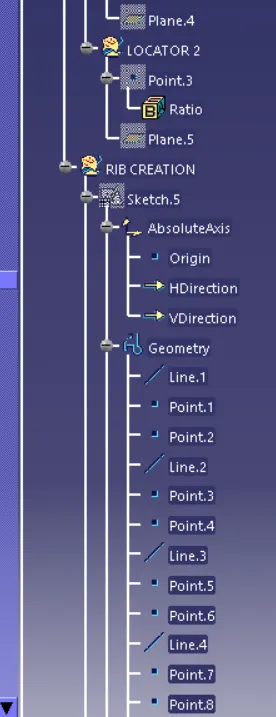
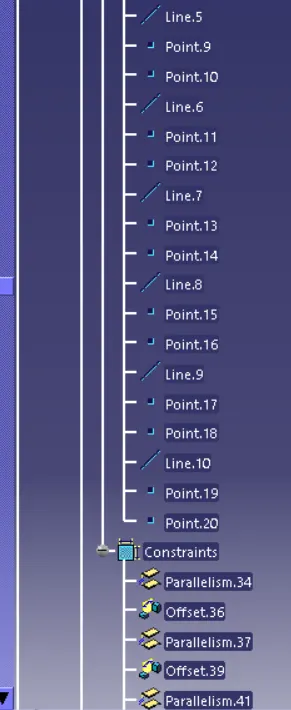
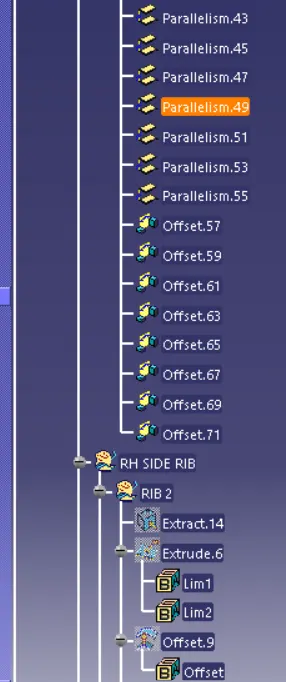
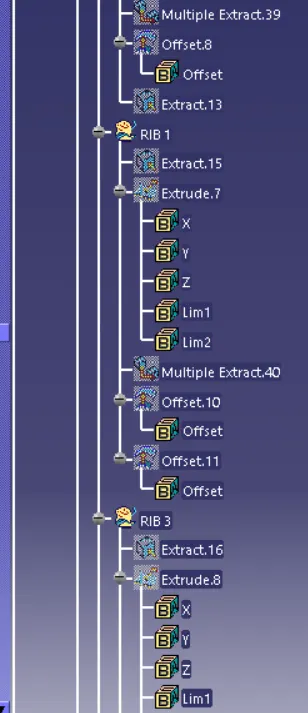
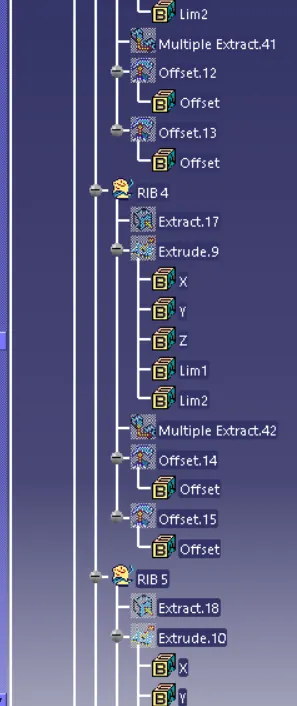
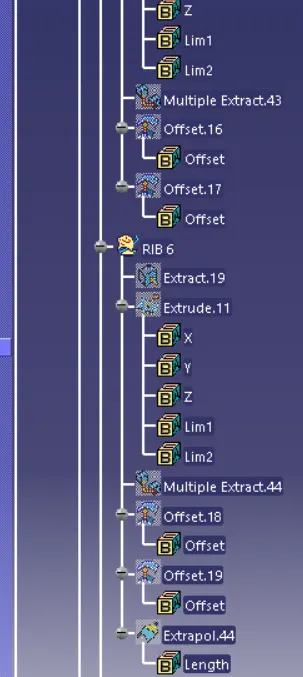
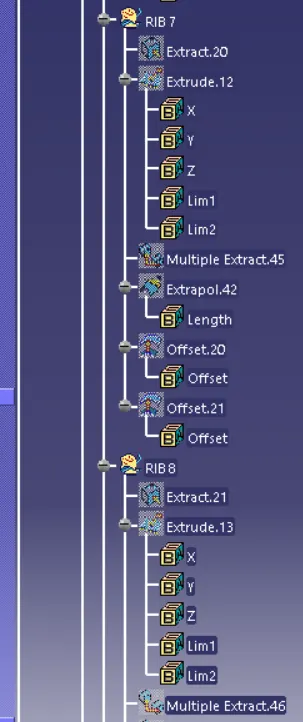
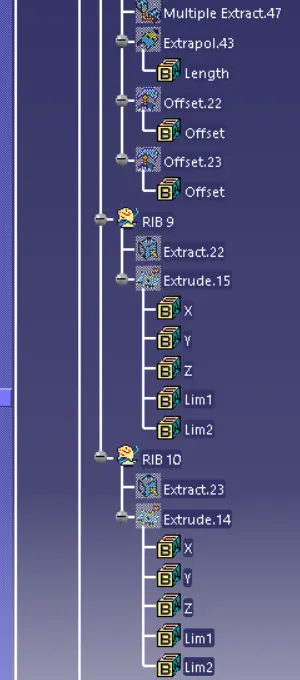
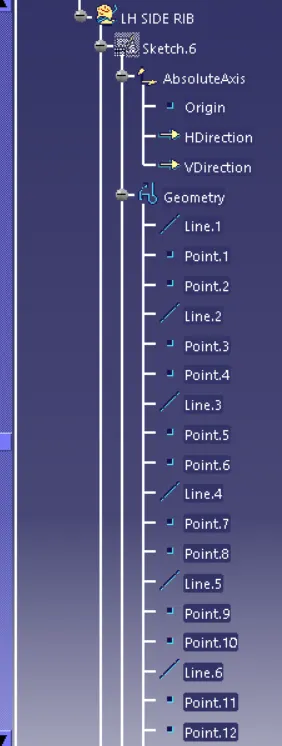
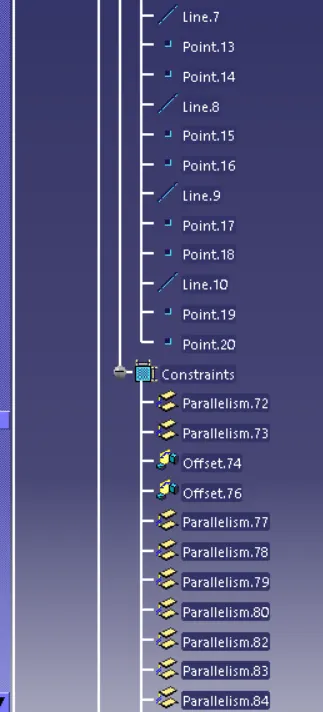
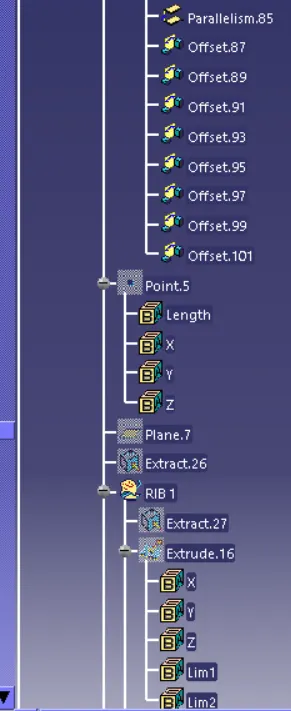
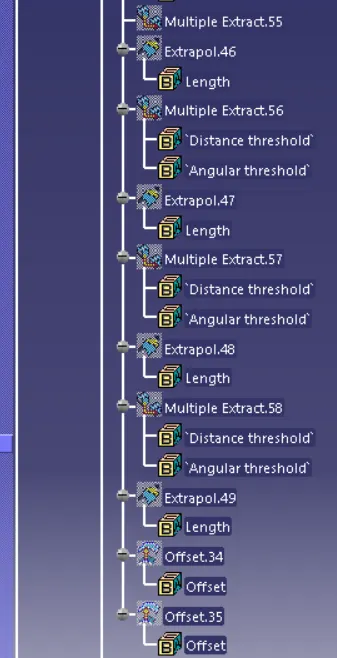
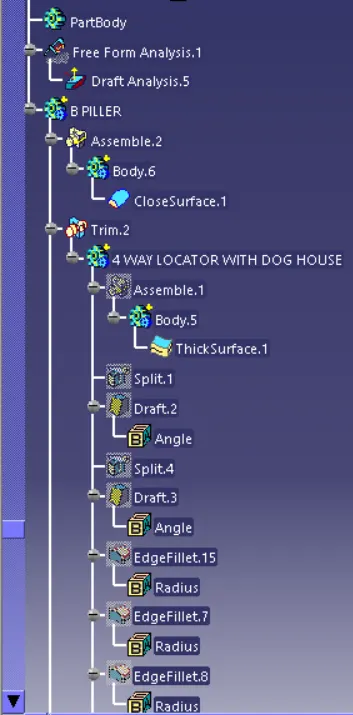
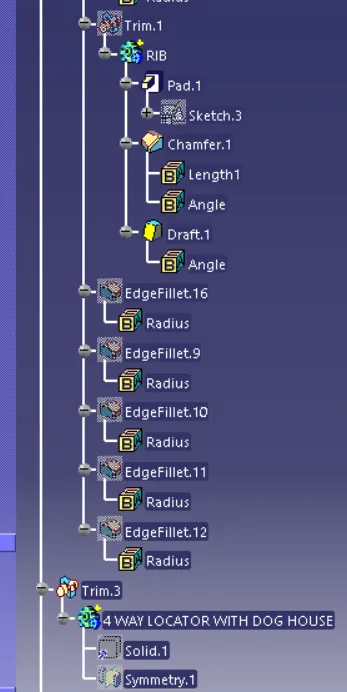
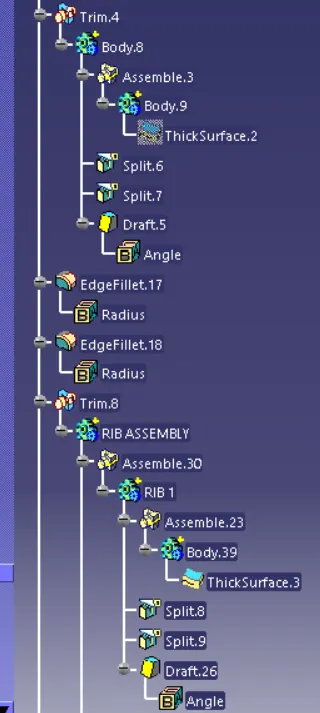
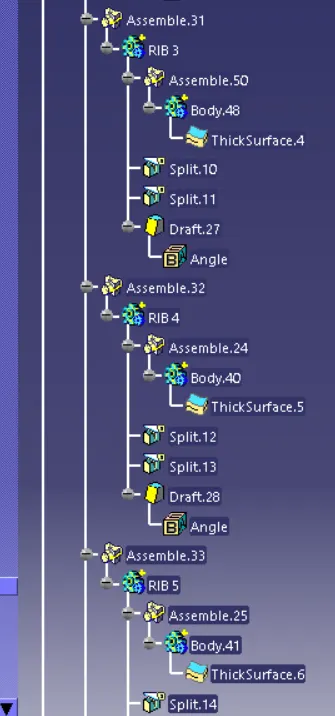
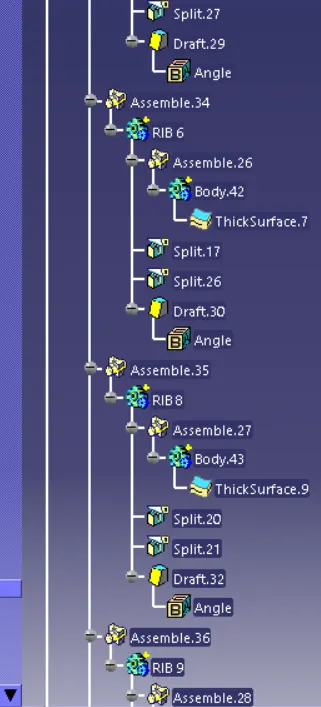
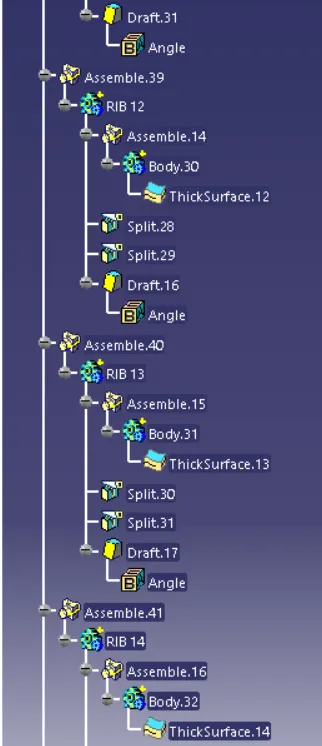
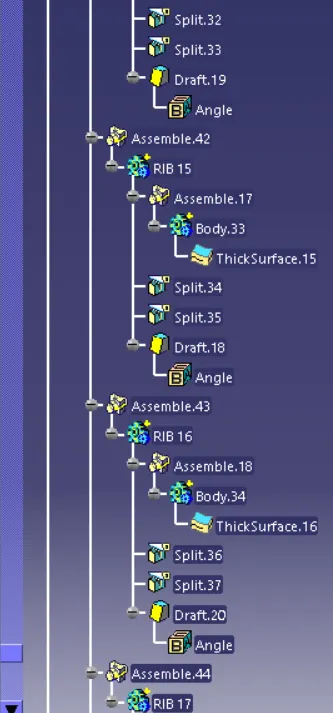
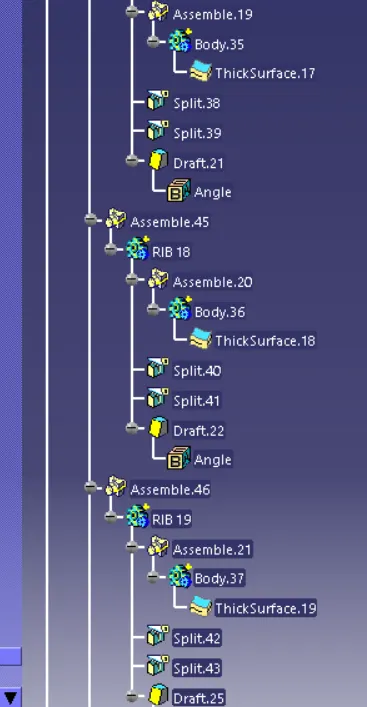
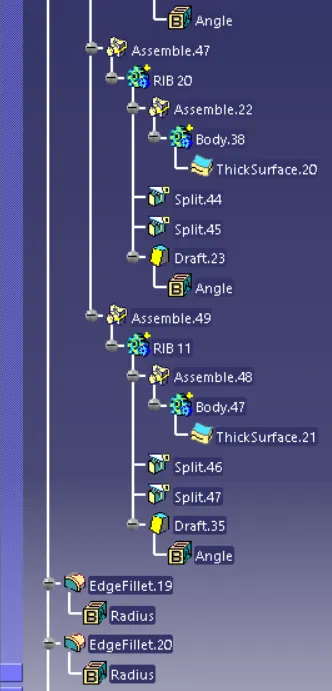
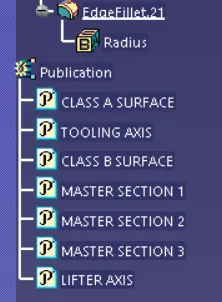
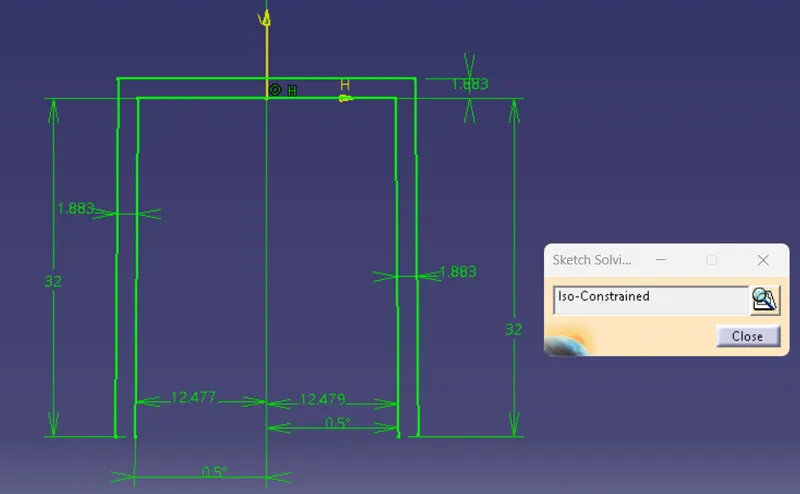
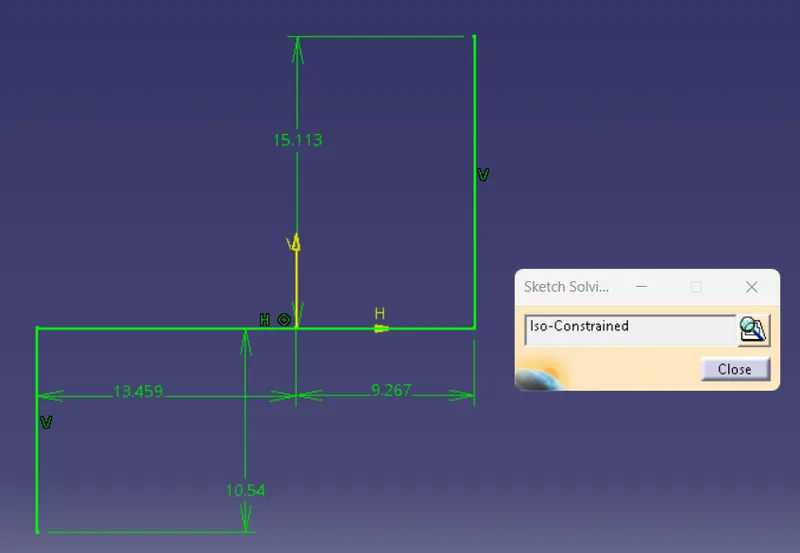
Fully Defined Sketch
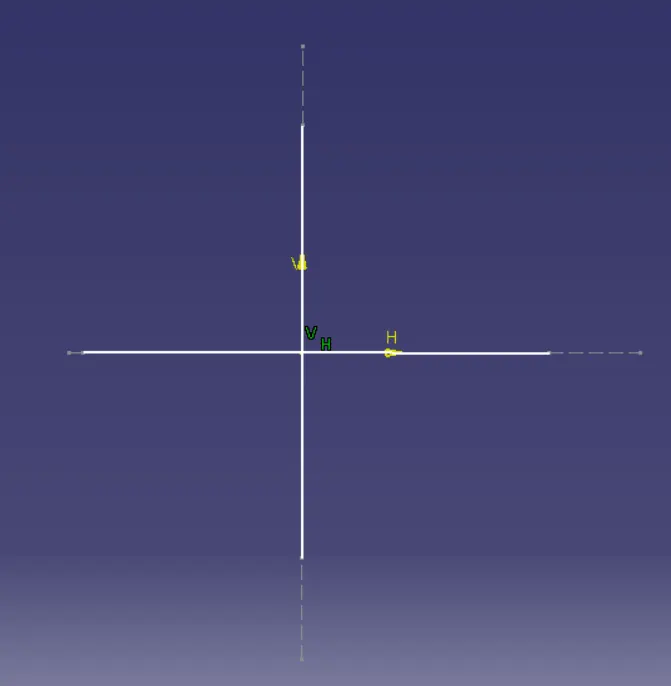
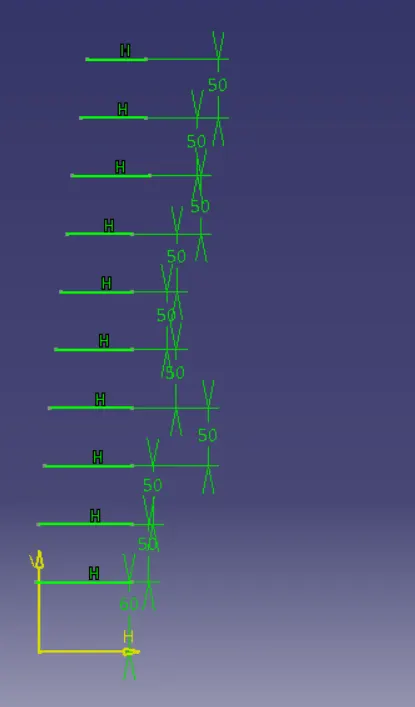
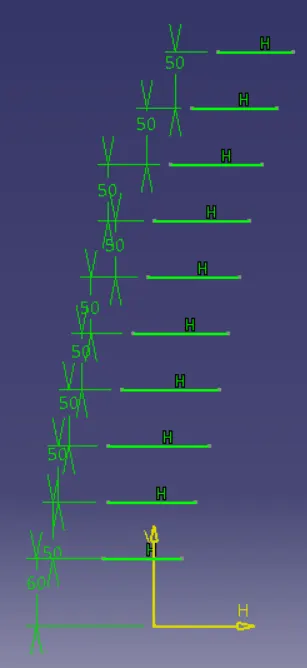
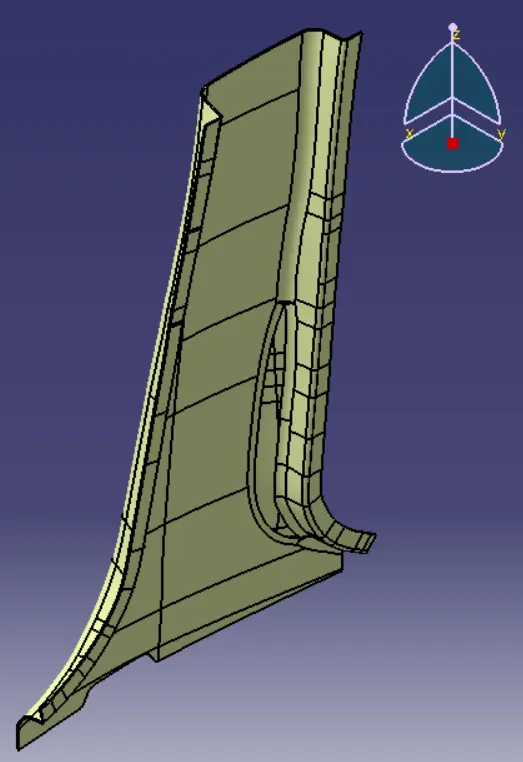
The Various Oreintation View of Master Section with B Piller
- Front View
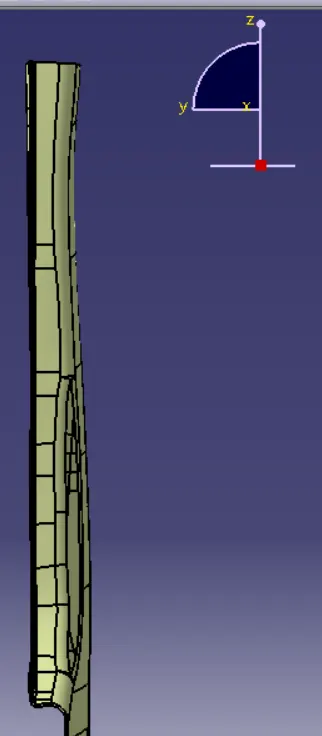
- Side View
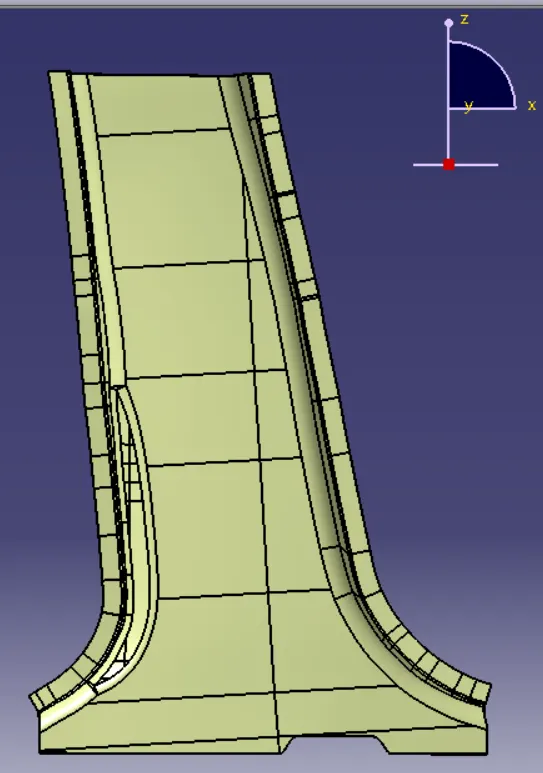
- Top View
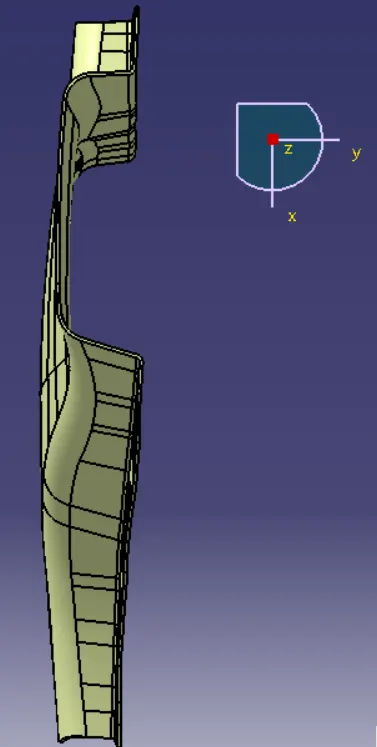
- Isometric View
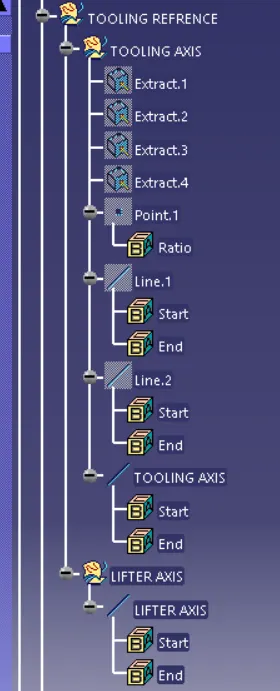
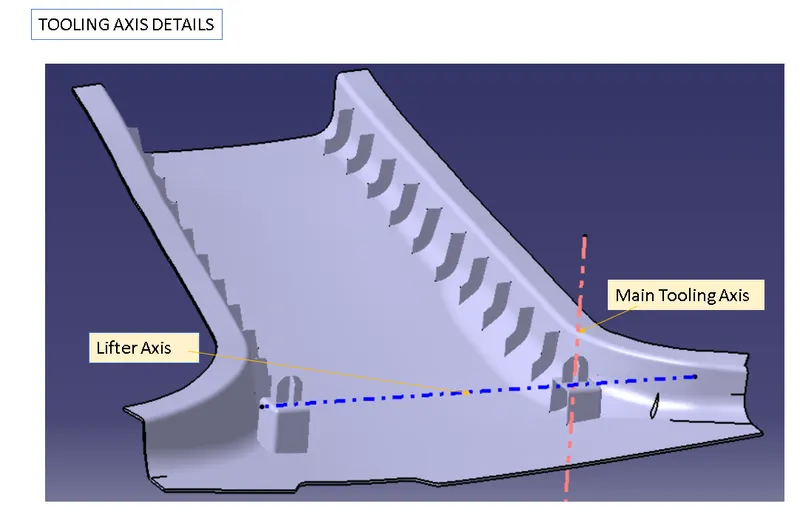
Tooling Axis
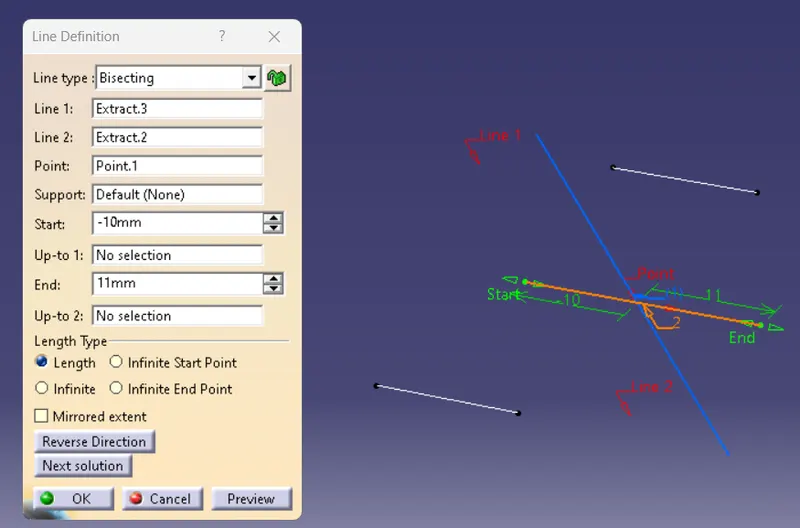
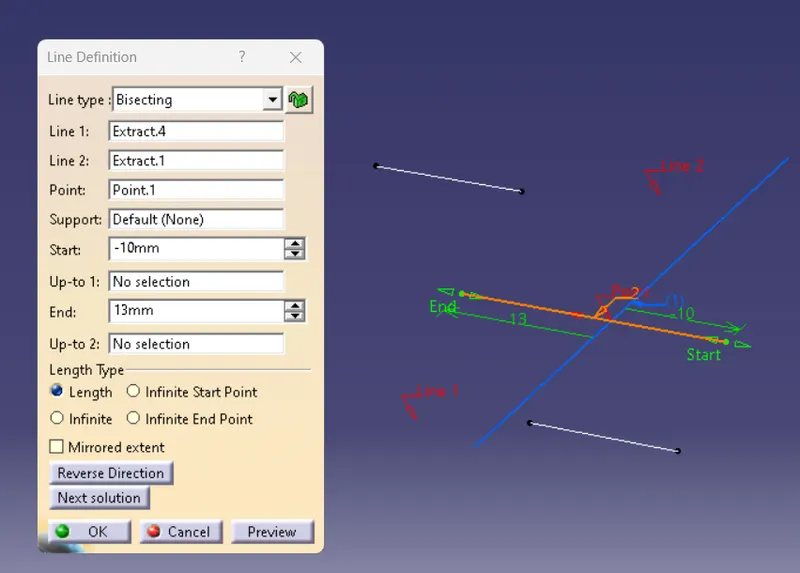
EXtract the Line from the Master section the bisect the first two line, and extract the other two line from the other Master Section
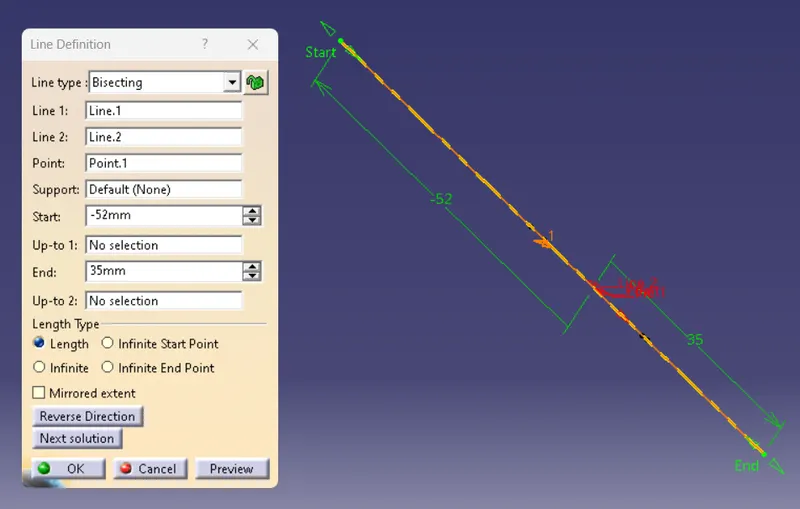
again use the bisecting command then bisect the line.
After that the two line will Bisect then form the Main Tooling Axis.
Lifter Axis
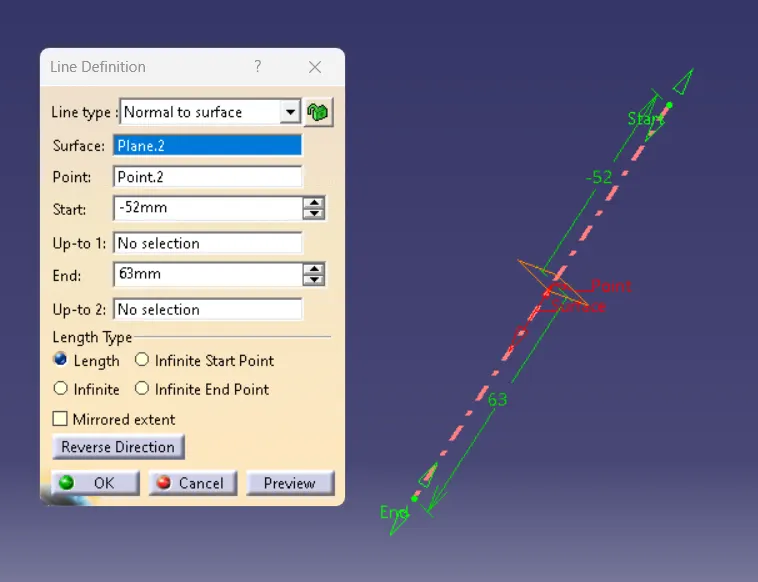
Create the plane on the Master section and use the Line command Normal to Surface.then create the Lifter axis.
The Creation of Flange for the B Piller
- Flange 1
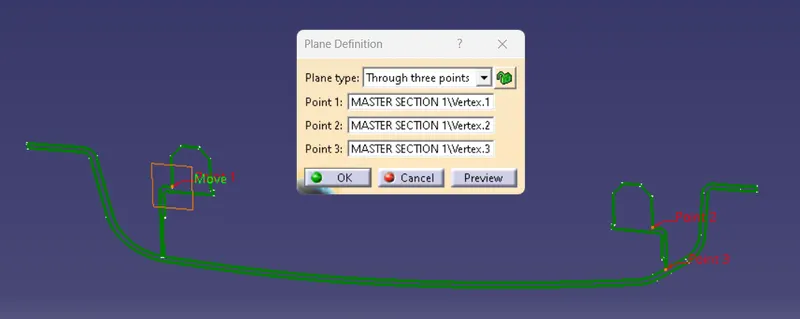
Create the Plane using the master section from class A
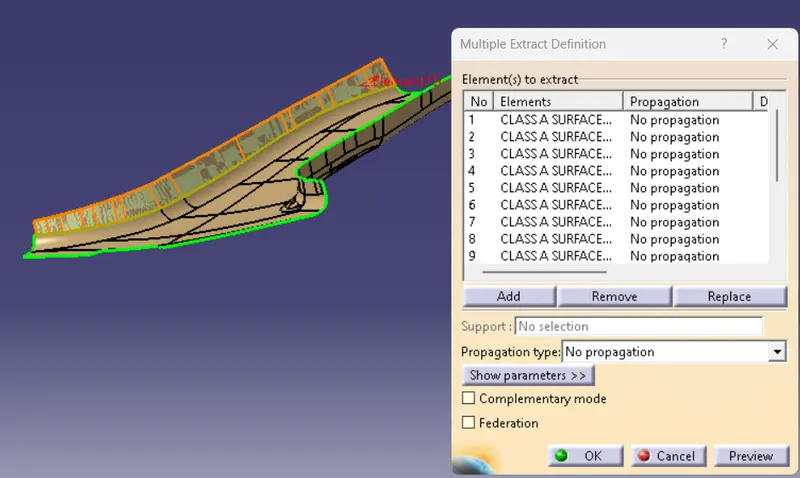
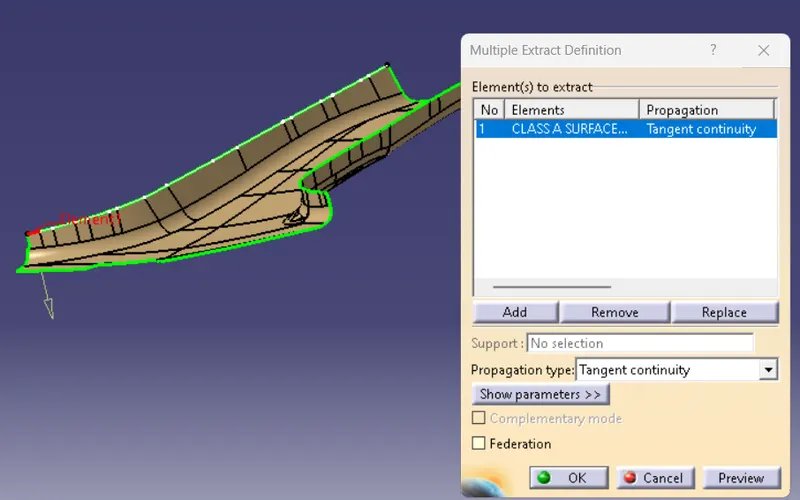
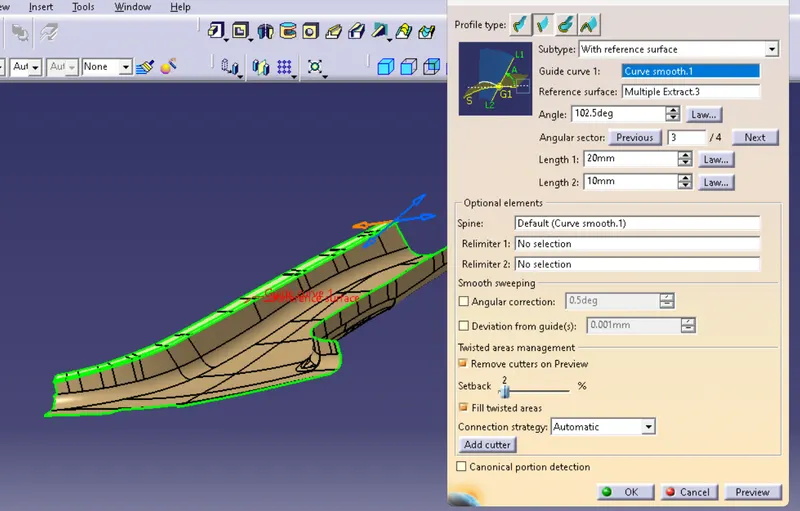
Offset the sweep surface at 2.5mm
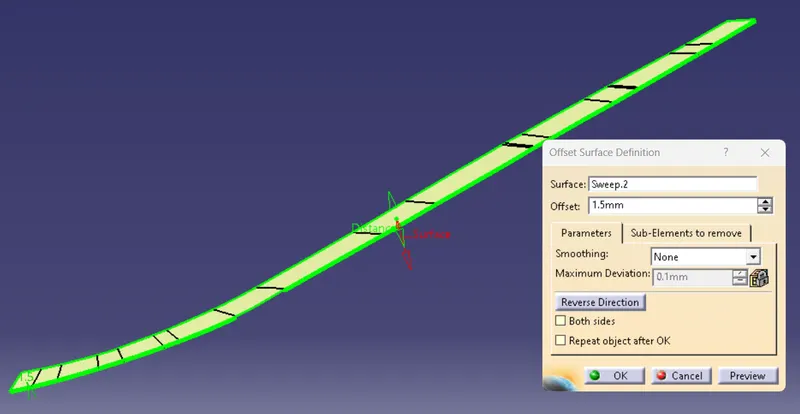
There will be Cap occur after the offset for the create a spline on it then use the Multisection to the Cap.
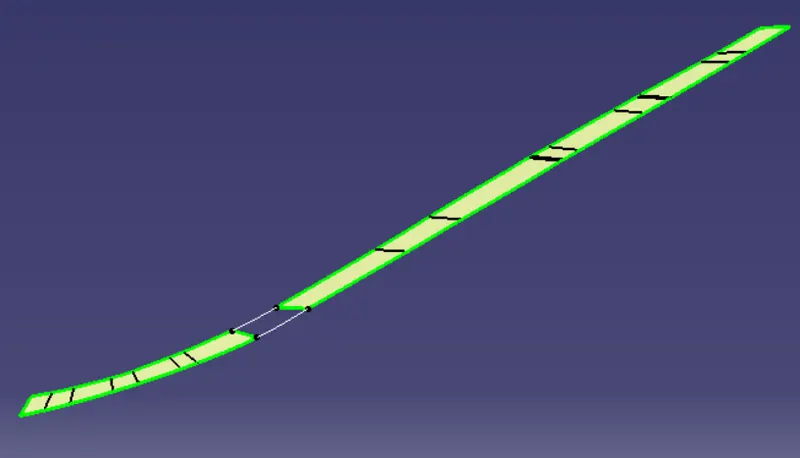
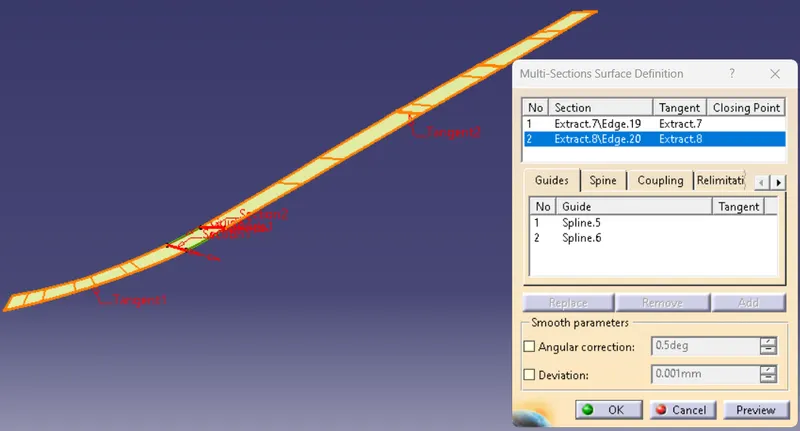
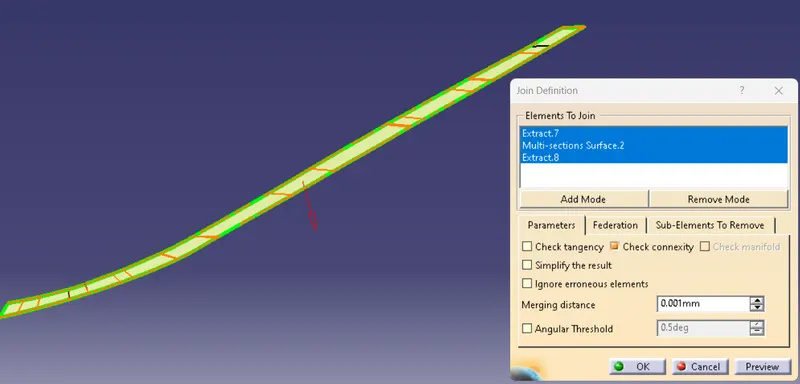
- Flange 2
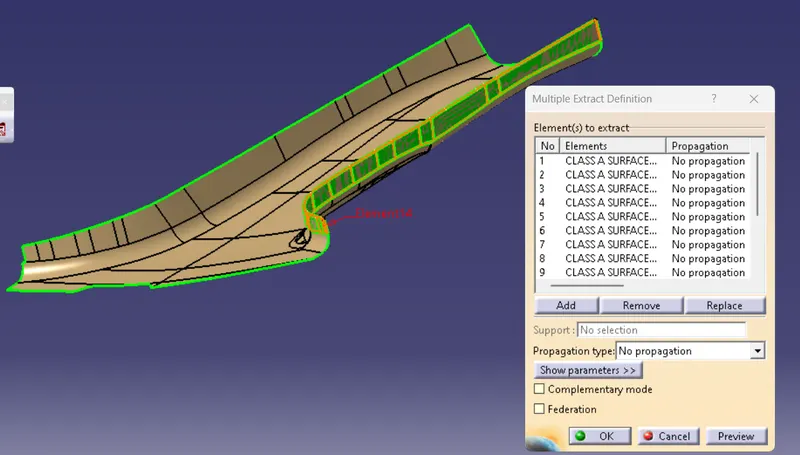
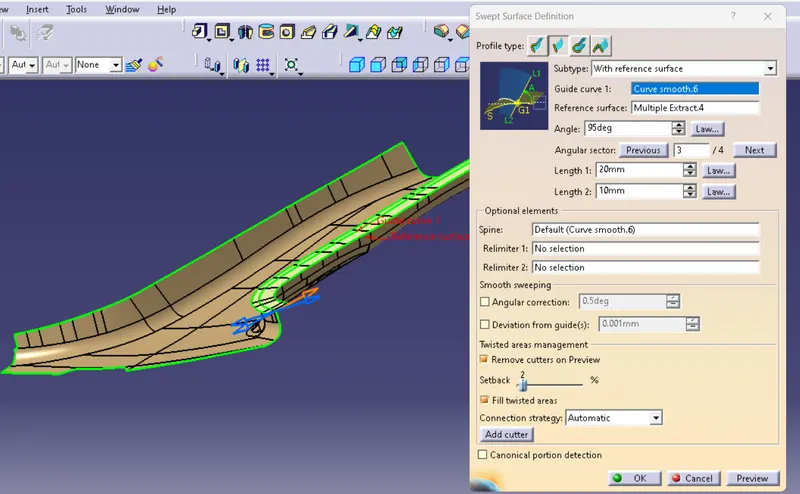
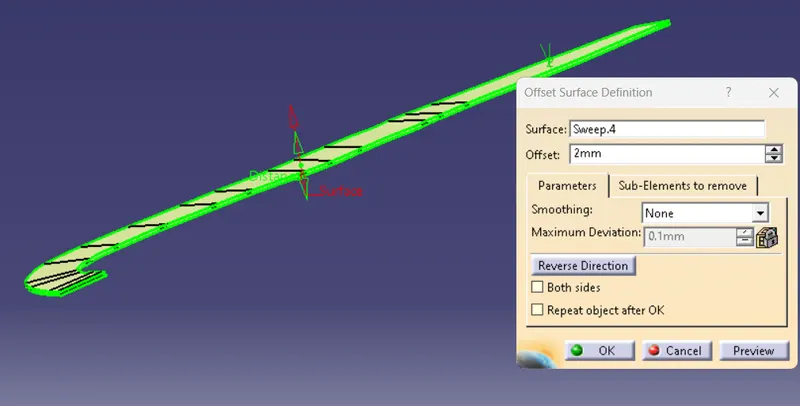
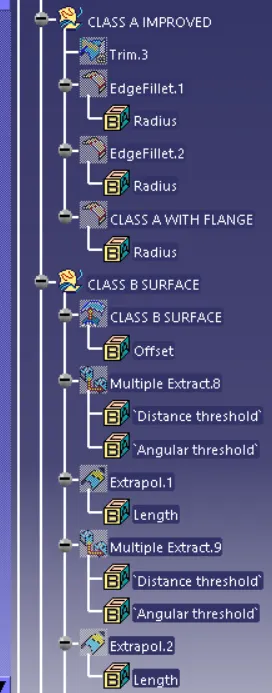
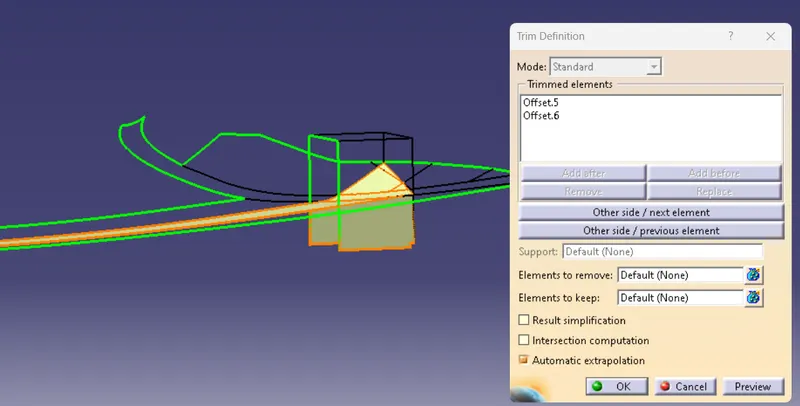
Trim the both Flange with the Improved Class A Surface,Now we got the Class A Surface
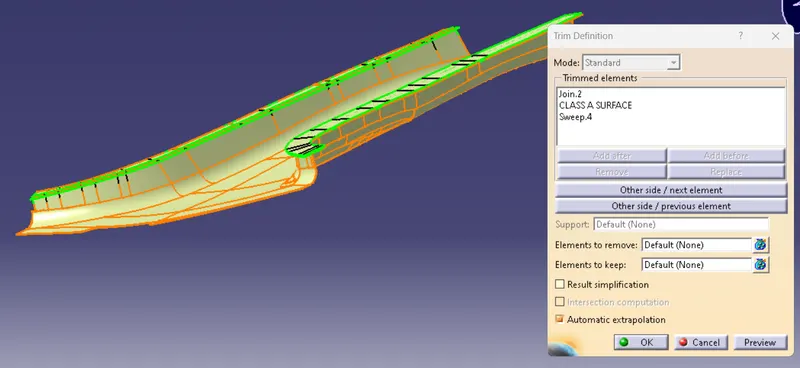
Class B Surface Creation of B Piller
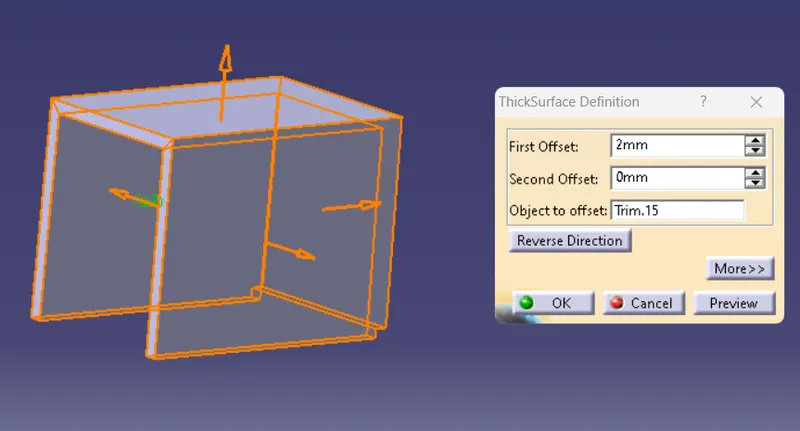
Offset the Class A Surface 2mm to create the Class B Surface
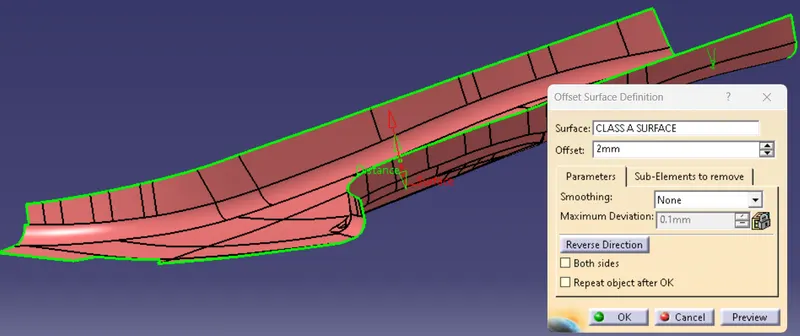
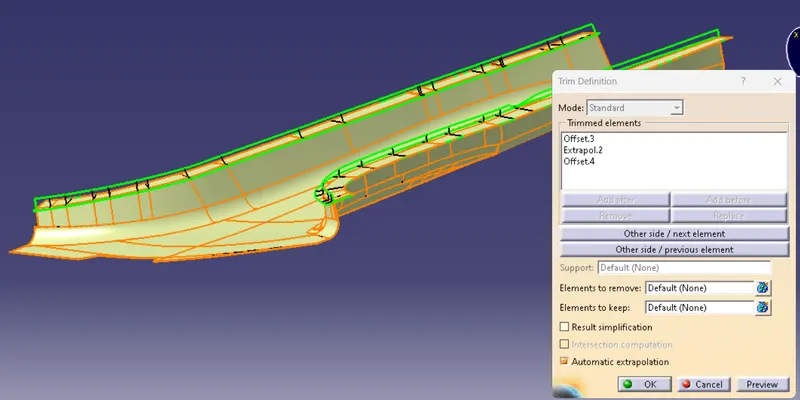
The Final Filleted Class B Surface
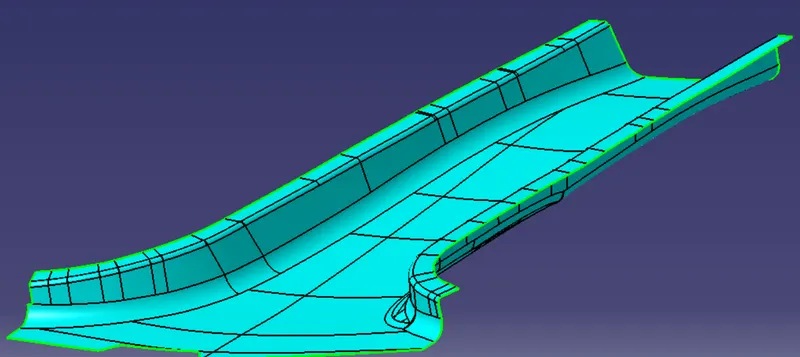
Class C Surface of the B Piller
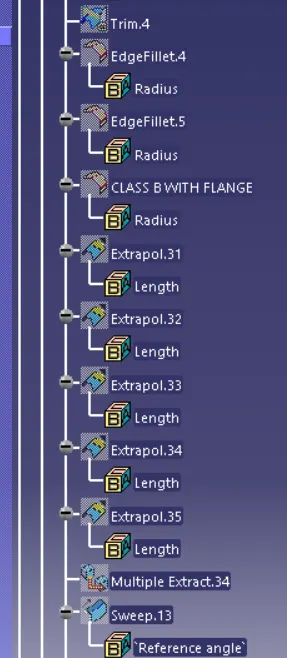
Use the Multiple Extract and create Swept Surface on it.
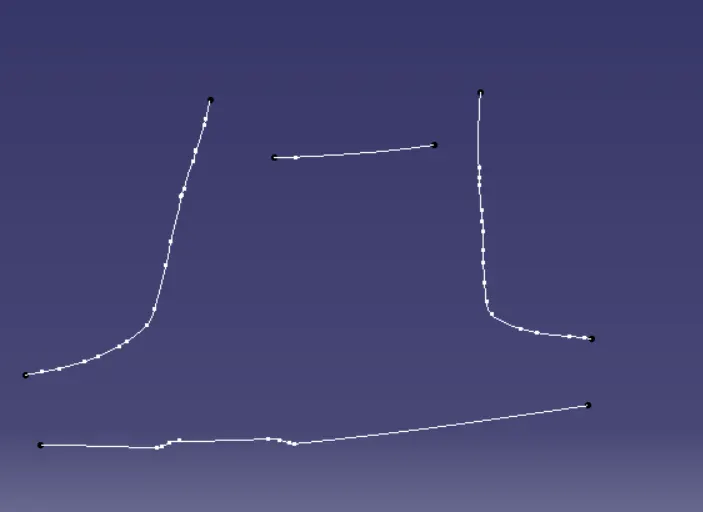
The Swept Surface of Class C
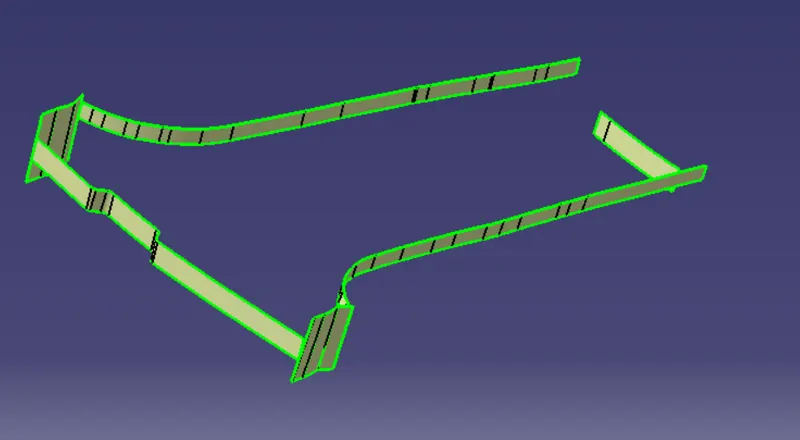
The Final Trim on the Class C and the Class B Surface
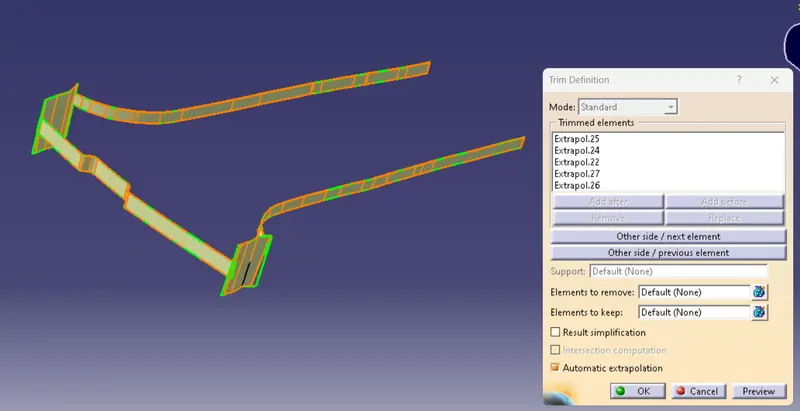
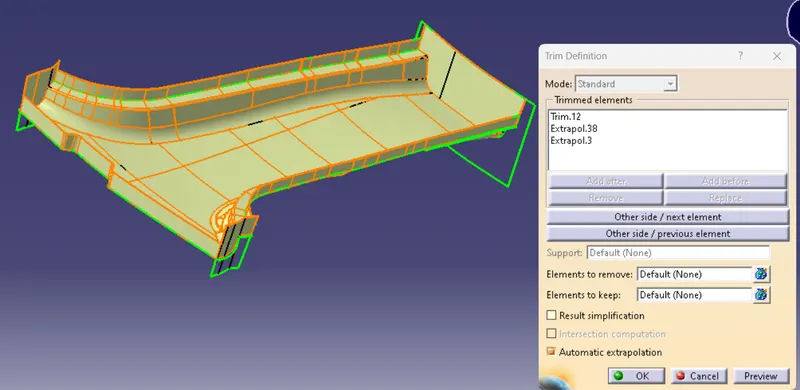
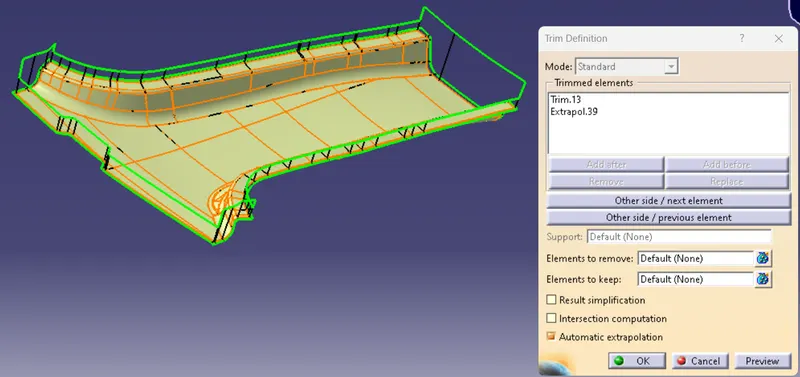
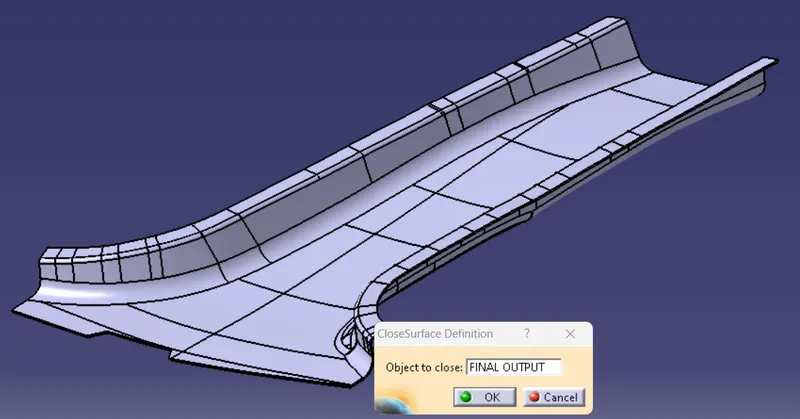
CloseSurface Body of the Master Section With B Piller
B Side Feature
- Screw Boss
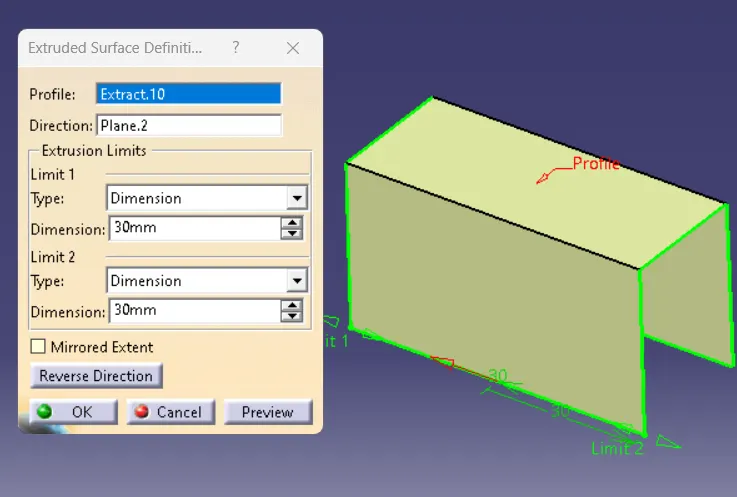
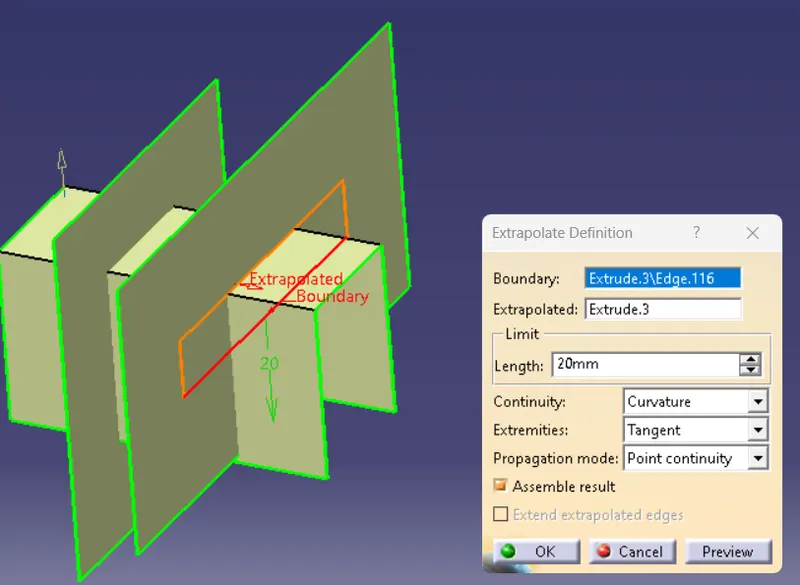
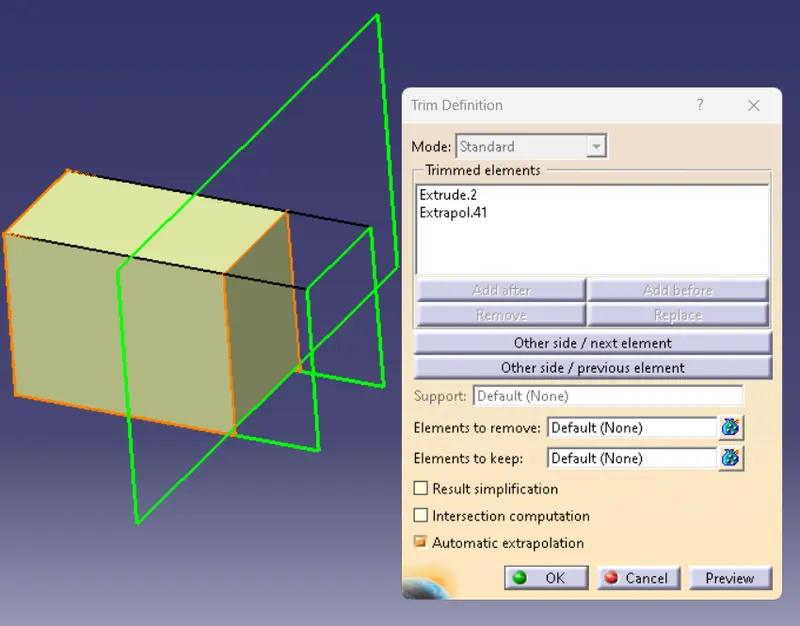
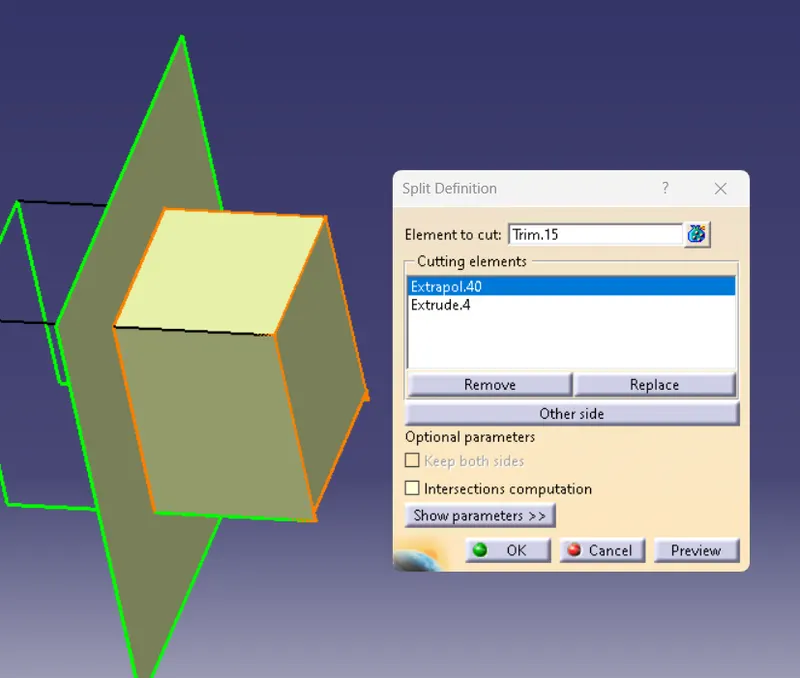
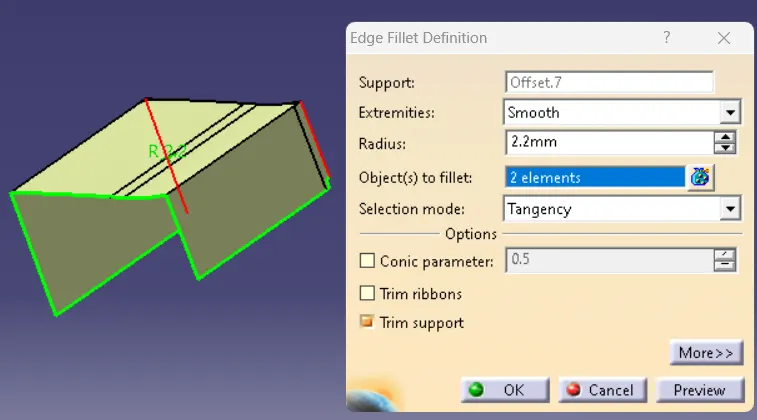
For the screw boss create a sketch the extrude it thn trim it,
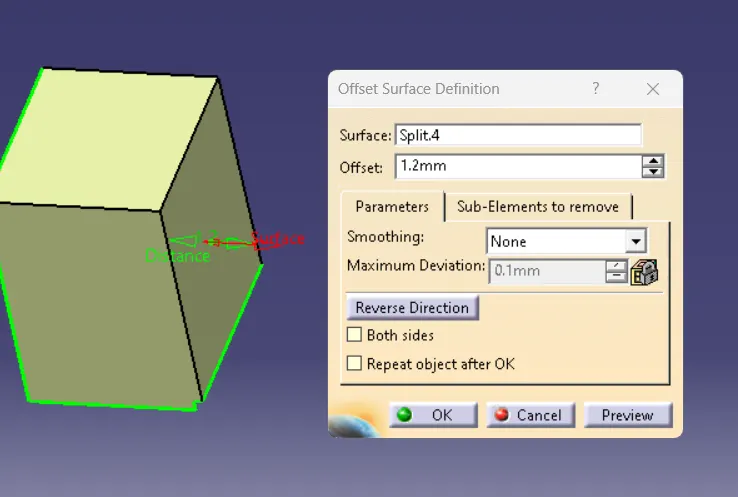
To avoid the Sink Mark
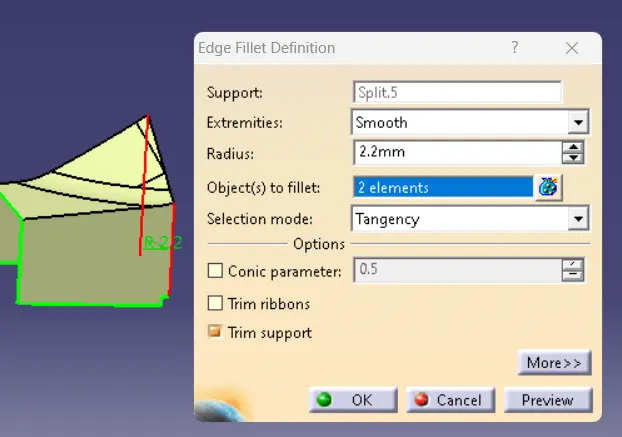
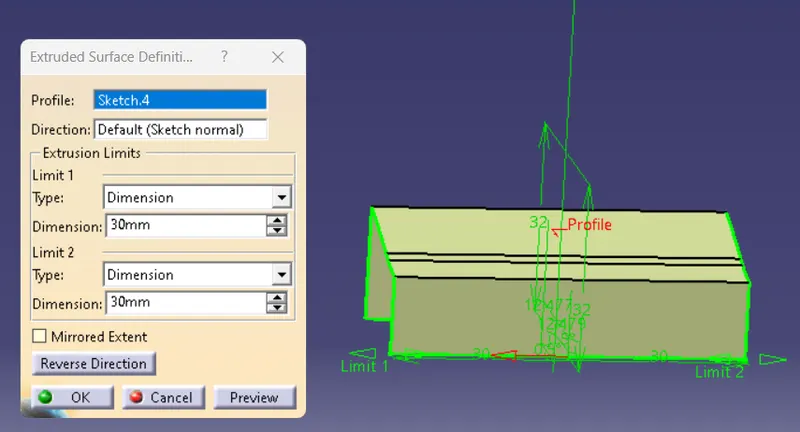
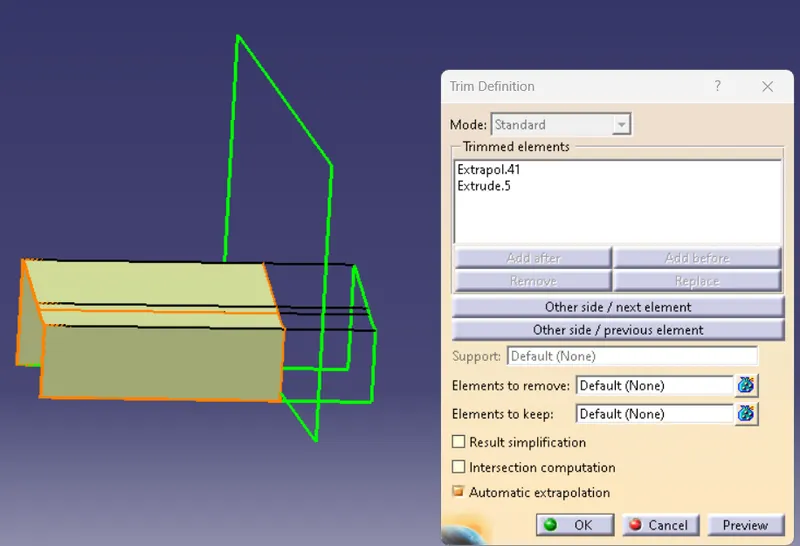
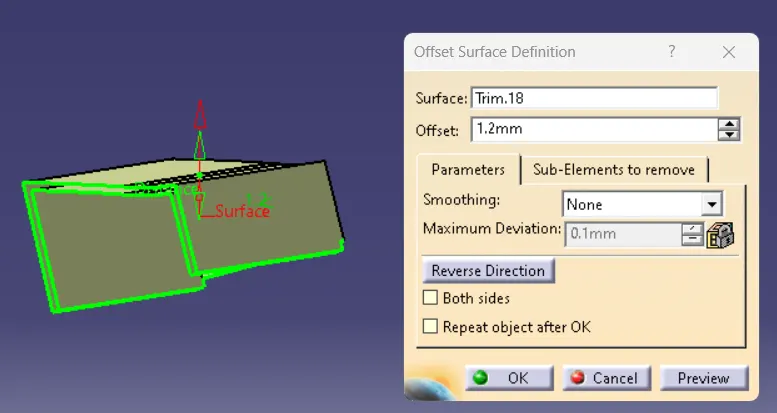
- 4 Way Locator
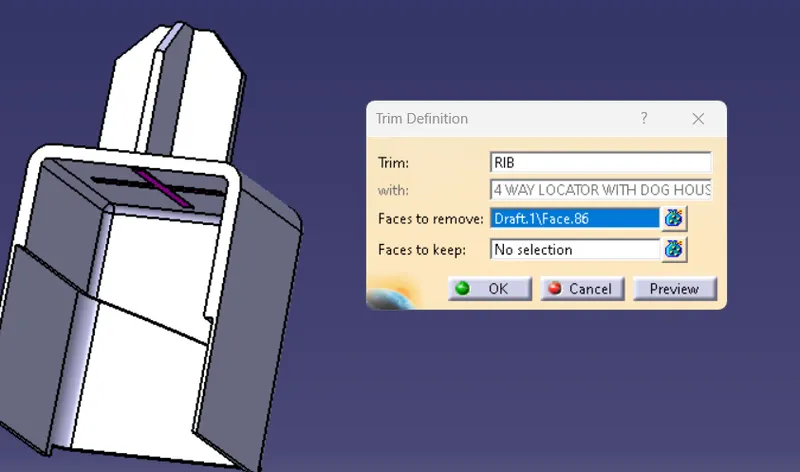
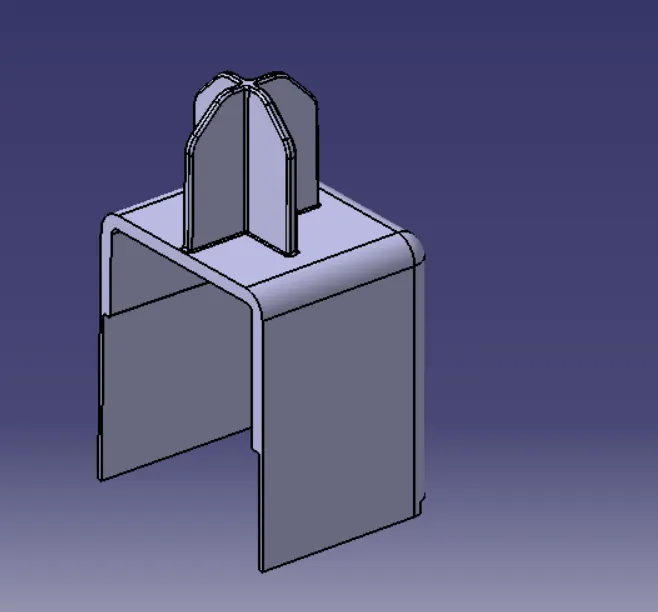
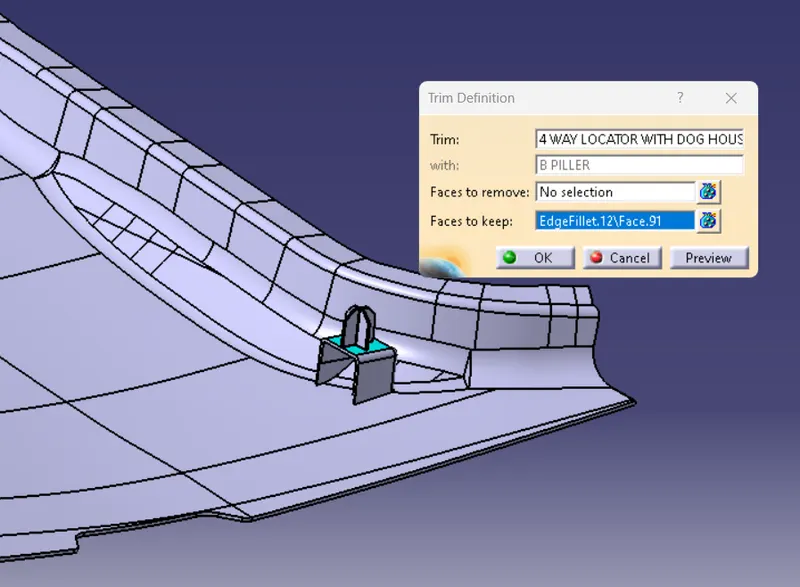
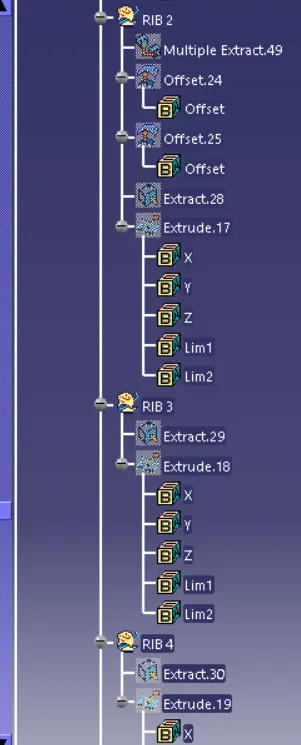
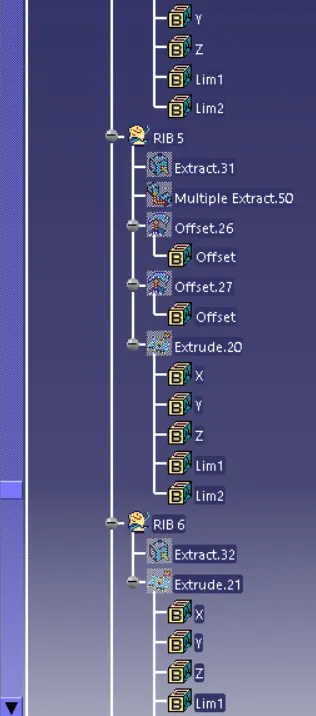
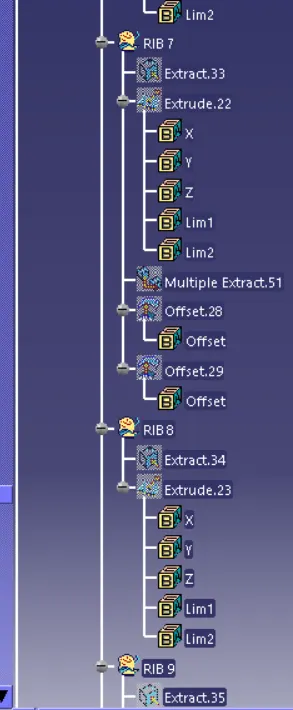
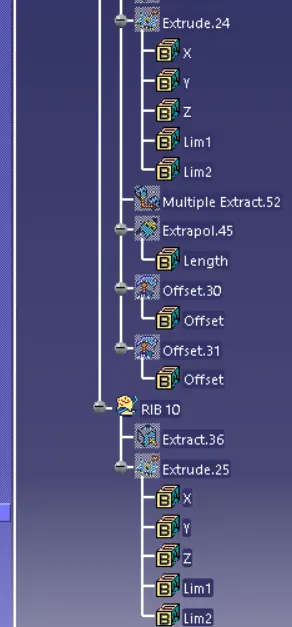
- Rib
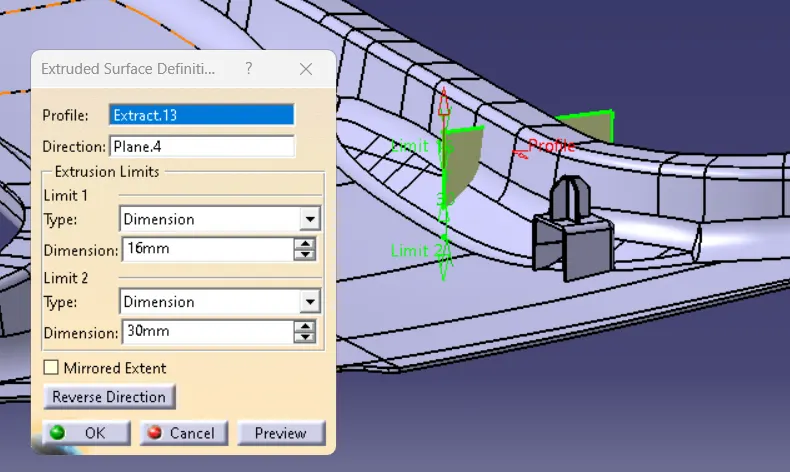
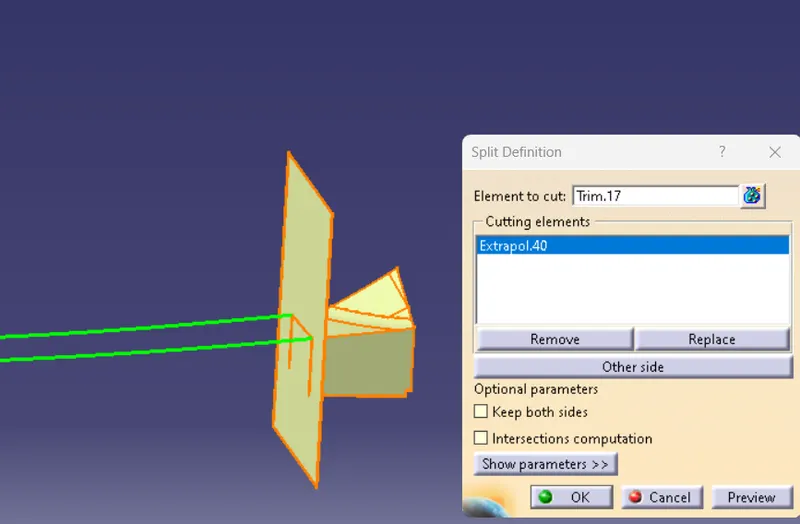
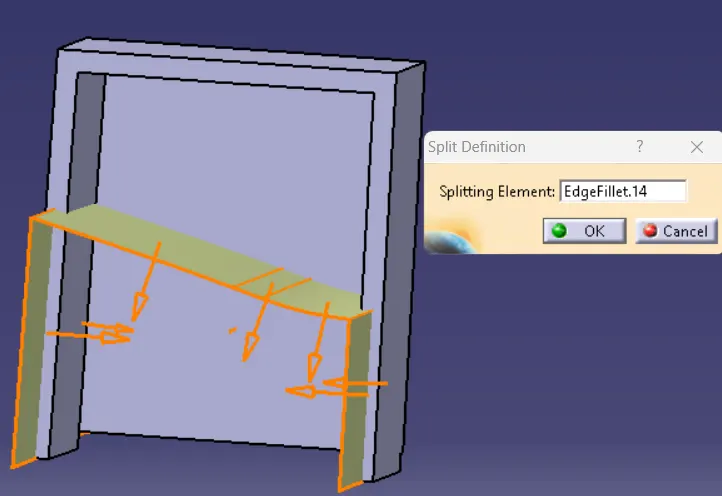
Thickness the Extrude Surface then split with the Surface
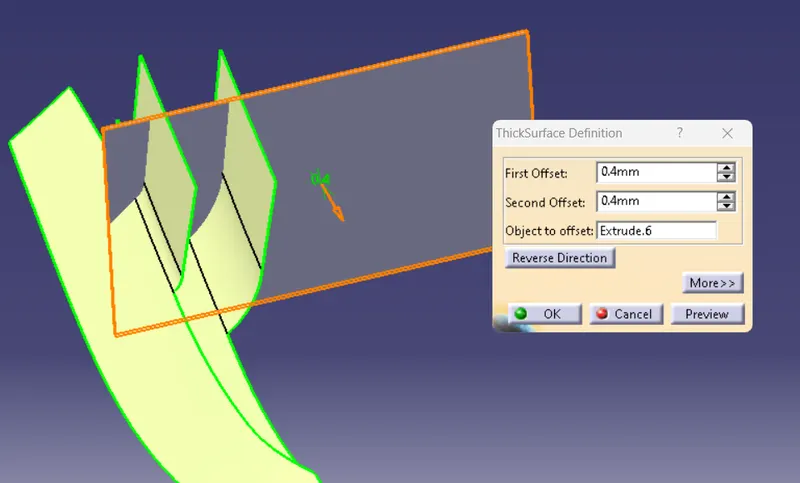
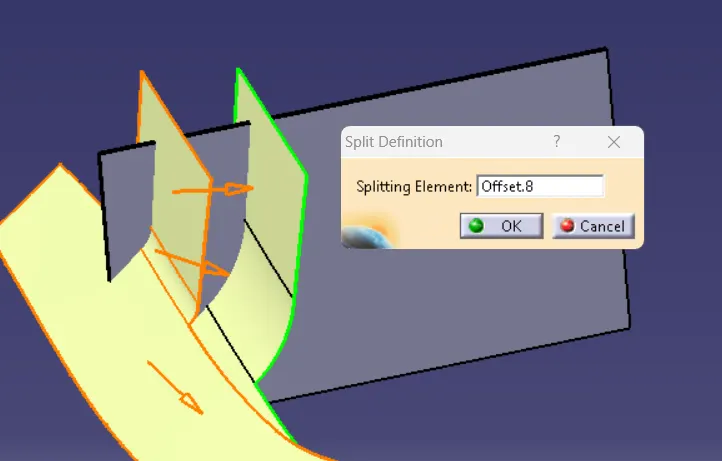
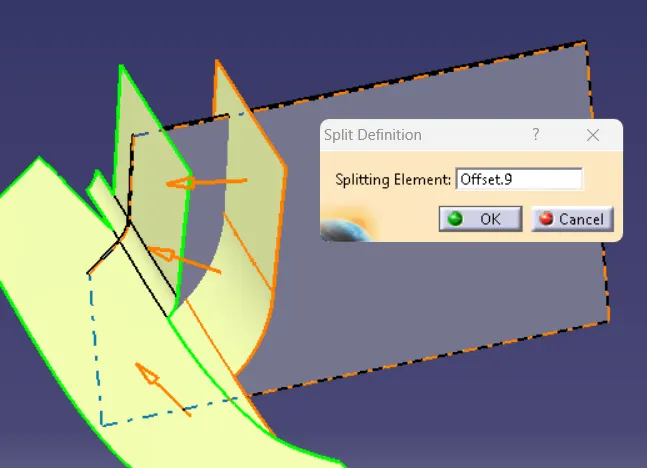
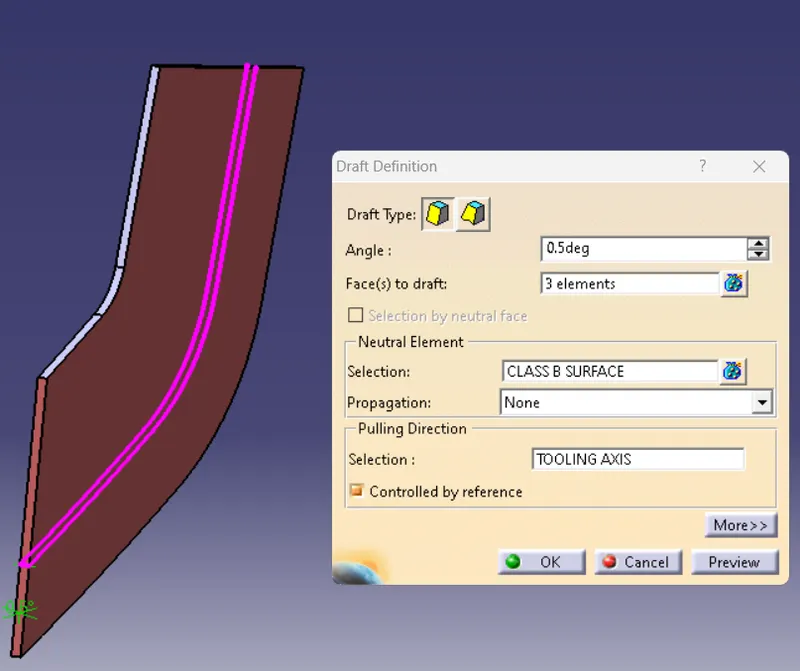
The Same Methiod will follow for the other Rib also.
The Close Body of the Master Section with the B Piller.
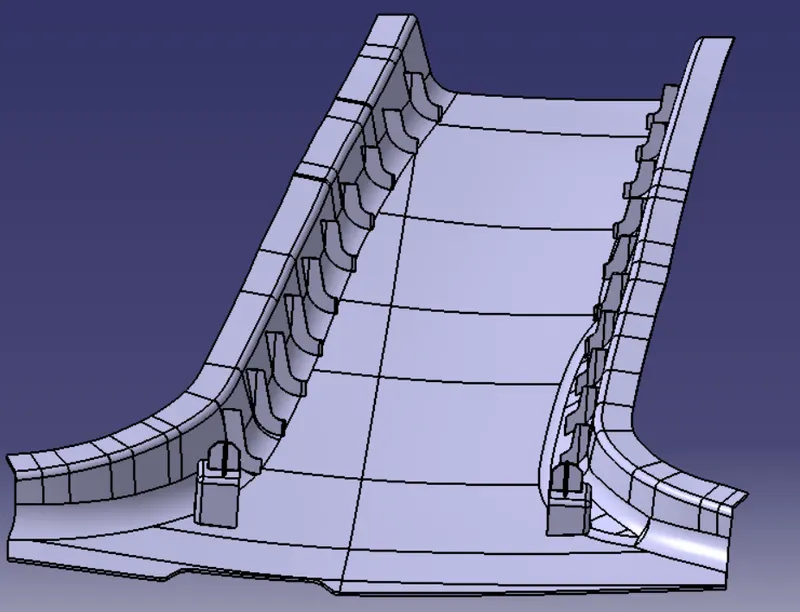
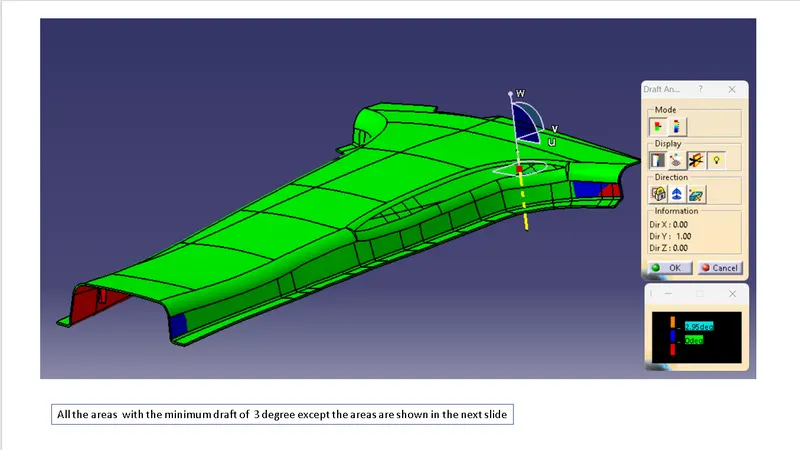
The Draft Analysis For the Master Section with B Piller
Insert - Analysis - Feature Draft Analysis
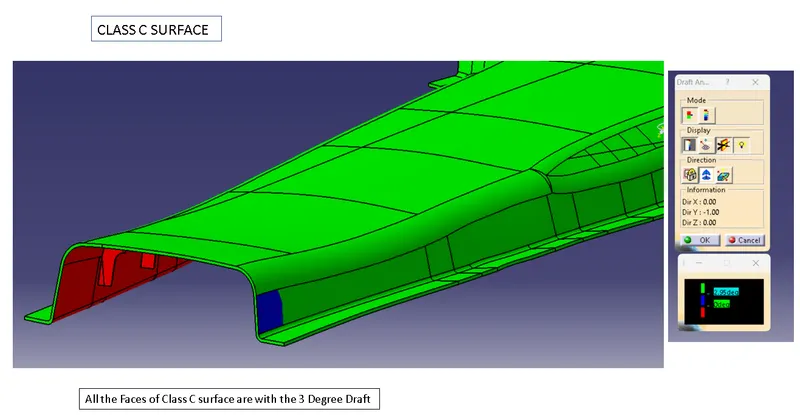
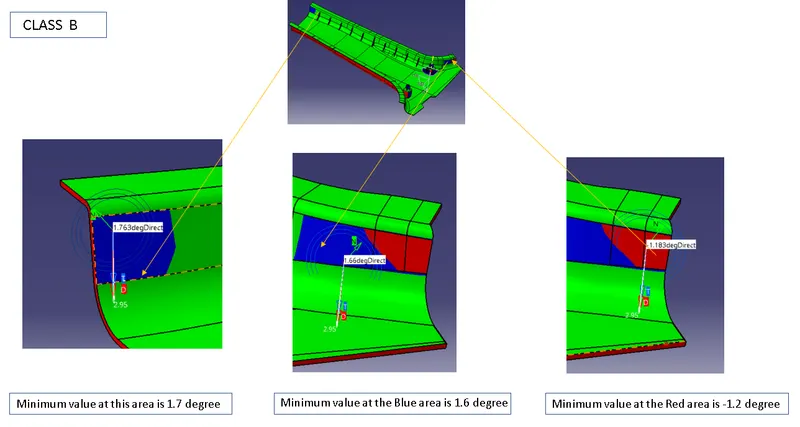
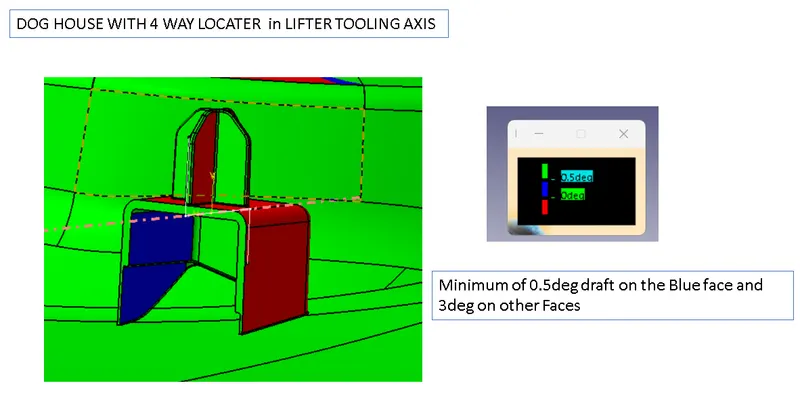
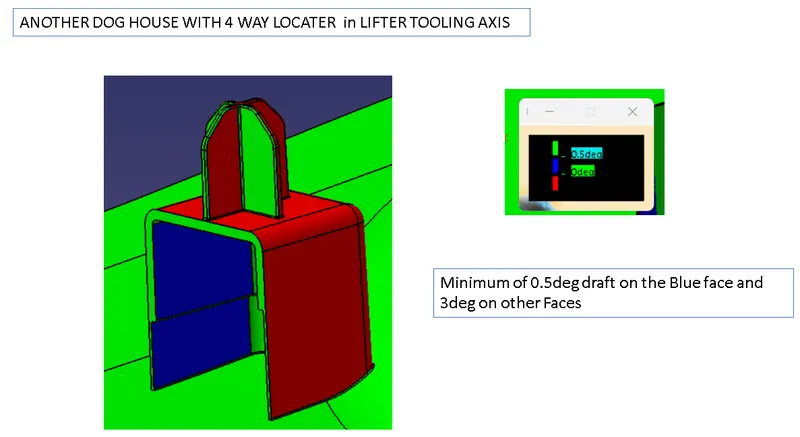
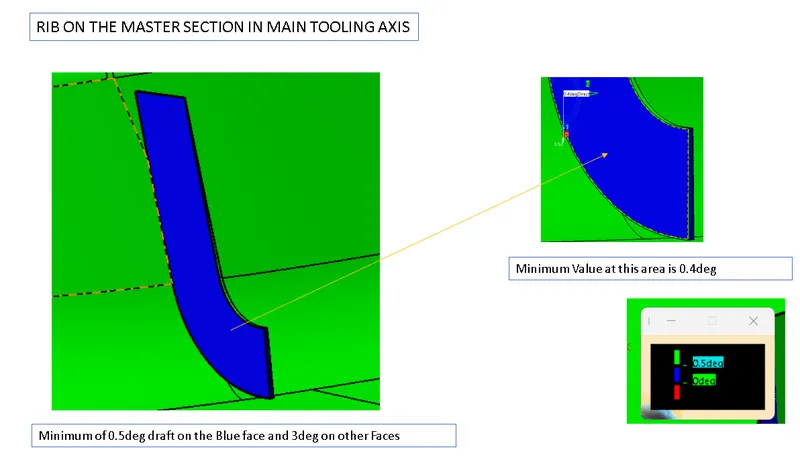
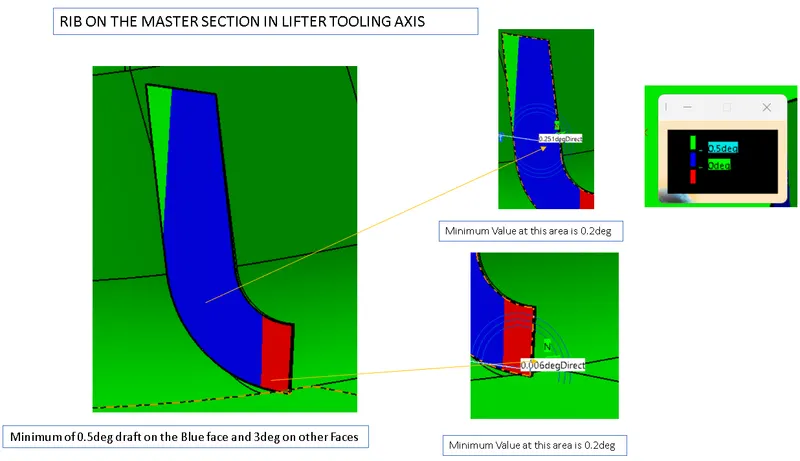
The Minimum drfat use for the master section is 0.5mm to 3 degree. for the draft analysis change the material mode to customize
then click the body check the draft Analysis.
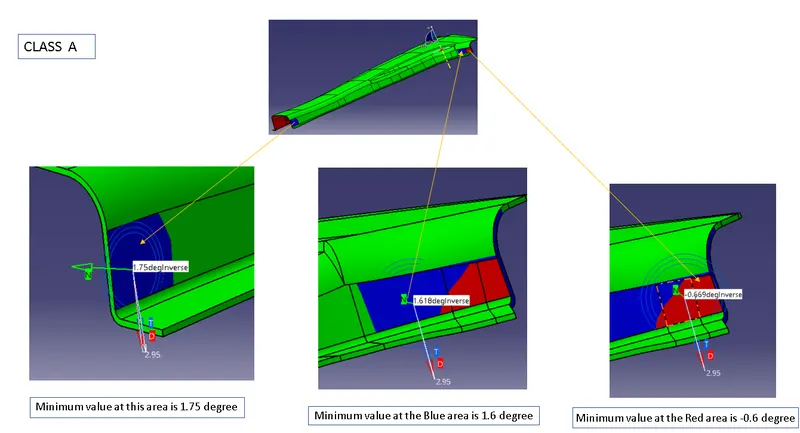
Detailed Report
First Create the Tooing axis for the B-Piller, create main tooling axis using the Master section,
Then use the Improved Class A Surface and create the flange on the class A surface,
by using the Multiple extract then seept the surface.
Check by intersect the flande angle will in the proper manner then extrapolate the Class A surface and trim the surface with the,
Flange 1 at the same procedure use for the Second Flange
Class B and Class C Surface
Creation of Class B offset the surface at 2.5mm, it is the thickness of the B Piller then trim the both the flange with the Class b surface
After that Create the Class C Surface on the Class A surface ,Multiple extract at the all Boundary then Swept it,then trim with the
Class B Surface,now we got the Final trim of the B Piller.
Check wheather any boundary occur on the surface after that use the Closesurface Body convert the Surface into Solid Body.
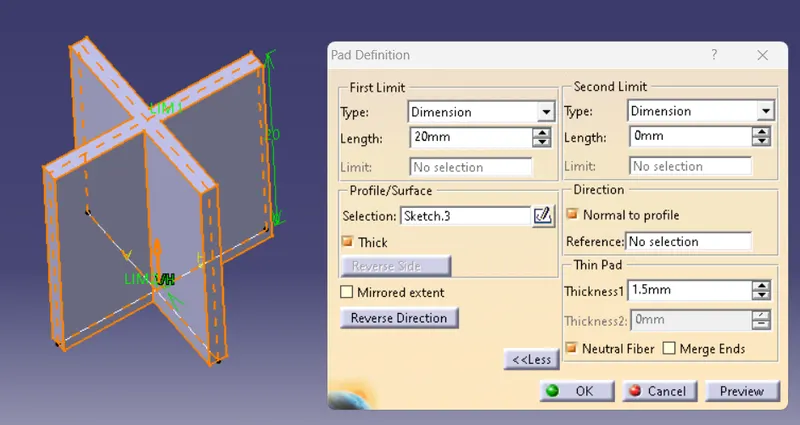
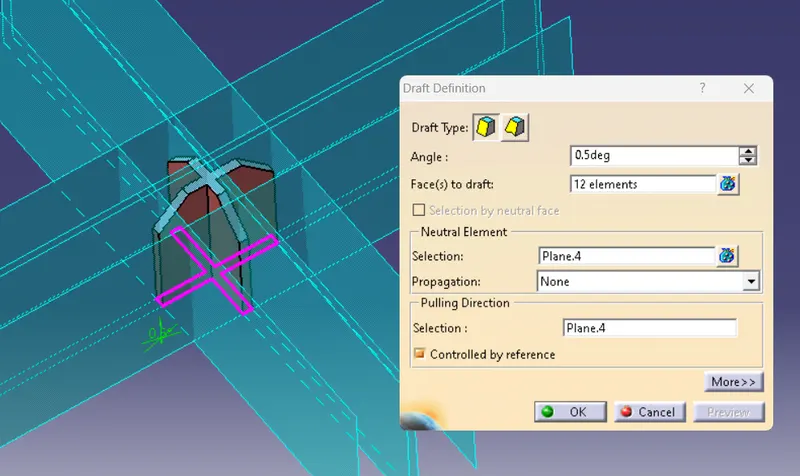
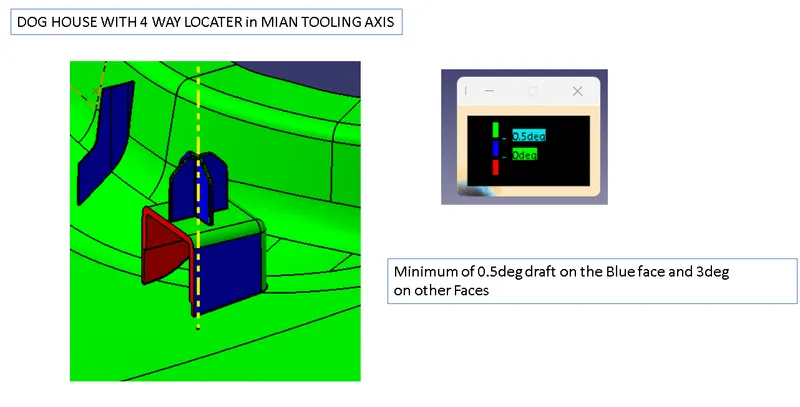
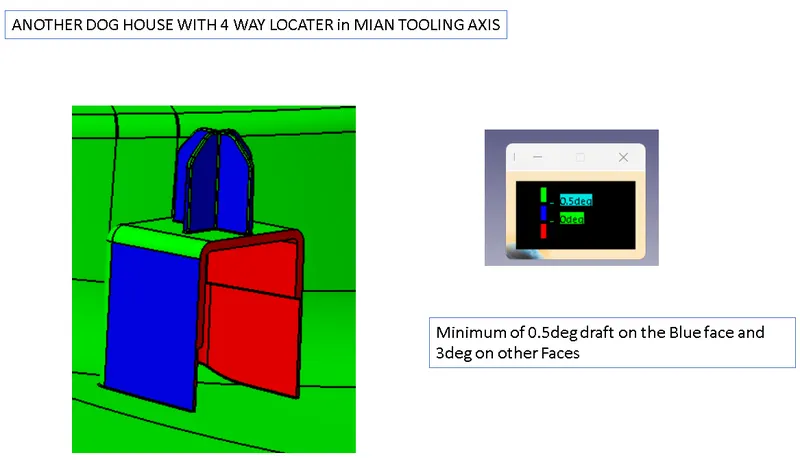
4 way locator and Dog House
Now create the Dog House on the B Piller, Create sketch then extrude the Sketch make it solid and create the 4 way locator on the dog house
pad the sketch then trim with the dog house and Symmentry the Dog House for the other side of the B Piller
Ribs
For the Rib we have to create the Sketch extrude the sketch and thicken it and take multiple extract around the rib area the offset at 10mm front
and 15mm back and Split with the Thicken Rib and add draft on the rib.then same method use of the other Ribs,
we have to create the Rib one by one.
Draft Analysis for B Piller
After Creating the solid body of the Master Section with B-Piller we have do the draft analysis for the model because in the Production
which will going to clear in the core and cavity. the minimum draft angle will use in the b piller is 0.5deg and all the faces should have
3deg draft on it
Tooling Axis which is use for the b piller is Main tooling axis and the Lifter core tooliong axis.