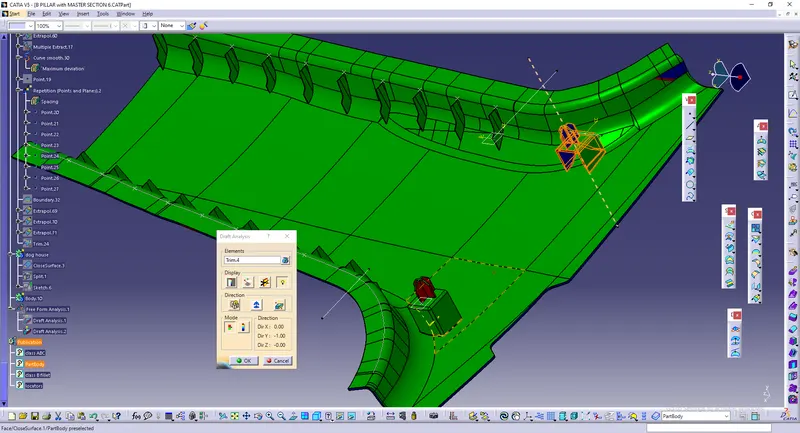
Week 9 - Project - Master Section Development
AIM : To work with class A surface of B pillar, create class B&C surfaces , convert them into part, add dog house and ribs in CATIA.
PROCEDURE :
Go to generative shape design.
Class A surface is given.
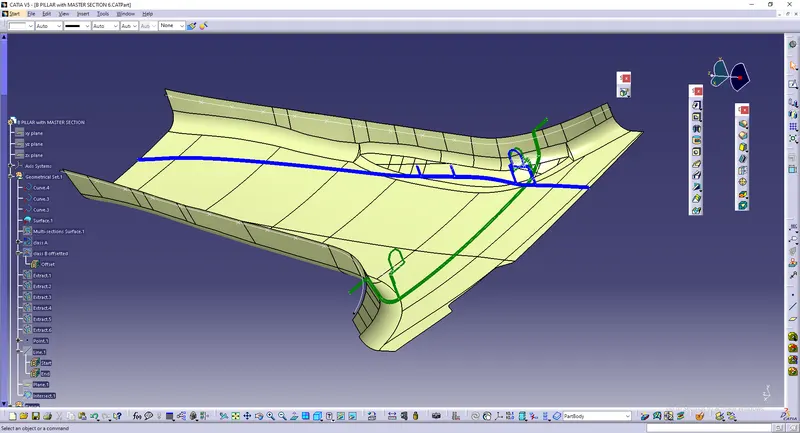
Master section is studied for the measuring thickness and place where dog house has to be placed.
Tooling axis is created.
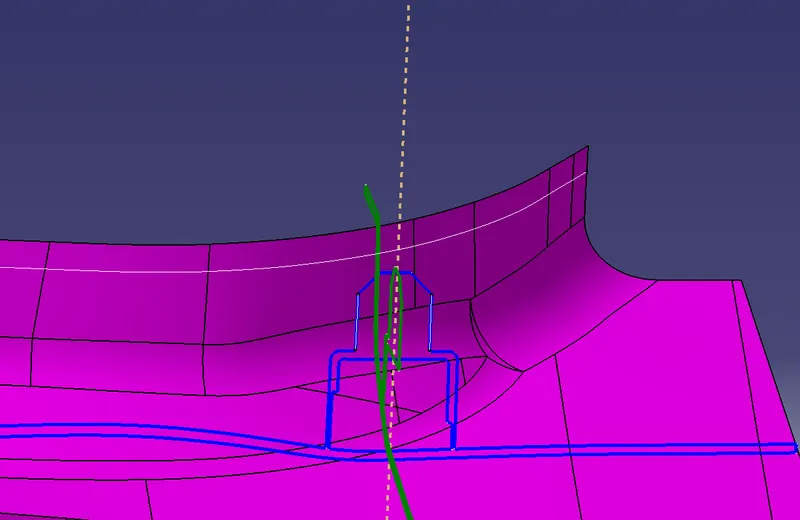
FLANGES :
Next flanges and class C have to be created and multi section is used to take out side edges.
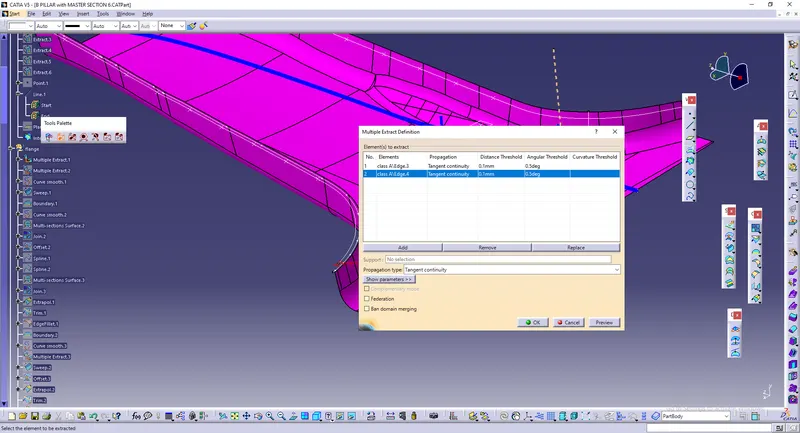
The taken out edges or boundaries are converted into a smooth curve using curve smooth.
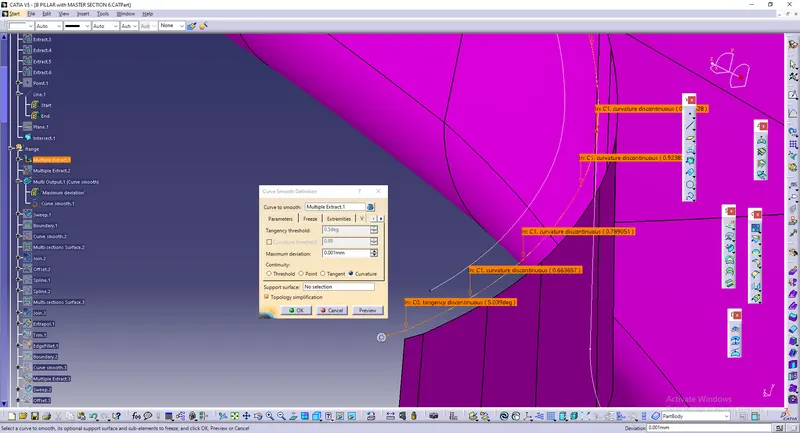
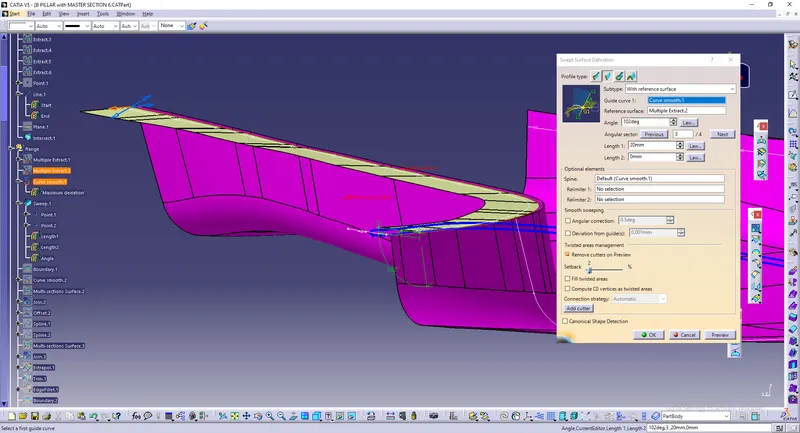
Sweep is used to generate surfaces which is flange here.
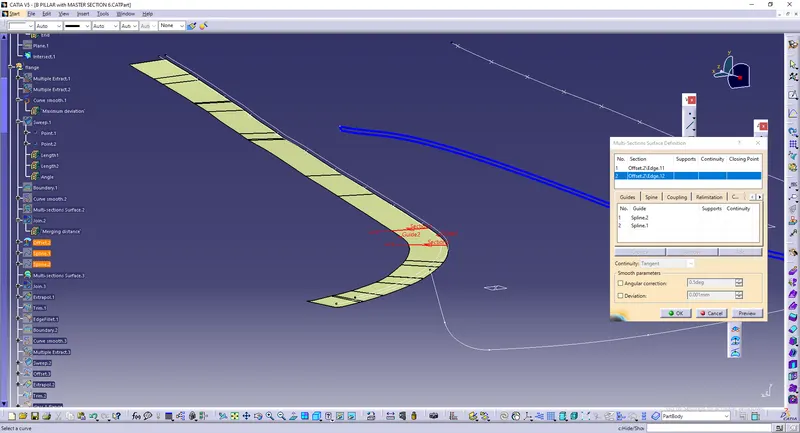
The borken surfaces are rectified next.
Trim the flange and class A together.
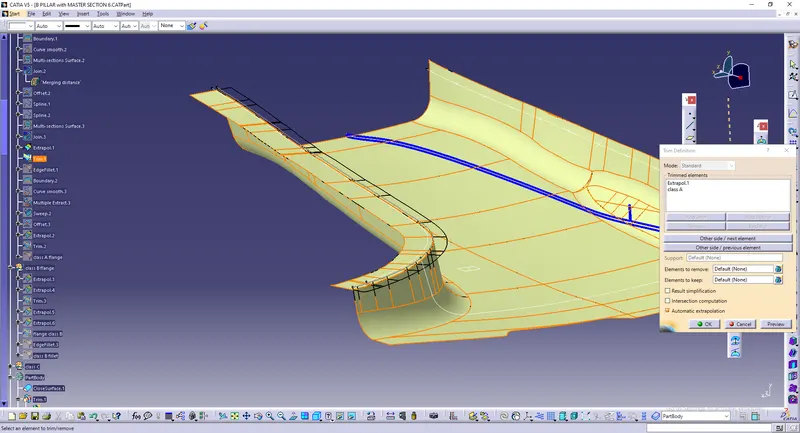
Repeat the same for other side.
CLASS B :
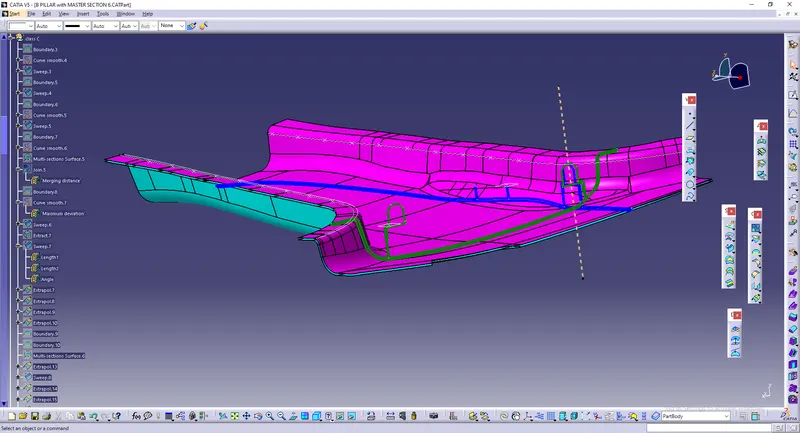
CLASS C :
After creating flanges for class A,offset it to 2mm which will be our class B.
Use sweep command to create class C.
Make sure that all class ABC are intersecting together.
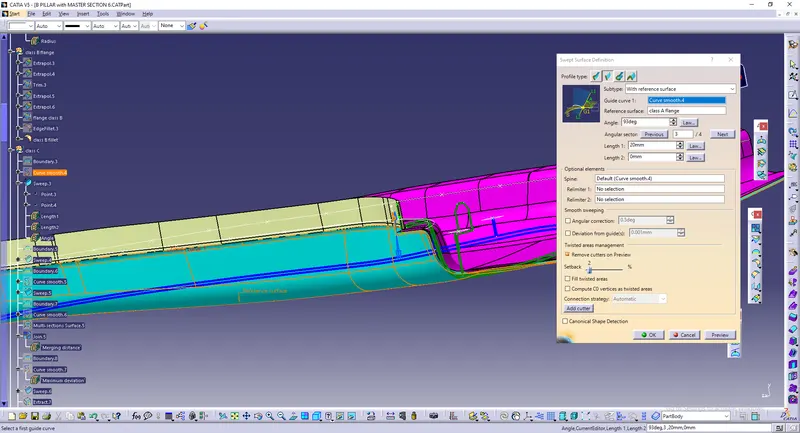
Trim down them and we will get class ABC as a whole.
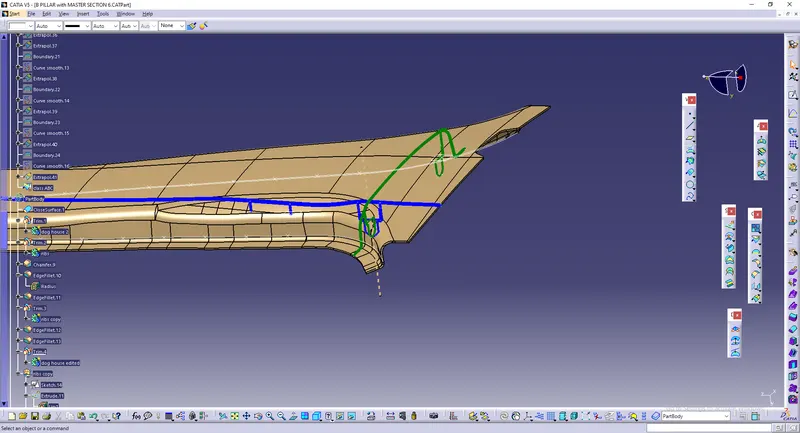
Convert the above model as a closed body in part work bench.
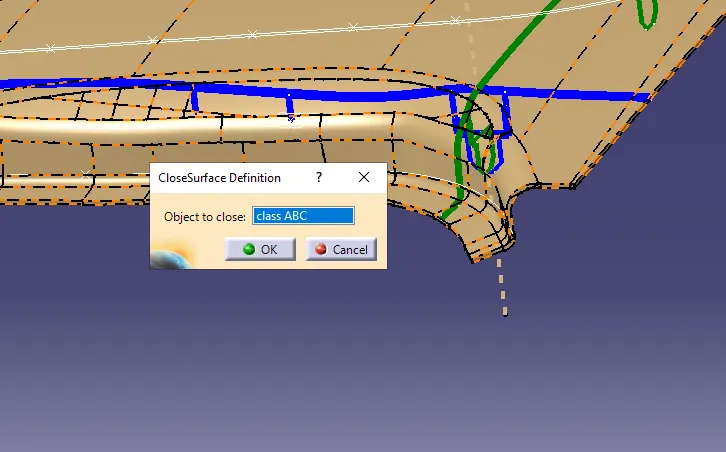
ATTACHMENT FEATURES :
DOG HOUSE :
These are attached in class B surface to increase the stiffness between components.
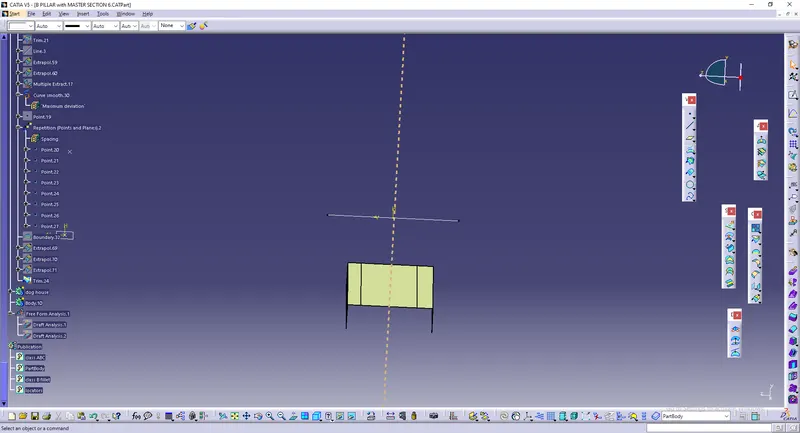
First to create dog house, extract the elements from master section and extrude them as shown below.
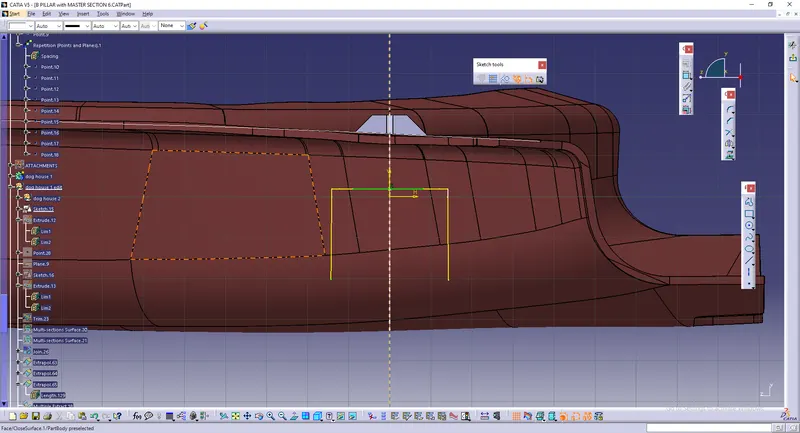
Trim them together like it is done in below two images.
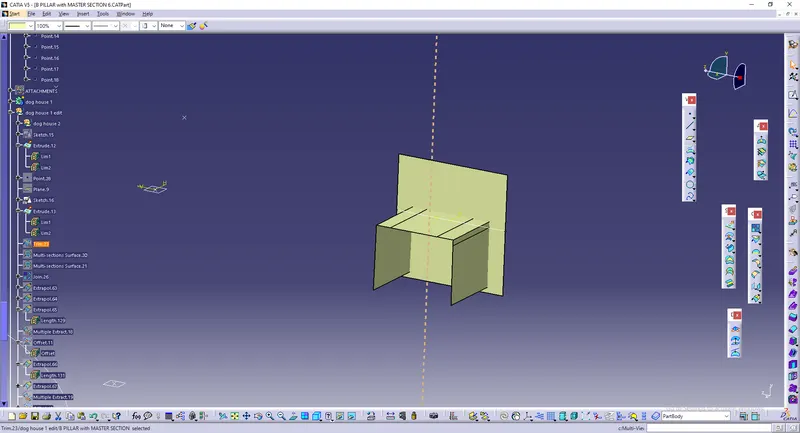
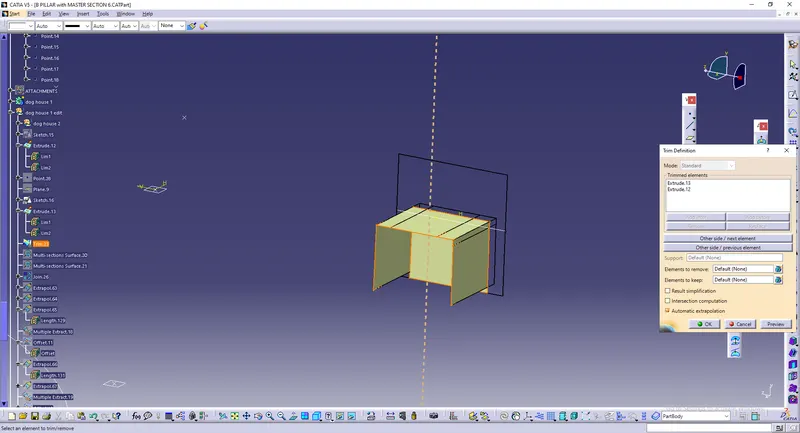
Convert the above into a solid by thickening it. Provide a draft of 0.5 degree.
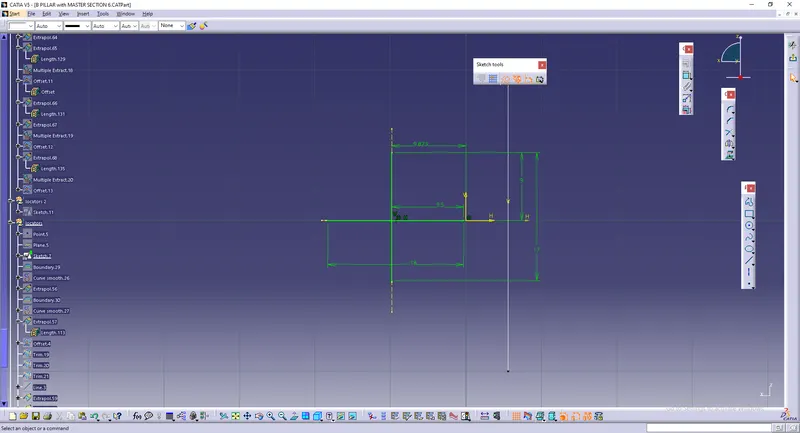
Next coring has to be done. Extract the side and top surfaces of dog house.
Offset the side surface to 0.8-1 mm and top surface towards downwards to a distance of 3-6mm from class B.
Use this as cutting element and split it with dog house.
RIBS :
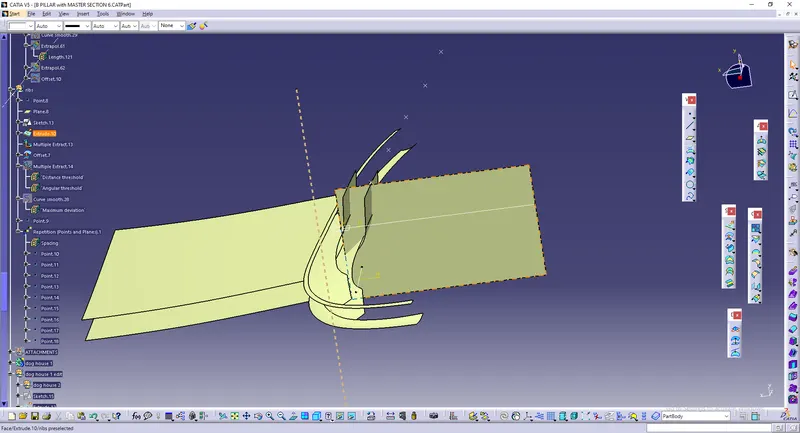
Extract an element from master section and extrude it.
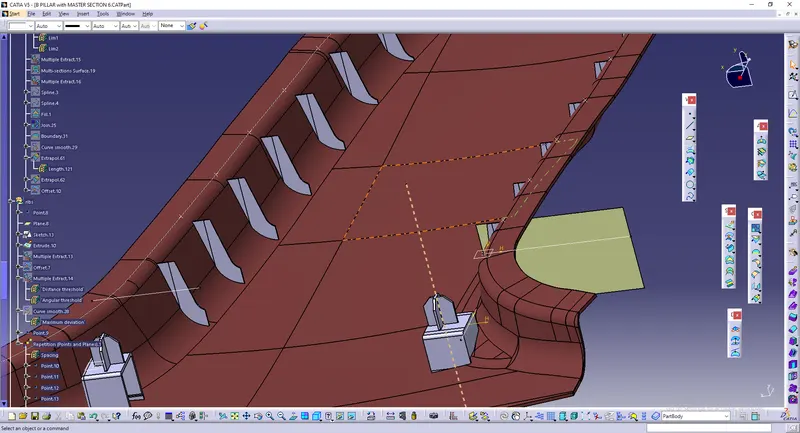
Extract some surface from class B and offset them.
Make sure that they intersect.
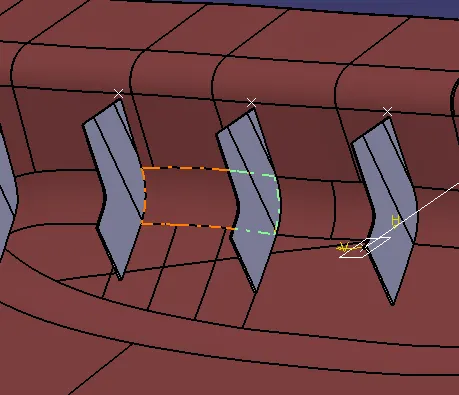
Trim off the elements in way that the central portion in the image given below be the rib.
Convert it into a solid by thickenning.
Draft analysis is executed finally.