A pillar Design with Master Section
AIM
To create A pillar design with given master section
Objective
- To create class B and C Surface
- To do draft analysis
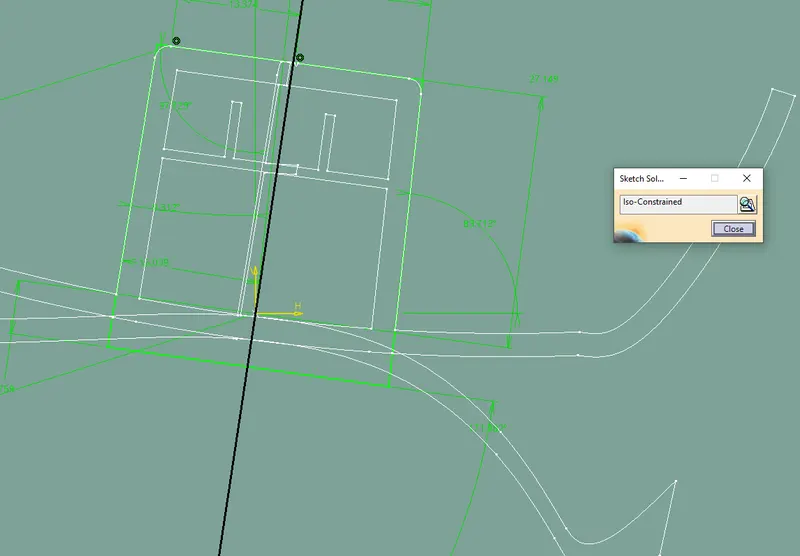
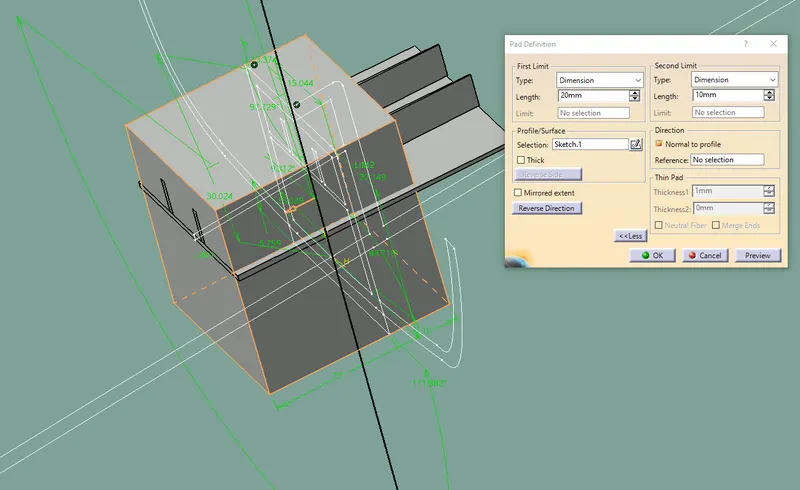
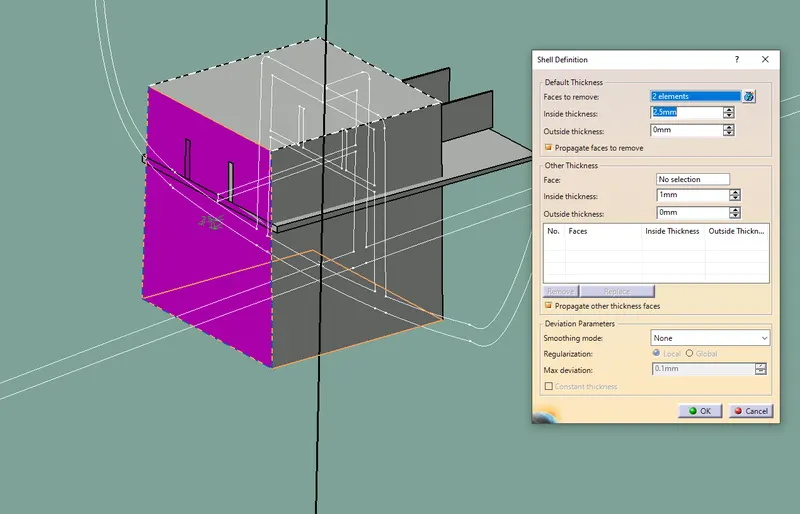
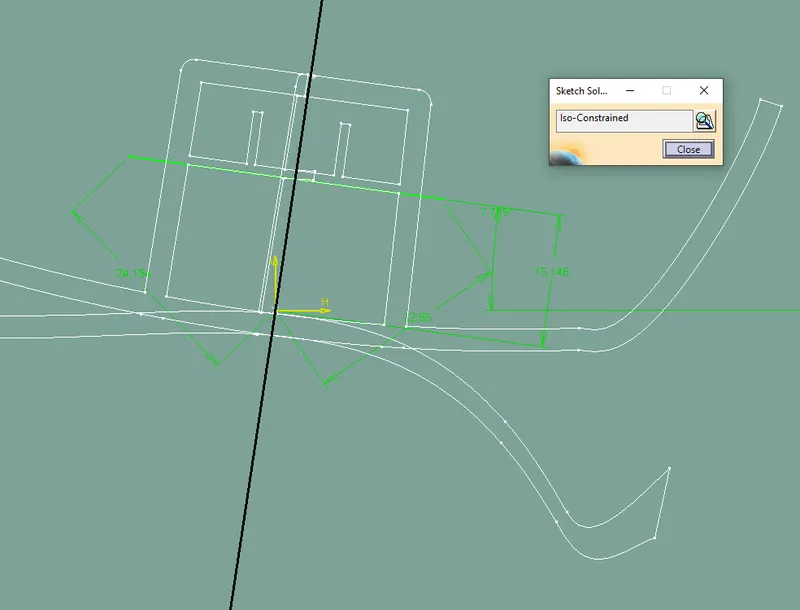
- To create a dog house according to give master section and following design rule
- To perform draft analysis
A Pillar
It is a vertical structural support located on bothside of the windshield, connecting the root to the body of the car .The A pillar plays an important role in providing structural intergrity and stability to the car's body particularly during a collision or rollover.In addition the A pillar serves as a mounting point for airbags and other safey features .The design of the A pillar can vary between different car models and manufacturers depending on factors such as the car size, shape,and intended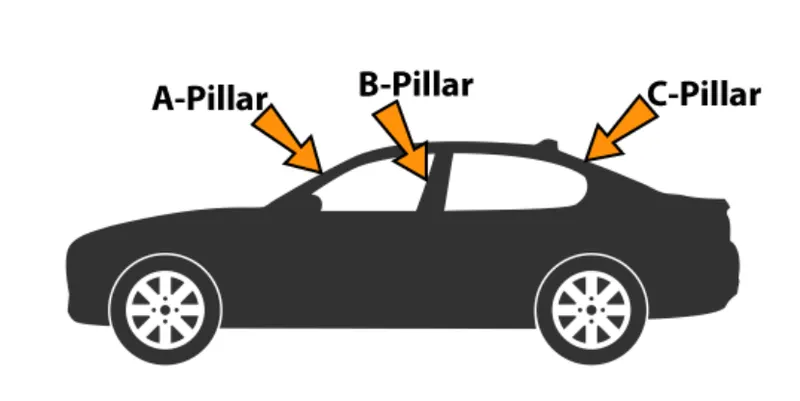
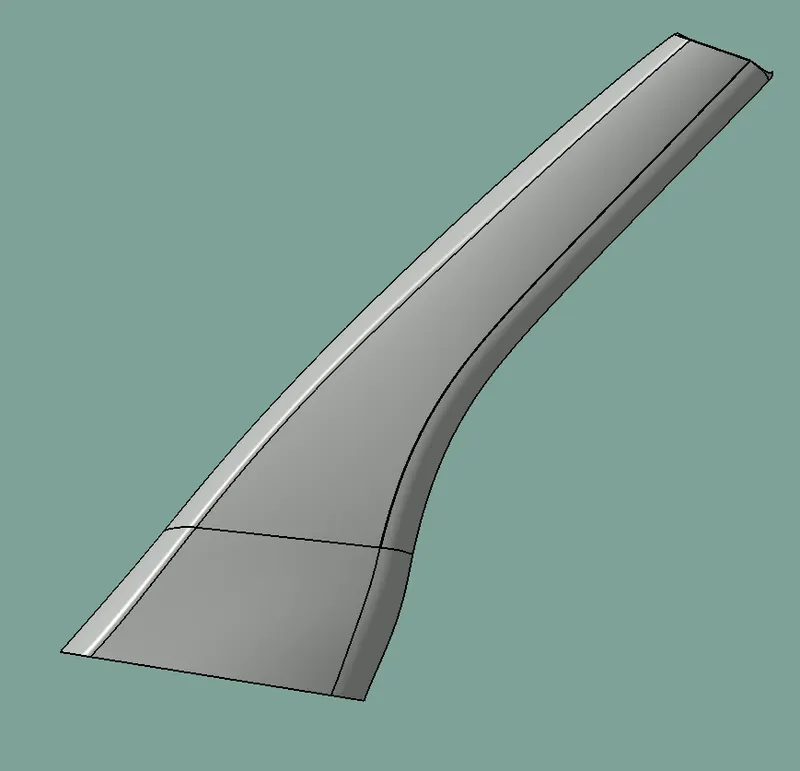
Given Class A Surface
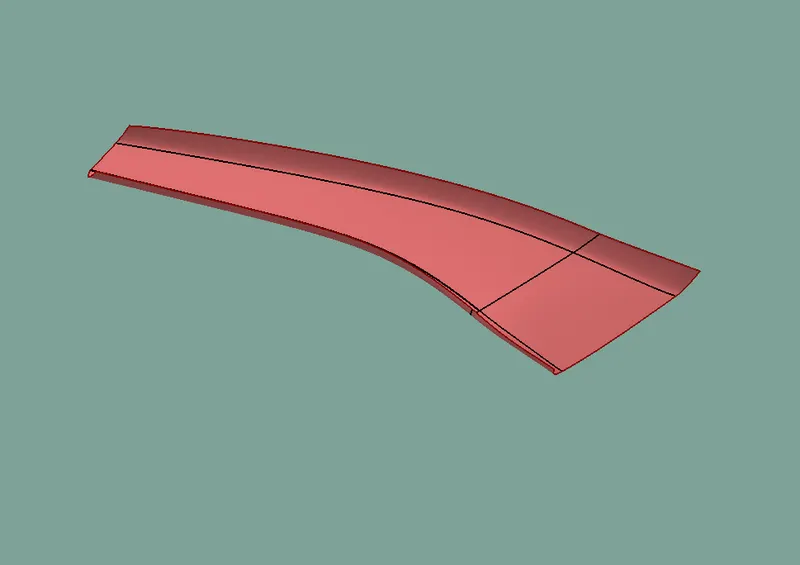
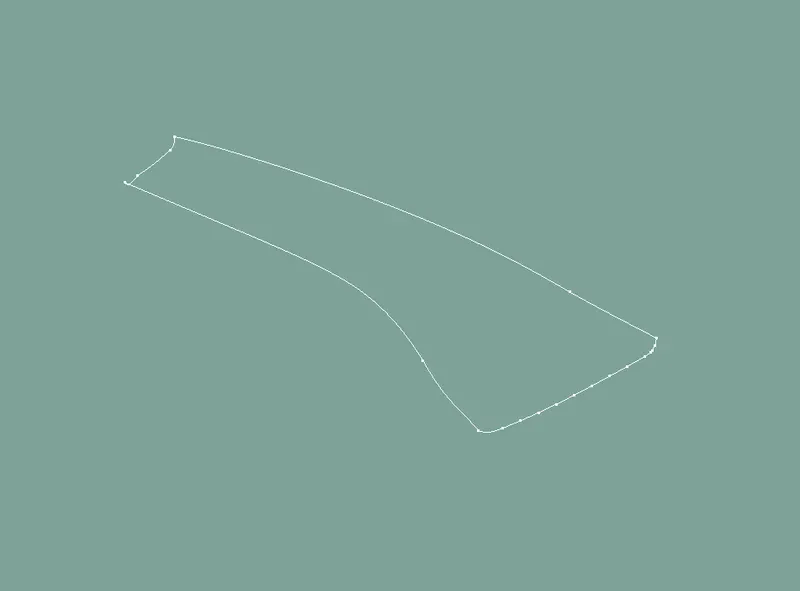
Check for continuity of the given surface using join or boundary command
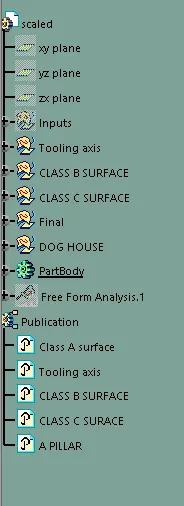
If there are no gaps now the A surface create tooling axis
Tooling Axis Creation
For this Model using bisecting method
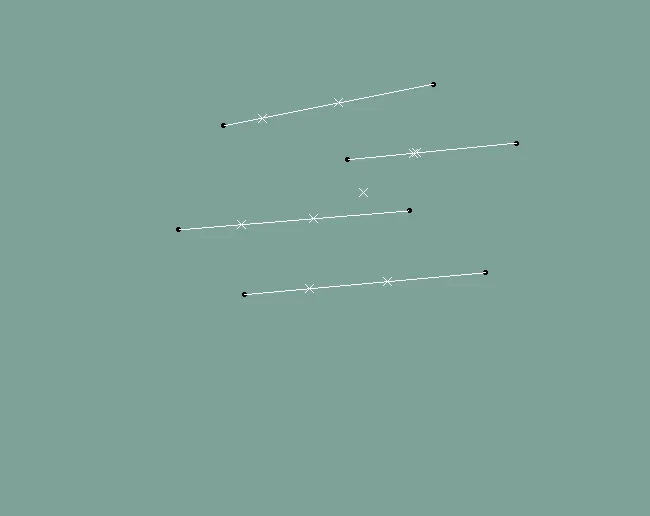
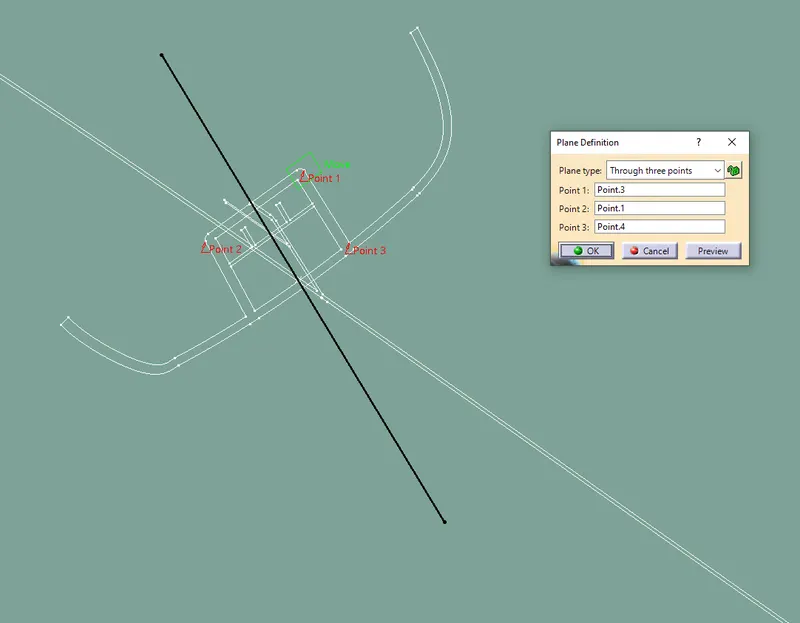
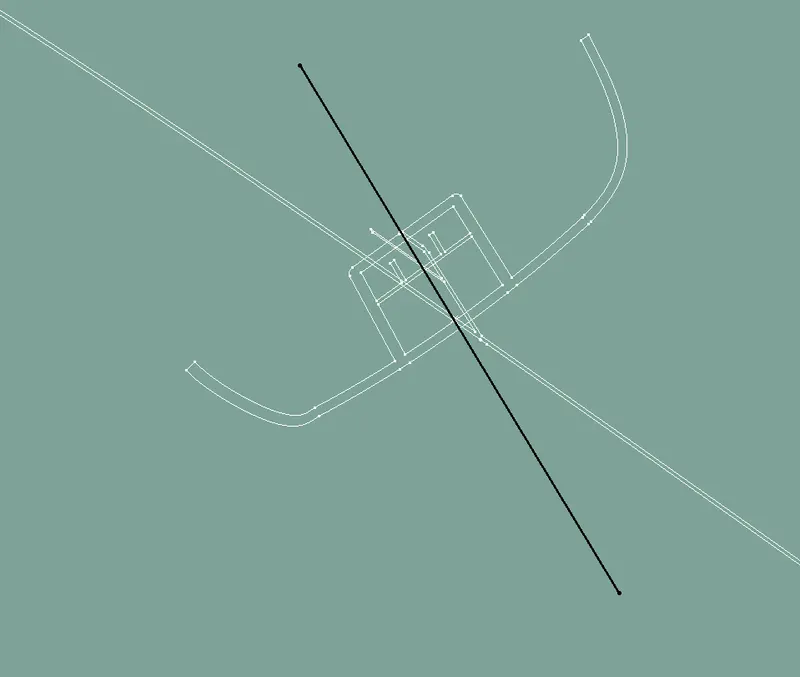
- Create 8 Points for master section shown in below fig
- Then Isolate them
- Create lines using points by point to point command
- Now got four lines by using that lines make two bisecting lines at centre point
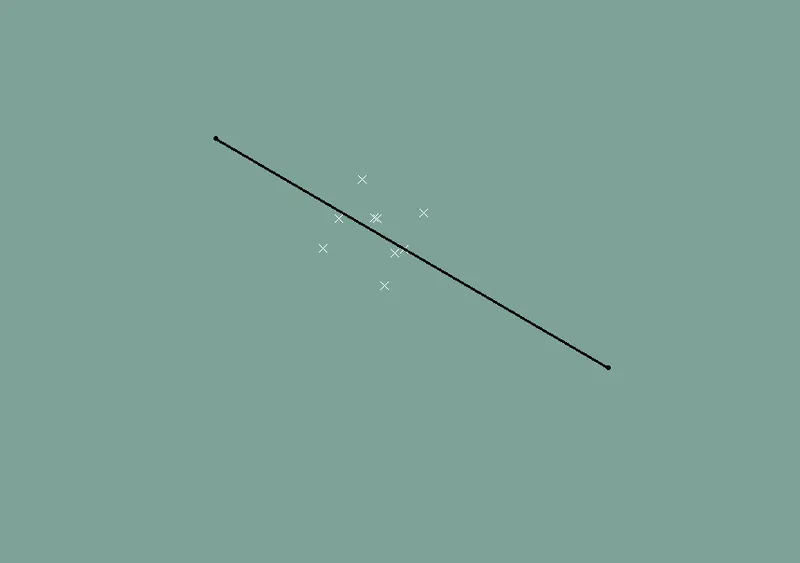
- By using that two lines create a bisecting line
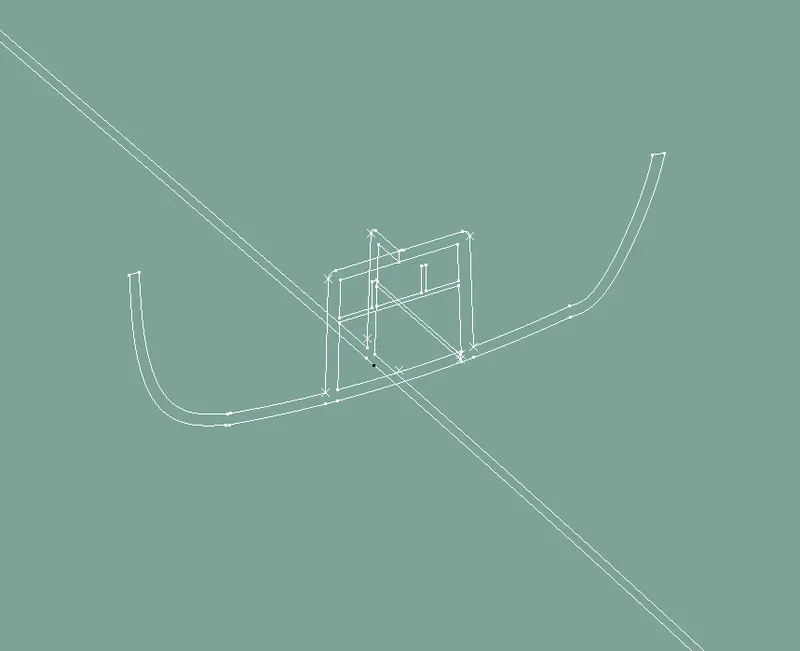
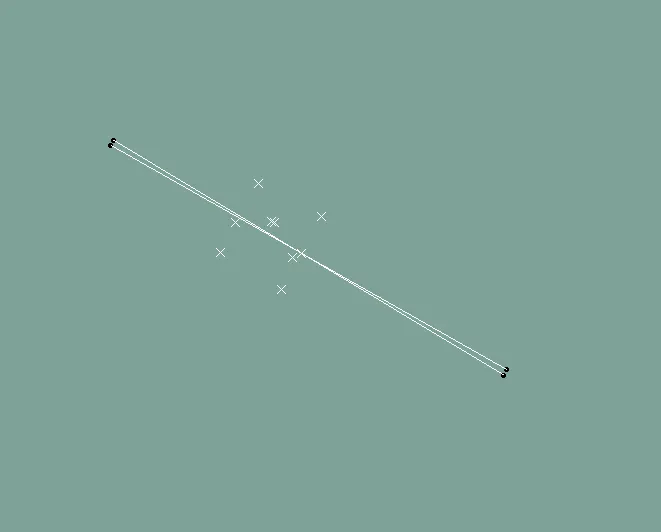
This black line is tooling axis
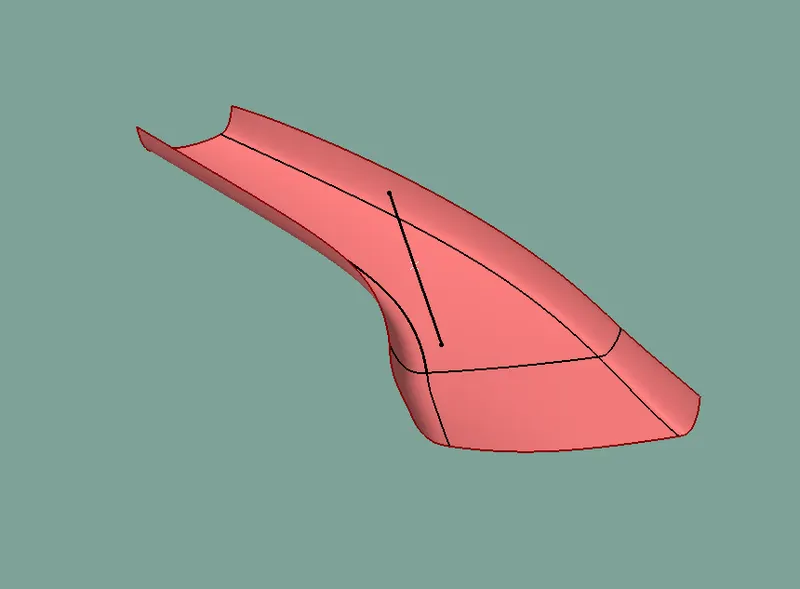
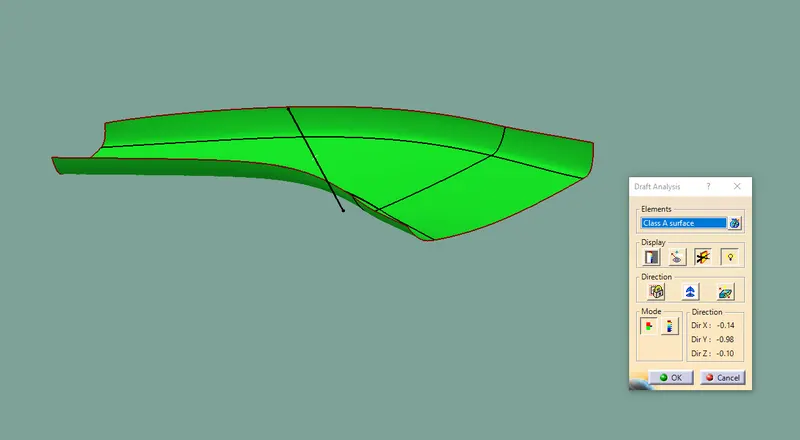
Draft Analysis Of CLASS A Surface
Class B surface Creation
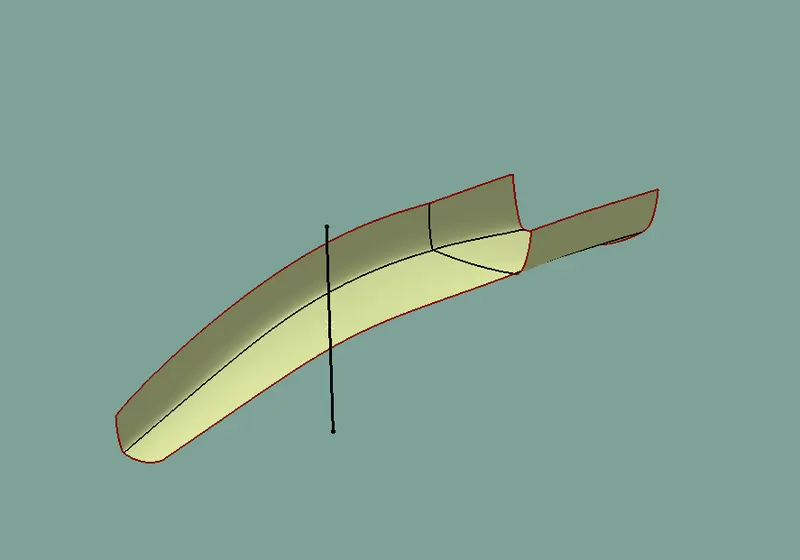
Class B suface means thickness of a part it is not visiable and is inside part.This is the surface that contains engineering aspects of a model
- Create a offset the surfaceof the Class A at 2.5mm inwards direction.
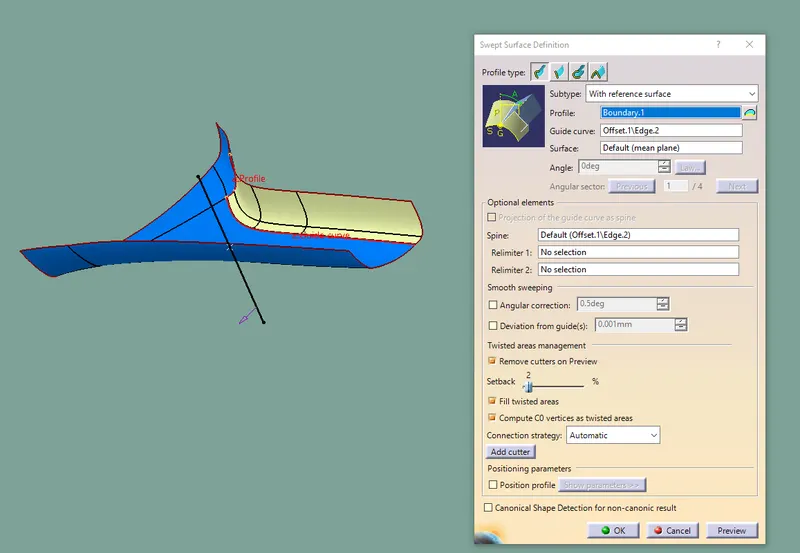
- Check for the discontinuity and rework on the offset surface by using sweep command
- Join the surface and ensure the final Class b surface created has no gaps.
Final Class B Surface
Class C Surface Creation
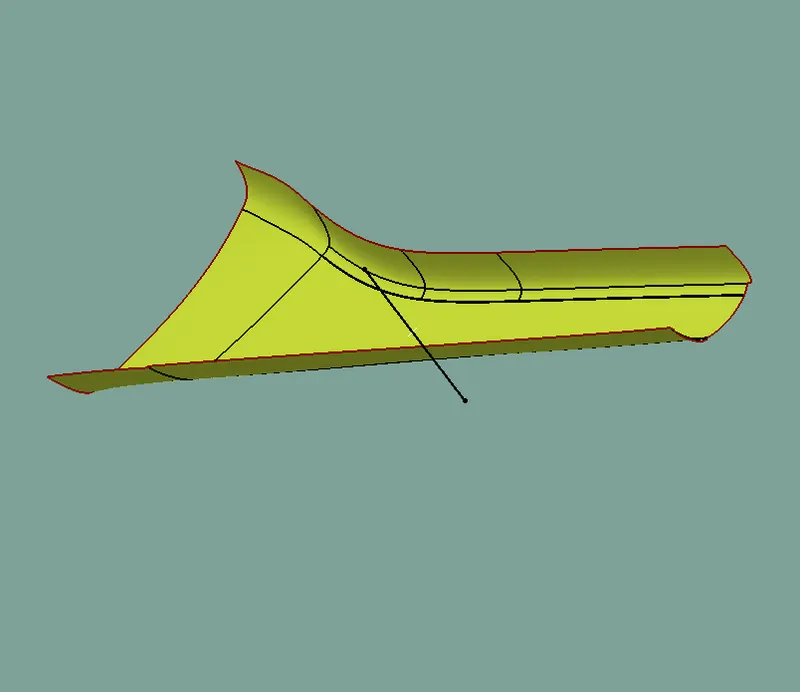
Surface that join class A and B surface is class C SurfaceClass C is often specified for interior surface not readliy visiblee surface that will be covered by another part when assembled
- Create the sweep surface with reference to surfac and draft by multi exacting the Class A boundary
- join the sweep surface by command like extrapolelate and trim
- finally join all sweep surface and ensure the continuity of the Class C surface
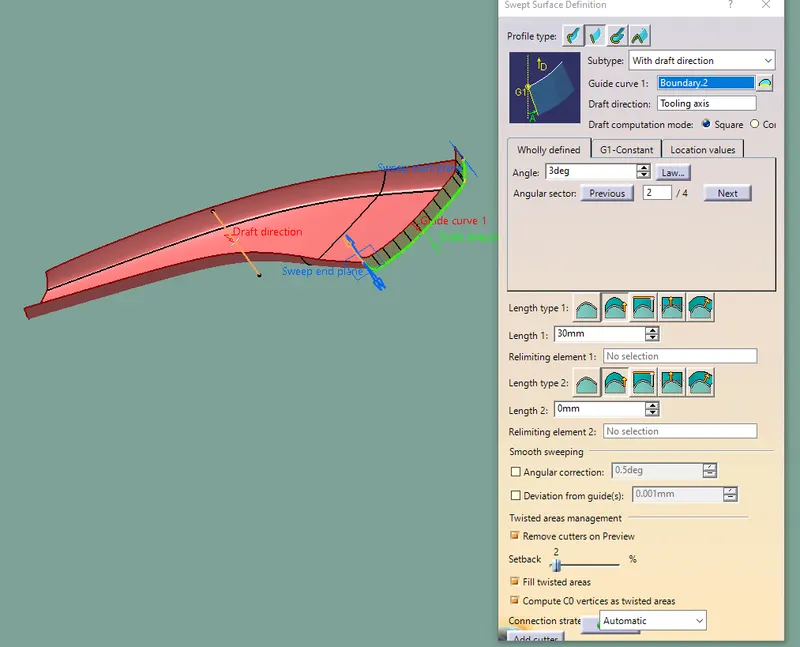
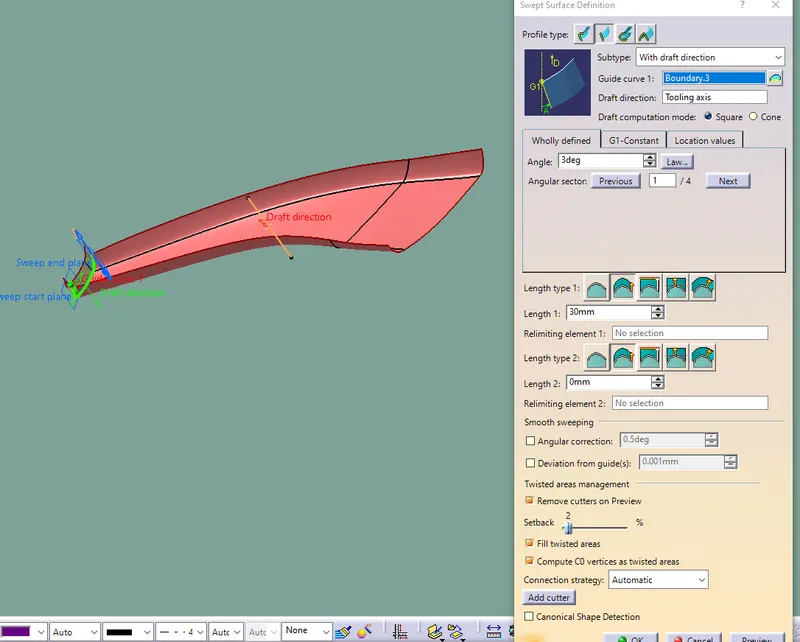
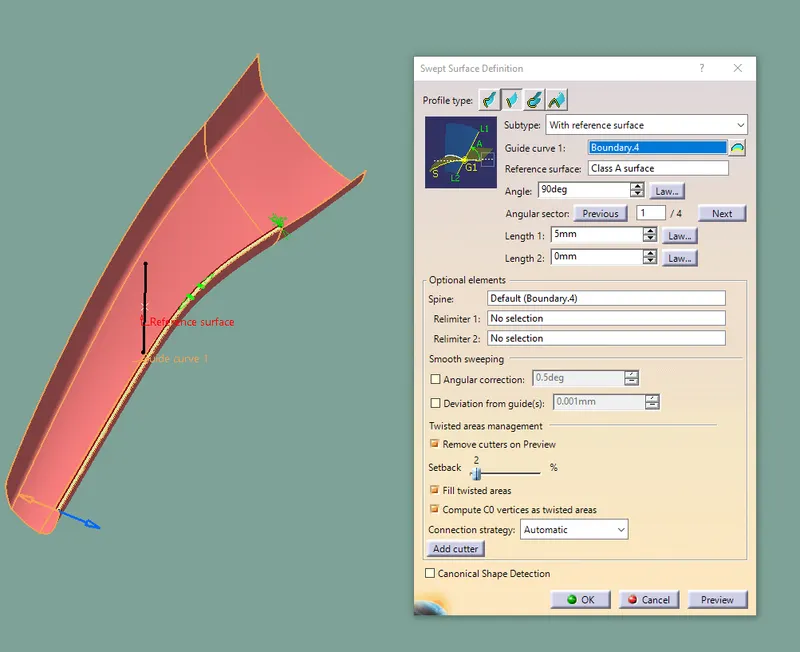
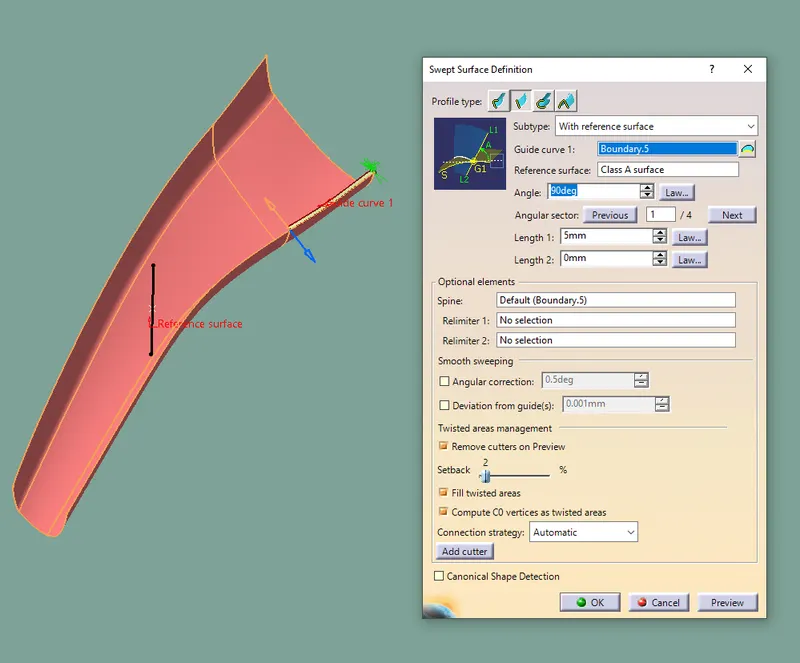
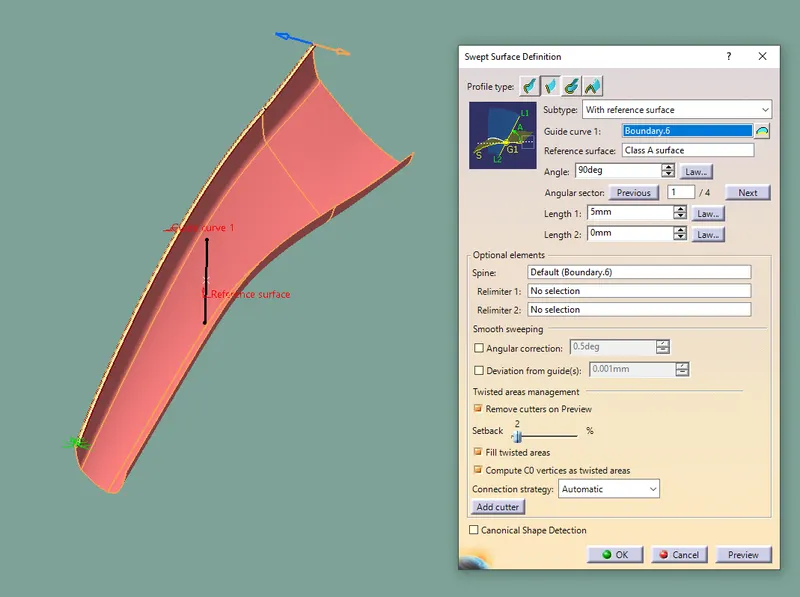
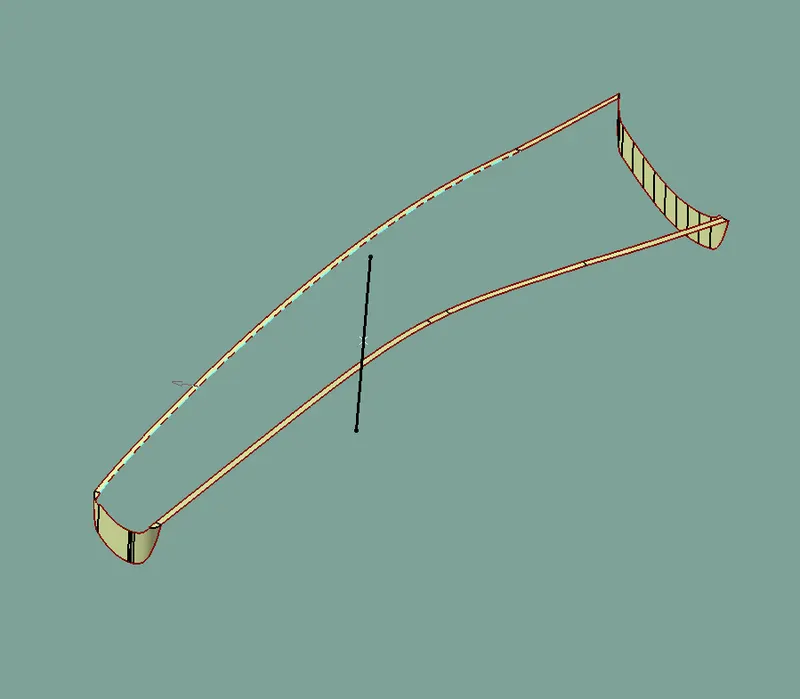
Creating the Final Surface
- For creating the final door trim surface join the class A ans Class C surface together
- Then trim the class b surface with joined surface (class A and C)
- Ensure the final surface has no gaps using the boundary command
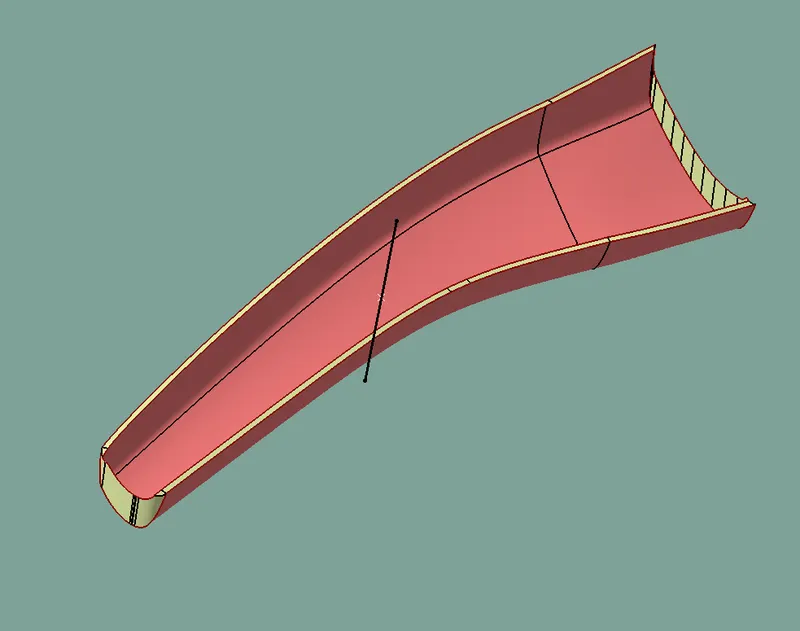
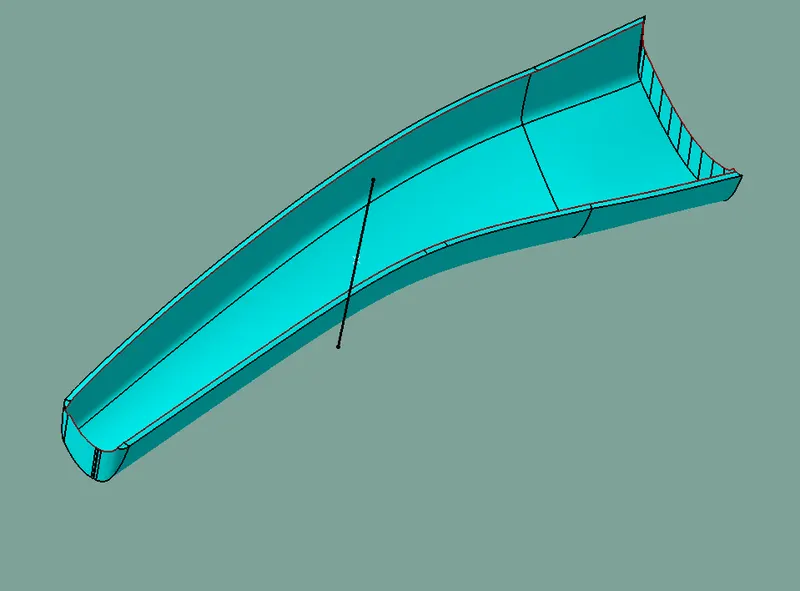
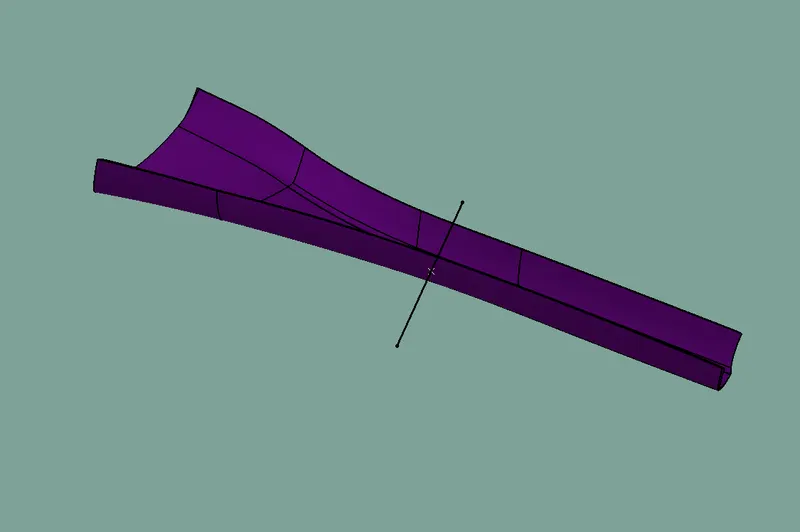
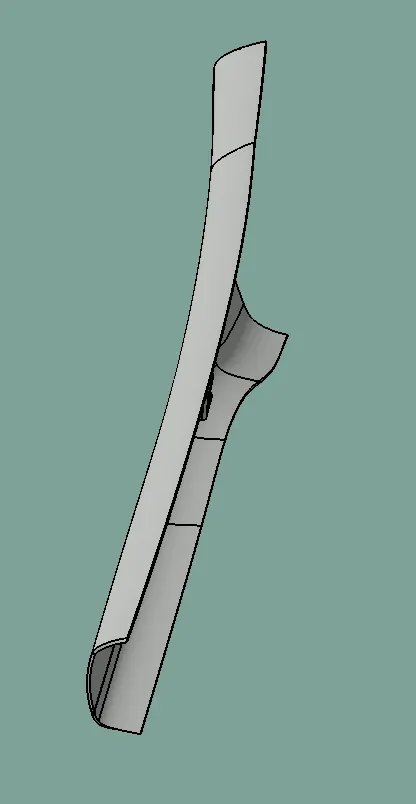
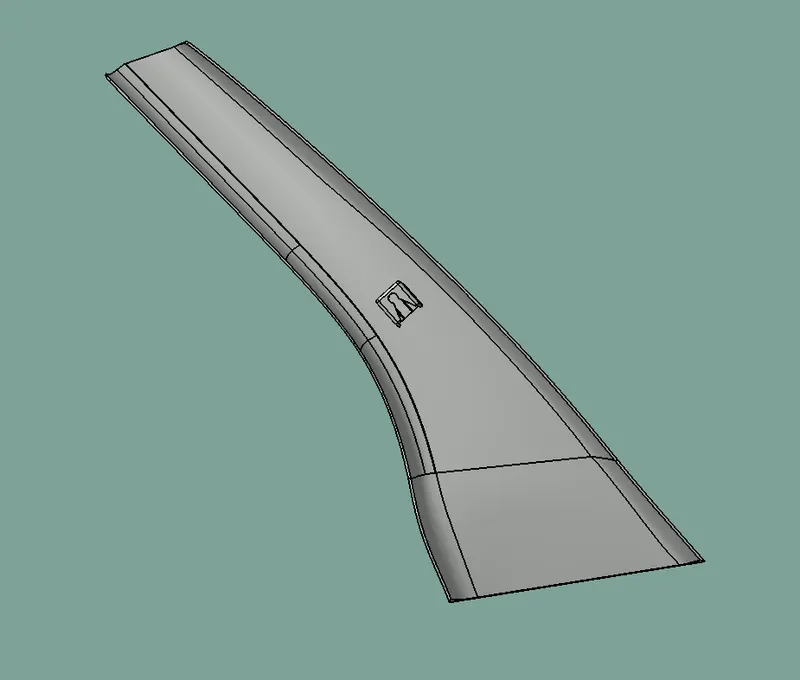
Close Surface
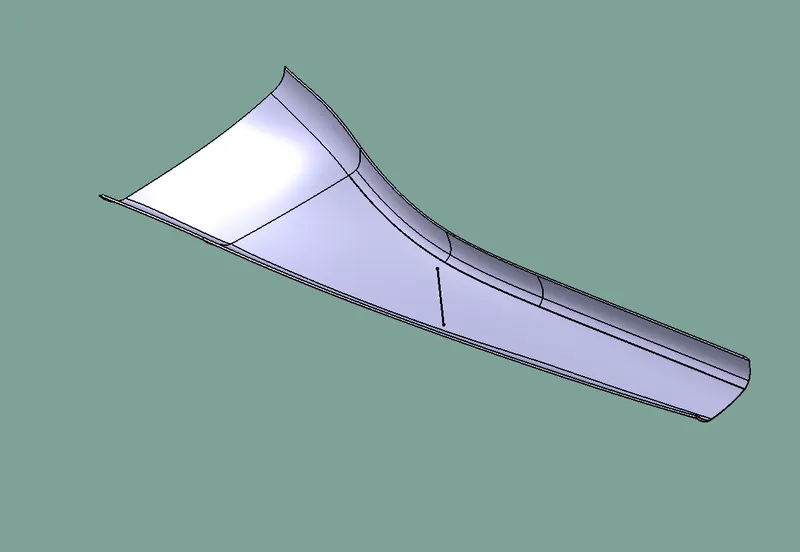
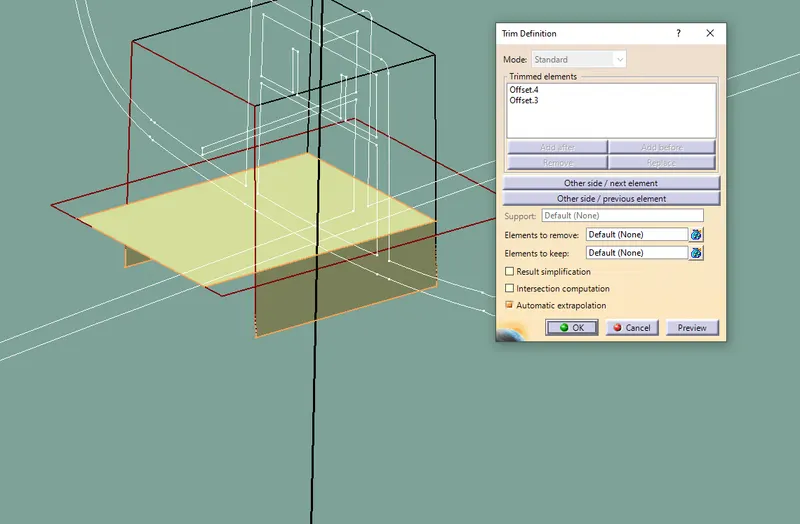
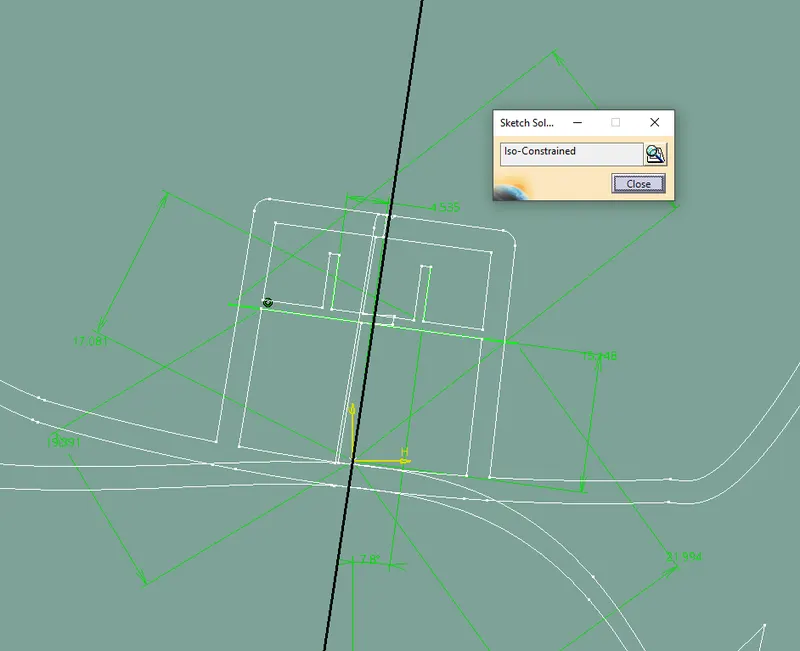
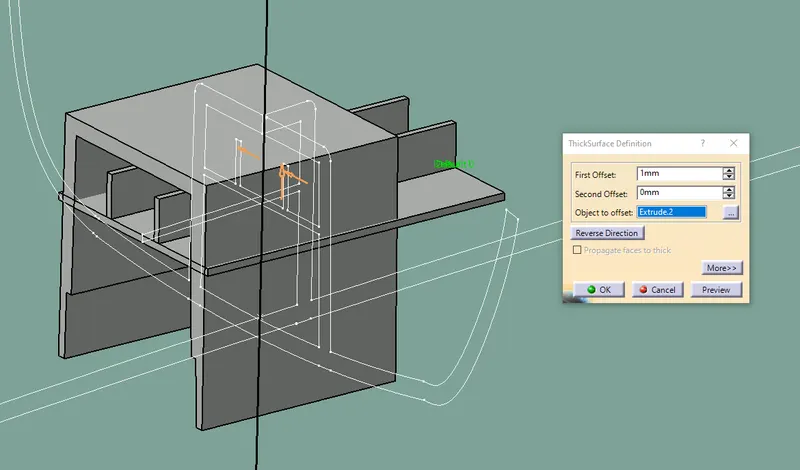
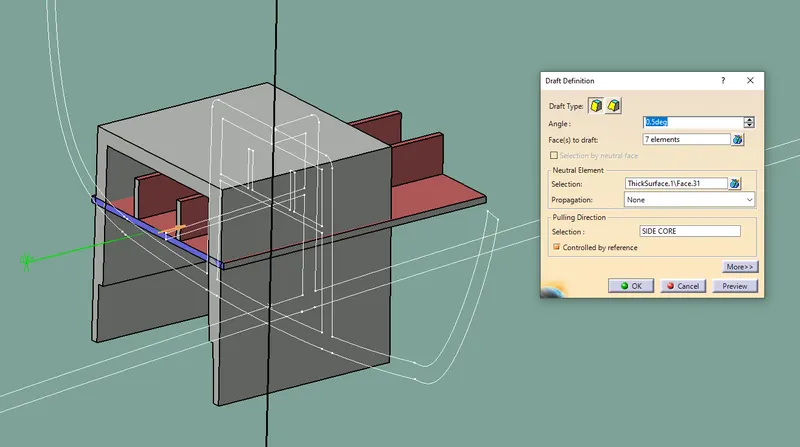
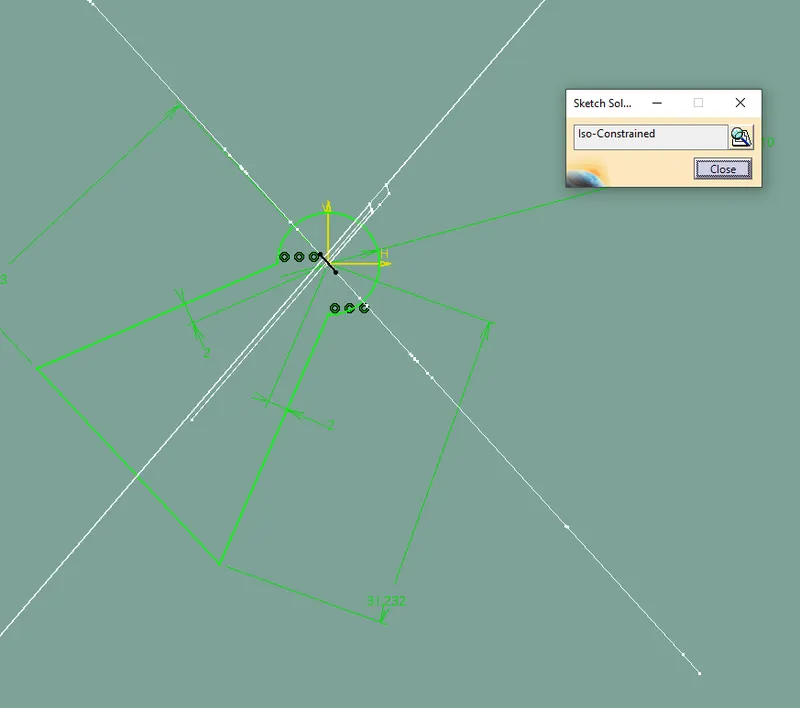
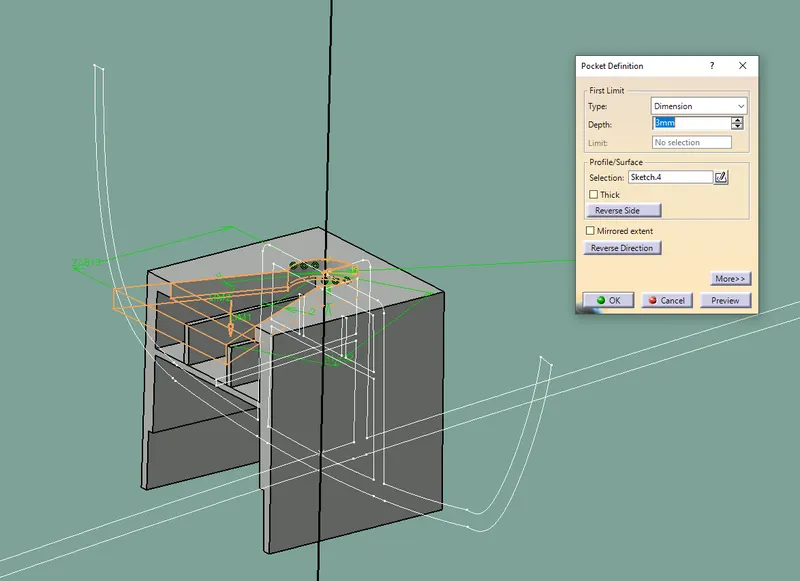
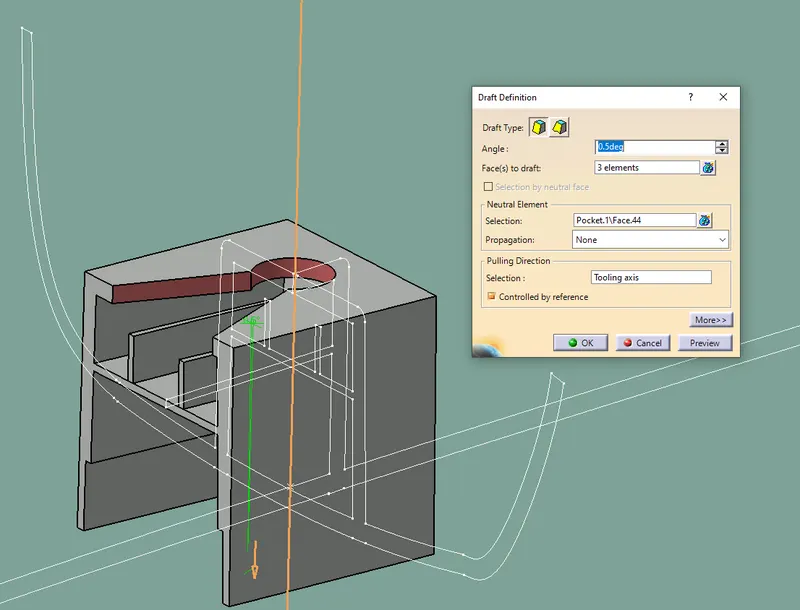
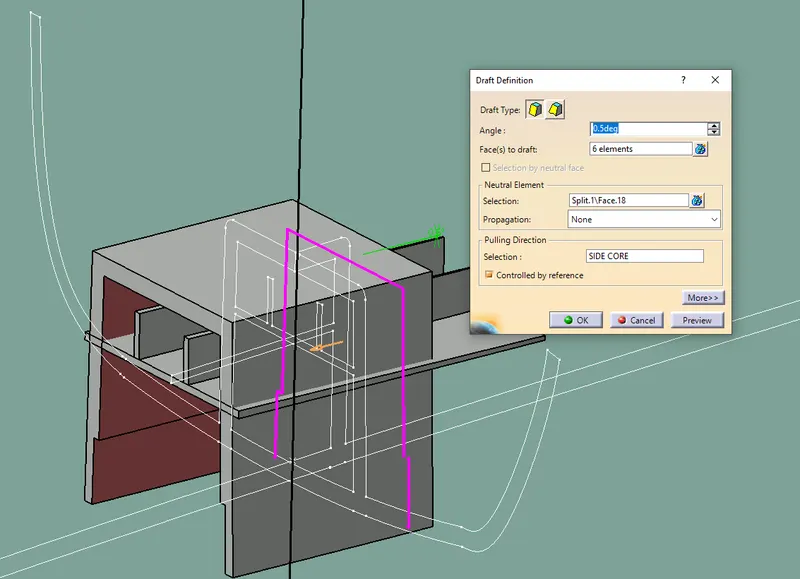
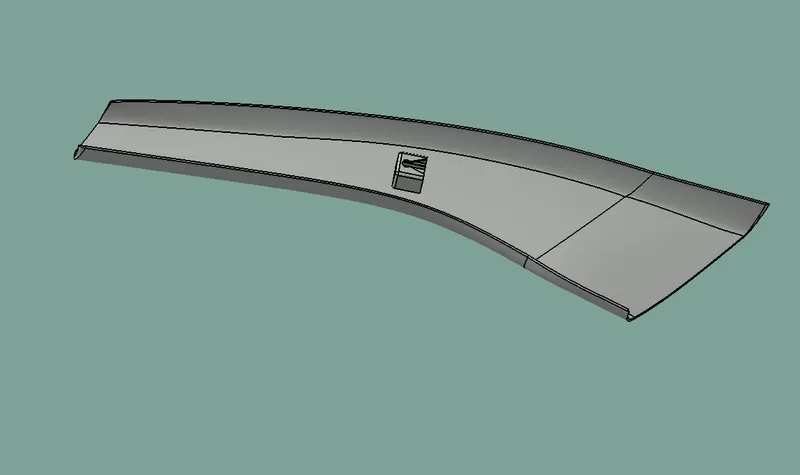
Creating of Dog house by using master section and design rules
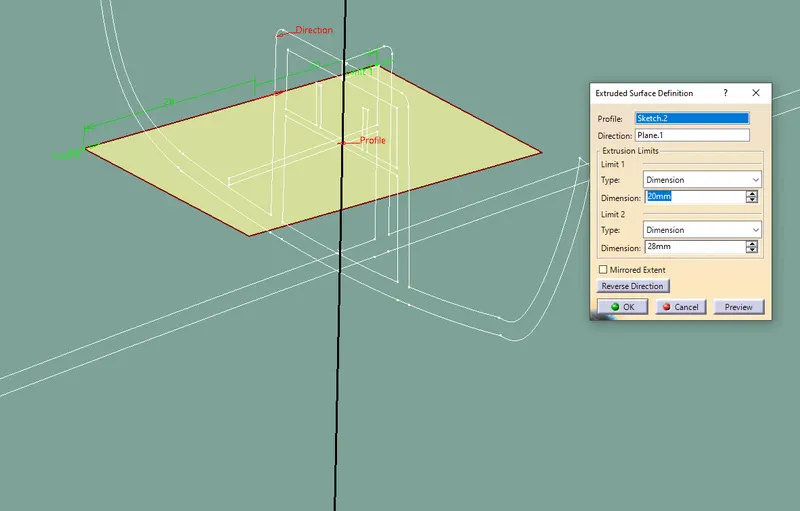
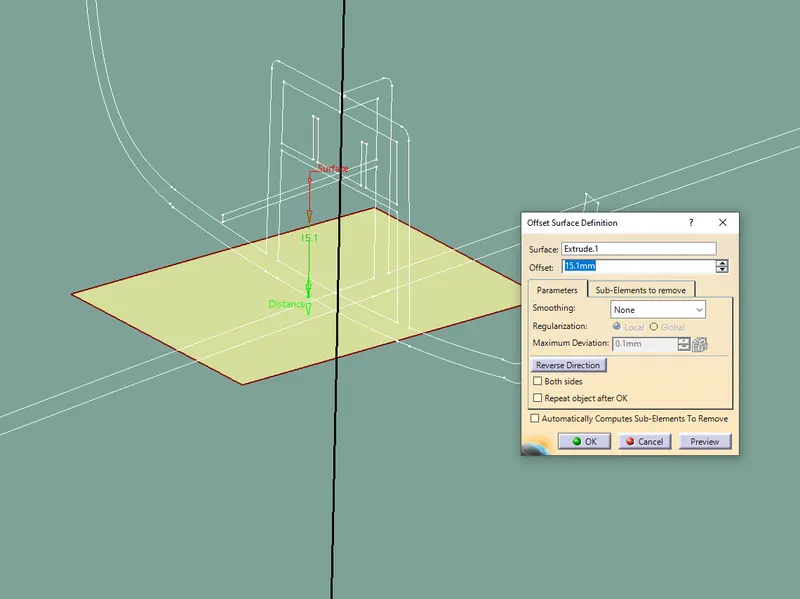
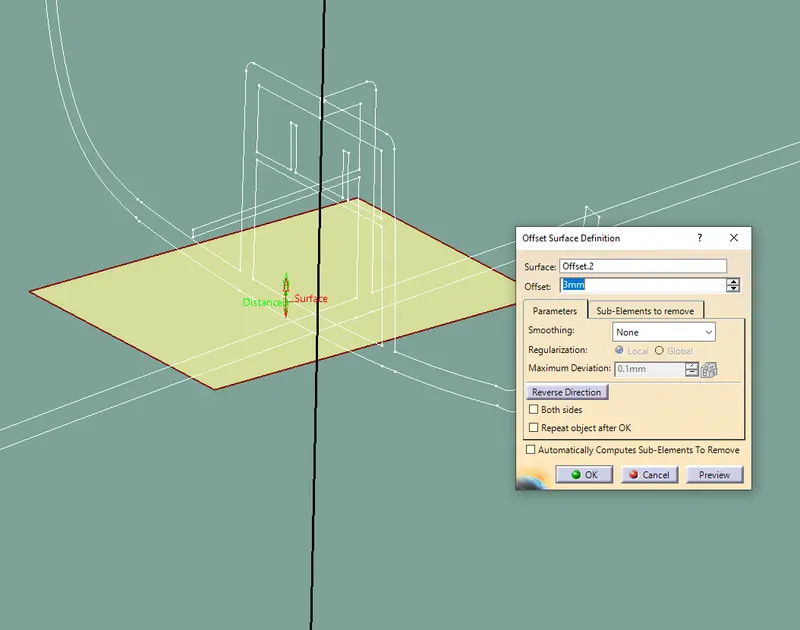
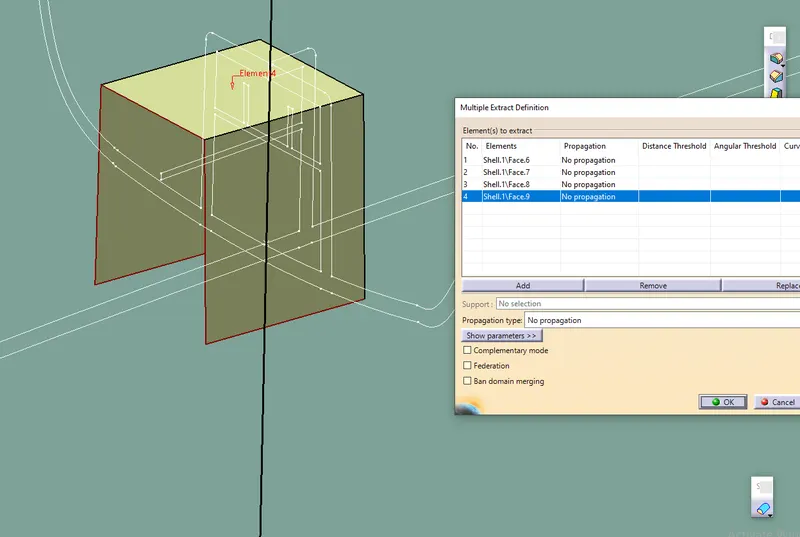
Draft Analysis
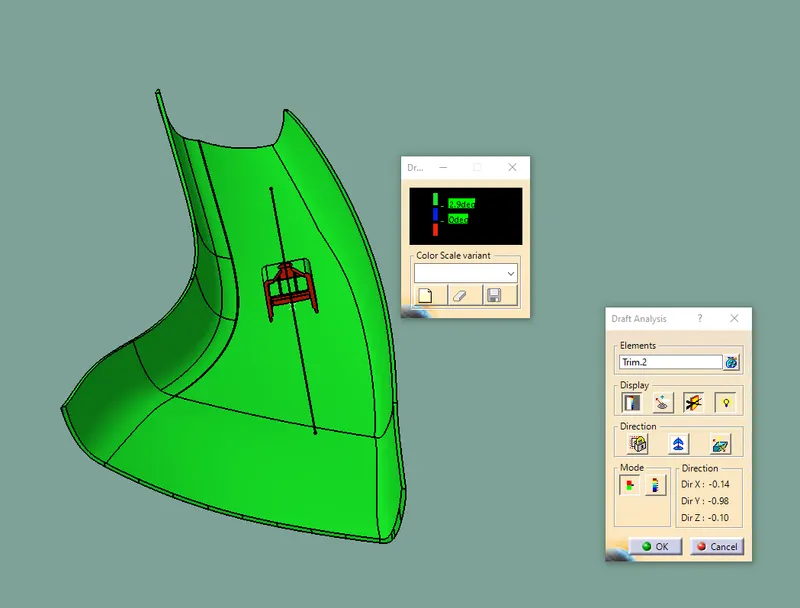
Draft Analysis is done after determining the tooling axis drafft analysis is used to check whether the minimum draft 3 degree is maintain ot not
Procedure of draft analysis
- Change the view mode to materials
- Then open the draft analysis command
- Then Click on use the compass to define the current drafting direction and then drag and align the compass on the tooling axis
- Then lock the compass and perform draft analysis by clicking on the component
- Colour represention
Green -positive draft
Blue - zero draft
Red - Negative
Draft analysis with 2.9 degree value
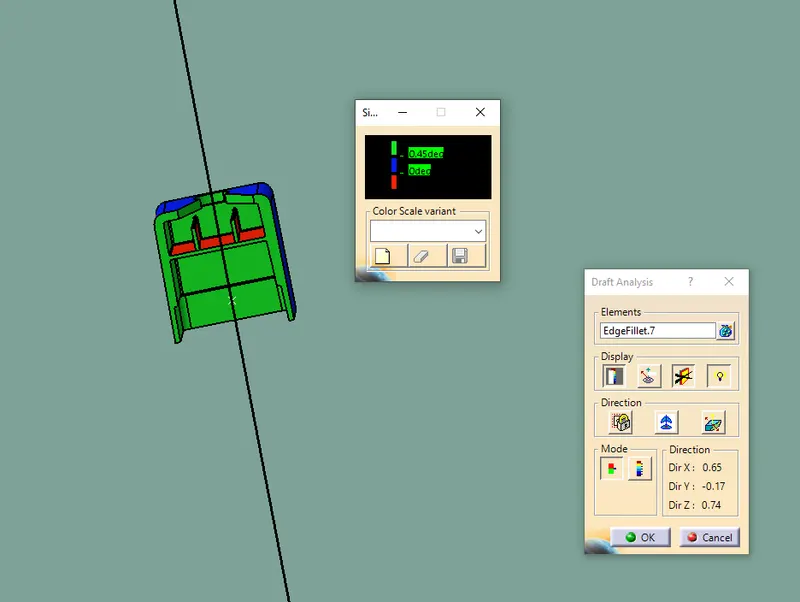
SIDE CORE DRAFT
CONCLUSION
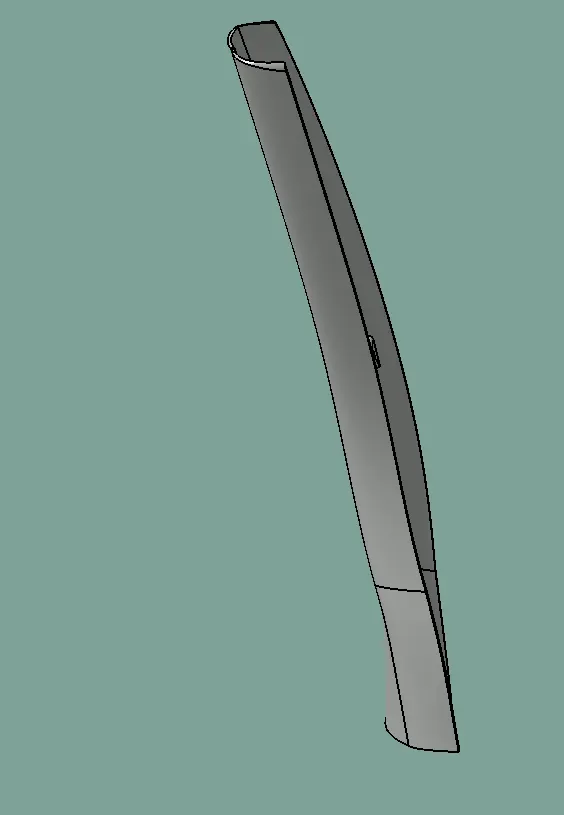
I have created class B and C surface using give Class A suraface and created dog house by using given master section and design rules on class b Surface Draft analysis is successfully performed on both Class A surface and final component