Week 9 - Project - A pillar Design with Master Section
DESIGNING A PILLAR USING MASTER SECTION
OBJECTIVES
- To improvise the Class A surface by resolving bad patches and adding flanges to it.
- To create A pillar solid model with the help of improvised class A surface.
- To create B side features for the A Pillar using the master section given to us as an input.
- To create main and side core tooling axis for A pillar and its B side features.
- To do the draft analysis of the overall model of the A pillar i.e including B side features.
INTRODUCTION
MASTER SECTION: Master sections development takes place during feasibility check and concept validation stages of the product life cycle. These are typically the guides for design requirements and which decides the component packaging after the development of the concept design, i.e class A surfaces.
Master section helps us to decide the feasibility of the concept design, the clearances, the packaging and the fixation strategy of a component before converting the concept design into a solid 3D engineering design.
During the period of vehicle concept design the evaluation of the master section performance depends mainly on the reference vehicle data and experience of structure design engineer.
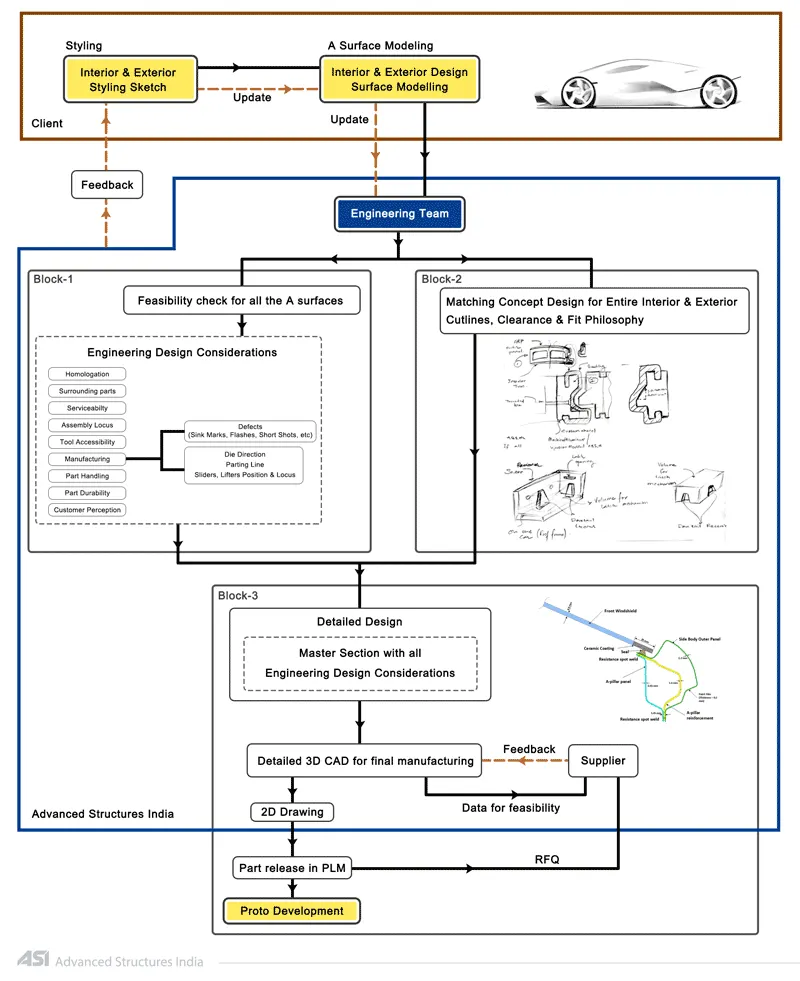
DESIGNING METHODOLOGY:
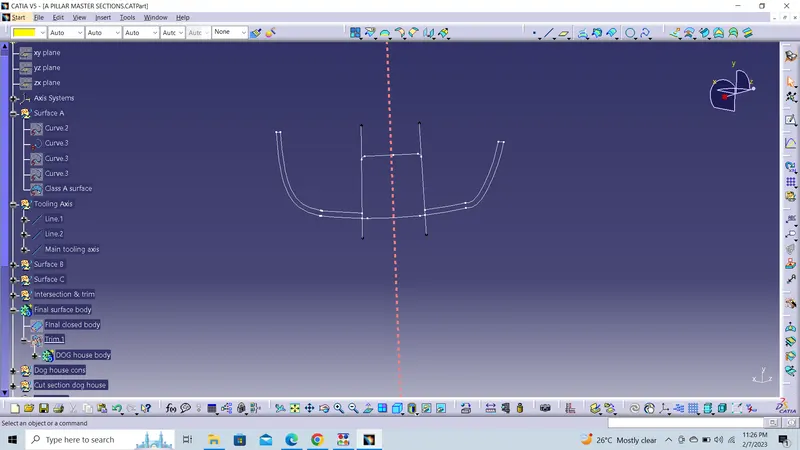
CREATION OF MAIN AND SIDE CORE TOOLING AXIS
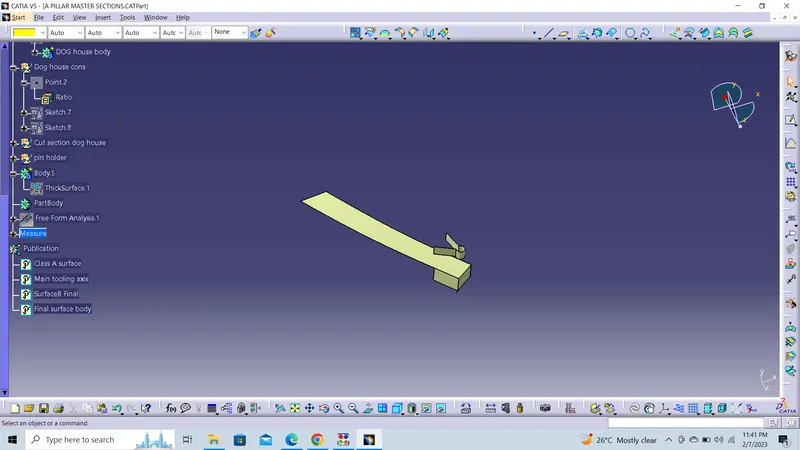
The first step is to observe the given class-A surface deeply and we can say the larger flat area which is perpendicular to the Tooling axis. So, by considering this thing for this class-A surface tooling direction will be in the X-direction. so we create the point on the flat surface as shown in the figure.
CLASS B SURFACE CREATION
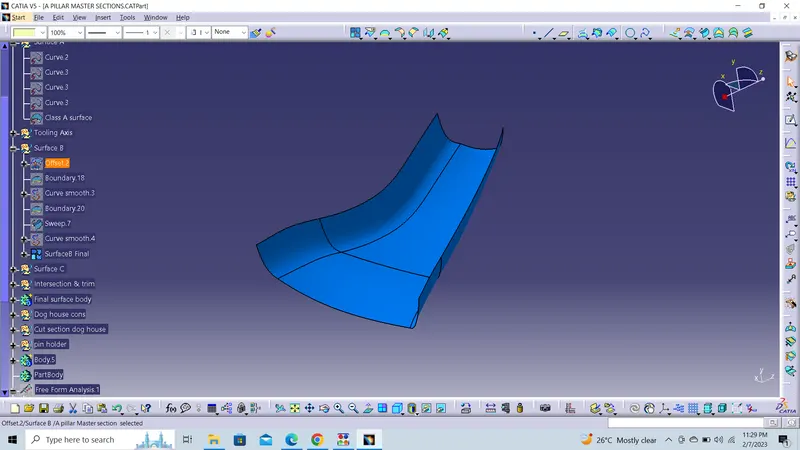
We need a thickness of 2.5mm for the A PILLAR so in order to create the class B surface we'll give an offset value of 2.5 mm to improvised class A surface.
After applying the offset command we'll see some of the patches of the resulting surface are not generating so we have to recreate those patches by using multi-section surface command.
On joining the recreated patches with the offseted surface we'll get the class B surface.
CLASS C SURFACE CREATION
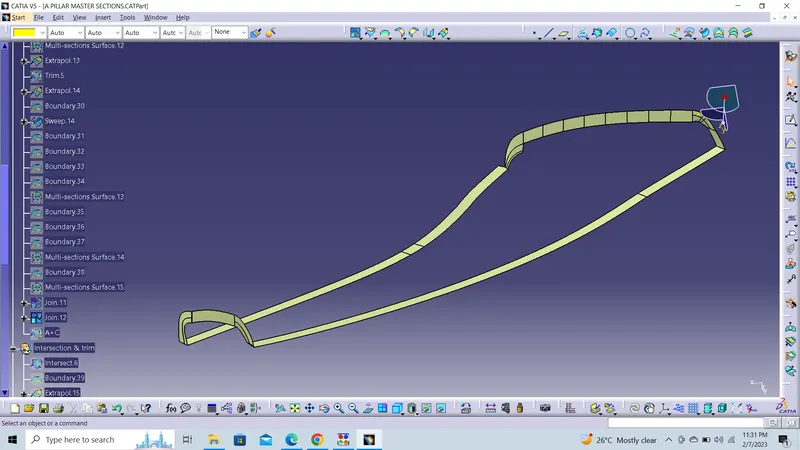
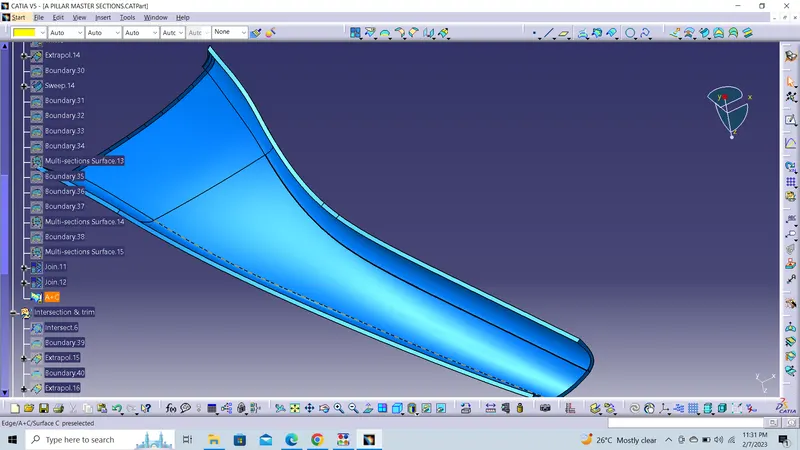
Extract the side edges, front edges and rear edges of the improved class A surface and use sweep command using "with refrence to draft" option and make the draft angle equal to 3 degrees.
For the rest of the edges use multi-section surfaces command to make surfaces inline with the major surfaces created through sweep.
Join all the surfaces together using join command.
SOLID BODY CREATION OF THE A PILLAR
Using the Trim command join the class A surface with class C surface.
Trim the resulting Trimmed surface with class C surface.
The resulting trim we'll get is the closed shell body of A pillar.
Finally use closed surface command in the part design workbench which would lead the shell body into a part body.
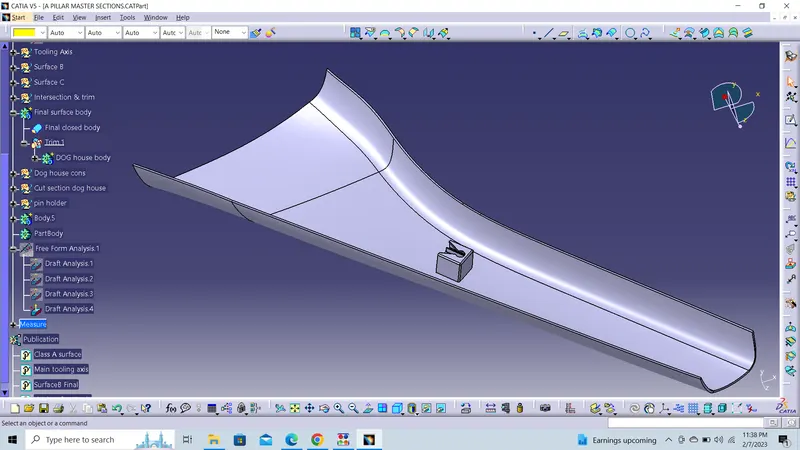
DOG HOUSE & RIBS
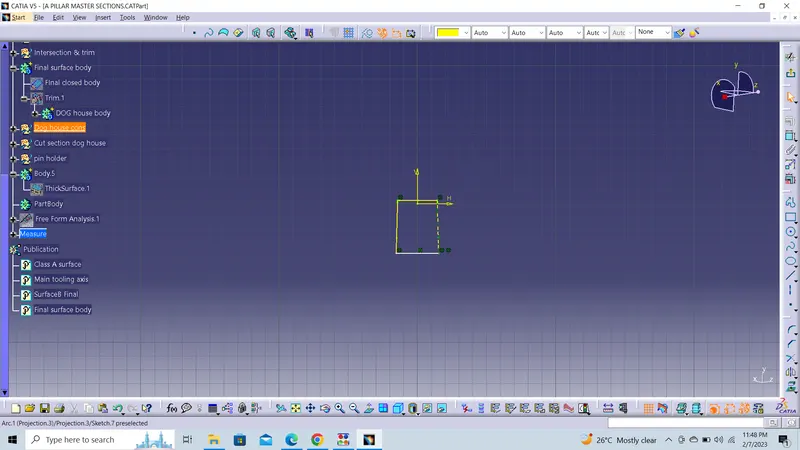
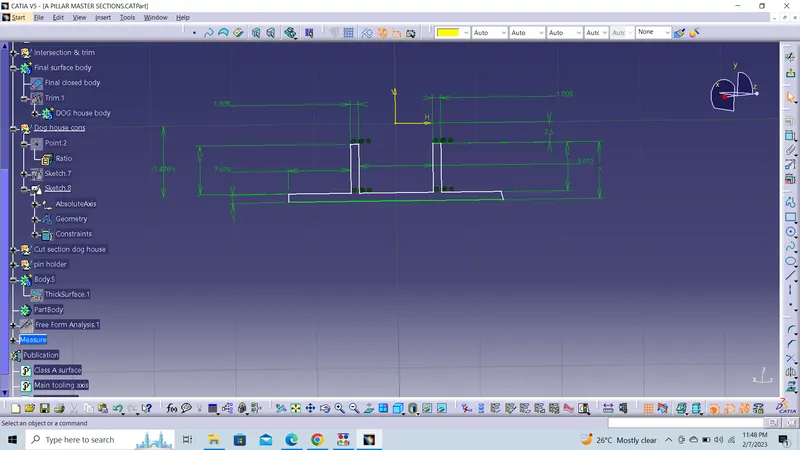
Create the dog house & ribs as per master section.
DOG HOUSE