Week 9 - Project - A pillar Design with Master Section
A-PILLAR DESIGN USING A MASTER SECTION AND DRAFT ANALYSIS
- OBJECTIVE:
- To do Draft analysis and Design A-Pillar with the engineering features with the help of the master section, Class-A, Class-B, Class-C, and Tooling axis.
- TOOLING AXIS
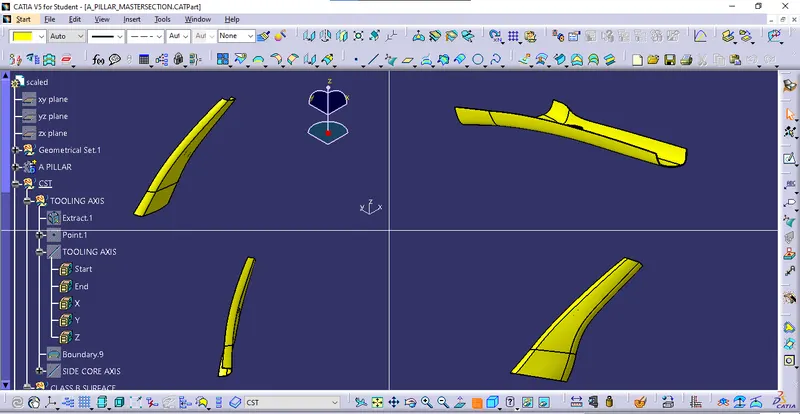
- Firstly, we have to create a tooling axis which is essential for designing the component and also for draft analysis.
- To create the tooling axis, I'm choosing bisecting method.
- With the help of the direct method, I had to create a tooling axis that probably clears all the surface of class A.
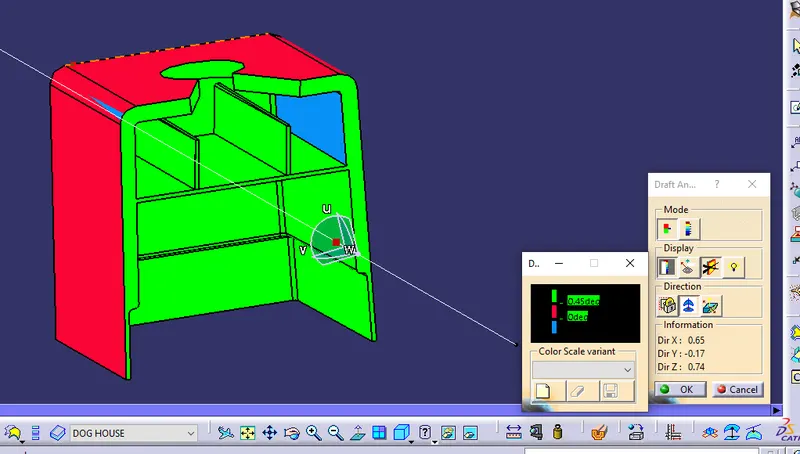
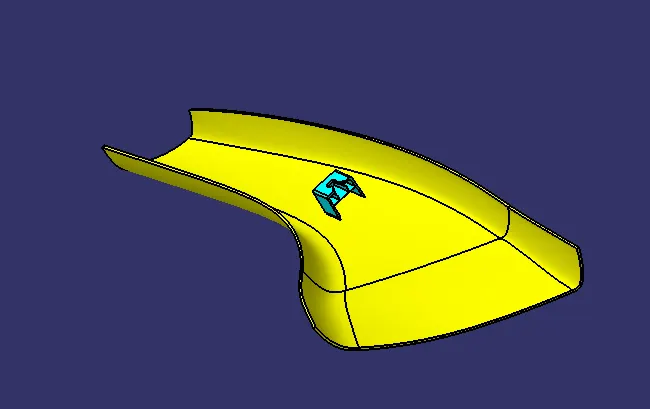
- Now, let's check the draft analysis of class A and the component Door Trim with dog house (refer to the below-given pic).
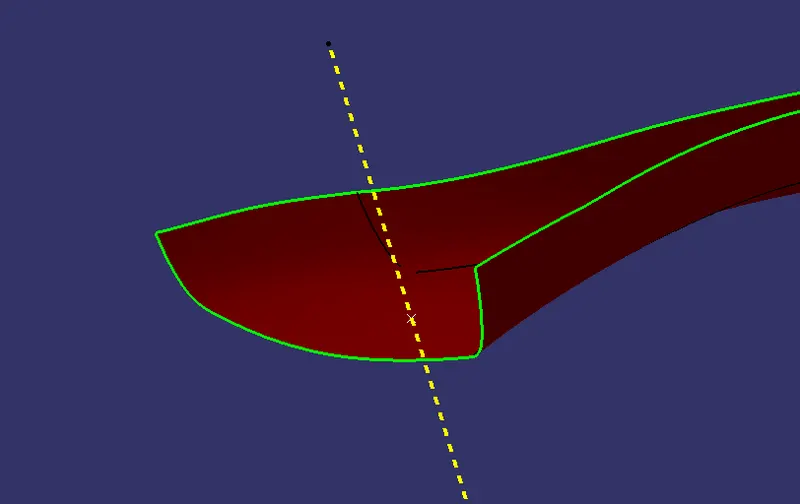
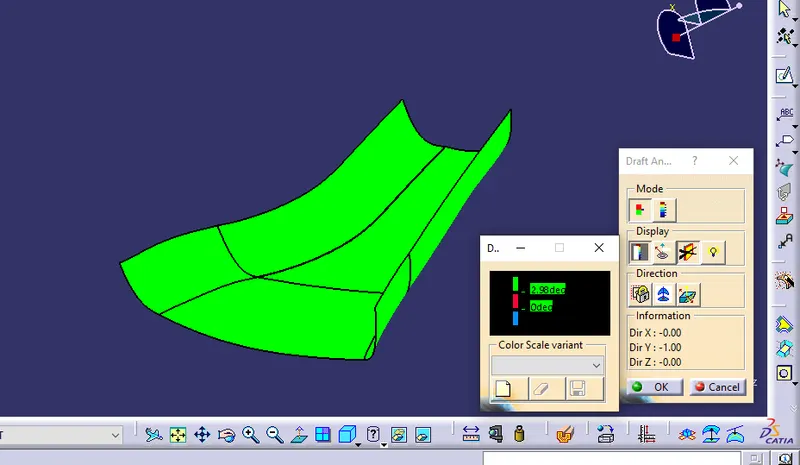
- DRAFT ANALYSIS OF CLASS A SURFACE:
- Results: At 2.98 draft angle, the Class A surface clears well. (Refer to the below-given pic).
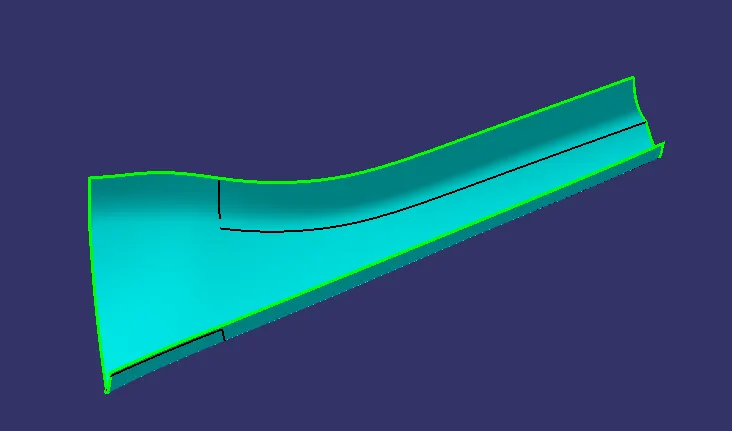
2. CLASS-B SURFACE:
- Class B surface is used for plastic molding purposes. For providing the product, a Class-B surface is used mostly.
- After creating the tooling axis next, I will make the Class B surface.
- Refer to the pic below, which shows the Class-B surface.
- For making a Class B surface, I will use the following command:
- Boundary: Select the required boundary if required.
- Extraction: In this, no boundary is required, so go to extract the flat surface of class A.
- Untrim: After extraction, Untrim those surfaces.
- Extrapolate: extrapolate those surfaces.
- Trim: trim those extrapolated surfaces to get the desired surface.
3. CLASS-C SURFACE:
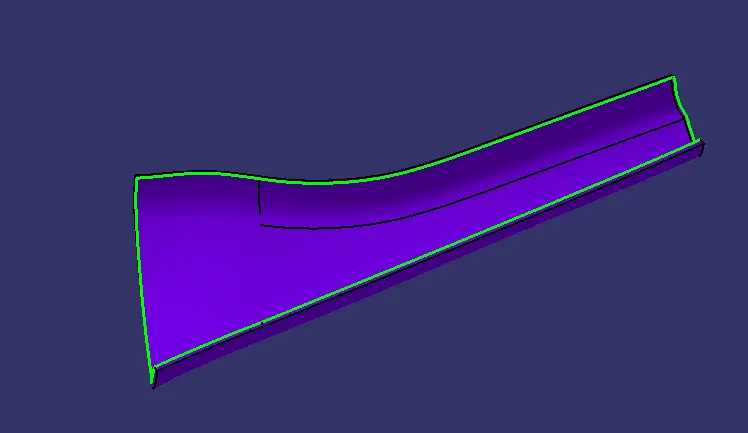
- Class C surface generally connects the Class-B surface to the Class A surface.
- Referring to the below pic, Class-C Surface is shown.
- To create a Class -C surface use the following command:
- Boundary: pick the boundary for the next operation.
- Swept: swept the selected boundary.
- Extrapolate: surface can't join properly, so I used to extrapolate those surfaces.
- Trim: trim those extrapolated surfaces and get the required surface.
- Join: now join those surfaces with each other and form a single surface.
- A+C surface:
4. Final Operation to get A-Pillar:
- Firstly, Select the join operation and join the class A and class C surfaces.
- Trim those joined with the class B surface.
- After that, I got the final A-Pillar.
- As the surface is hollow from the inside, for this go to the part workbench and select the close surface.
- After that analyze the output surface with draft analysis.
- So, in this way, we got our final design as A-Pillar (Referring to the pic below).
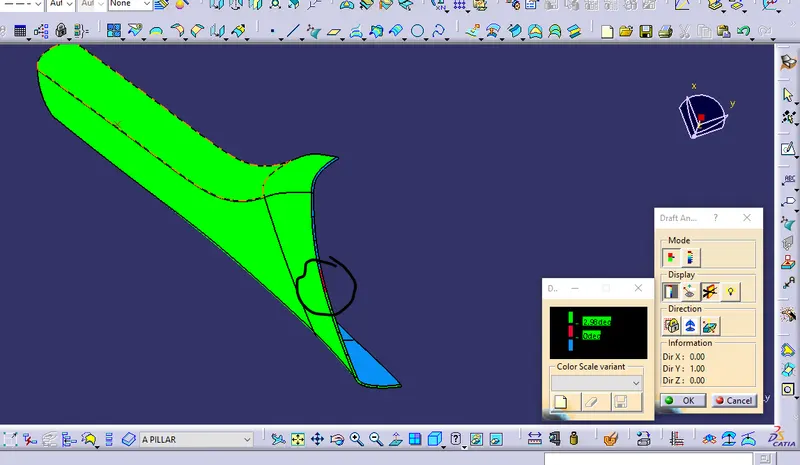
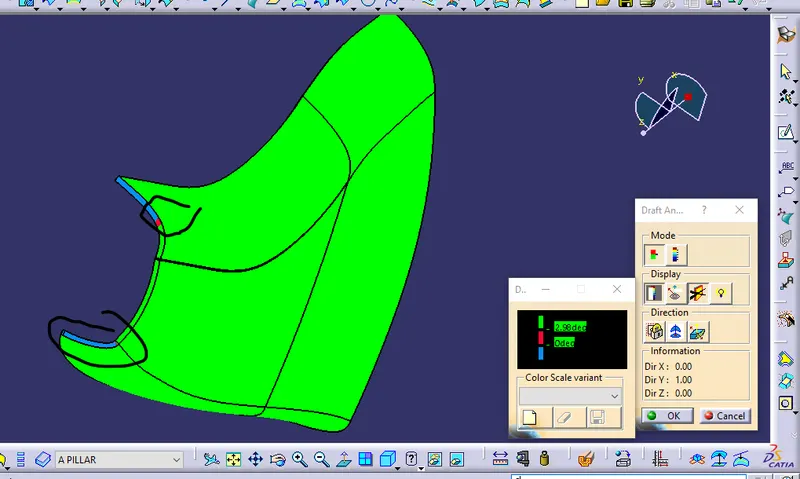
- DRAFT ANALYSIS OF A-Pillar:
- Results: At 2.98 draft angle the surface of the A-pillar cleared well but some portions were not cleared. (Refer to the given pic below).
- DESIGNING OF ENGINEERING FEATURES:
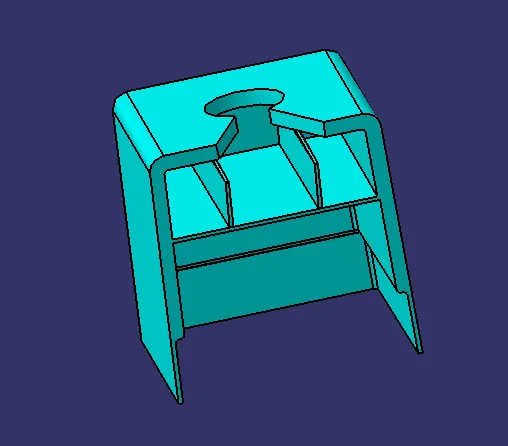
- Dog House:
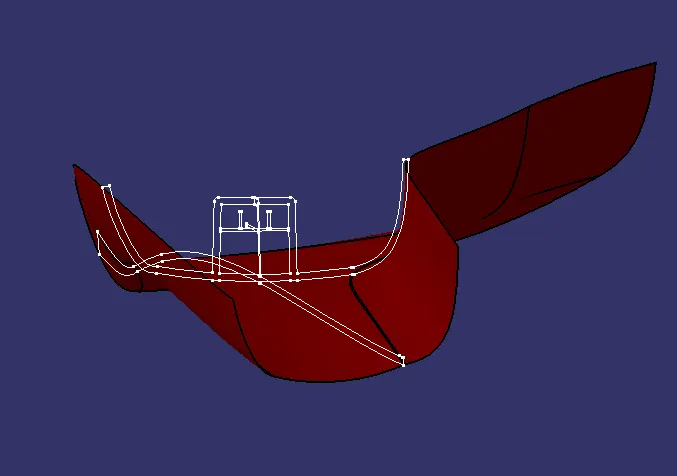
- Referring to the given master and designing the Dog house.
-
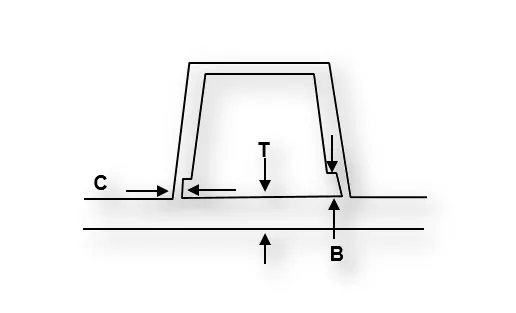
Create the Dog House for the Door Trim considering the design rules mentioned in the video.
-
Consider the thickness of the part to be 2.5 mm.
"C" is where the doghouse contacts the backside of the surface.