A-PILLAR DESIGN WITH MASTER SECTIONS USING CATIA v5
A PILLAR DESIGN WITH MASTER SECTION
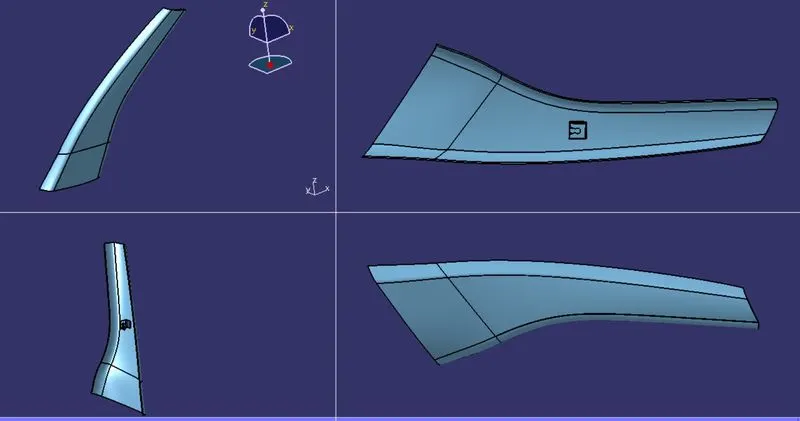
AIM: To Create the A pillar Plastic component through the given Class-A surface. To begin with, the tooling axis for the given Class-A Surface should be created meeting the requirements of the draft angle and at the end perform the Draft analysis on the model.
OBJECTIVE;
- To Create Tooling Axis.
- To Create Class B and Class C Surface.
- To Create Solid Body Out of Surface Modelling.
- To perform Draft Analysis to given Class A and Final Plastic component.
- Thickness of component 2.5mm.
- To create B side Engineering Features.
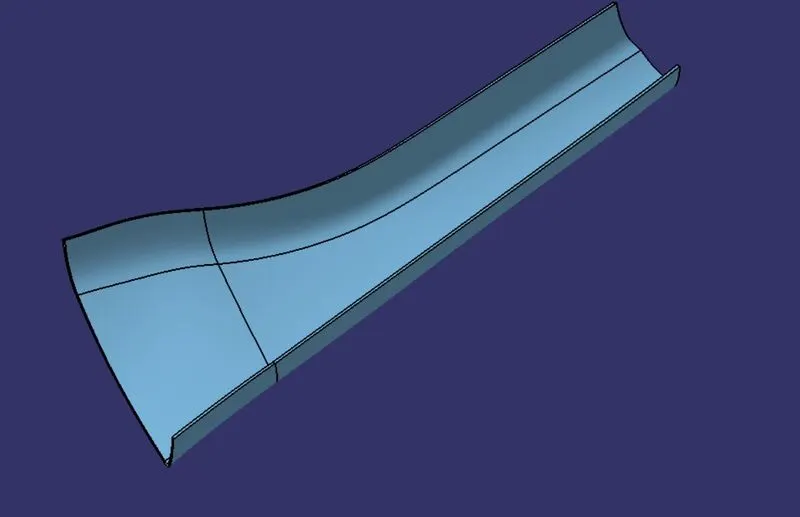
GIVEN CLASS A SURFACE:
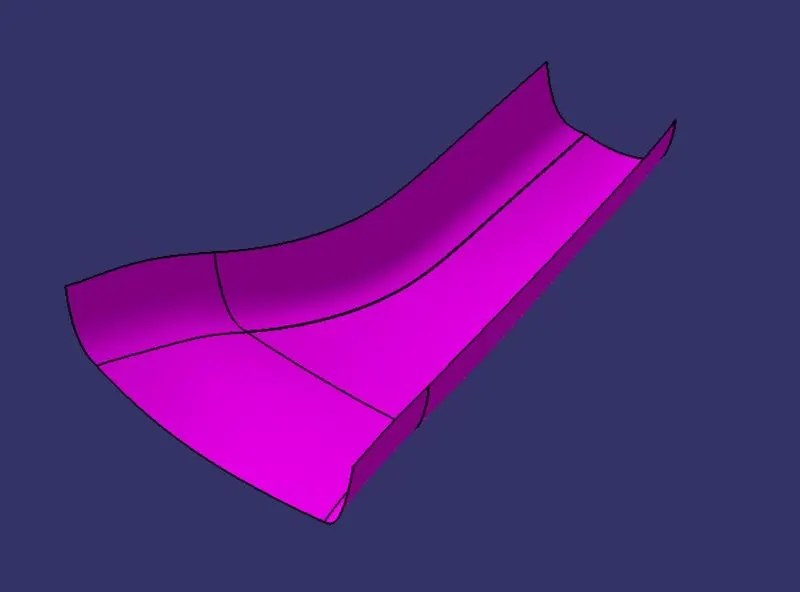
(Class-A Surface)
*To continue with the Design procedure first we have to find the Tooling axis for the surface to Check the Draft Using Draft analysis Tool.
TOOLING AXIS: The Direction in which the mold or Core and Cavity opens is Tooling axis.
TOOLING AXIS ;
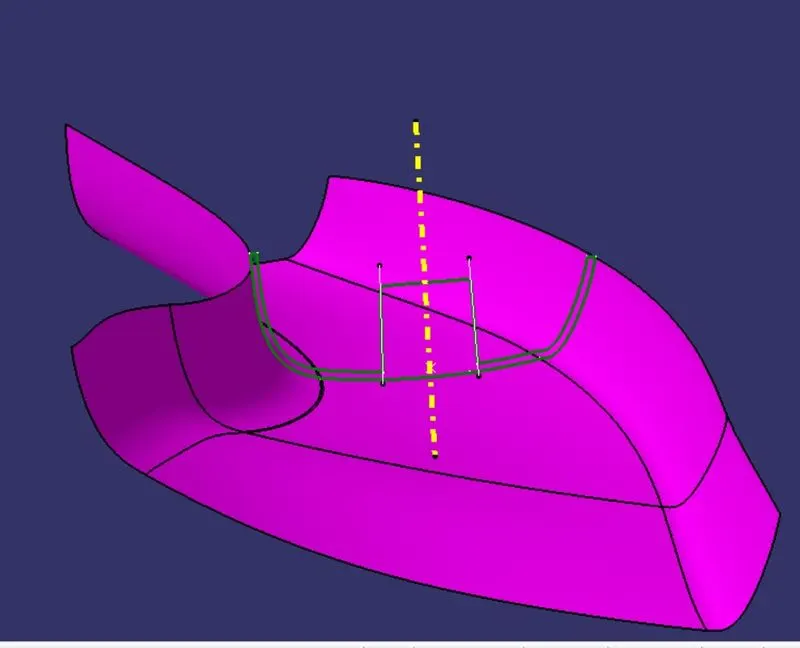
(TOOLING AXIS)
*The yellow line represnt the tooling axis
PROCDURE;
- In this above Figure we created a point on a class-A surface with the aim to move the main tooling direction.
- After creating the point in the class A surface select the line command and create a Tooling axis along Y Axis.
DRAFT ANALYSIS OF CLASS-A SURFACE :
Draft Analysis:The draft analysis technique is used to analyze whether our part model created in CAD is manufacturable based on the draft condition applied. Here the part should get easily removed from the panel dies (in case of Sheet metal part) or Mold (in case of plastic).
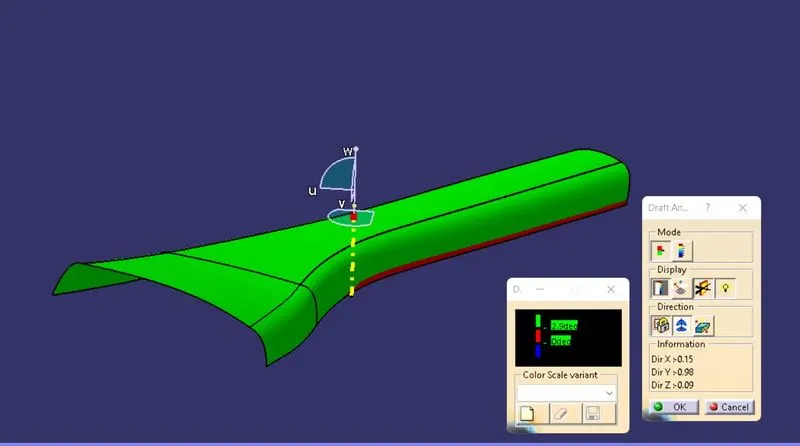
PROCEDURE;
- After creating Tooling Axis select the feature draft analysis option from the insert option,
- Select the element to analyze.
- Click on the compass to define the new current draft direction option and align it with the tooling Axis by dragging the compass to the axis.
- If the colour appears in blue, click the invert button in direction table.
CREATION OF CLASS-B SURFACE:
- Now for class-B creation, We have Offseted the surface from class-A surface for 2.5mm towards Class B.
- After offsetting check for gaps or by using boundary command.
- Fill the gaps or open area using multi-section surface and surface fill command.
In this class B Surface creation we offseted the Class A surface,
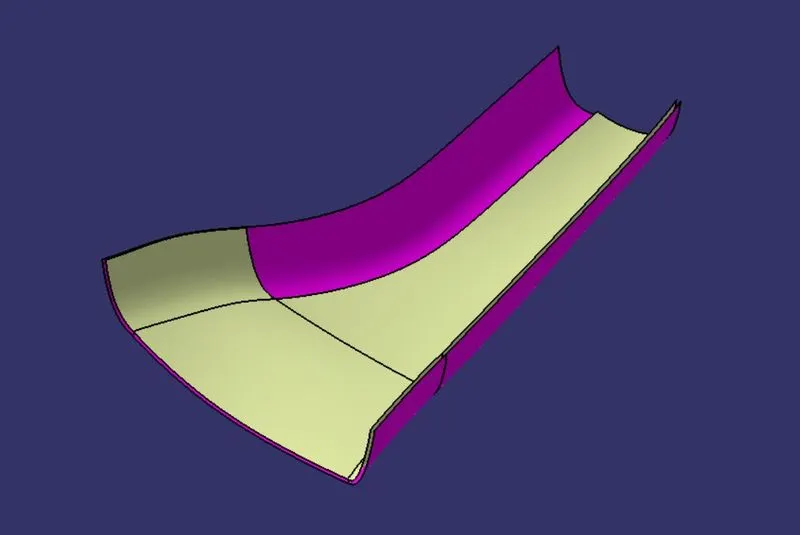
Using mutli-section surface filled the Patch which is formed while offsetting.
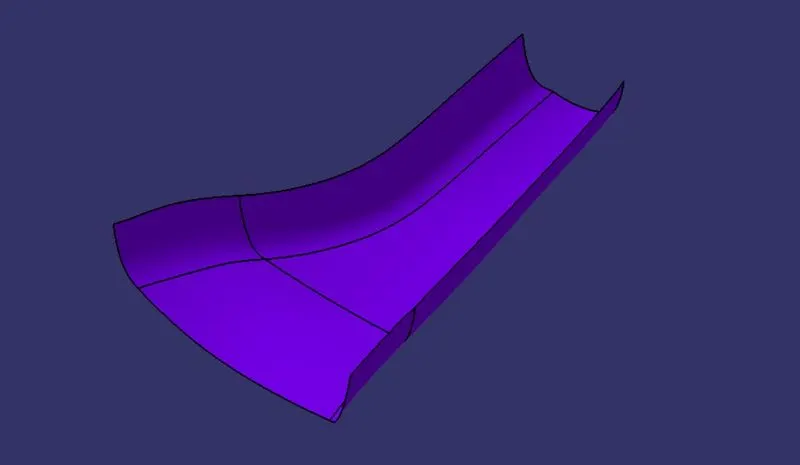
(CLASS-B SURFACE)
CREATION OF CLASS C SURFACE:
- To create the Class-C surface we have to create a boundary line by using boundary feature.
- Now the boundry line is to be swept by using sweep feature from the surface table using Line profile and with reference surface subtype with 90degree angle along the tooling axis and using With Draft Direction for 3 deg.
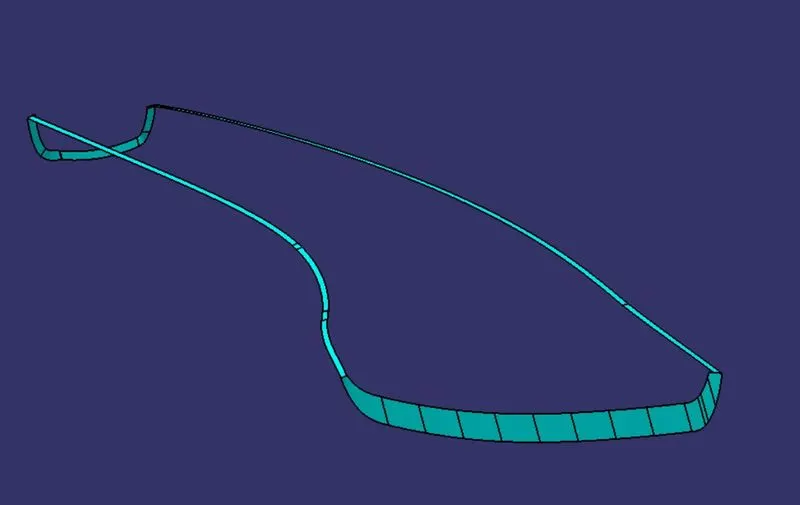
(CLASS C SURFACE)
FINAL TRIM:
In this process we are going to create a final requried closed body by Trimming the Class-A, Class-B and Class-C surface together.
TRIMMING CLASS A CLASS B AND CLASS C;
Make sure that there is are open boundry between class-A and class-C surfaces while trimming surfaces.
JOINING CLASS-A WITH CLASS-C SURFACE;
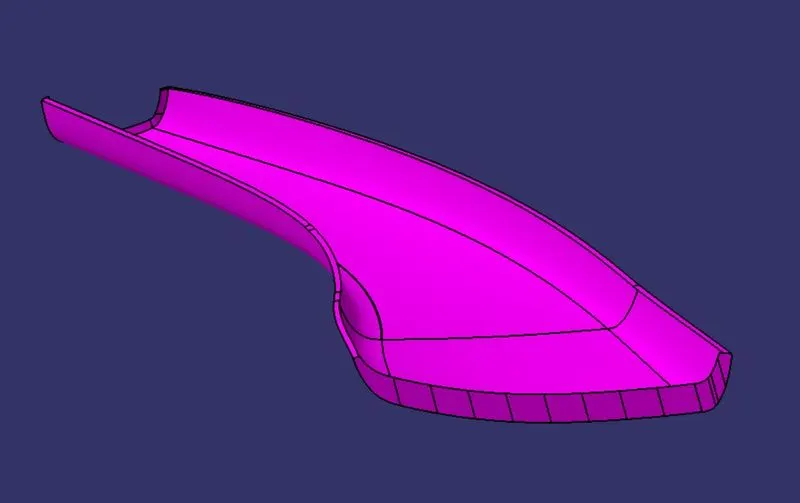
JOINING CLASS-A, C AND CLASS-B SURFACE;
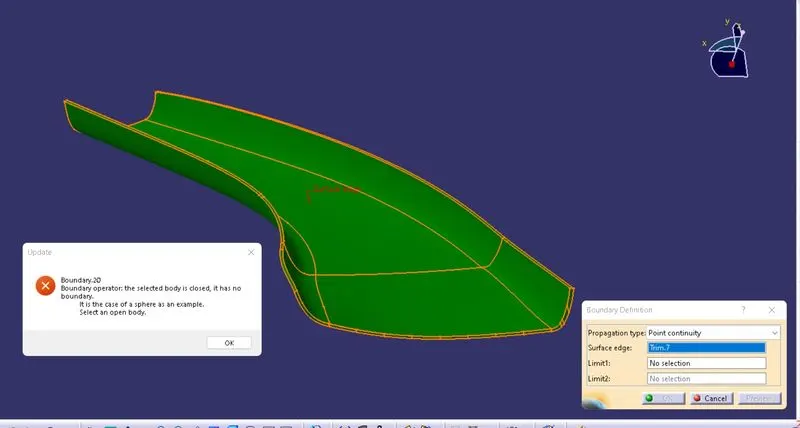
CLOSED BODY;
ENGINEERING FEATURES:
DOG HOUSE:
Dog house is an engineering feature used in plastic trim design. Dog houses are used as supporting feature. Sometimes other engineering features like snaps; locators etc. are mounded on them to increase their strength. Dog houses are subjected to draft analysis to prevent breakage of the component during ejection from mould cavity. Dog house and other engineering components are built on B-surface.
DESIGN CONSIDERATION FOR PLASTICS:
1.WALL THICKNESS:
Thick sections waste material and are simply uneconomic. So solid shapes that would do the job well in wood or metal must be transformed to a 'shell' form in plastics. This is done by hollowing out or 'coring' thick parts so you are left with a component which regardless of complexity is composed essentially of relatively thin walls joined by curves, angles, corners, ribs, steps and offsets. As far as possible, all these walls should be the same thickness. Wall thickness guide range is 0.75 mm to 3 mm for reinforced materials 0.5 mm to 5 mm for unreinforced materials.
WALL THICKNESS(W)=0.70*(NOMINAL THICKNESS OF PLASTIC MATERIAL)
CORNER RADII
Properly designed corners will make a big difference to the quality, strength and dimensional accuracy of a moulding. But there is another benefit too. Smooth curved corners help plastic flow in the mould by reducing pressure drops in the cavity and minimising flow-front break-up. Internal radii should be at least 0.5 and preferably 0.6 to 0.75 times the wall thickness.
CORNER RADII= (0.6-0.75) * (NOMINAL THICKNESS OF PLASTIC MATERIAL)
DRAFT ANGLE:
Tooling must be cleared for easy ejection of the component, from the core cavity. In order to clear tooling certain value of draft is given to the component. Minimum of 2-3deg is provides on all plastic components.
DRAFT ANGLE=2-3 DEGREE
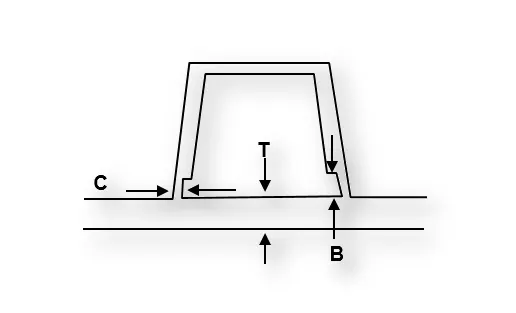
-
Doghouse wall thickness at the intersection of the part wall (C) should be 40% or less than the main wall stock (T).
-
The height of (B) should be between 3.0 – 6.0 mm
- 'C' is where the doghouse contacts the backside of the surface.
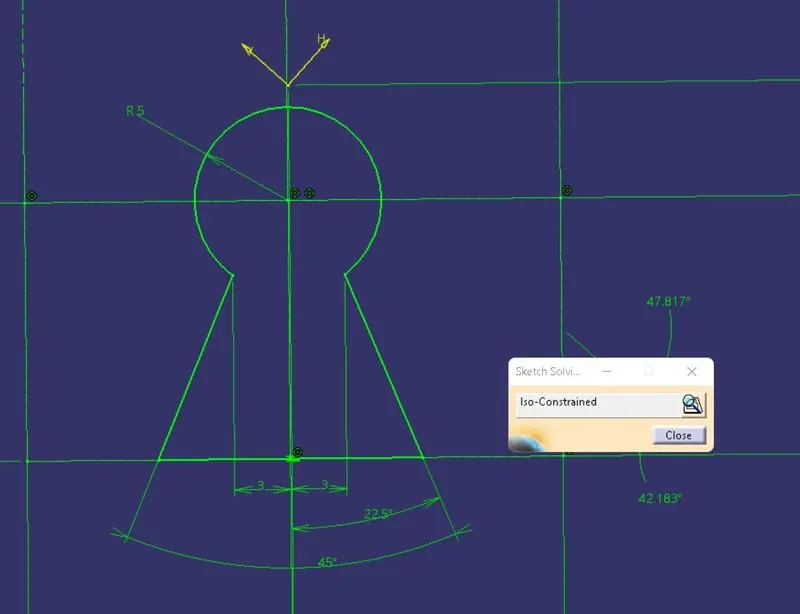
Sketch and dimension used to create Dog House;
Joined Surface;
- Used the Extrude command to extrude the Mastersection extract.
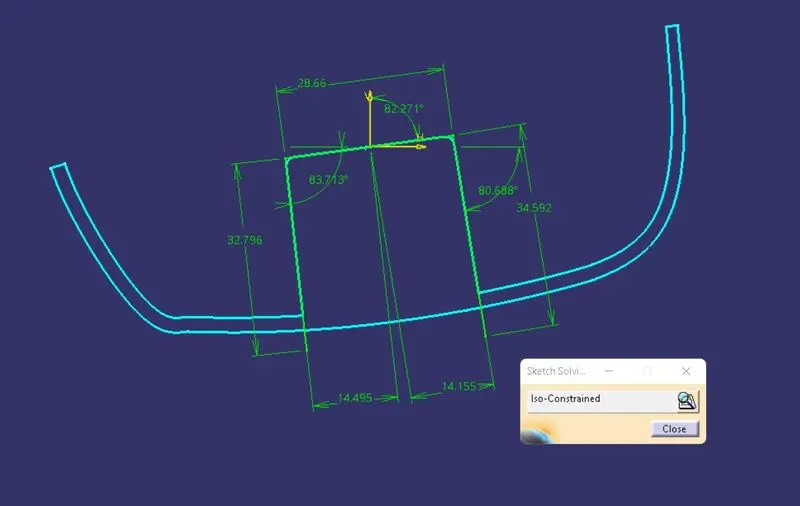
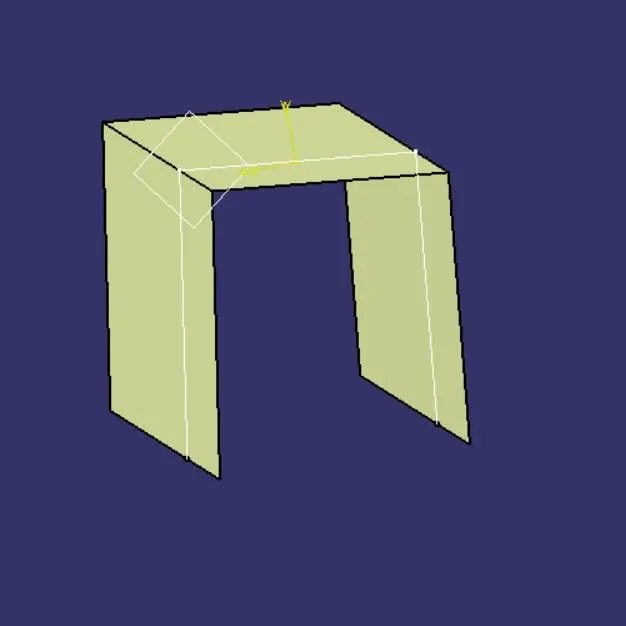
- Then thicken the surface to 2.5mm in part workbench
- used inner draft angle of 0.5deg
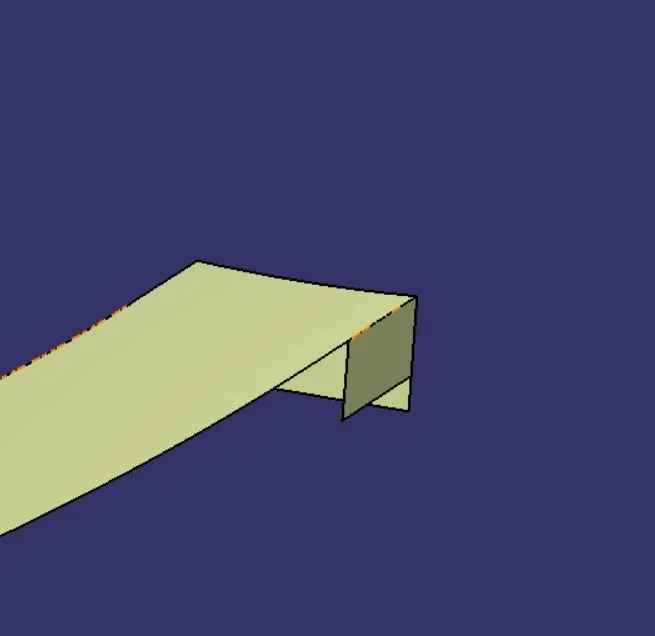
- offseted the extracted surface for 4 mm to create "C" principle to reduce the wall thickness
- Then trimmed the offseted swept surface and class B offsetted surface then spilt with part body.
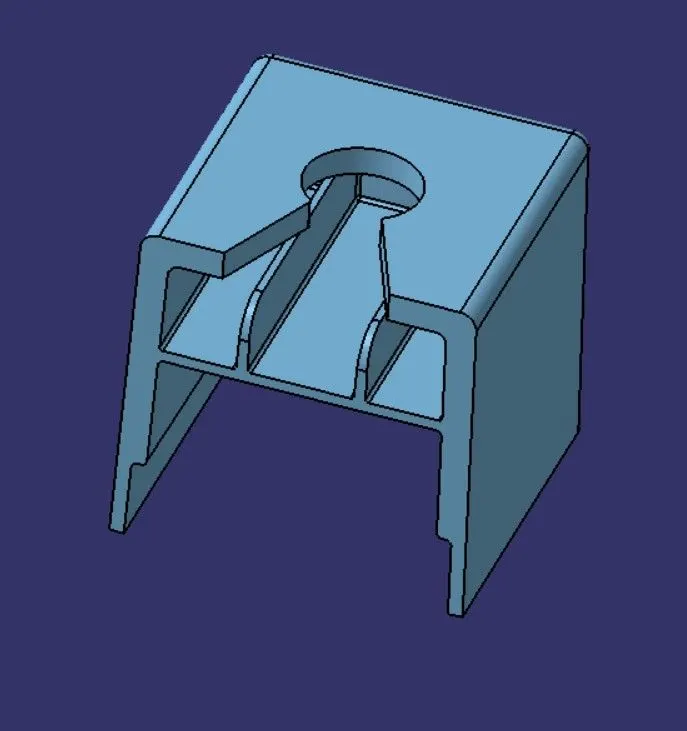
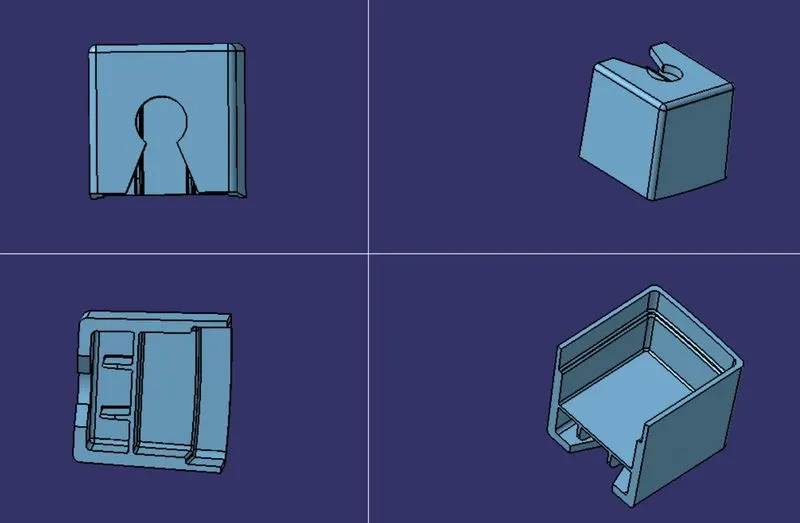
DOG HOUSE RESULT:
DRAFT ANALYSIS:
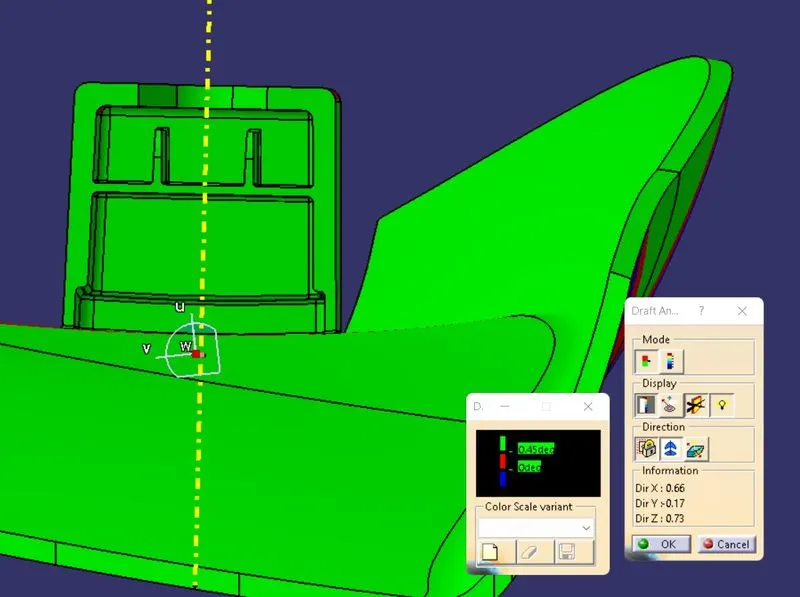
In this process we are going to check the draft analysis for the final closed surfaces to ensure all the surfaces are above 0.45 degree draft.
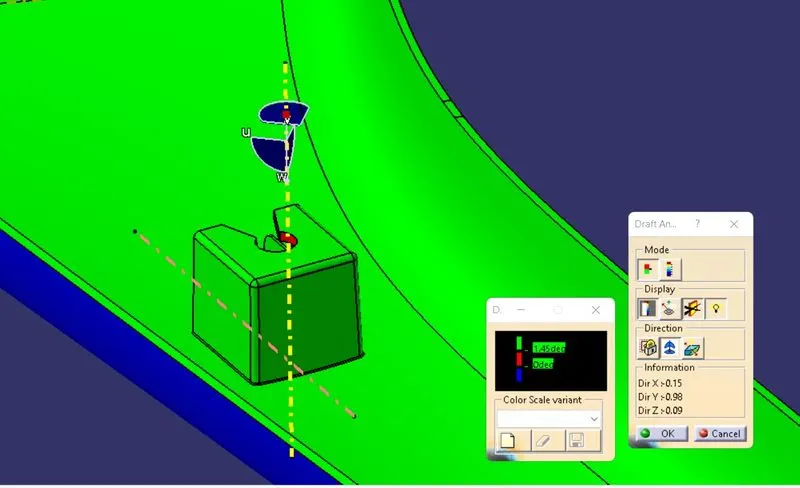
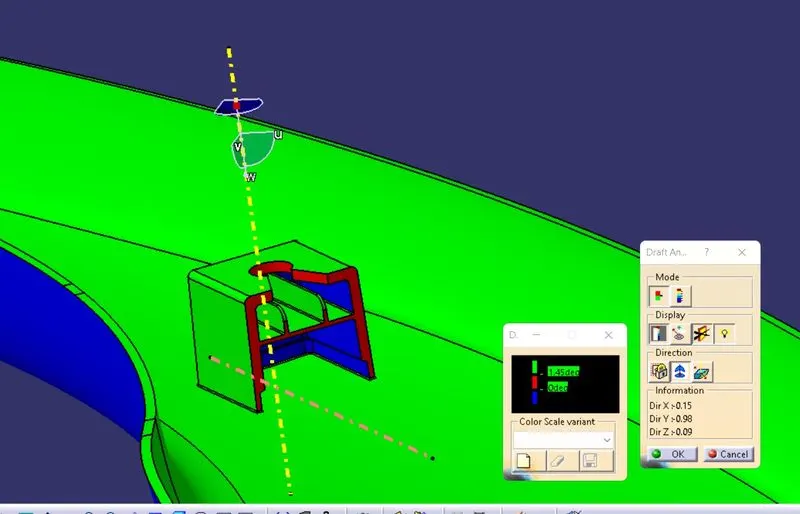
In this process we are going to check the draft analysis for the final closed surfaces to ensure all the surfaces are above 1.45degree draft.
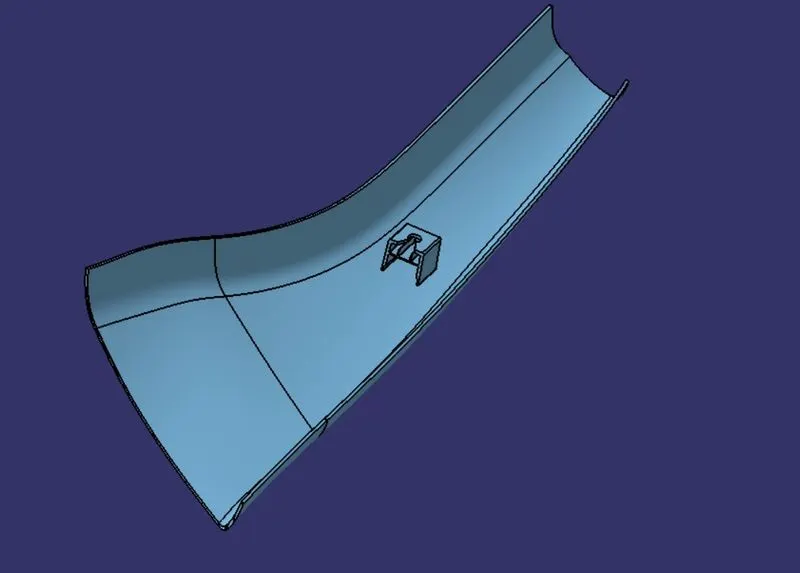
FINAL RESULT;
ALL VIEWS:
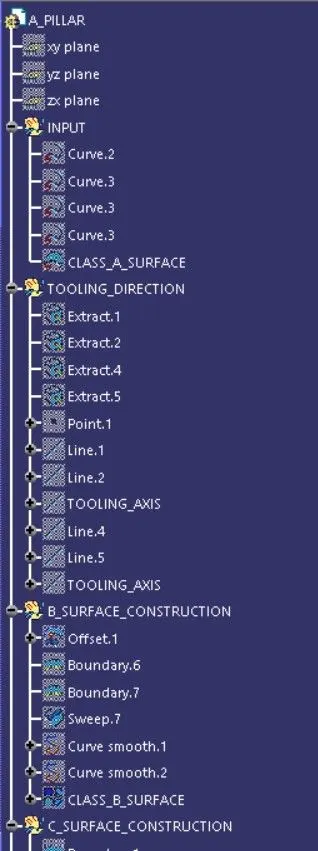
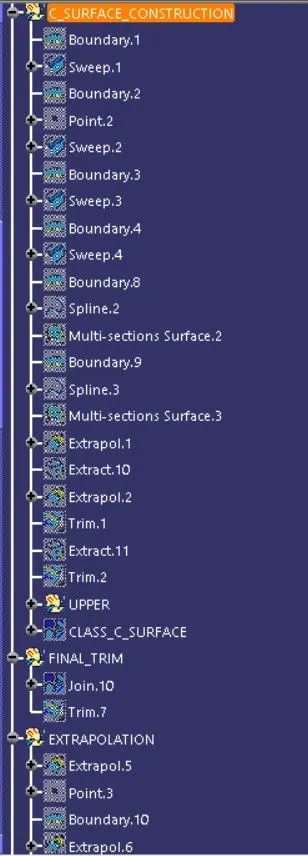
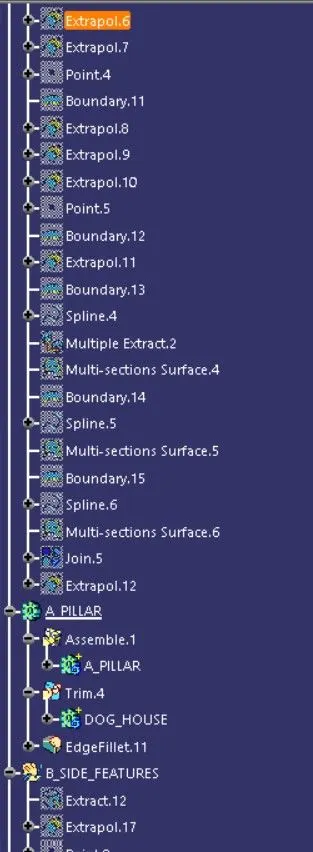
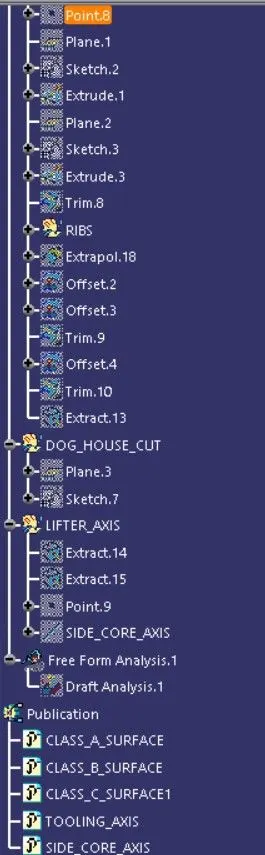
DESIGN TREE: