Week 9 - Project - A pillar Design with Master Section
WEEK 9 - PROJECT - PILLAR DESIGN WITH MASTER SECTION
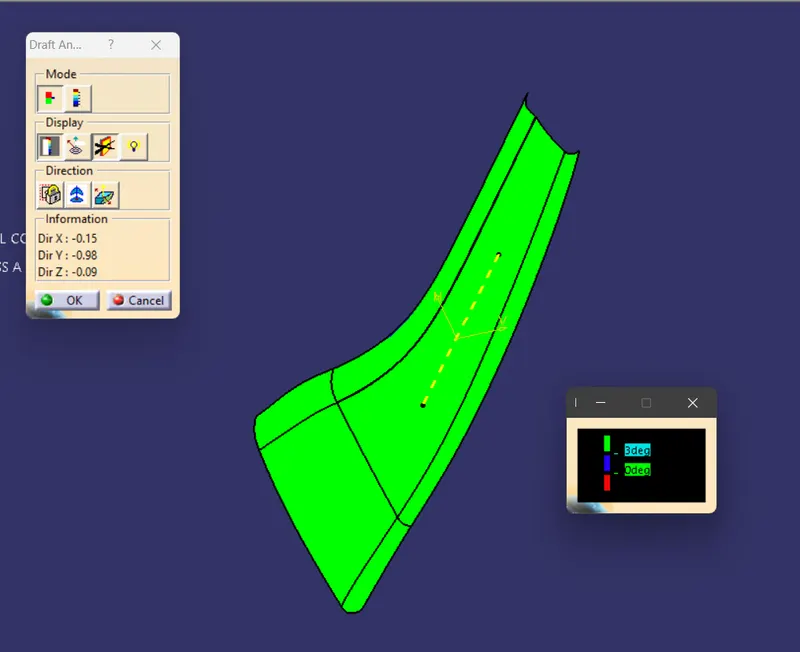
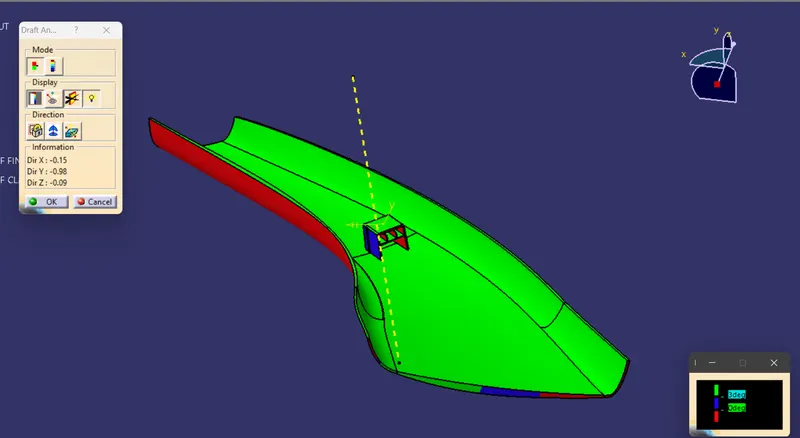
AIM - To create the Pillar, Plastic component through the given Class-A surface. To begin with, the tooling axis for the given Class-A Surface should be created meeting the requirements of the draft angle and at the end perform the Draft analysis on the model.
The below image is given class A with the master section.
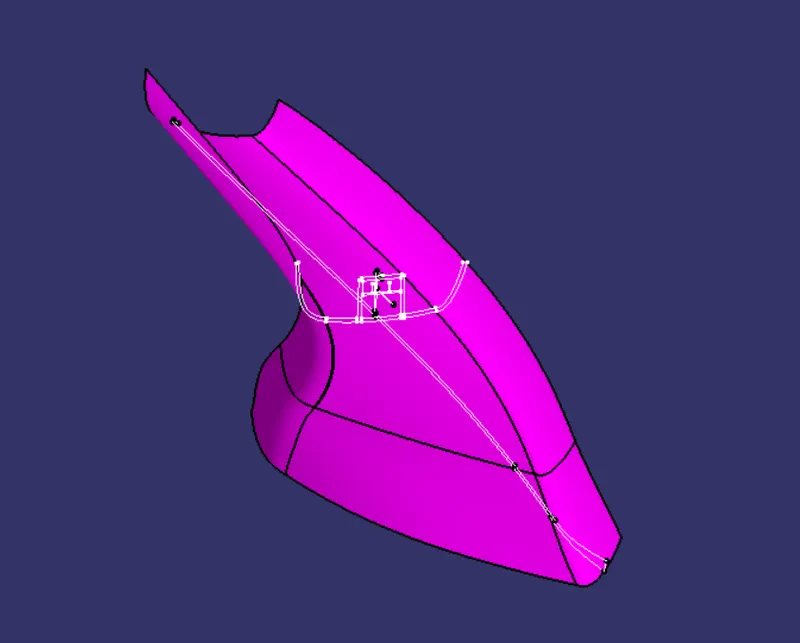
CLASS A SURFACE - Class-A is a term used specifically in automotive design. It describes the final production Class data for the aesthetic parts of the car. The term 'Class A' is often misunderstood, but it's generally seen as the 'Holy Grail' of Class modeling.

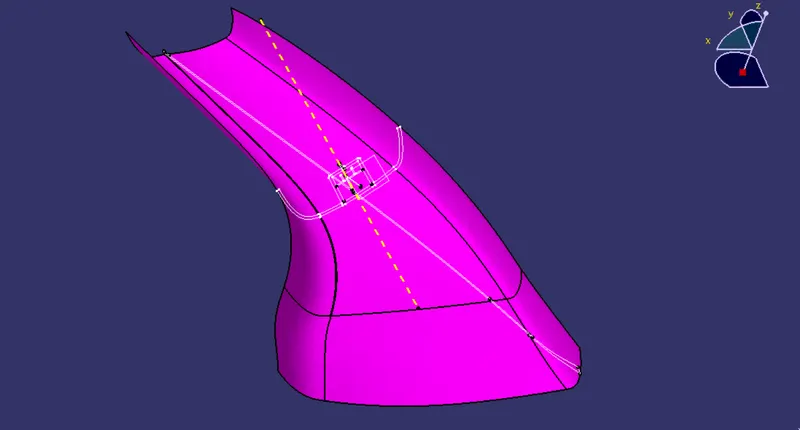
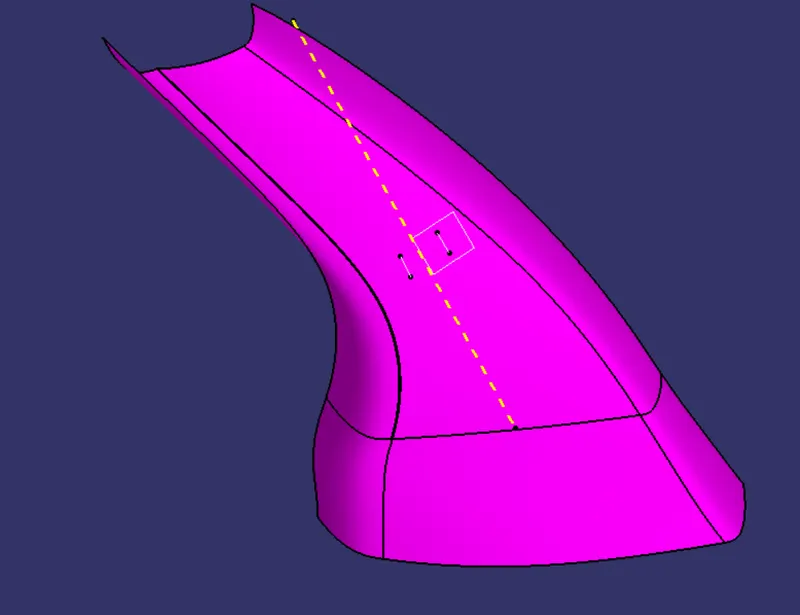
TOOLING AXIS - Tooling axis is made with the help of Master Section as shown below:
CLASS B SURFACE
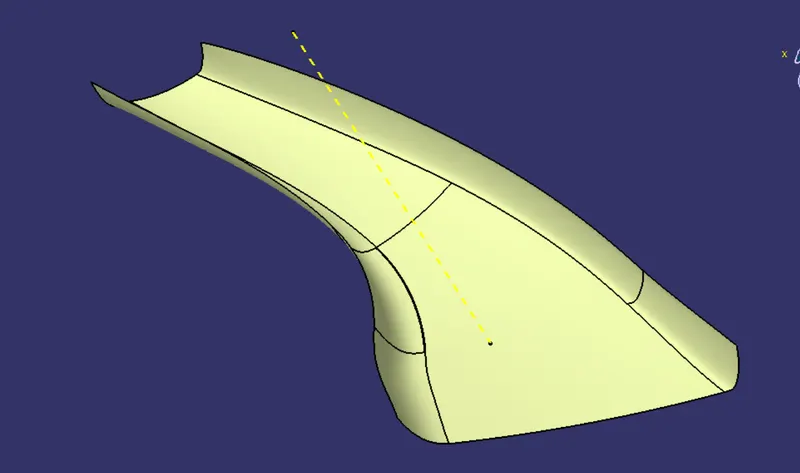
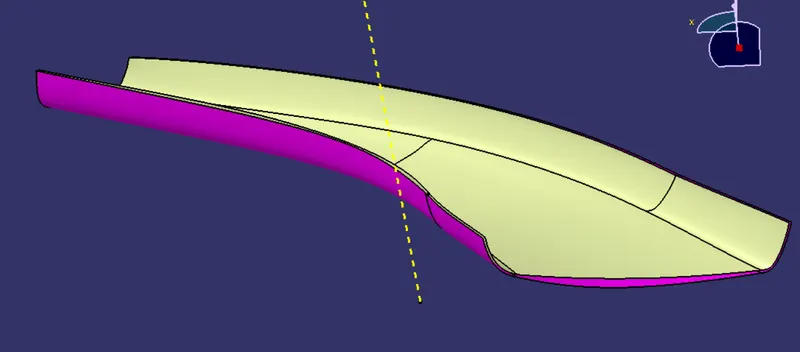
- Use the extract command and extract surfaces from class A. Then untrim the extracted surface using untrim tool to get a full body. Next use extrapolate tool to extend the surfaces, and after trimming the surfaces together, offset the surfaces by 2.5 mm.
CLASS C -
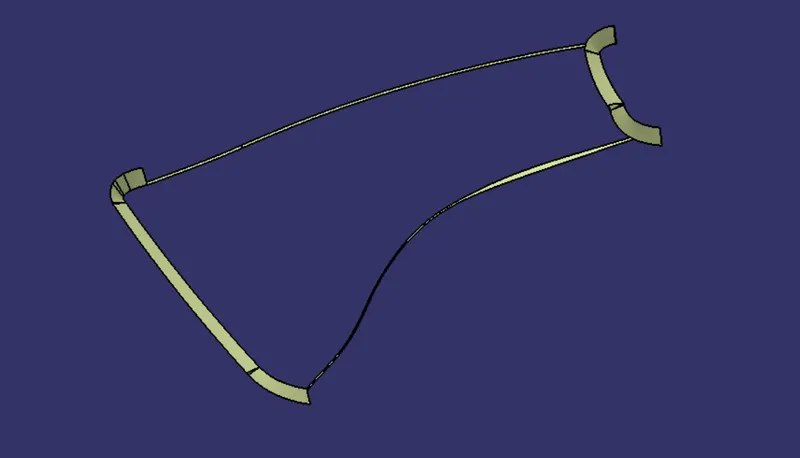
FINAL COMPONENT
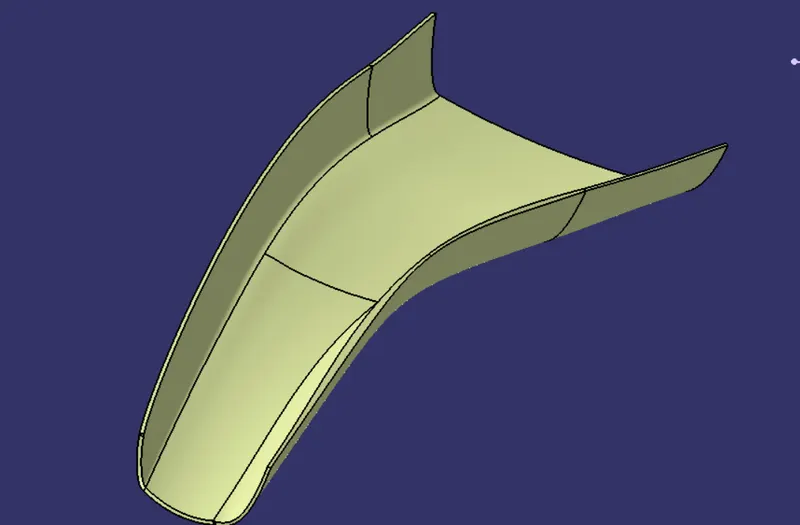
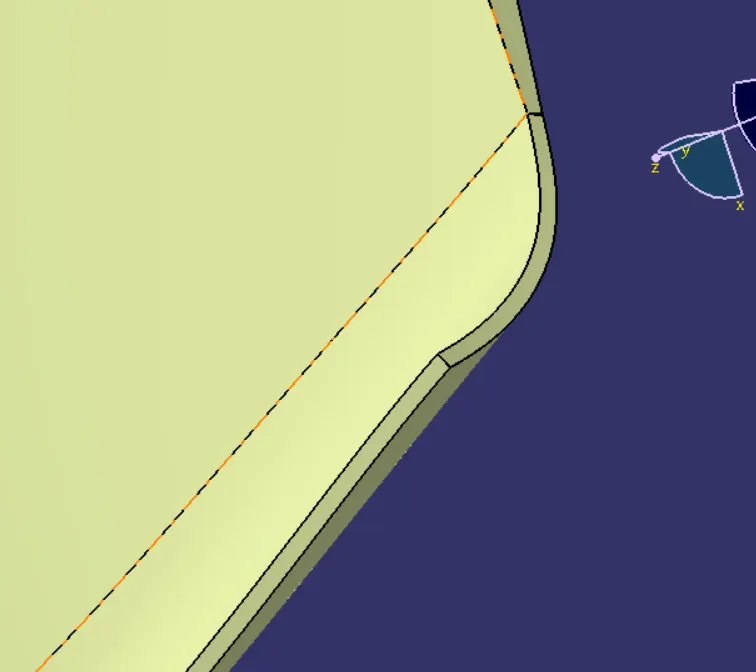
CLOSE BODY
- Go to the part body workbench then use the close boby tool
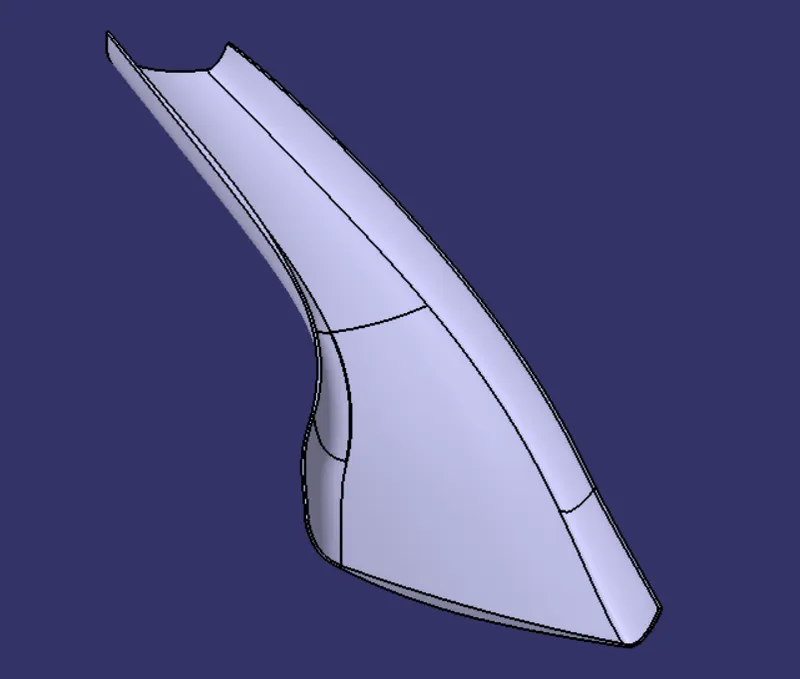
DOG HOUSE
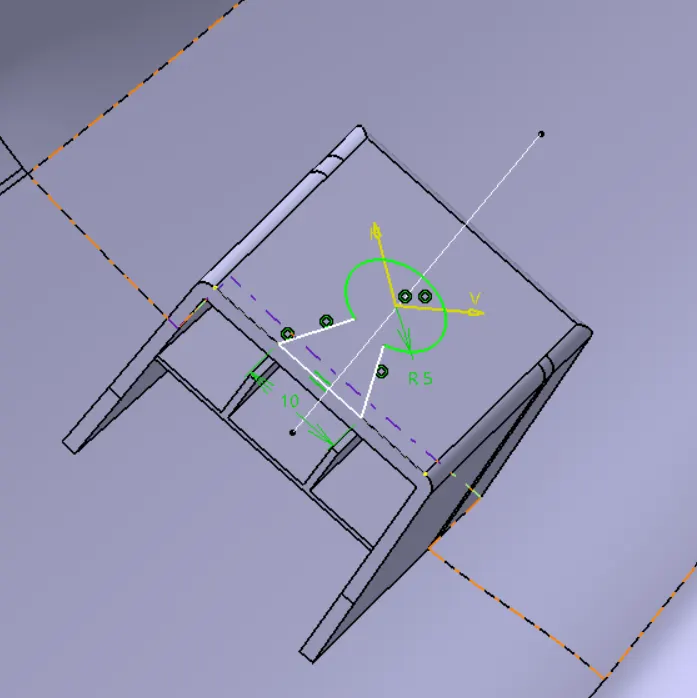
- Create a sketch for a dog house, and pad it.
- Then pad this sketch, now shell the pad with 2.5 mm.
DRAFT ANALYSIS OF CLASS A SURFACE:
DRAFT ANALYSIS OF FINAL COMPONENT:
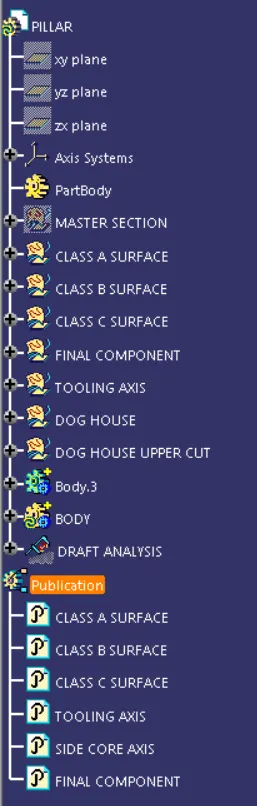
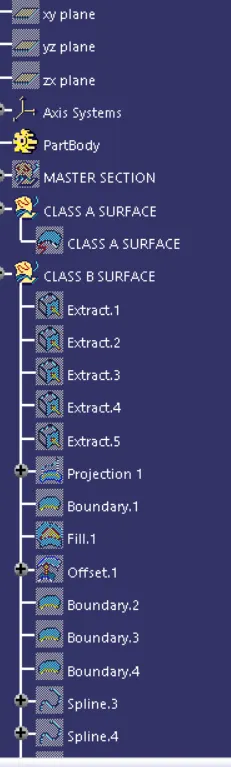
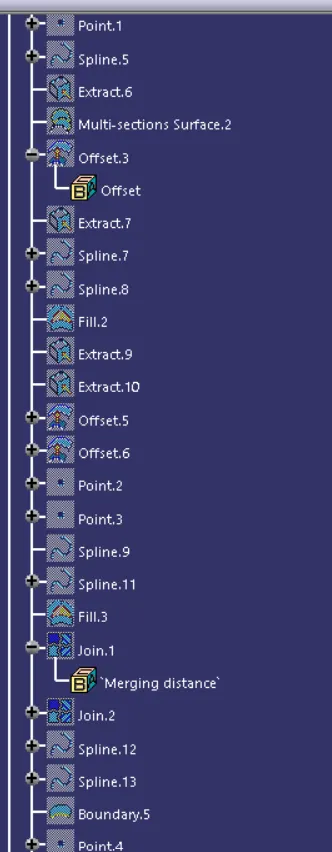
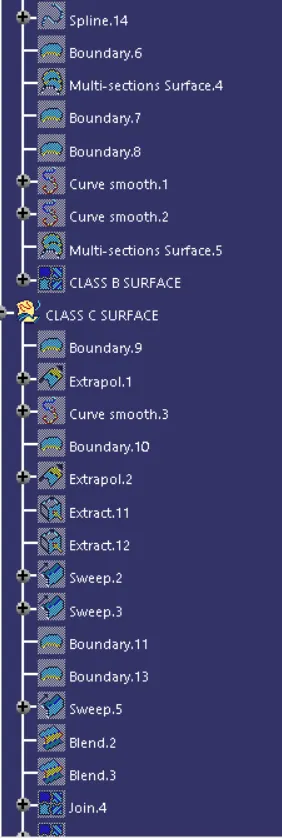
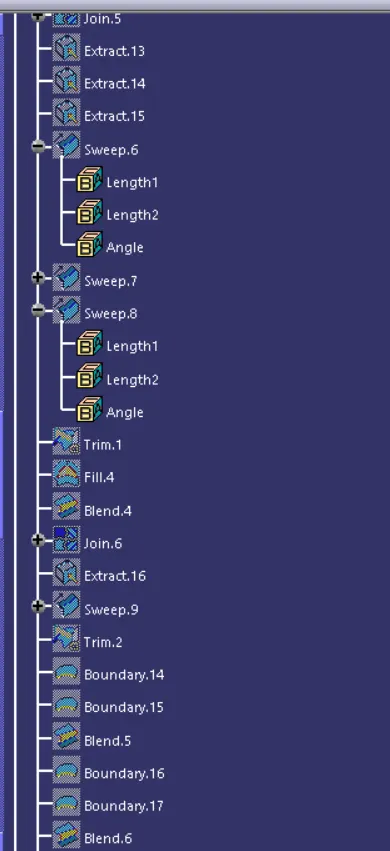
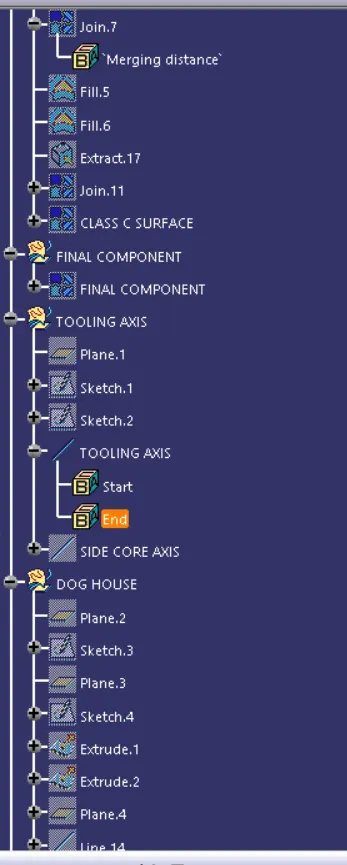
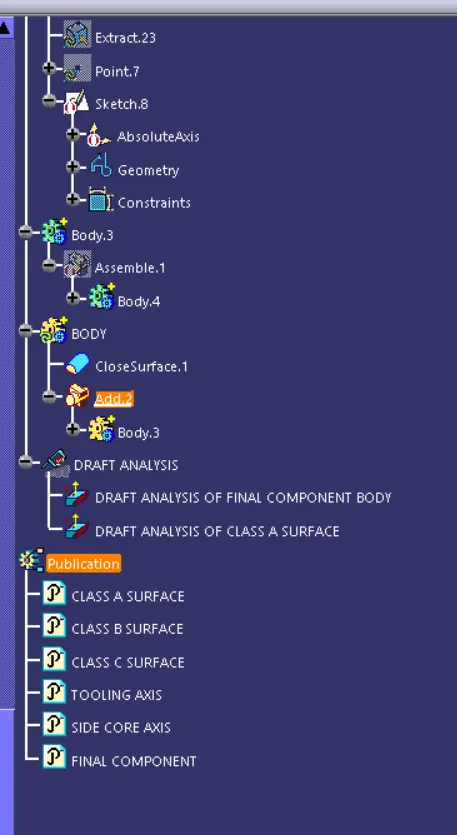
TREE STRUCTURE: