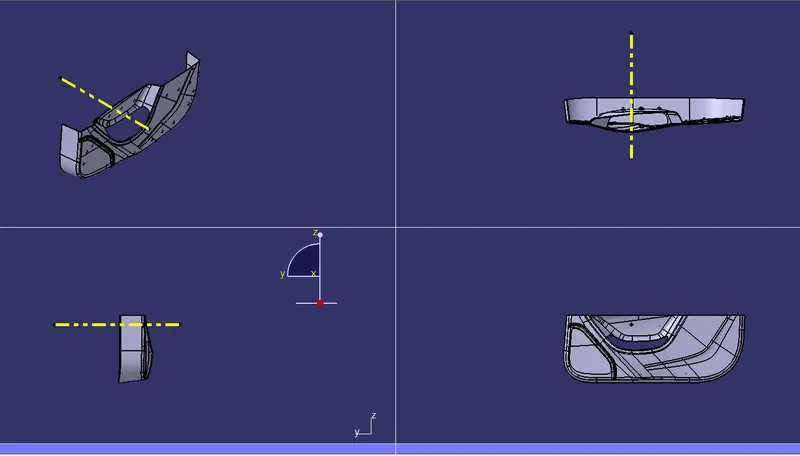
Week 9 - Project_1 - Door Trim Lower with Engineering Features
REPORT:
AIM: to create class B surface and class C surface for the given component and then we have to create the four way locators,two way locators and heat stakes for the component.
PROCEDURE: first we will recieve the class A surface as an input and from the class A surface we have to create the class B and class C surface to create the class B surface we canbt create offset each part and then do the further operations instead of doing that we can offset the whole class A to the required direction and length.
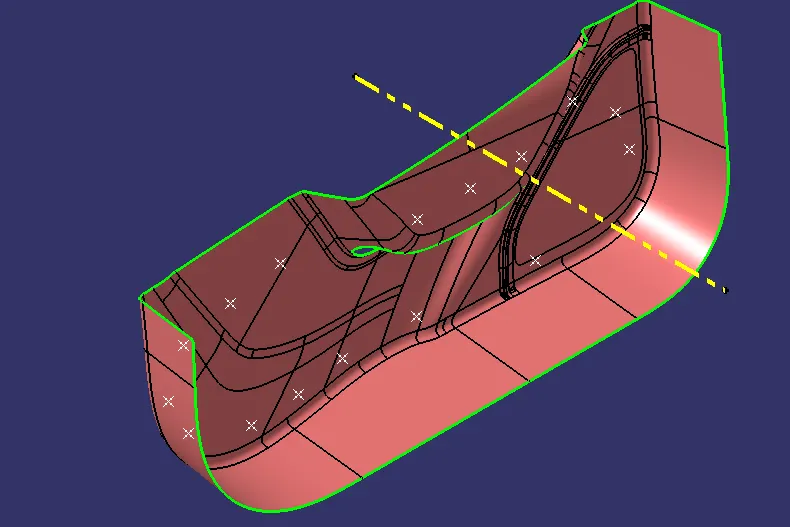 class A surface
but the class A surface which we recieved have some points on it. The points are used to create the heat stakes and it will be recieved as an input itself so we dont need to worry about that. after offestting the entire component to the required direction the output will be as follows:
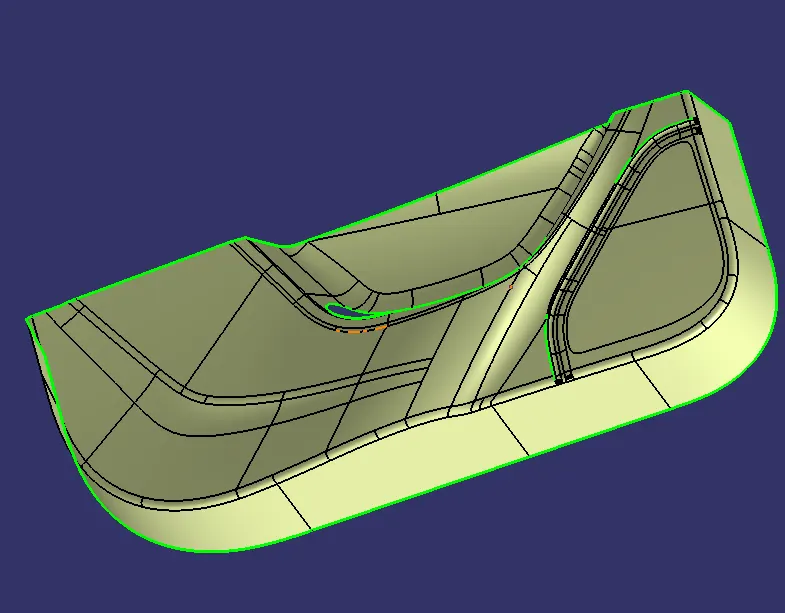
but before doing the offset we have to create the tooling axis for the component. to create the tooling axis we have to check the best possible way of tooling so that the component will be manufactured.
for this component we have the tooling axis in Y direction so we will create a point on one of its patch and we will create a line using that point by point direction method and the line which we got we will name it as tooling axis the output will be as follows:
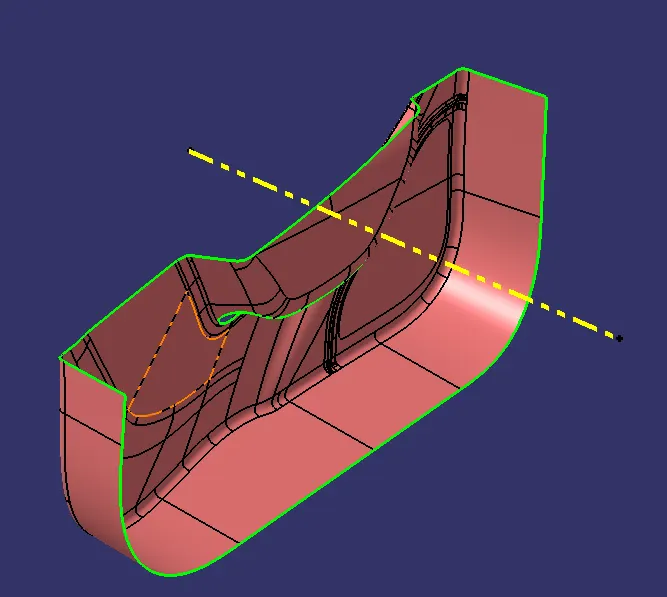
after getting the tooling axis we will offset the class A surface to the required direction and we will get the output as previous mentioned image and we will name it as class B surface but after getting that offset also we will be getting some gaps over it to clear those gaps we will multi extract the gapped surface and then we will extrude the remaining surfaces and we will trim then both and then we will give the fillets to it and our output will be as follows:
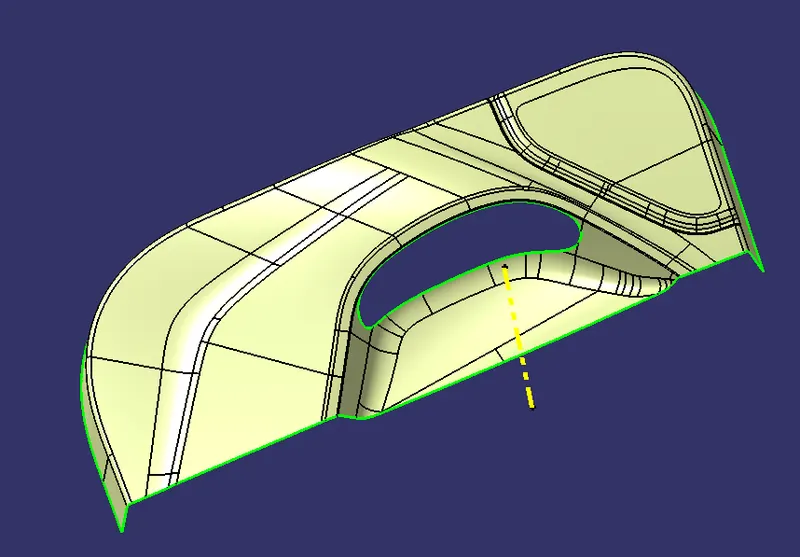
after getting the B surface we will create the C surface.
to create the C surface first we will hide the B surface and unhide the A surface and we create a boundaryand we will sweep it with draft direction and with reference surface alsoand we will recieve the output as follows:
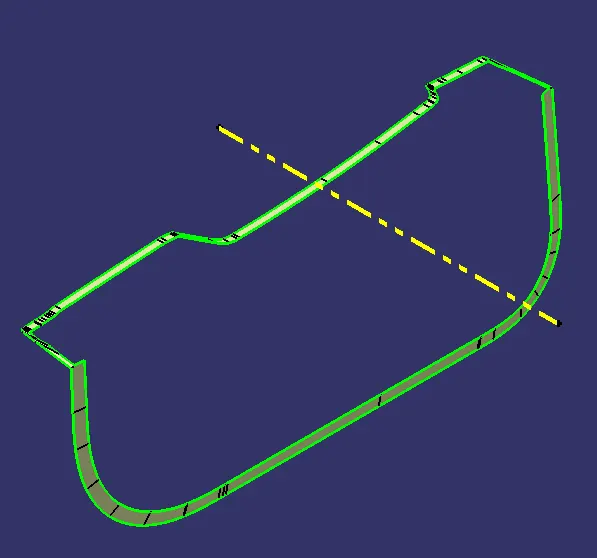
after getting the output as above we will join the output and class A surface together and then we will trim it with the class B surface and then we will get the output as follows:
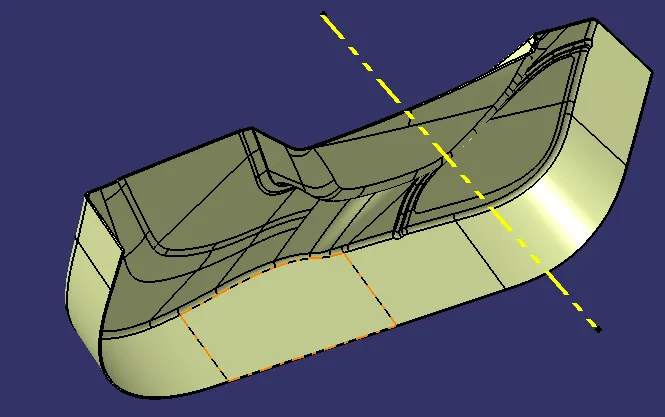
to ensure that our output is closed we will take a boundary on it if the boundary is not forming then our output is correct.
but the output which we got is hallow inside but we want it to be a solid part so we will go back to part design and use the close surface command to close the body and we will get the output as follows:
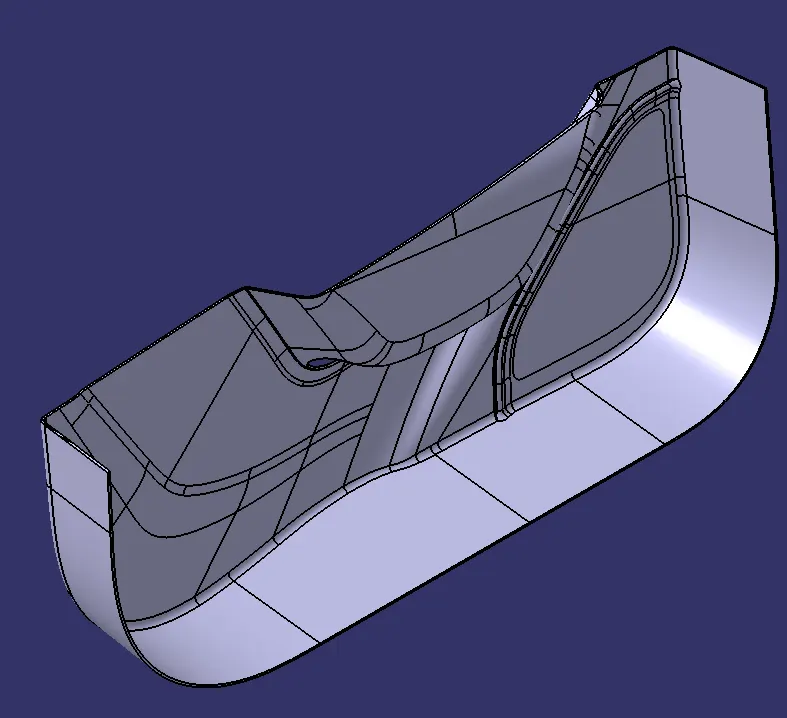
after getting the solid part we have to create the locators and heat stakes.
for creating the heat stakes we have the points as an input in class A so we weill create heat stakes in that point.
CREATION OF HEAT STAKES:
the inner dia of heat stake is 5 mm and the outer dia of heat stakes is 7mm after creating the two circles of the given diameter we have to pad it to a height of more than the four times of wall thickness i,e. that wall thickness of our component is 2.5MM so 2.5 mm*4=10 for the four time of wall thickness is 10 so will pad the heat stake to 12 mm and we will pad it another one mm in another side so that the part body and heat stake will intersect each other.
after creating the heat stake we will simply copy paste the body of heat stake and translate the heat stake from the point which it is created, to the other point and we will do it for all the points.
after creating the heat stakes for all the points we will create ribs for it so that it will stay strong for the ribs we will simply create the line on it the paddes sketch and then we will pad the lines and make it as a rib the height of the rib should be 3 to 6 mm and the width of the rib should be 11mm from the centre of the circle after creating the ribs we will union trim it to the heat stakes and we will recieve the output as follows:
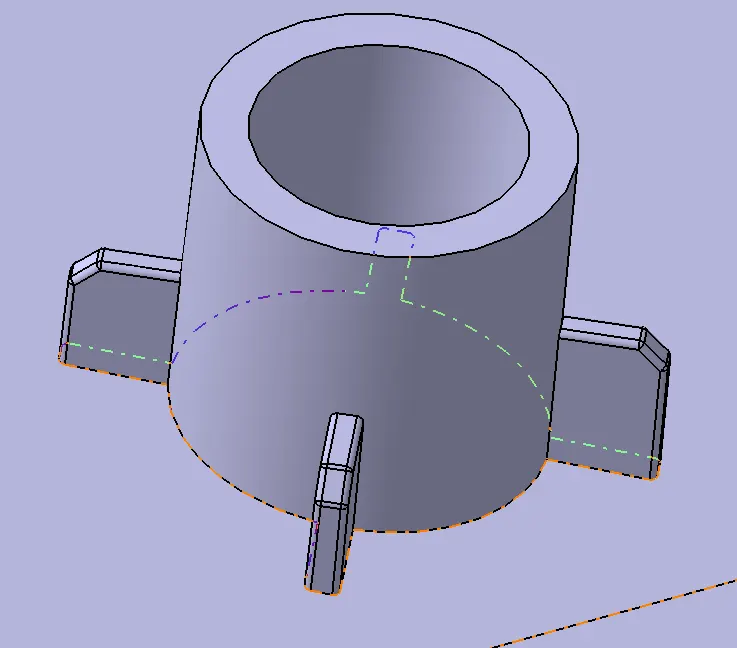
after getting ribs we have to give fillets and chamfer to it the fillet value is 0.25mm and the chamfer value is1*45.
but before creating the ribs we have to do the draft for the heat stakes the minimum drafting is 0.5mm and we have to give the base as support and pulling direction as tooling axis and we have to ensure that the draft is cutting the element.
we have to give draft to the ribs also.
after doing ll these we ahve to create the locators.
here what we have done is we created one 4 way locator and one 2 way locator. To create the four way locator the thickness design rules are same the thickness of the locator should be 0.4*the wall thickness of the component and the height of the locator should be more than the heat stakes so we have given the height of the locator as 15 mm and after deciding the height and the thickkness we have to pad it and we have to make it thick and then we have to draft the locator to 0.5 degree and then we have to give the chamfer and fillet value for it. The chamfer value for locator is 5*45degree and the fillet value is 0.25 mm on all the sides. after giving the fillets and chamfer we will reciev the output as follows:
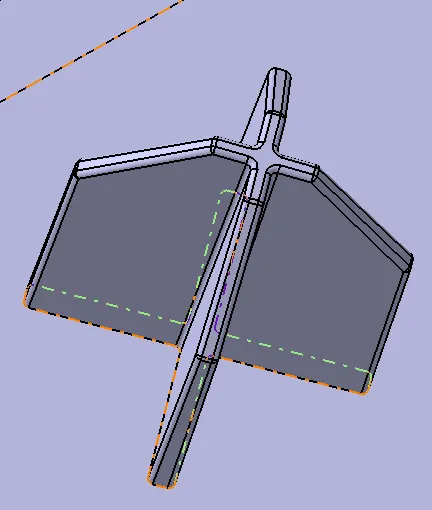
after getting the four way locator the same rules has to be followed to create two way locator but what in four way locator we will create four ribs but in two waay locator we will create only one rib and our output will be as follows:
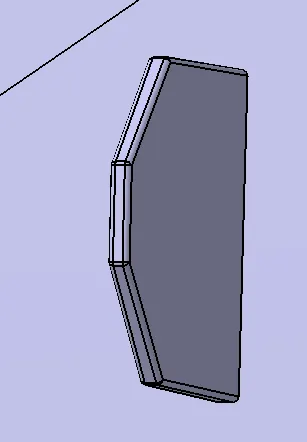
after getting both the locators we will add them both to the main part body and we will make ity as a single body.
DRAFTING ANALYSIS:
first we have to do the draft anlysis for the given class A using draft analysis tool and we will recieve the out put as follows:
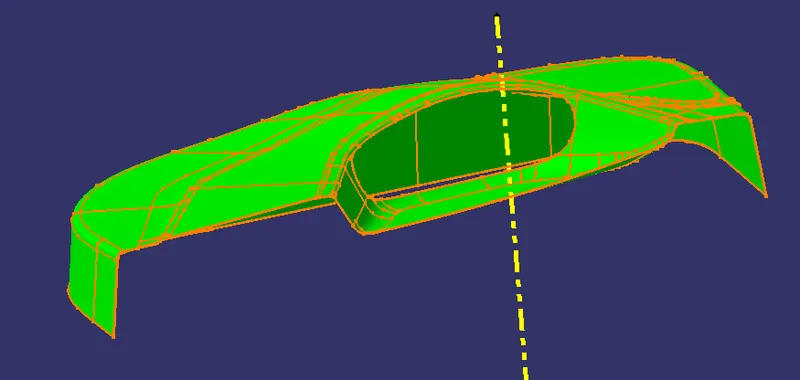
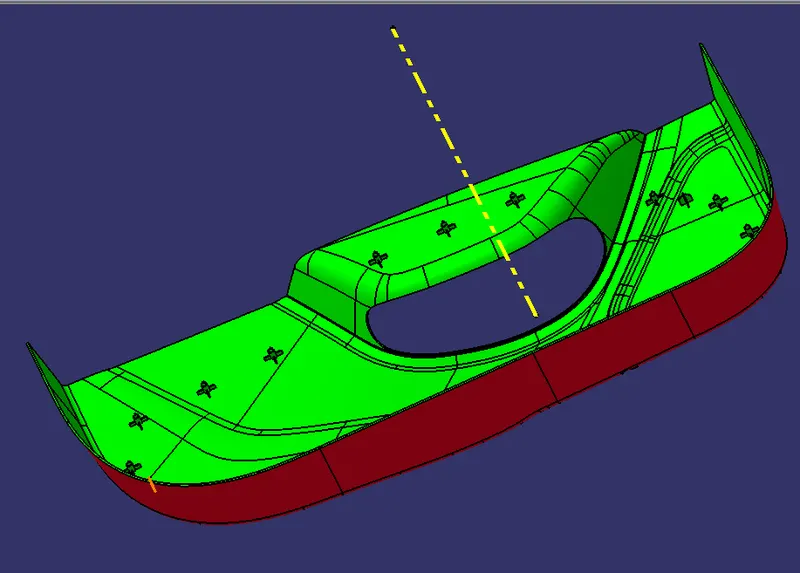
at last we will do the draft analysis for the closed part and we will reciev the out put as follows:
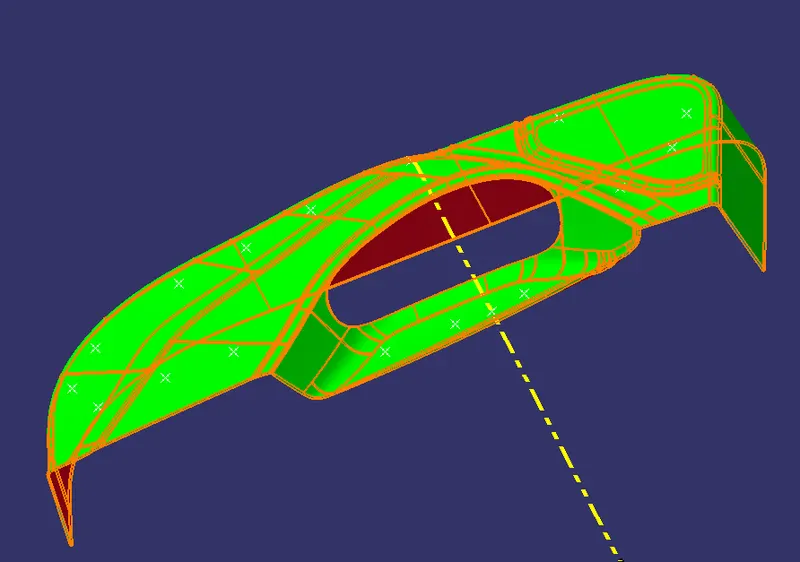
but here we have got the out put in two colours one is green colour at top and red colour at bottom which means the green colour is saying that the draft is more than 3 degree and the red colour at bottom is saying that the draft is less than 0degree once the drafting analysis is done our component is ready for manufacture.
DRAFT ANALYSIS ON FINAL PART:
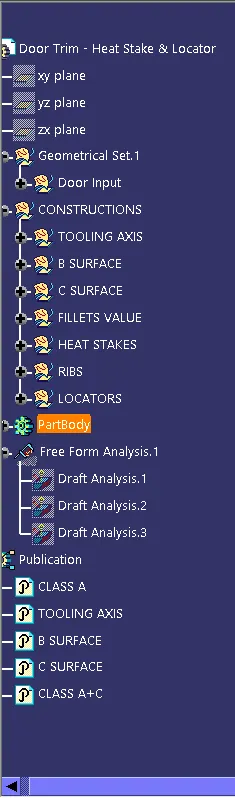
TREE STRUCTURE:
DIFFERENT VIEWS: