Week 9 - Project 1 - Door Trim Lower with Engineering Features
AIM: To Create the Door Trim Lower Plastic component through the given Class-A surface. To begin with, the tooling axis for the given Class-A Surface should be created meeting the requirements of the draft angle and at the end perform the Draft analysis on the model.
Take the Thickness of the component to be 2.5 mm
PROCEDURE FOR DESIGNING THE CLOSED DOOR HANDLE COMPONENT :
CLASS A SURFACE:
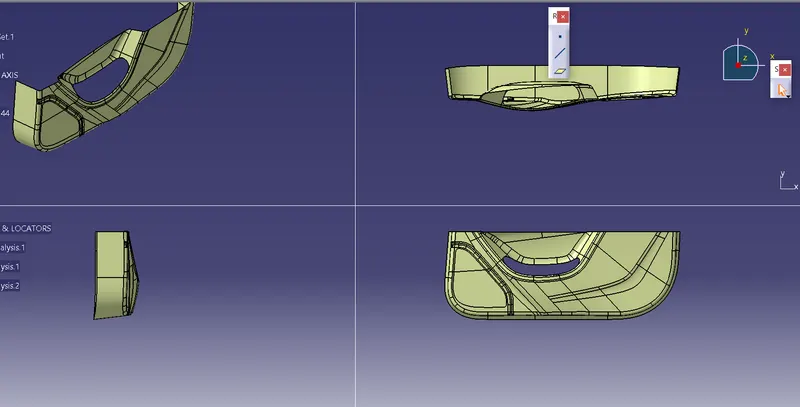
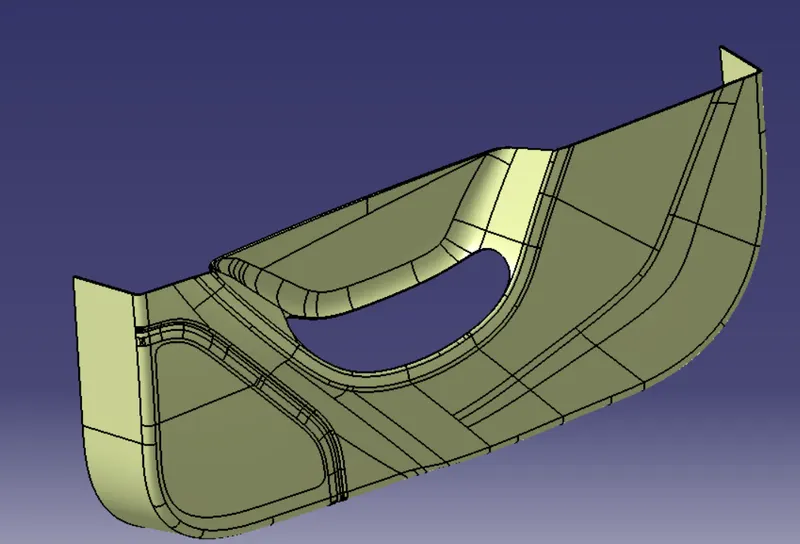
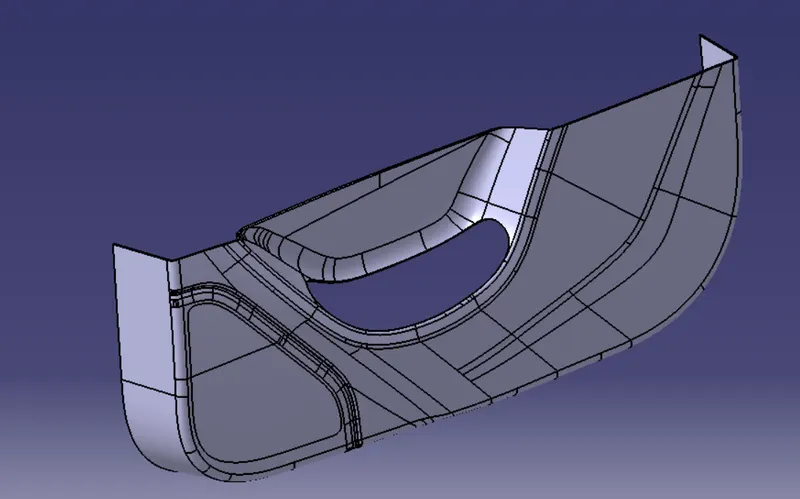
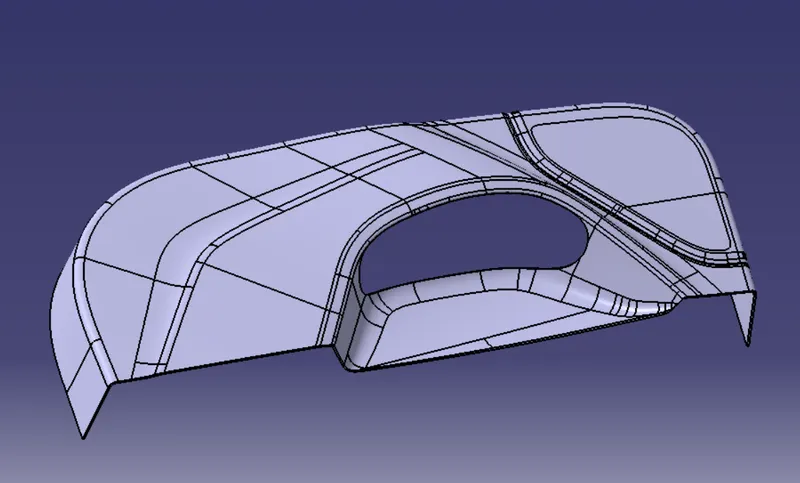
Class A surface is a Styling surface or aesthetic surface get it from the styling team. we will design the plastic component by using the Class A surface as input. Check all the views of the given class A surface that can help us to understand and get more understanding of the component. Connectivity of the class A surface that there is no gap between the component, by using joining command or boundary command we can check.
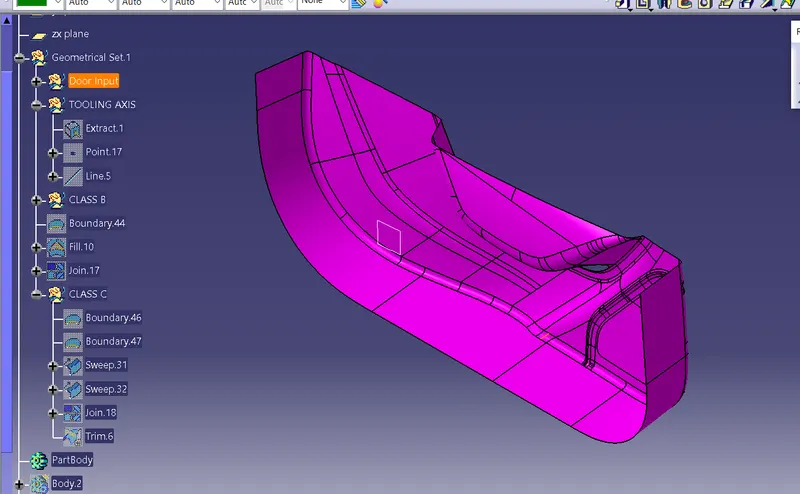
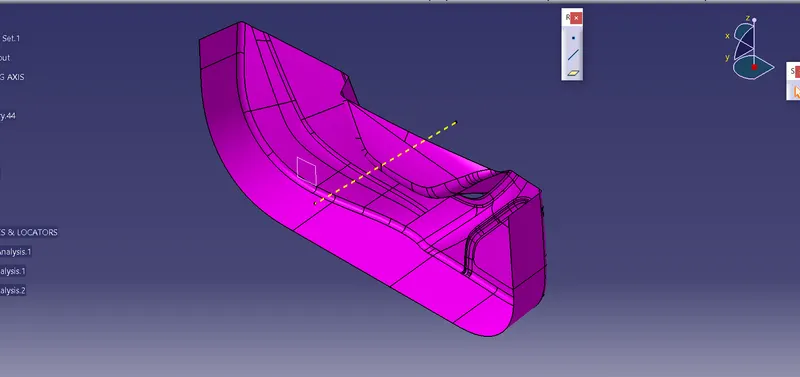
TOOLING AXIS
- The tooling axis is the tool movement axis (core/cavity).
- This axis will decide the draft direction.
DRAFT ANALYSIS FOR CLASS A SURFACE:
We do perform the draft analysis check for class A surface before we make solid and creation of B-side features. Initially I align the compass to the tooling axis and I gave a 3deg draft angle for the green colour in the colour bar. If the surface is highlighted in green colour the draft angle is given properly for class A surface. If the class A surface is not highlighted fully in green colour, that might be the reason for the draft angle of the class A surface.
CREATING THE CLASS B SURFACE
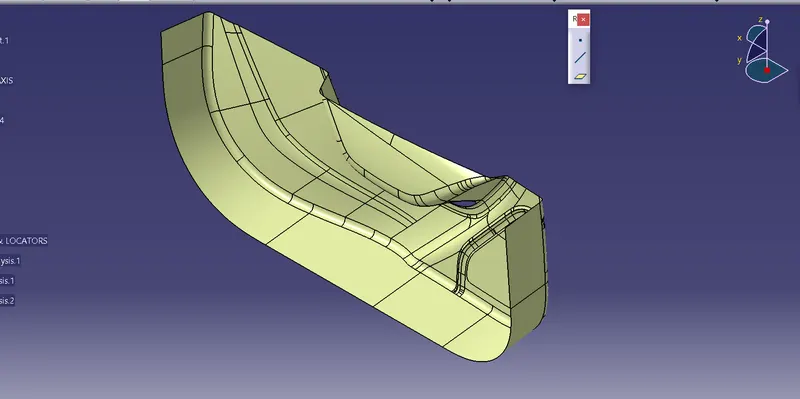
To create the class B surface, offset the class A surface inside as per our thickness requirement (here the thickness is 2.5mm, so I offset the class A to 2.5mm inside). Once the offset is created, we can observe some patches on the offset surface by taking the boundary for the offset surface, those patches are formed due to the fillets on the class A surface. We need to cover those patches with the help of the multi-section surfaces command by extracting the patch boundaries. Once all the patches on the offset are covered properly join all the patches with the offset surface, to get the replicated surface of the class A surface.
CLASS C SURFACE:
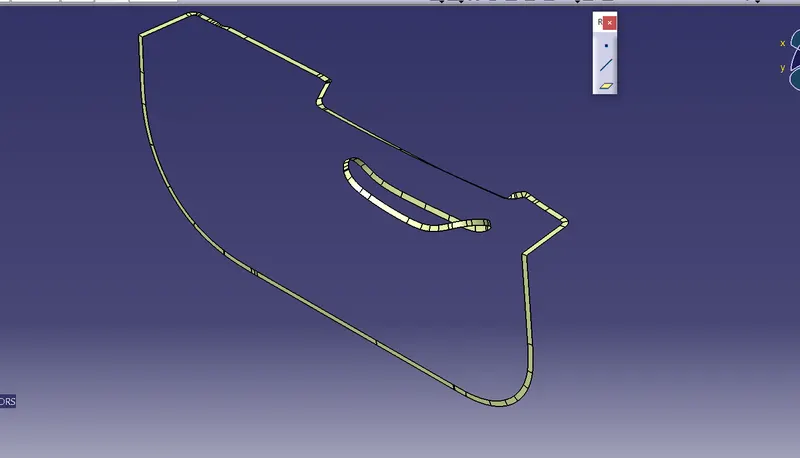
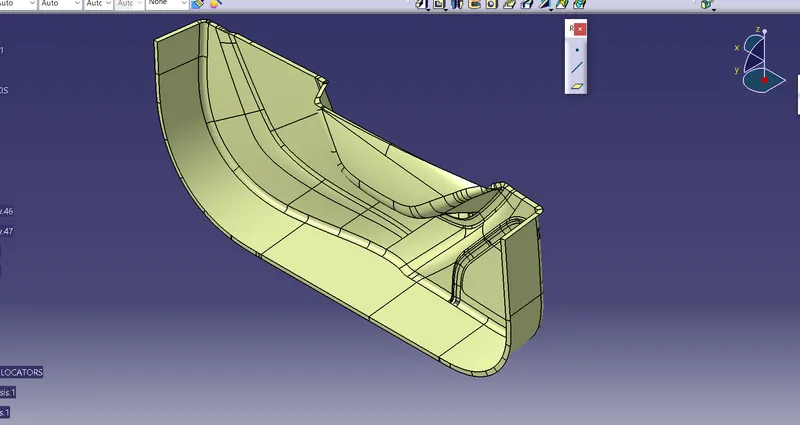
I used the sweep command to create the class C surface concerning the boundary of the class A surface. Initially, I extracted the boundary of the class A surface with tangent continuity, and I sweep the extracted boundary concerning the surface at 90deg (for draft angle) for 4mm to intersect properly with the class B surface. Once we sweep all the surface boundaries of class A, extrapolate the sweeped surfaces until both surfaces got intersect properly, and trim them to remove extended extrapolated surfaces to get a proper sweep boundary throughout the entire surface, including the centre hole of the door trim. Now, join both class A and sweep boundary to get the complete class C surface
PART BODY:
Trim the joined class C and class A with clsass B surface to get the thickned surface. To create the solid part body from the closed surface, I used the closed surface command in the part workbench.
CREATION OF LOCATORS:
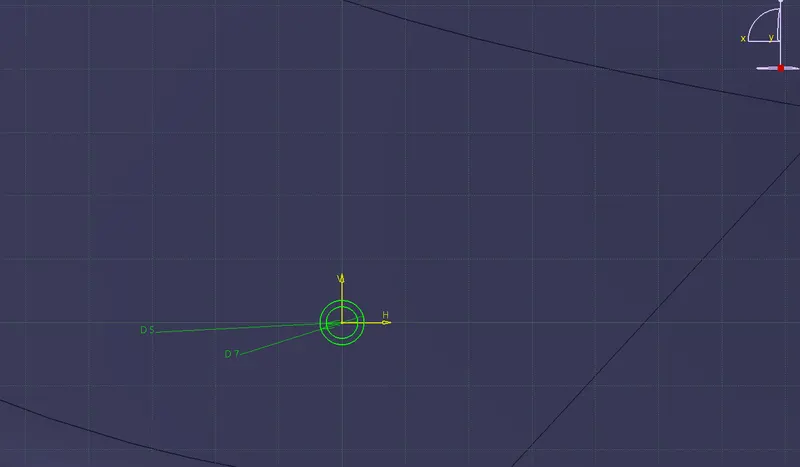
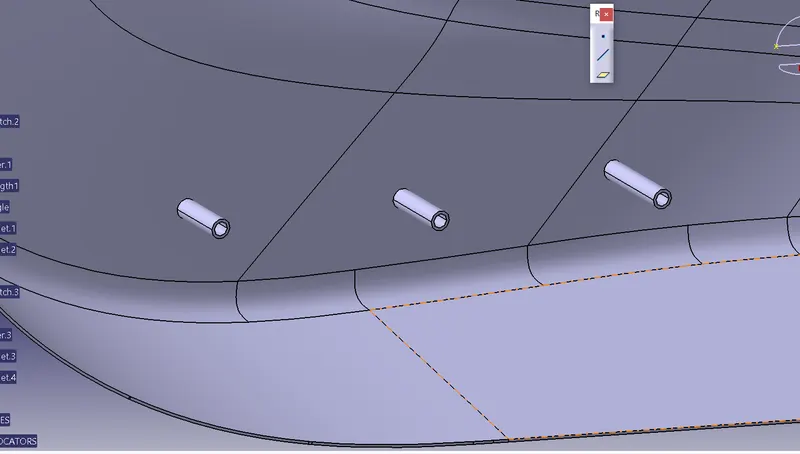
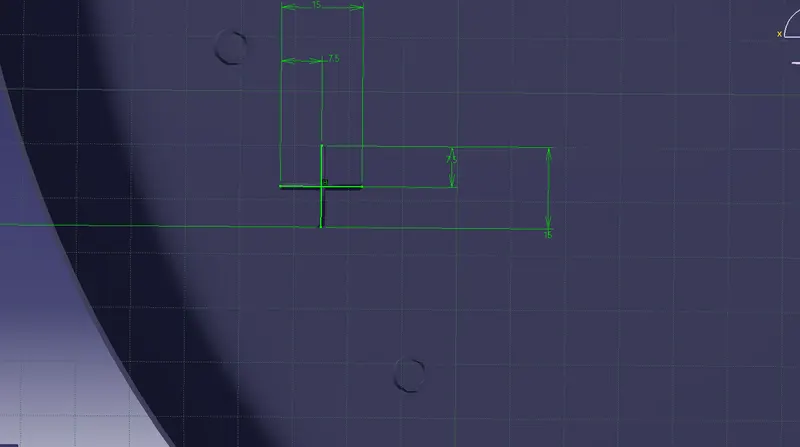
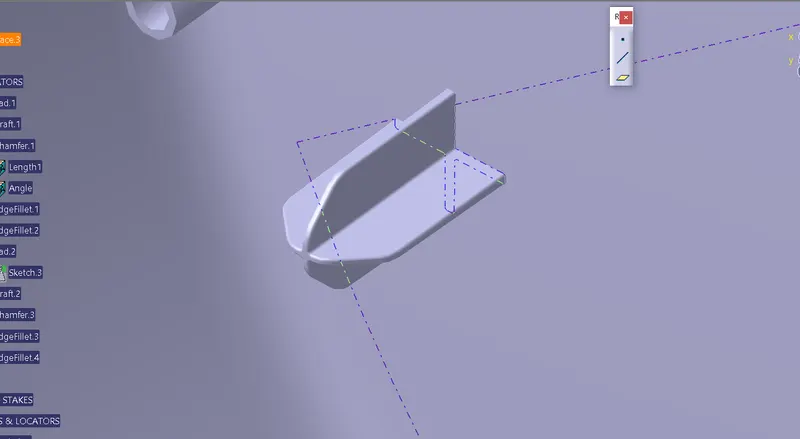
To create the locators, I created a sketch on the body. After creating the sketch, I pad it 20mm in height and thicken it to 1.3mm and I drafted it with 0.5deg in the direction of the tooling axis. I gave 5mm of chamfer with 45deg of inclination and after I gave a fillet of 0.3mm radius.
CREATION OF HEAT STAKES:
To create the heat stakes, I draw a sketch on the surface. After the creation of the sketch, I pad it.