Week 9 - Project 1 - Door Applique Design with Engineering Features
REPORT:
Create a new geometrical set an name it class A surface.
multiple extract the applique surfaces and create a copy od A surface
Add a point in the center of the surface and create a tooling axis alongy axis
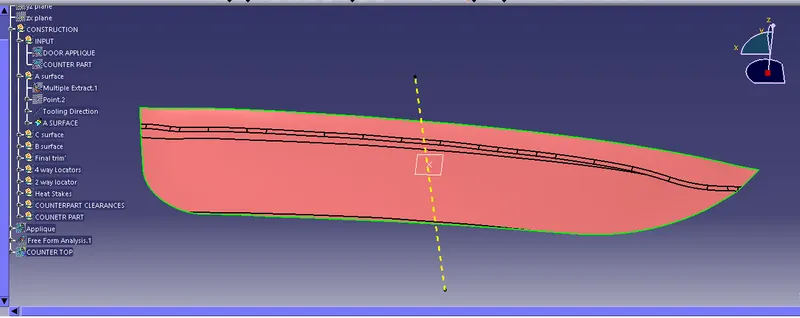
split the outer edge into two portions and extract the boundary as shown and create smooth curve along the boundary.
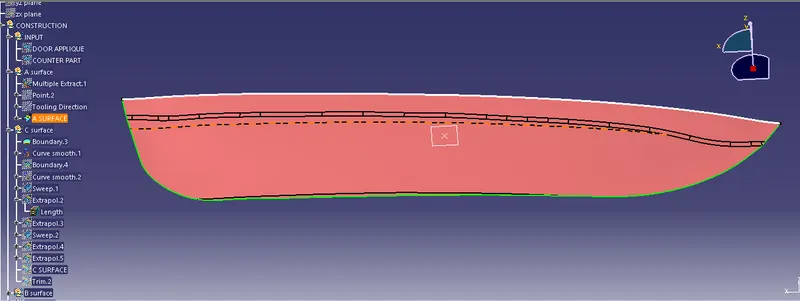
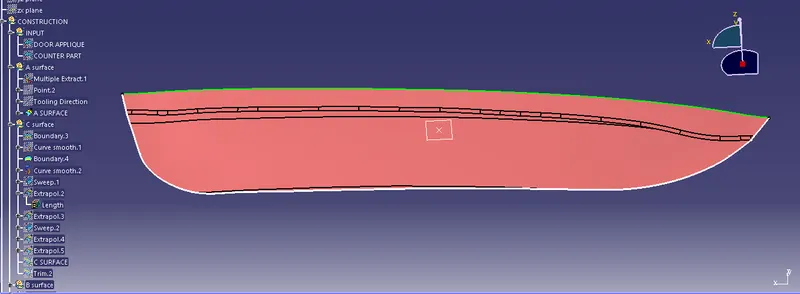
sweep the curve along the tooling direction with 3 degree draft . extrapolate the ends to intersect as shown.
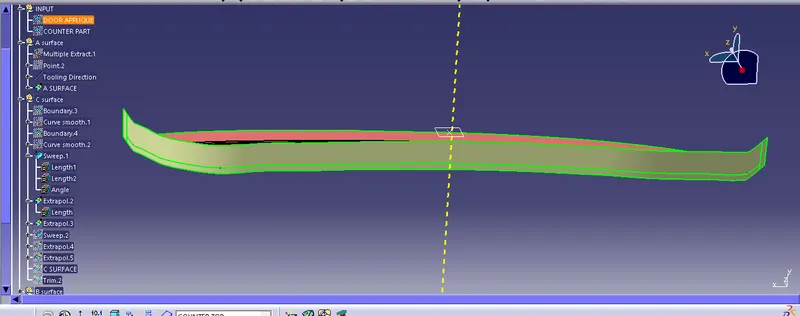
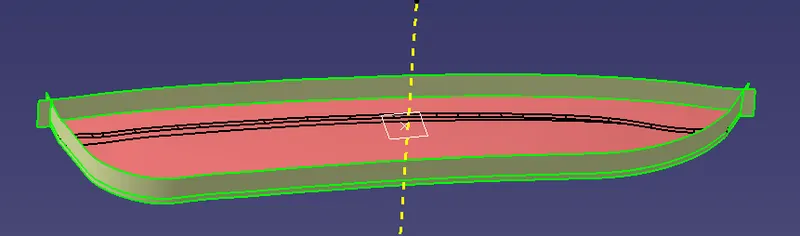
trim the two surfaves to get C surface.
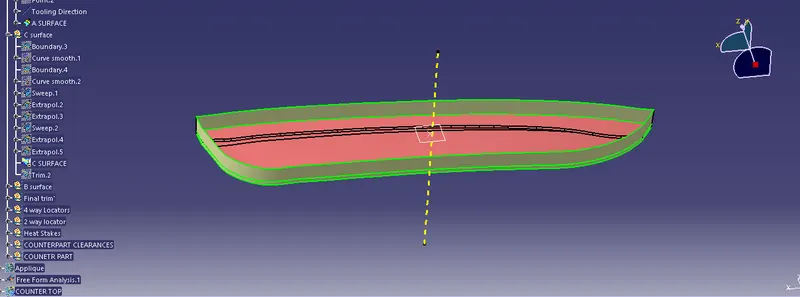
trim the thus obtained surface with A surface
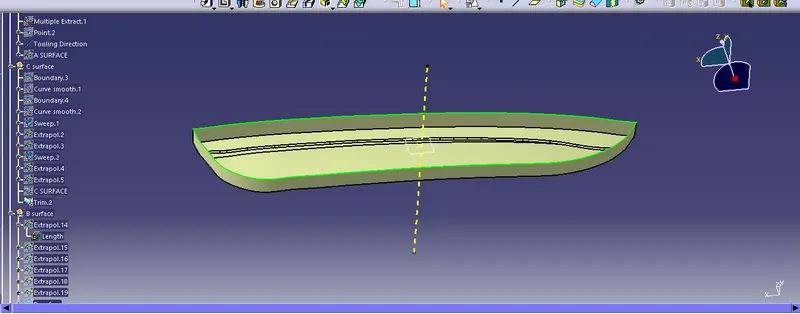
In order to make the B surface , offset the A surface by 2.5mm and extrapolate it to intersect it with the existing trimmed surface.
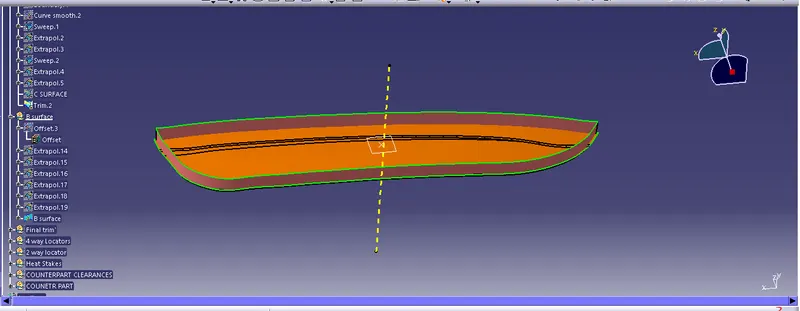
trim the two surfaces to get closed surface. thicken it within a new body and rename it applique.
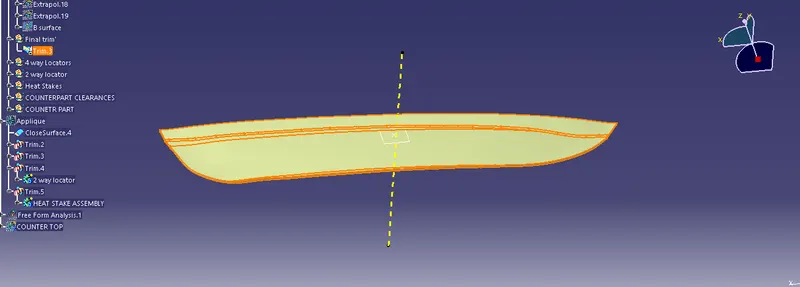
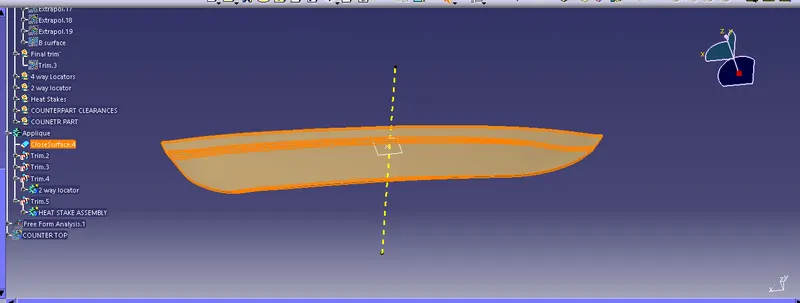
4 way locator:
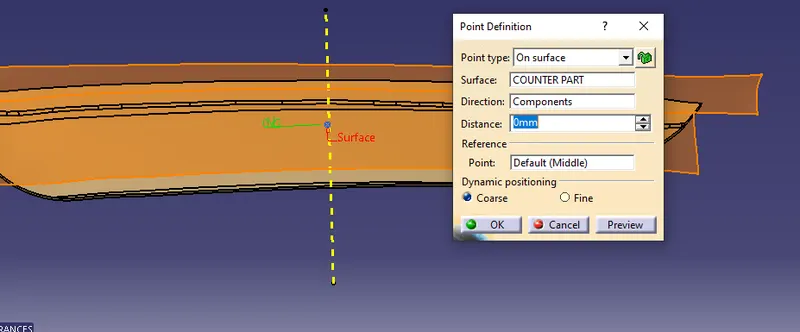
Creating a point on counterpart surface given as input at 0mm distance.
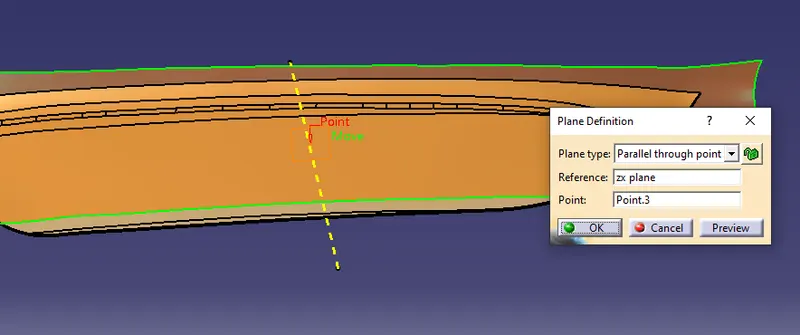
Create a plane passing through the point and parallel to zx plane.
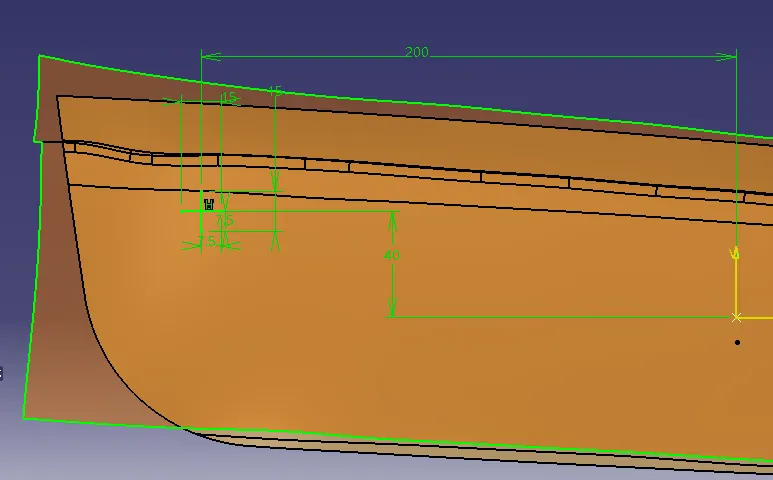
Create a sketch for creating the 4 way locator as shown below.
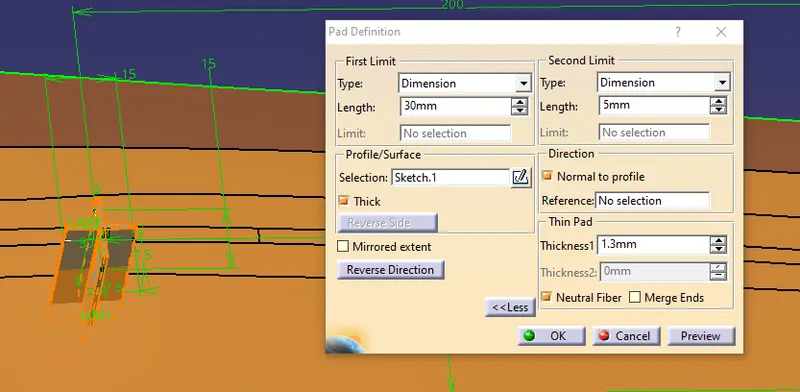
Pad along neutral plane to create a locator and apply draft
Apply draft of 0.5 degree and provide chamfer at top corner edges. Provide fillet at all edges.
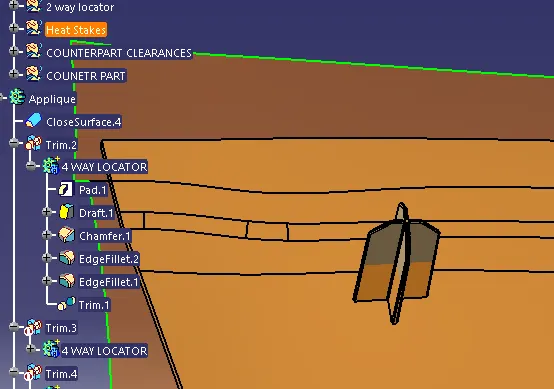
Trim the locator created with Applique body by selecting the below faces to be removed
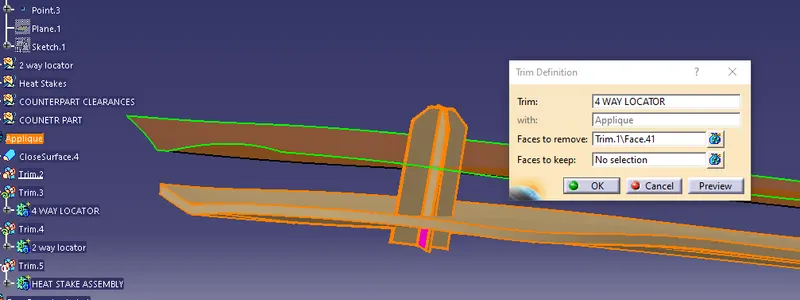
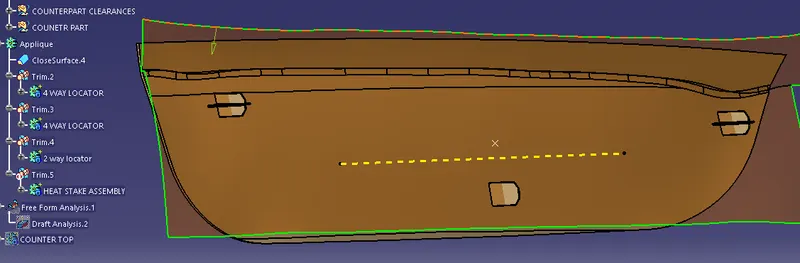
Similarly create one more four way locator by copy- and paste special option. and repeat the trim as done earlier.
Also create a two way locator as shown in the image
thicken the counter top surface by 2.5mm .
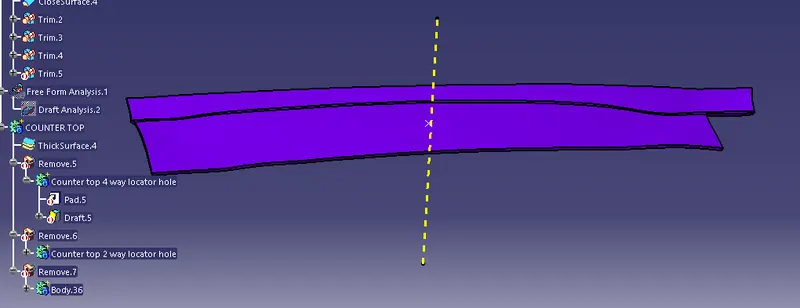
With the plane created earlier on the counter top surface, create sketch circle with center point as 4 way locator sketch intersection point as shown below.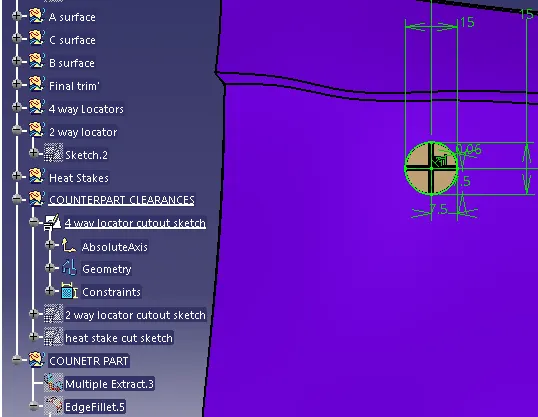
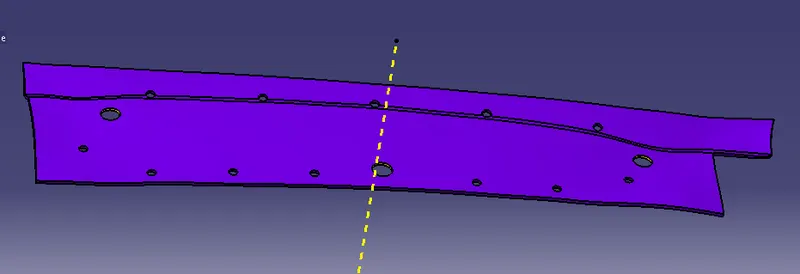
Pad it passing through the counter top body. apply draft of 0.5mm.
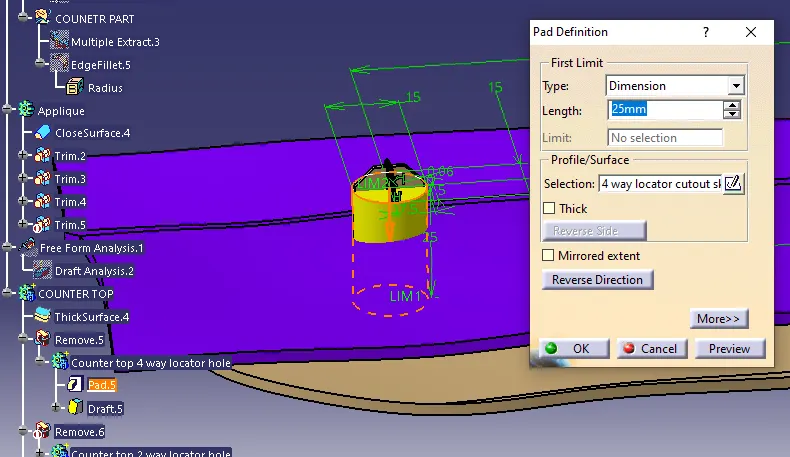
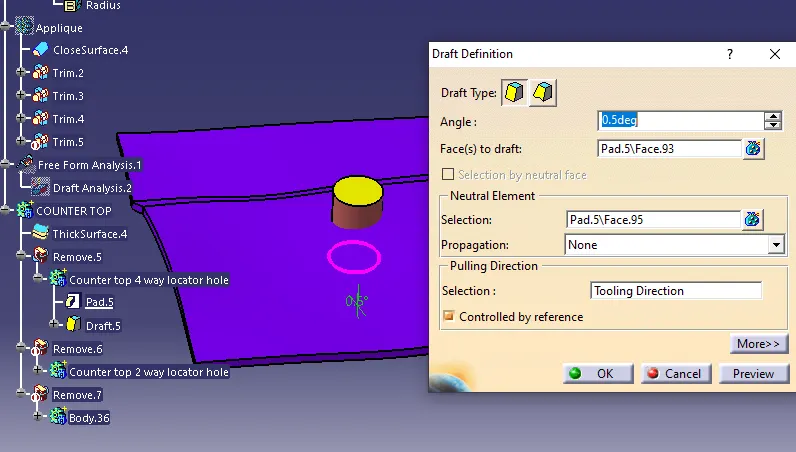
Remove the body thus created from Counter top body to obtain hole.
Adjust the hole size such that clerance between the 4 way locator ribs and counter top hole is 0.1mm resp.
do the same for other locator pins as well.
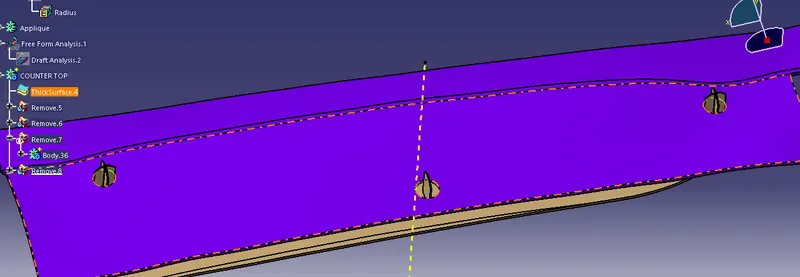
Heat Stakes:
Extract the boundard from the B side of the applique body as shown.
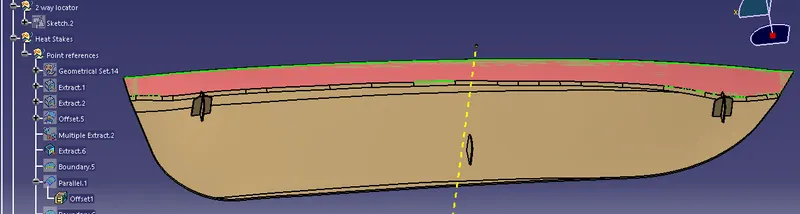
Extract and offset the edges.
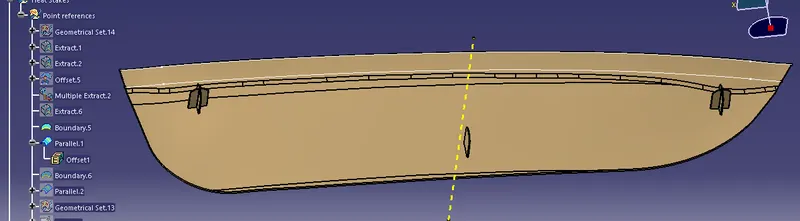
Similarly do it for the bottom edge as well.
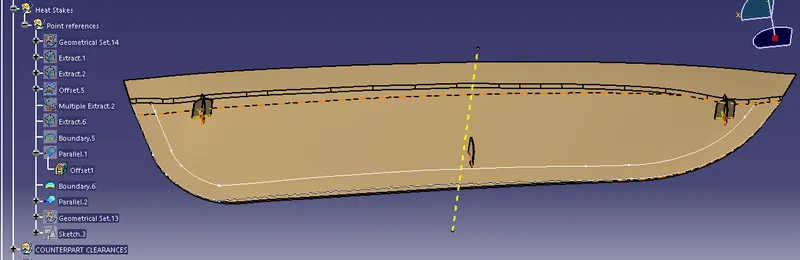
Divide the curve bu adding points along the curve using points and instances command. divide the top curve by adding 5 points and the bottom by adding 8 points. remove point close to the locator pins. These points will be the reference for heat stakes.
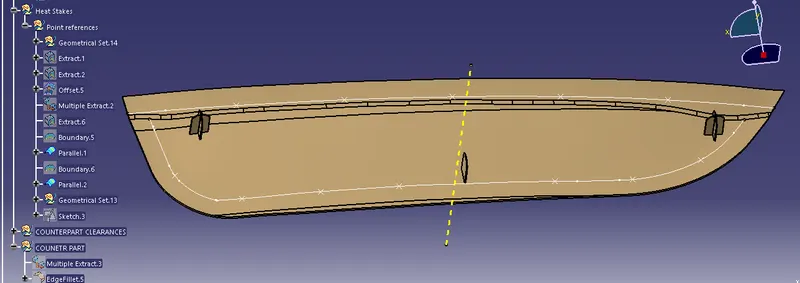
Divide the curve bu adding points along the curve using points and instances command. divide the top curve by adding 5 points and the bottom by adding 8 points. remove point close to the locator pins. These points will be the reference for heat stakes.
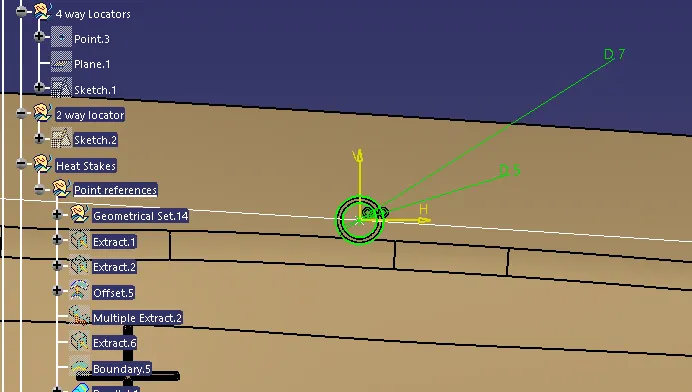
Draw a shetch on plane 1 with points created as center and circular dimensions as 7mm and 5 mm as shown.
Availability of the tool & no sink marks forming on the applique will deceide the heat stake dimensions.
Pad it in such a way that the the body extends beyond applique and should be below the locator point end.(locator should be inserted in the mating part before the heat stakes)
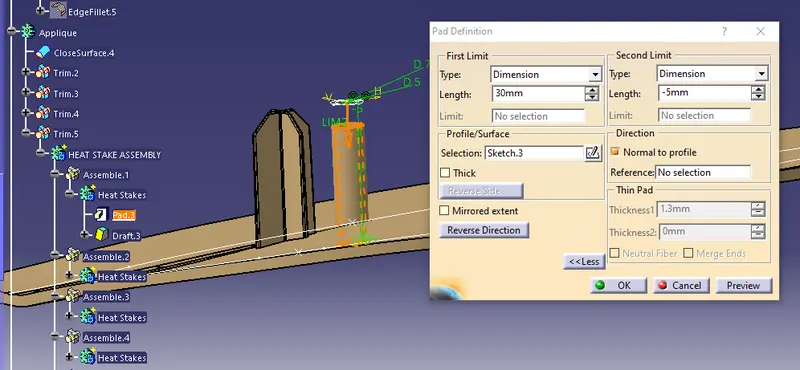
Copy and paste special to each points created earlier.
Assemble all heat stakes together and trim with the door applique body.
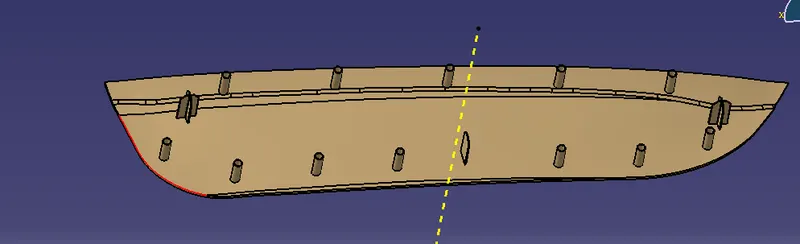
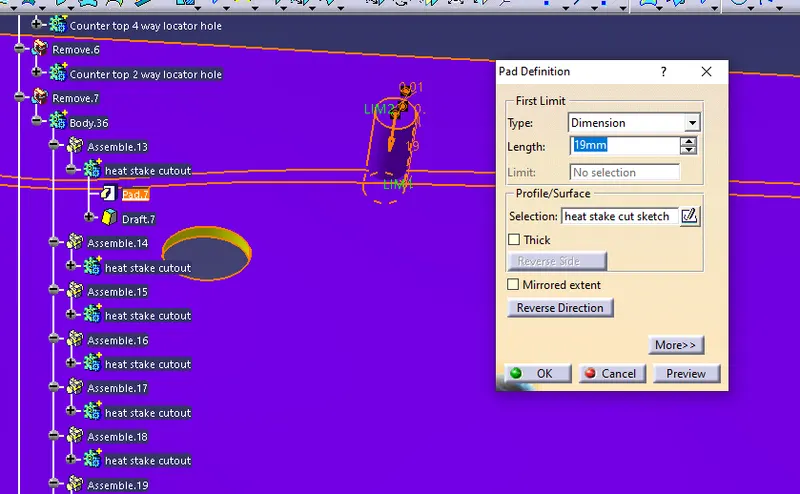
Create a pad and draft it for each heat stakes for giving a clerance hole in the counter part for each heat stakes.
Assemble them and remove them from counter part body .