Week 9-Creation of 1D Connectors Challenge
Week 9-Creation of 1D Connectors Challenge:
objectives: To mesh the assembly with the given quality criteria and to create a connection to the parts for the given assembly with the given condition.
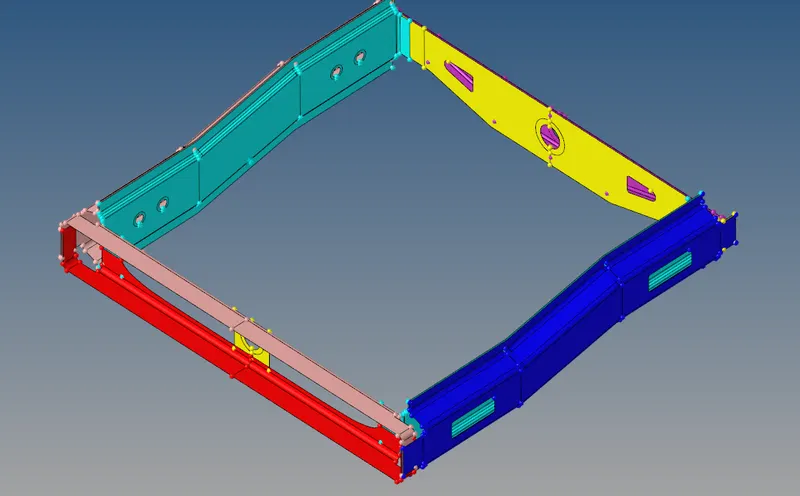
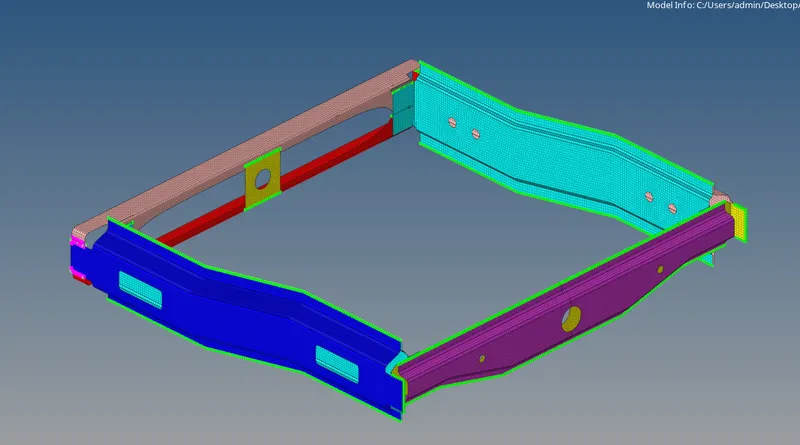
img:original image of the assembly
procedure:
- first import cad model to the hypermesh by going to import ⇀ import geometry⇀ stp file ⇀and click import.
- start to clean up the geometry.
- once the geometry cleanup is over, mesh the given geometry with the given quality criteria and target length.
- go to the 2D ⇀ auto mesh ⇀ select the surface to mesh ⇀click 'ok'. choose the element size as 5 and choose the mixed mode to mesh the given component as per the criteria.
- while meshing keep on checking the quality error and try to reduce it.
- use the smooth option to aligning the mesh in a good fashion manner by going to 2D⇀smooth⇀select the elements⇀and click smooth or click shift+F12, we can smooth with respect to the shape and size.
- once the model is meshed check for the free edge in between the node and elements because if the nodes are not connected the accuracy will not be good and the force transmission will not be good.
- we can close the free edge with two options by going F3 which is to replace the node option used to connect the node for the free edge and also to control the meshing error.
- free edge can be identified by going to Tool ⇀ edges⇀ click the elements and select the displayed elements⇀and click-free edge.
- once the free edge is identified we can equalize it it is in the same option.
- after meshing try to reduce the meshing error in the edge because while doing connection sometimes it will fail because of mesh flow and pattern.
- and try to connect the given part as per the given criteria.
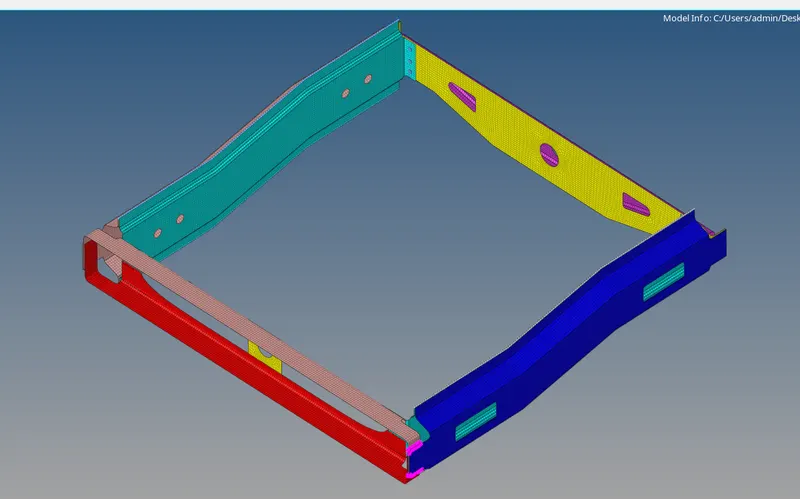
img:meshed assembly
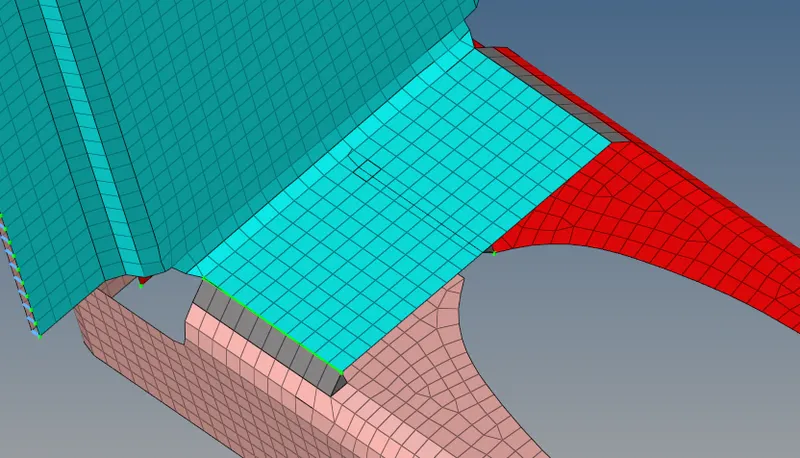
1. Right_Rail_2 & Front_truss_1:- Seam-Quad(angled+capped+L):
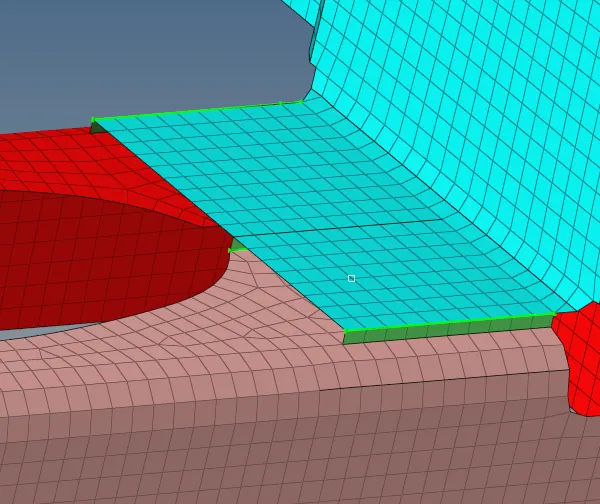
2. Left_Rail_2 & Front_truss_1:- Quad elements:
3. Front_truss_2, Front_truss_1 & Right_Rail_1:- Spot weld with 2 Layers and 5 mm Diameter:
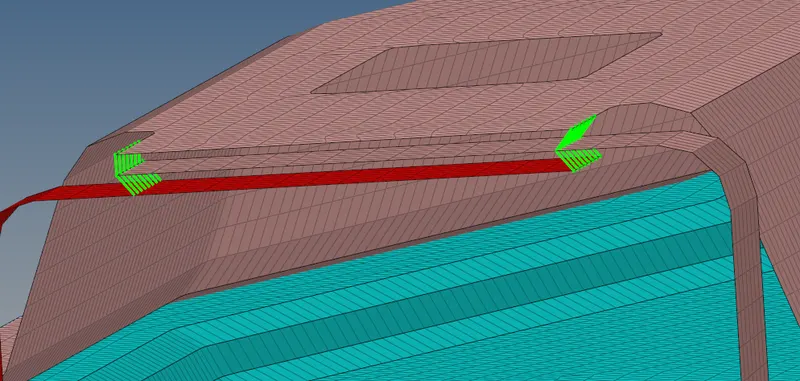
4. Front_truss_2, Front_truss_1 & Left_Rail_1:- Hexa (Adhesive):
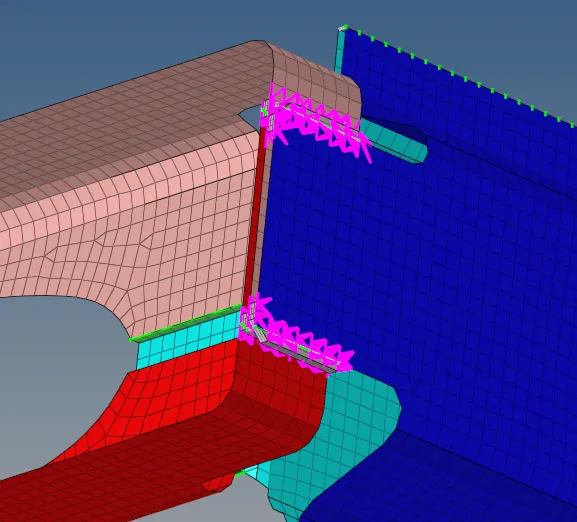
5. Rear_truss_2 & Right_Rail_2:- Bolt Connector:
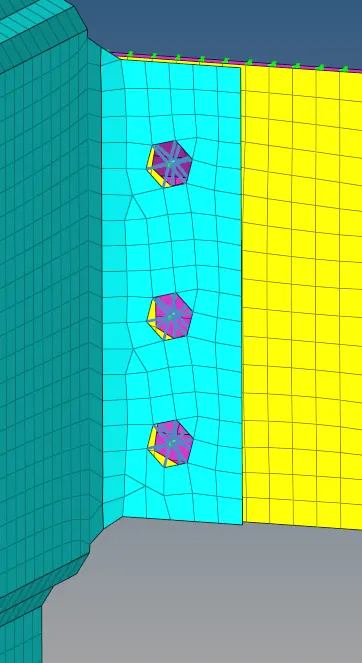
6. Rear_truss_2 & Left_Rail_2:- Bolt Connector:
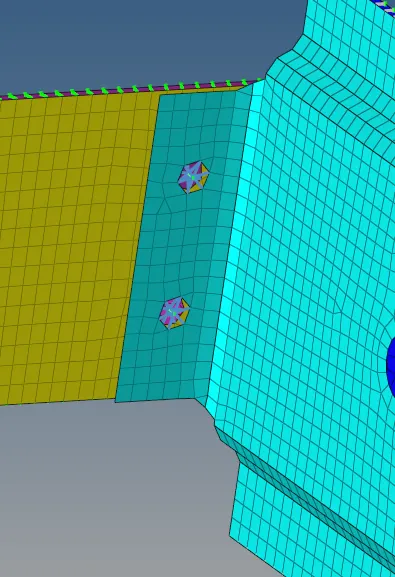
7. Right_Rail_1 & Right_Rail_2:- Spot-weld with Rigid Elements:
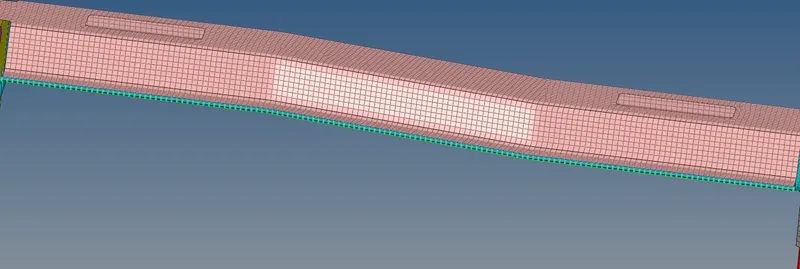
8. Left_Rail_1 & Left_Rail_2:- Spot-weld with Spring Elements:
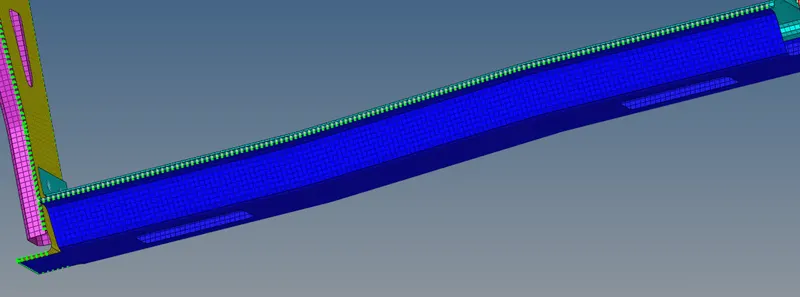
9.leftrail1 and rear truss 2:
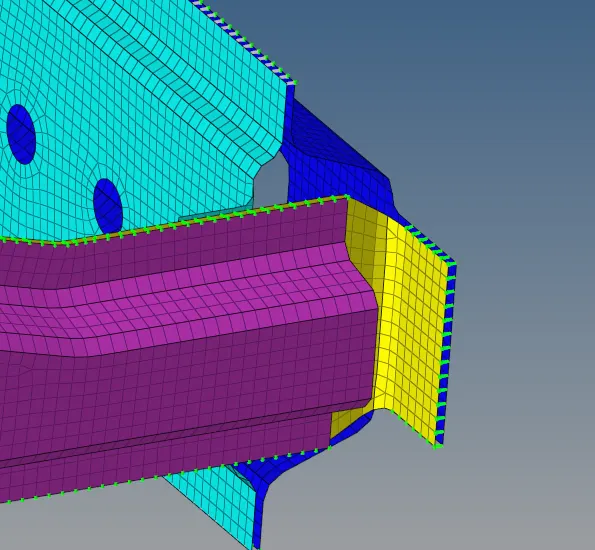
10.plate:
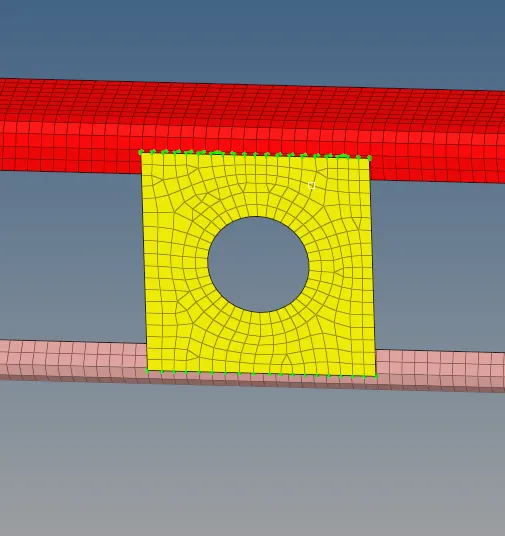
final connected model:
result:
- meshed the component as per the given quality criteria.
- connected the component with the given condition, connected the component with a different connection like bolt, seam, and spot with different types.
learning objectives:
- learned how to create connections between two parts.
- learned how to realize the connection, by identifying the error and made to realize.