Week 9-Creation of 1D Connectors Challenge
WEEK-9 CHALLENGE
AIM: Mesh the given geometry and create connectors to connect the various parts of the given geometry.
PROCEDURE:
1) We import the geometry and perform meshing on all the components using automesh panel.
2) After performing meshing we create the connectors using connectors panel which is present in 1D, 2D and 3D sections.
3) For Right_Rail_2 & Front_truss_1 we were told to use Seam-Quad(angled+capped+L) connector. This is connector is found in connector panel. Here we use the following commands and values as shown in the figure below to get the required seam connector.

4) We select the nodes where we need the connector and also select the components to create the required connector. A Seam-Quad(angled+capped+L) connector is shown below.
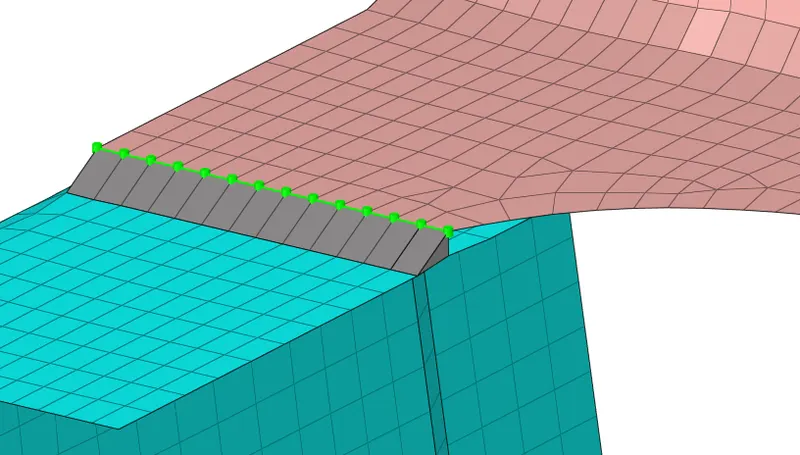
5) For Left_Rail_2 & Front_truss_1 we need to use Quad elements. We select the connector panel, select the seam connector option and then select the seam quad type as shown below in the image. 
6)We select the nodes where we need the connector and also select the components to create the required connector. A Quad elements connector is shown below. 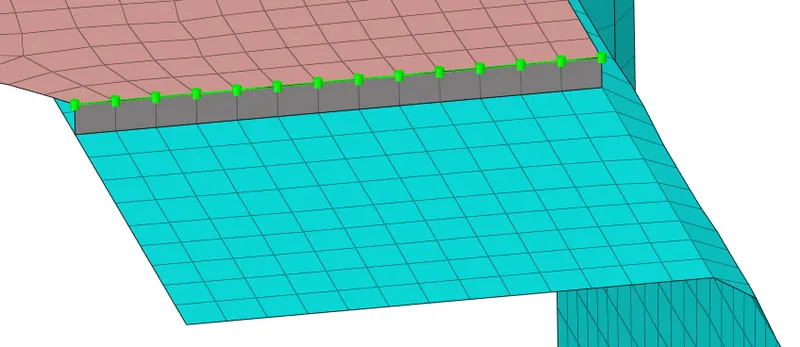
7) For Front_truss_2, Front_truss_1 & Right_Rail_1 we need to create a Spot weld with 3 Layers and 5 mm Diameter. We select the connector panel, select the spot connector option and then select the weld type and put the value of diameter as 5, as shown below in the image.

8) We also select the nodes for the connector. The acquired spot weld connector is show below. A spot weld is shown by RBAR elements.
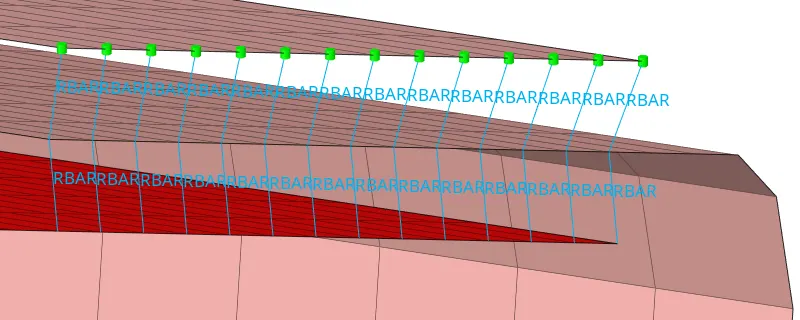
9) For Front_truss_2, Front_truss_1 & Left_Rail_1 components we need to use the Hexa (Adhesive) connector. This connector is a type of seam connector so we select the seam option from connector panel and select the hexa(adhesive) type.

10) Selection of nodes is done and components are also selected to get the required connector.
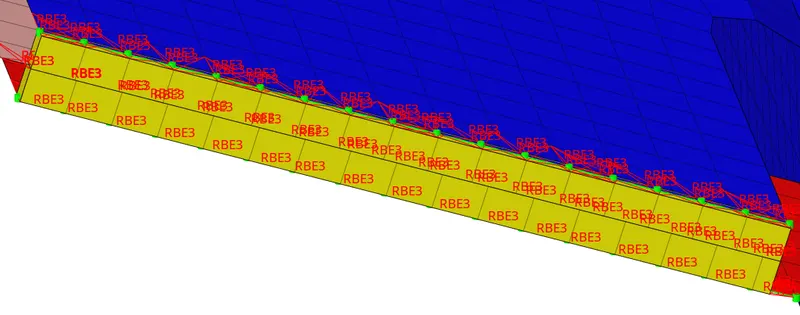
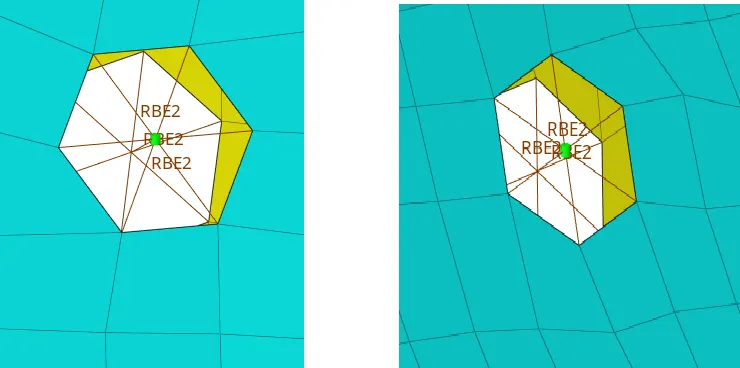
11)For Rear_truss_2 & Right_Rail_2 and Rear_truss_2 & Left_Rail_2 we need to use Bolt Connector. Bolt connectors are created by using bolt option from connetcors panel.

12) We select the nodes where we need to create bolt. Bolts(general) are represented RBE2 element.
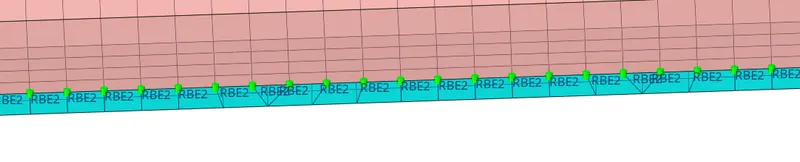
13)For Right_Rail_1 & Right_Rail_2 we need to use Spot-weld with Rigid Elements. We select the connector panel, select the spot connector option and then select the weld type and use diameter mapping option as no specific value of diameter is not given.

14) Spot-weld with rigid elements create RBE2 elements as shown below.
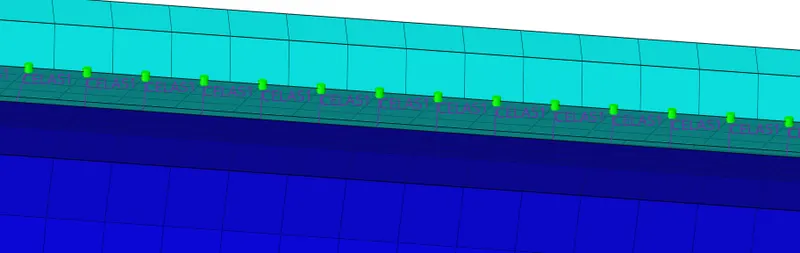
15) For Left_Rail_1 & Left_Rail_2 we need to create Spot-weld with Spring Elements. We select the connector panel, select the spot connector option and then select the spring type and use diameter mapping option as no specific value of diameter is not given.

16) Spot-weld with spring elements creates CELAS1 elements as shown below.
17) We also connect all the remaining unconnected components using suitable components.
18) We do a mesh checkup as creating connectors messes up the mesh quality. We rectify the mesh quality.
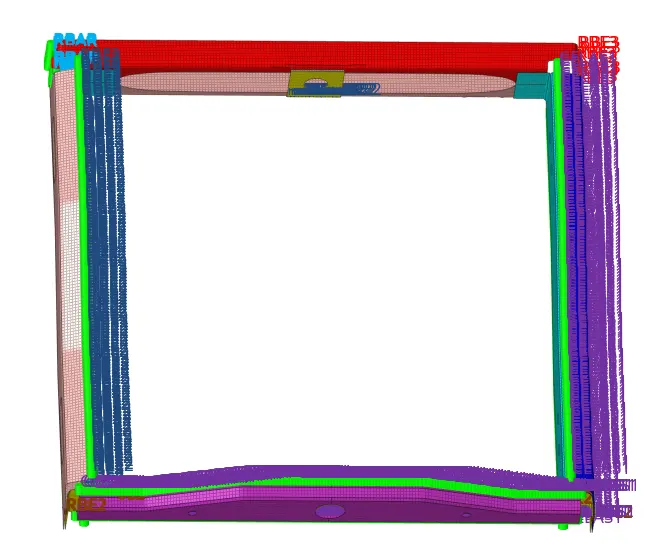
After all the process is done the model looks as shown below
CONCLUSION:
Successfully connected all the components using connectors in hypermesh and, I also learned about connectors and its type in hypermesh.