Week 9-Creation of 1D Connectors Challenge
Aim:
Mesh the given componenet and provide the below mentioned and suitable connection for the componenets.
Right_Rail_2 & Front_truss_1:- Seam-Quad(angled+capped+L)
2. Left_Rail_2 & Front_truss_1:- Quad elements
3. Front_truss_2, Front_truss_1 & Right_Rail_1:- Spot weld with 2 Layers and 5 mm Diameter
4. Front_truss_2, Front_truss_1 & Left_Rail_1:- Hexa (Adhesive)
5. Rear_truss_2 & Right_Rail_2:- Bolt Connector
6. Rear_truss_2 & Left_Rail_2:- Bolt Connector
7. Right_Rail_1 & Right_Rail_2:- Spot-weld with Rigid Elements
8. Left_Rail_1 & Left_Rail_2:- Spot-weld with Spring Elements
9. Rest all the component left Join them with suitable connectors
Procedure:
Import the given model into the work space then mesh the given coponent with element size of 5. Increase and decrease the number of the elements and make good mesh flow.
Then the very next step is the connection as per the above statement.
Use the connector tab in the user interfsace and select the type of connection required. In seam there will be multiple type of connection will be avilable. Choose the appropriate connection for the componenets.
The first step for the connection is chhose the node by using the nodepath option then the next step is to select the component 1 and component2 .Also give the space dimension is near to the element size and provide the tolerance 10 and create the connection.
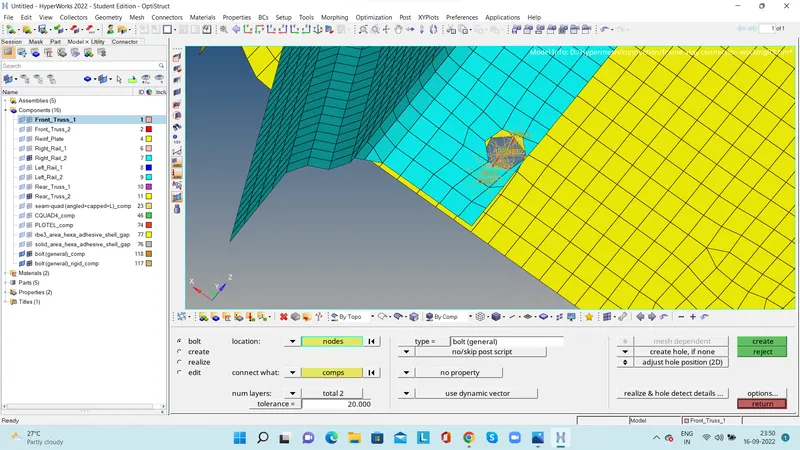
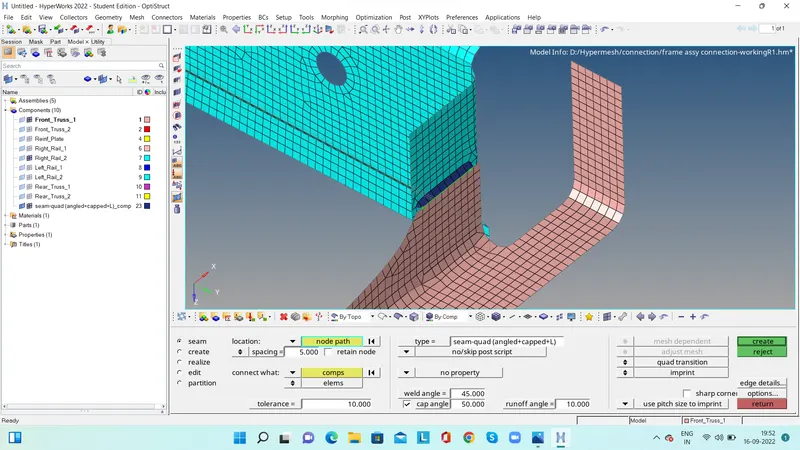
Bolt connection seam weld(angle+clapped+L)
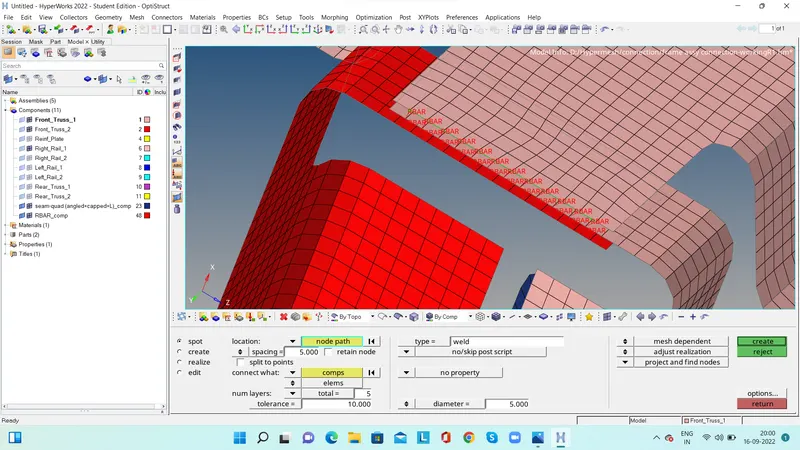
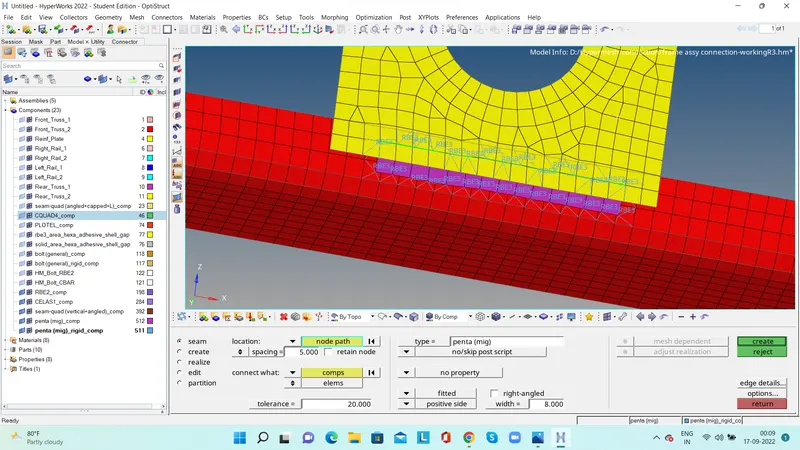
Spot weld Migwelding
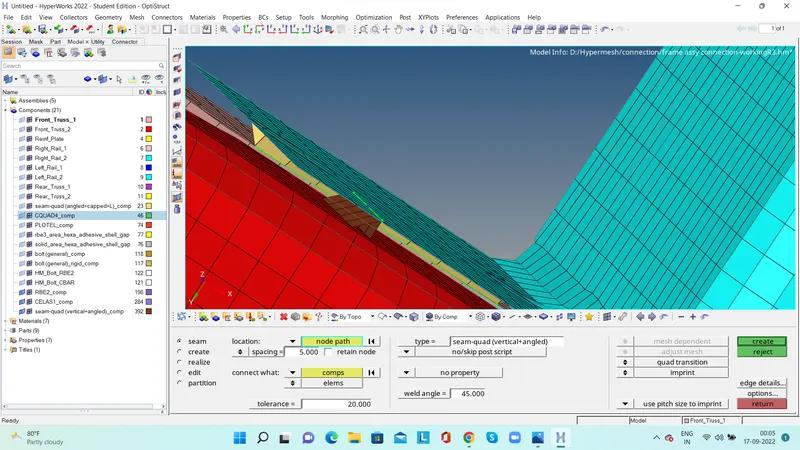
Seam weld vertical+angled
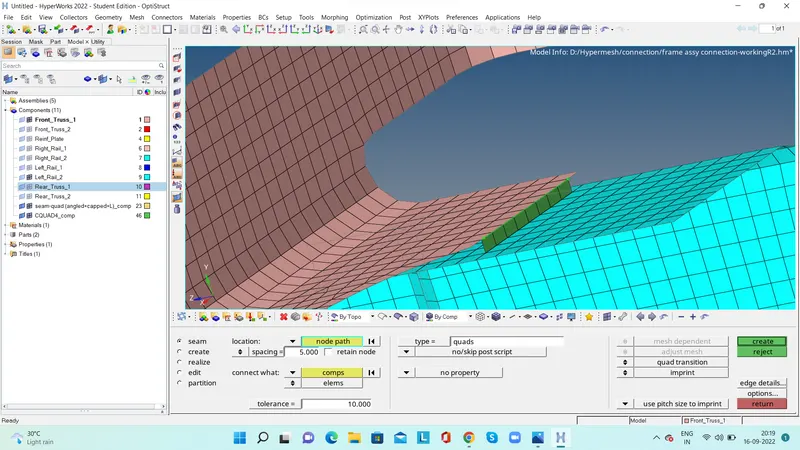
Quad element connection
Complete all the connection and provide the appropriate connection for the componenets.
Conclusion:completed all the connection and provide appropriate connection for the components.
Outcome:Learned the about the connections and how important the connection and especially in the node