Week 9-Creation of 1D Connectors Challenge
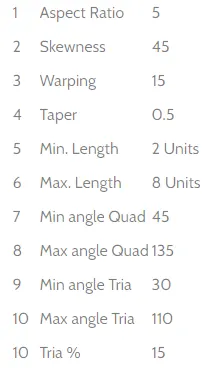
Mesh the Geometry with the following quality parameters
Target element size:- 5
Connectors
Connectors are the entities use to joint two or more components in a model. There are so many connectors in the hypermesh like weld, seam, bolt, rigid element etc.
1. First we are going to import the model.
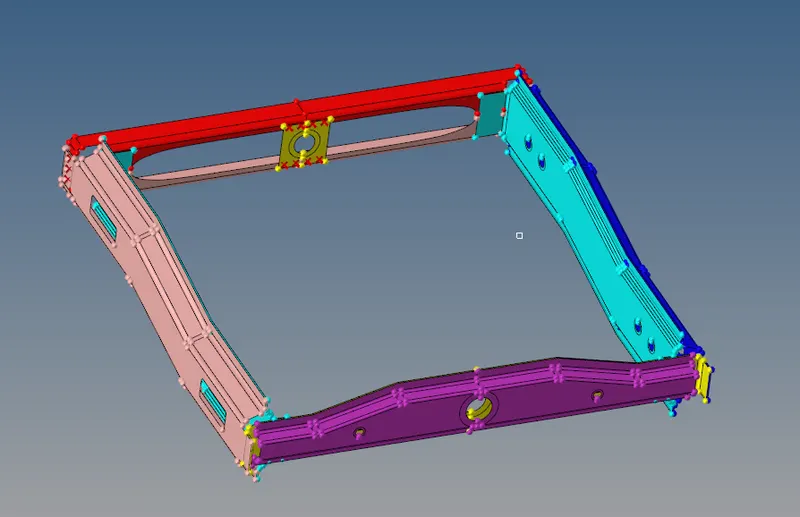
2. Now we are going to mesh all the surfaces.
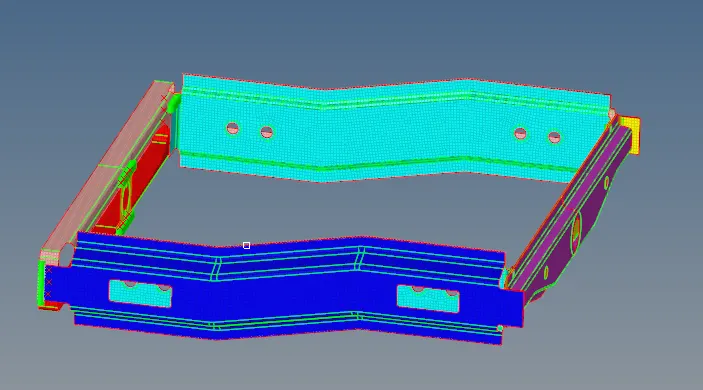
3. Now we are going to connect the surfaces with the different-different connectors.
4. 
For creating the Seam-Quad(angled+cpped+L) connector we go to the
2-D--> connector--> seam
where we choose the type of seam which we are going to use to connect the component.
Here we have to give the spacing (element size of the connectors), tolerance (distance between two-component).
We are going to use quad transition with the imprint.
Now we are going to select the nodes and we are going to create the connector.
5. 
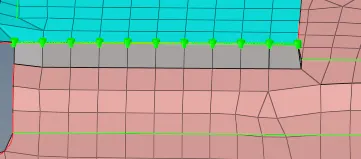
For creating the Quad connector we go to the
2-D--> connector--> seam
where we choose the type of seam which we are going to use to connect the component.
Here we have to give the spacing (element size of the connectors), tolerance (distance between two-component).
We are going to use quad transition with the imprint.
Now we are going to select the nodes and we are going to create the connector.
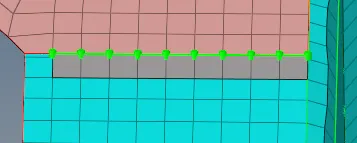
6. Front truss 2, Front truss 1, and Right Rail 1:- Spot weld with 3 Layers and 5 mm diameter
For creating the Spot weld connector we go to the
2-D--> connector--> spot
where we choose the type of spot which we are going to use to connect the component.
Here we have to give the tolerance (distance between two-component) and we will give the layers there.
We are going to use quad transition with the imprint.
Now we are going to select the nodes and we are going to create the connector.
7. 
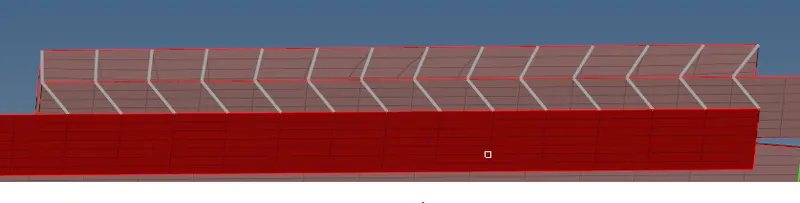
For creating the Hexa(Adhesive) connector we go to the
2-D--> connector--> seam
where we choose the type of seam which we are going to use to connect the component.
Here we have to give the spacing (element size of the connectors), tolerance (distance between two-component).
We are going to use quad transition with the imprint.
Now we are going to select the nodes and we are going to create the connector.
8. 
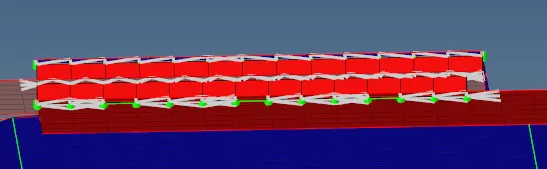
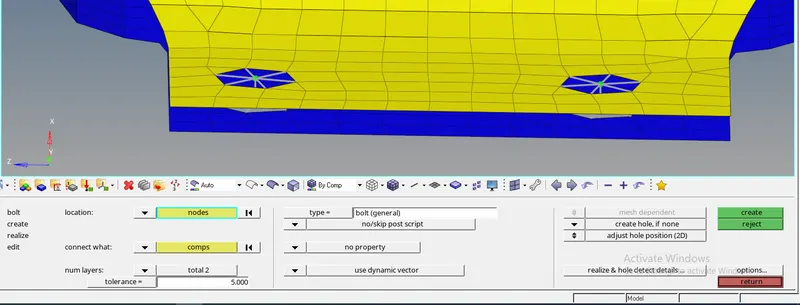
For creating the Bolt connector we go to the
2-D--> connector--> bolt
Here we are going to choose a bolt to be a general bolt.
Here we have to give the tolerance (distance between two-component).
We have to enable
create hole, if none
Now we are going to select the nodes and we are going to create the connector.
9. 
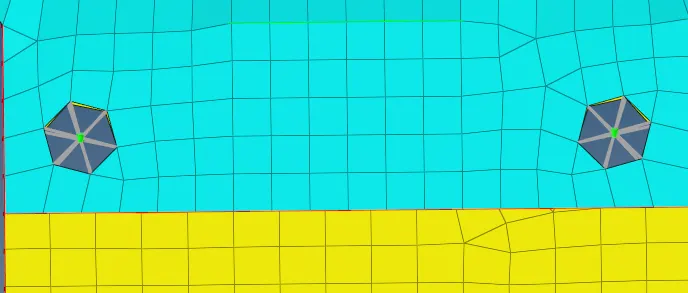
For creating the Bolt connector we go to the
2-D--> connector--> bolt
Here we are going to choose a bolt to be a general bolt.
Here we have to give the tolerance (distance between two-component).
We have to enable
create hole, if none
Now we are going to select the nodes and we are going to create the connector.
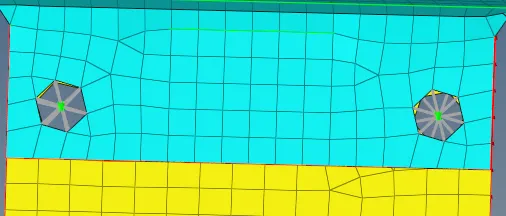
10. 
For creating the Spot-weld with Rigid Element connector we go to the
1-D--> spotweld
Where we choose element type to be rigid.
We are going to choose a nodes-nodes option and we are going to create the connector.
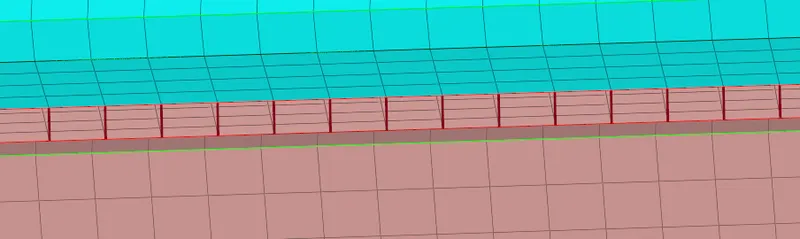

11. 
For creating the Spot-weld with Spring Element connector we go to the
1-D--> spotweld
Where we choose element type to be spring.
We are going to choose a nodes-nodes option and we are going to create the connector.
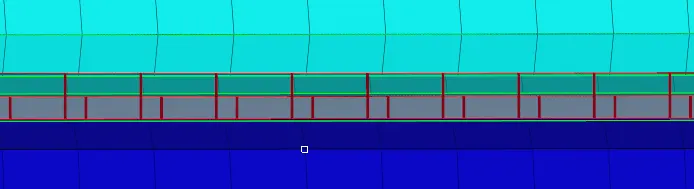

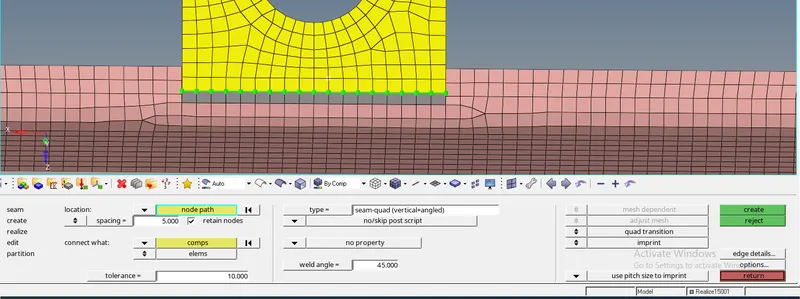
12. Now we are going to connect Front Truss 2 and Reinf Plate with seam-quad (vertical+angled) connector.
For creating the seam-quad (vertical+angled) connector we go to the
2-D--> connector--> seam
where we choose the type of seam which we are going to use to connect the component.
Here we have to give the spacing (element size of the connectors), tolerance (distance between two-component).
We are going to use quad transition with the imprint.
Now we are going to select the nodes and we are going to create the connector.
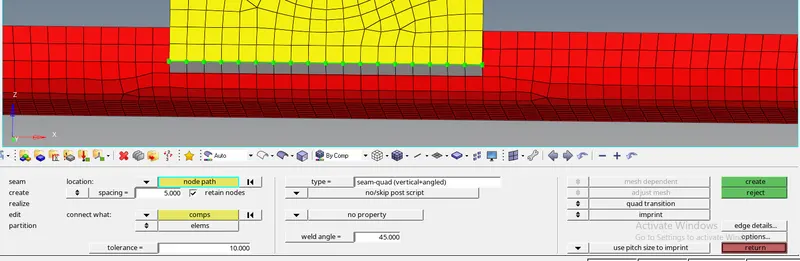
13. Now we are going to connect Front Truss 1 and Reinf Plate with seam-quad (vertical+angled) connector.
For creating the seam-quad (vertical+angled) connector we go to the
2-D--> connector--> seam
where we choose the type of seam which we are going to use to connect the component.
Here we have to give the spacing (element size of the connectors), tolerance (distance between two-component).
We are going to use quad transition with the imprint.
Now we are going to select the nodes and we are going to create the connector.
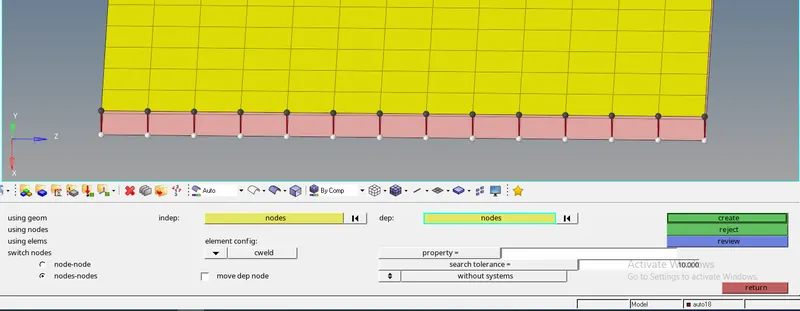
14. Now we are going to connect Right Rail 1 and Rear Truss 2 with Spot-weld with cweld Element
For creating the Spot-weld with cweld Element connector we go to the
1-D--> spotweld
Where we choose element type to be cweld.
We are going to choose a nodes-nodes option and we are going to create the connector.
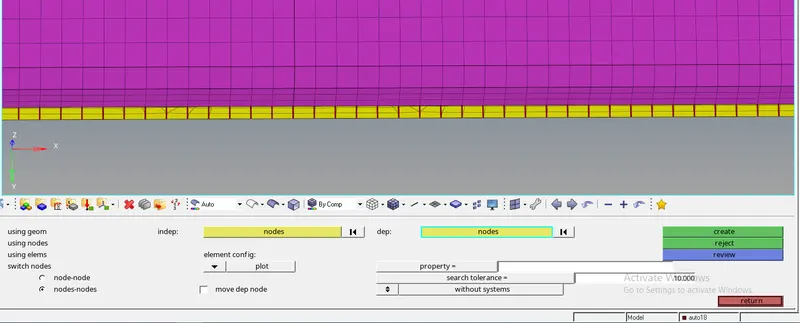
15. Now we are going to connect Rear Truss 1 and Rear Truss 2 with Spot-weld with plot Element
For creating the Spot-weld with plot Element connector we go to the
1-D--> spotweld
Where we choose element type to be plot.
We are going to choose a nodes-nodes option and we are going to create the connector.
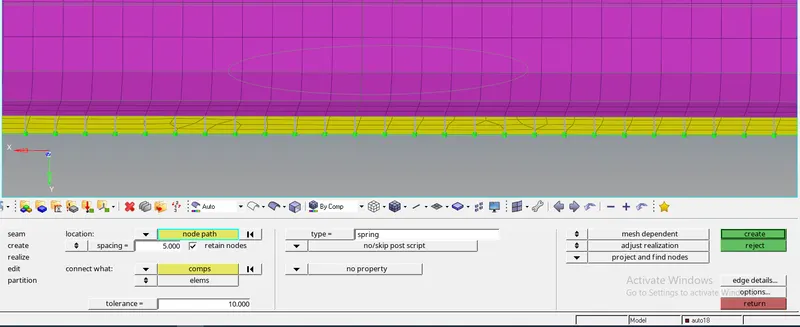
Other side we are going to connect with seam-spring
For creating the seam-spring connector we go to the
2-D--> connector--> seam
where we choose the type of seam which we are going to use to connect the component.
Here we have to give the spacing (element size of the connectors), tolerance (distance between two-component).
We are going to use quad transition with the imprint.
Now we are going to select the nodes and we are going to create the connector.
16. Now we are going to connect left rail 1 with rear truss 2 with the bolt.
For creating the Bolt connector we go to the
2-D--> connector--> bolt
Here we are going to choose a bolt to be a general bolt.
Here we have to give the tolerance (distance between two-component).
We have to enable
create hole, if none
Now we are going to select the nodes and we are going to create the connector.
Learning Outcome
We learn about different types of connectors.
We learn how to connect two-component with the connectors.