Week 9-Creation of 1D Connectors Challenge
OBJECTIVE: Mesh the given model and create the required connectors and attach the various parts of the given model.
PROCEDURE:
Step 1 : import the geomentry into the hypermesh
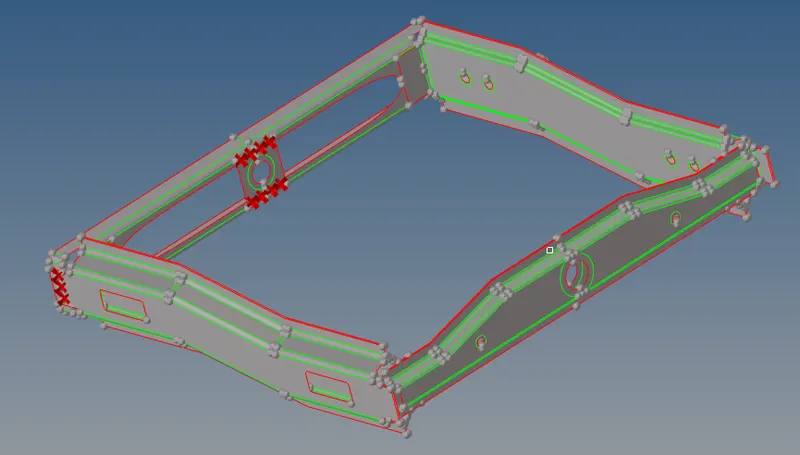
Step 2: After importing go to 2d tab and click automesh button.
Step 3: Now with element size 5 and mesh the components individually.
Step 4: Now go to tools tab and click check elements button and check whether all the elements are within the given quality criteria.
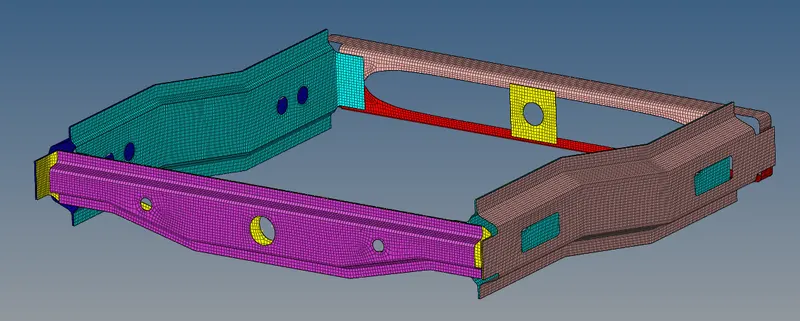
STEP 5: Go to 1d tab and click connectors.In connectors click on seam tab.Select the type as seam quad (angle+capped+L)
Give line spacing as 5 and with node path option select the node which you wanted to weld and select the two component you need to weld.Give tolerence as 10 and click create.
Now the connector is formed between the two parts.
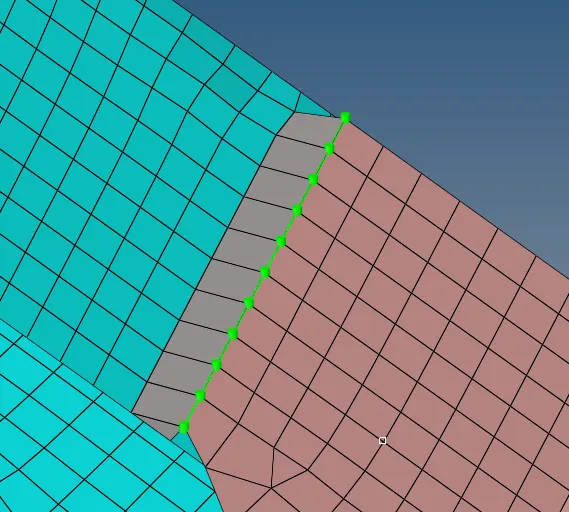
STEP 6: Go to 1d tab and click connectors.In connectors click on seam tab.Select the type as seam quad
Give line spacing as 5 and with node path option select the node which you wanted to weld and select the two component you need to weld.Give tolerence as 10 and click create.
Now the connector is formed between the two parts.
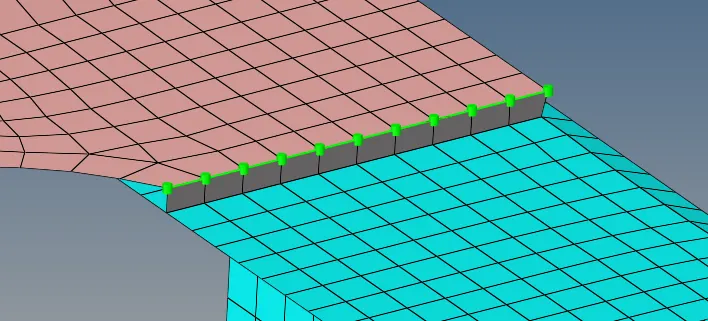
STEP 7: Go to 1d tab and click connectors.In connectors click on seam tab.Select the type as seam hexa (adhersive)
Give line spacing as 5 and with node path option select the node which you wanted to weld and select the two component you need to weld.Give tolerence as 10 and click create.
Now the connector is formed between the two parts.
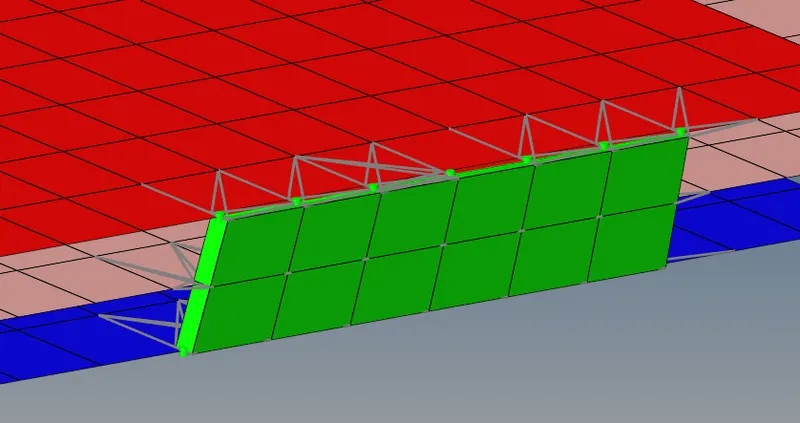
STEP 7: Go to 1d tab and click connectors.In connectors click on seam tab.Select the type as bolt general
Select the node which you wanted to bolt and select the two component you need to join.Give tolerence as 10 and click create.
Now the connector is formed between the two parts.
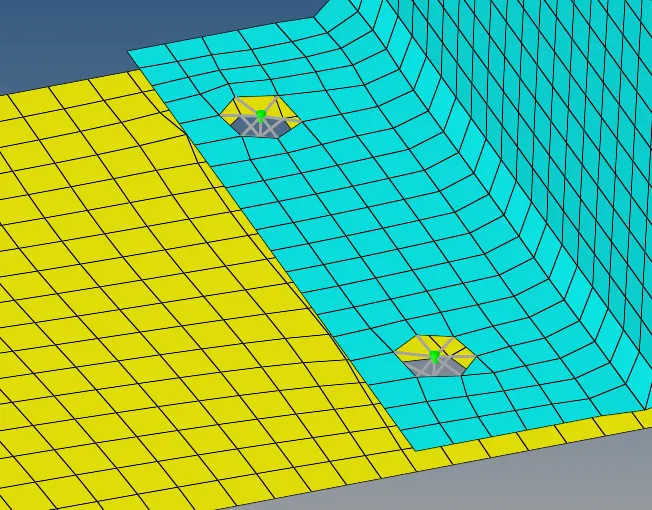
STEP 8: Go to 1d tab and click connectors.In connectors click on seam tab.Select the type as spot weld and give the type as weld
Select the node which you wanted to weld and give number of layer as three and select the three component you need to join.Give tolerence as 20 and click create.
Now the connector is formed between the three parts.
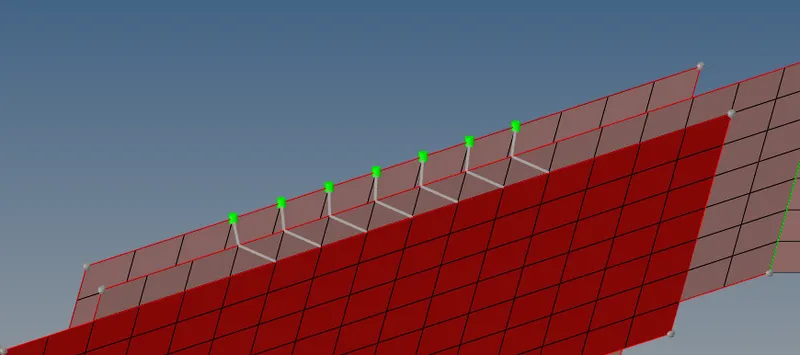
STEP 9: Go to 1d tab and click connectors.In connectors click on seam tab.Select the type as spot weld and give the type as rigid
Select the node which you wanted to weld and give number of layer as auto and select the three component you need to join.Give tolerence as 20 and click create.
Now the connector is formed between the two parts.
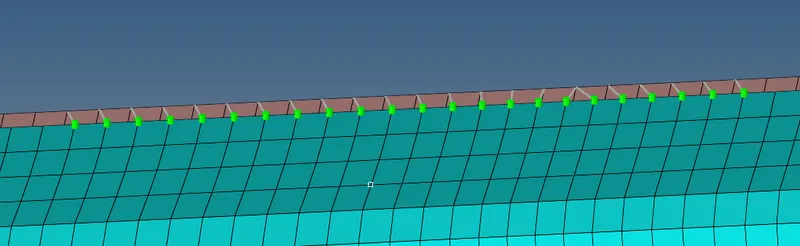
STEP 10: Go to 1d tab and click connectors.In connectors click on seam tab.Select the type as spot weld and give the type as spring
Select the node which you wanted to weld and give number of layer as auto and select the three component you need to join.Give tolerence as 20 and click create.
Now the connector is formed between the two parts.
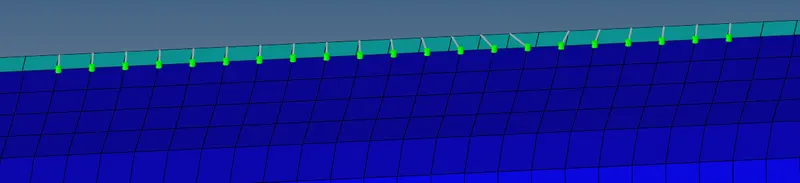
STEP 11: Now create material and property and assign it for all the connector.