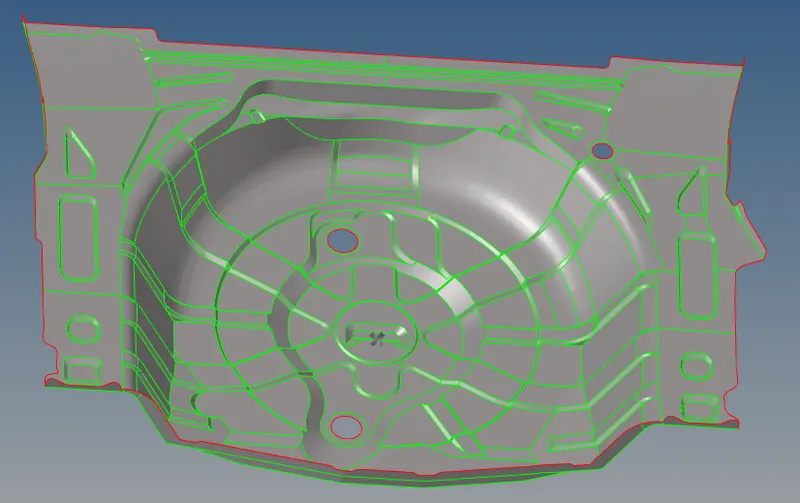
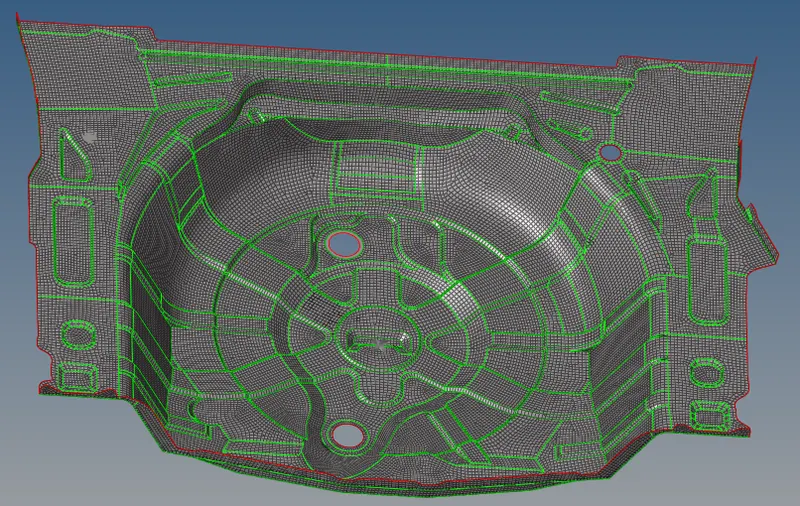
Week 12:Project 2-Meshing of Rear Wheel Holder challenge
OBJECTIVE: The objective of this week is to create the midsurface of the component and mesh the component and the mesh should satisfy the given quality criteria.
PROCEDURE:
Step 1: Import the object into hypermesh.
Step 2: Firstly, go to tool panel and click on delete option. now select all the solids in the component and click delete.Now the component will have only surfaces left.
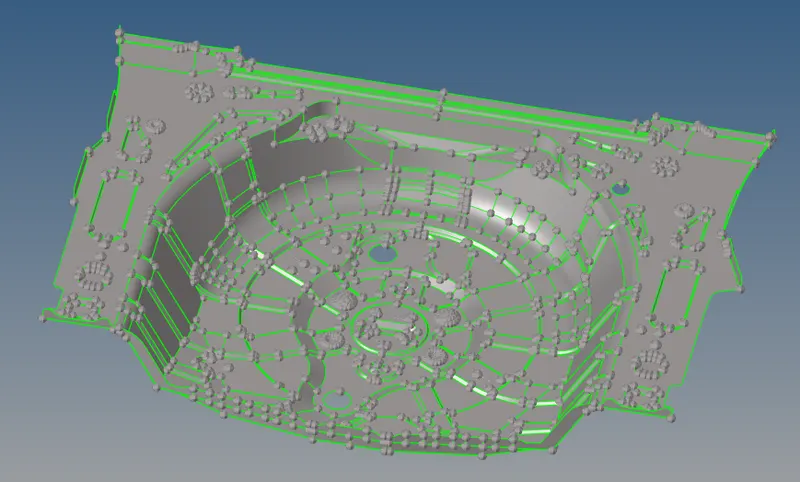
Step 3: For creating the midsurface, go to geomentry tab and click on midsurface button.Now select the surface for which you wanted to create midsurface and then click create button.
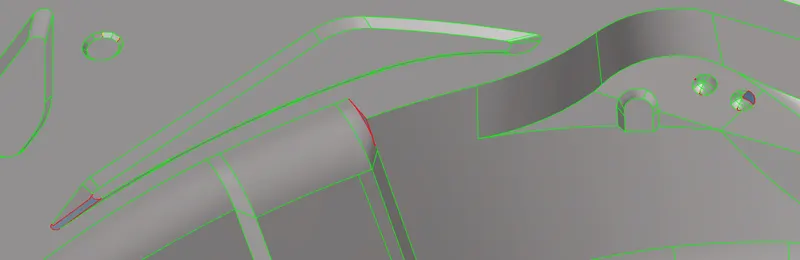
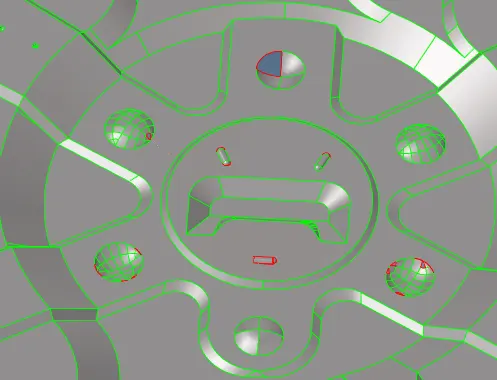
STEP 4: After creating the midsurface, clean up the geomentry with the autocleanup option in the geom tab and remove the buttons from the panel.
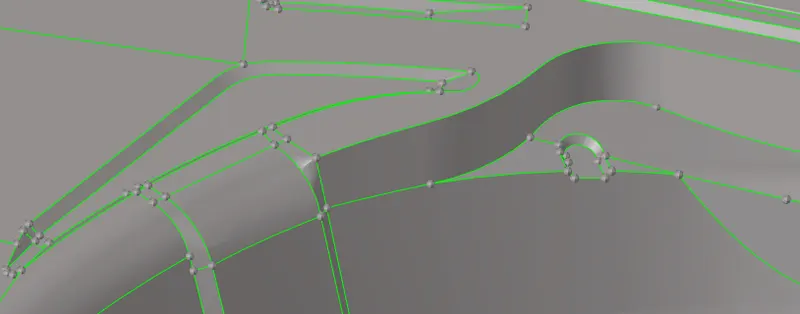
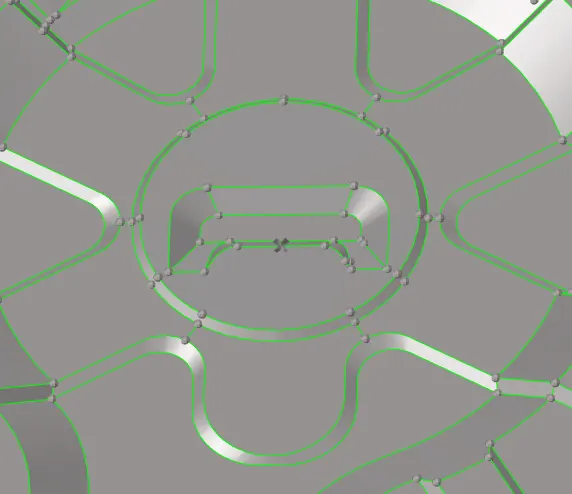
STEP 5: Once the geomentry is cleaned up mesh the surface individually.
STEP 6: Now mesh the component with element size as 5mm and element type as quad for rectangular surface and mixed for other surfaces.
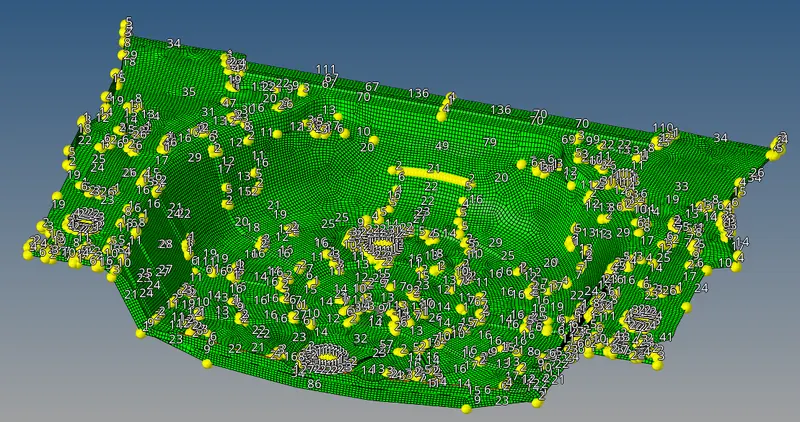
STEP 7: After creating the mesh, there are chances that the mesh can be impropers at certain places anfd hece cleanup need to be done at those places.
STEP 8: The are certain options which you can use to clean up the mesh.
OPTION 1: You can just remesh the elements than needs to be cleaned up
OPTION 2: You can optimise the element by just clicking on it.
OPTION 3: You can place the node by just clicking and draging the node.
OPTION 4: You can also create, combine and split element by clicking on edit element option on the 2d panel.
STEP 9: After cleaning up the mesh elements now go to element check and see whether all the elements are within the given parameters.If the elements are not within the required limit then we need to use the above options to cleanup and bring the element to the requirement.
STEP 10: After creating the mesh check whether the component contains any free edge. Go to tools tab and select edge option.now select all the elements and click create edge.Now the edges will be hilighted with red colour. If there is any free edge inside the component you can remove it by selecting the element around the free edge and click equivalence option.In case the free edge is still there you can manually edit it by replace option in 2D tab
STEP 11: Now assign the material and property for the material so that you can assign thickness for that panel.
WHEEL HOUSING PANEL: