Week 9-Creation of 1D Connectors Challenge
Aim:
To Meshing the given geometry and create various connection of given frame components.
Given data:
Target Element size - 5 Units
|
S.N |
Quality Criteria |
Value |
|
1 |
Aspect Ratio |
5 |
|
2 |
Skewness |
45 |
|
3 |
Warping |
15 |
|
4 |
Taper |
0.5 |
|
5 |
Min. Length |
2 Units |
|
6 |
Max. Length |
8 Units |
|
7 |
Min angle Quad |
45 |
|
8 |
Max angle Quad |
135 |
|
9 |
Min angle Tria |
30 |
|
10 |
Max angle Tria |
110 |
|
10 |
Tria % |
15 |
connection method:
Create connector and Attach the various parts of the given model
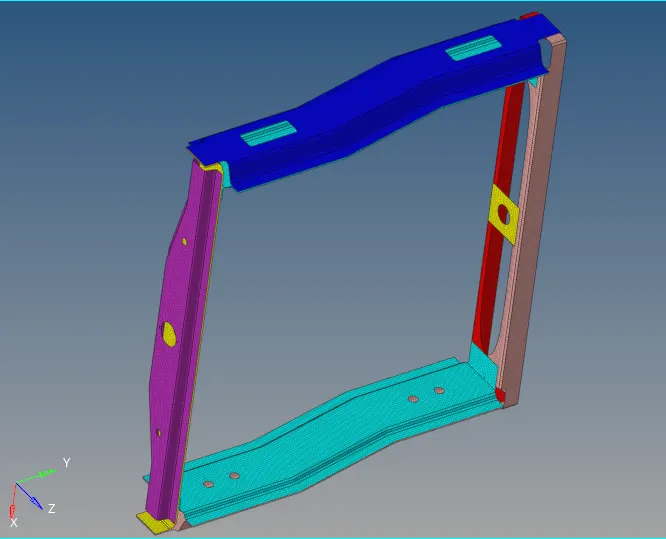
1. Right_Rail_2 & Front_truss_1:- Seam-Quad(angled+capped+L)
2. Left_Rail_2 & Front_truss_1:- Quad elements
3. Front_truss_2, Front_truss_1 & Right_Rail_1:- Spot weld with 2 Layers and 5 mm Diameter
4. Front_truss_2, Front_truss_1 & Left_Rail_1:- Hexa (Adhesive)
5. Rear_truss_2 & Right_Rail_2:- Bolt Connector
6. Rear_truss_2 & Left_Rail_2:- Bolt Connector
7. Right_Rail_1 & Right_Rail_2:- Spot-weld with Rigid Elements
8. Left_Rail_1 & Left_Rail_2:- Spot-weld with Spring Elements
9. Rest all the component left Join them with suitable connectors
procedure:
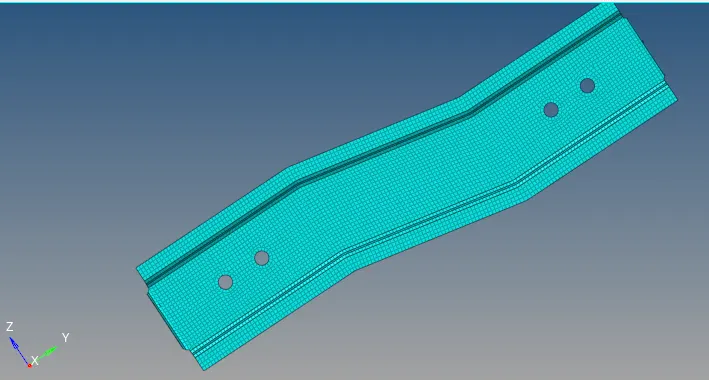
Given CAD:
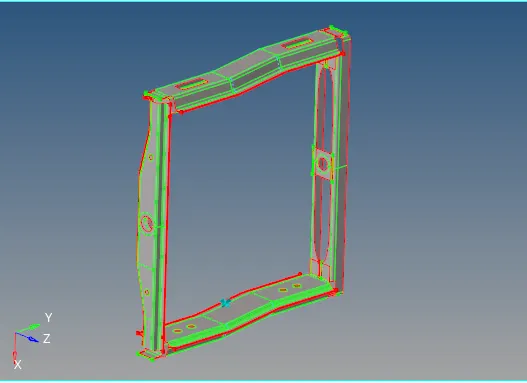
Meshing:
¬ Meshing the each components seperately.
¬ With good quality issues.
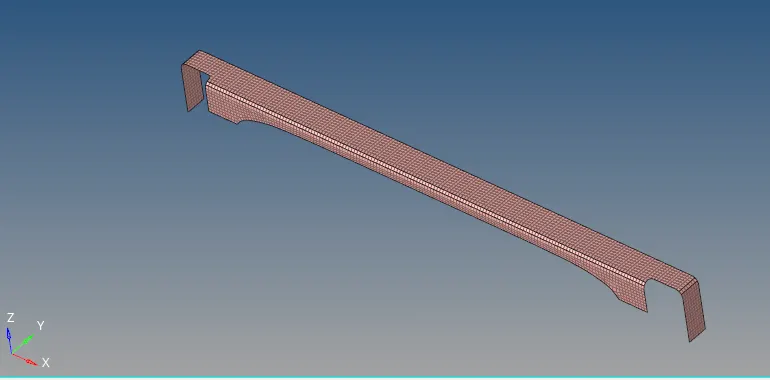
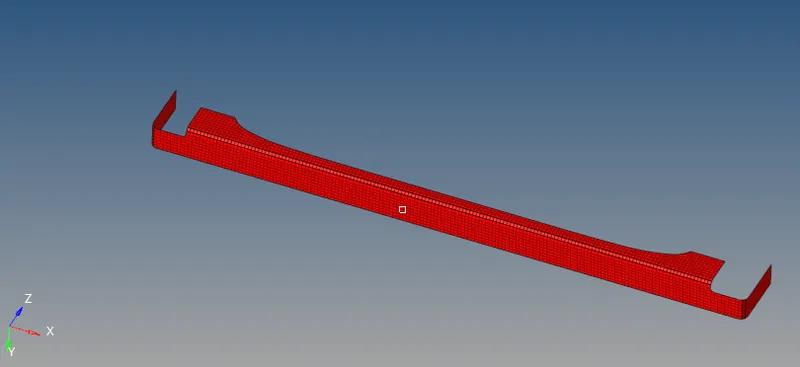
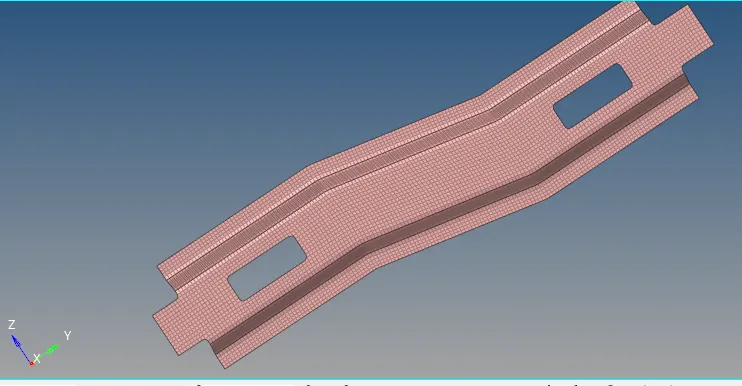
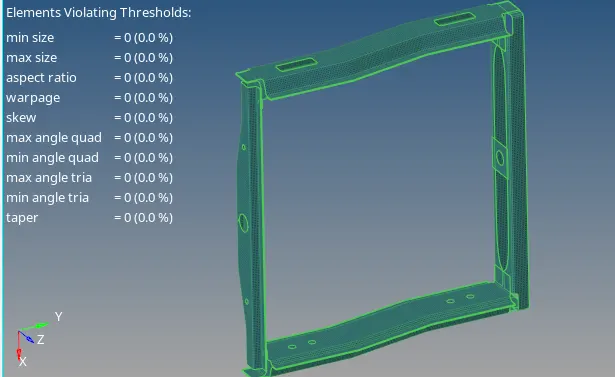
¬After complete the meshing go to create connection.
Connection:
¬ Going to connect the parts its helps to while simulation .
¬There are various connection are used seam., spot and rigid etc.
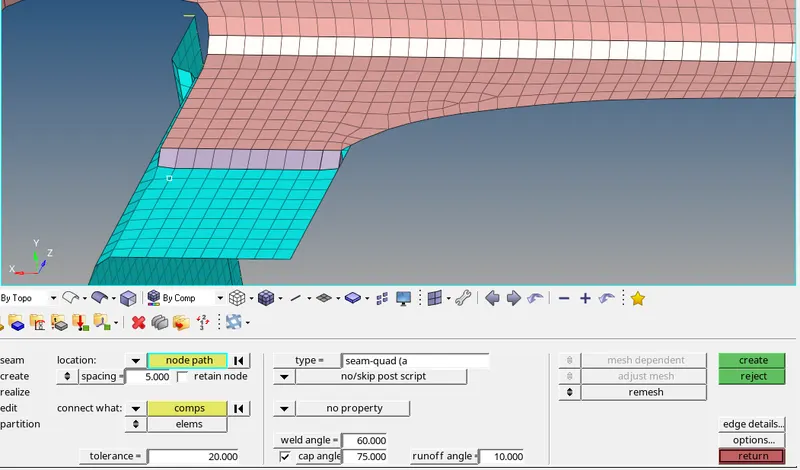
1. Seam weld connection;
¬ First visible only the connection parts Right_Rail_2 & Front_truss_1.
¬ Go to 2D - connectors - seam - type - Seam-Quad(angled+capped+L)
¬Give spacing value as 5
¬ Tolerance value as 20
¬Give remesh option
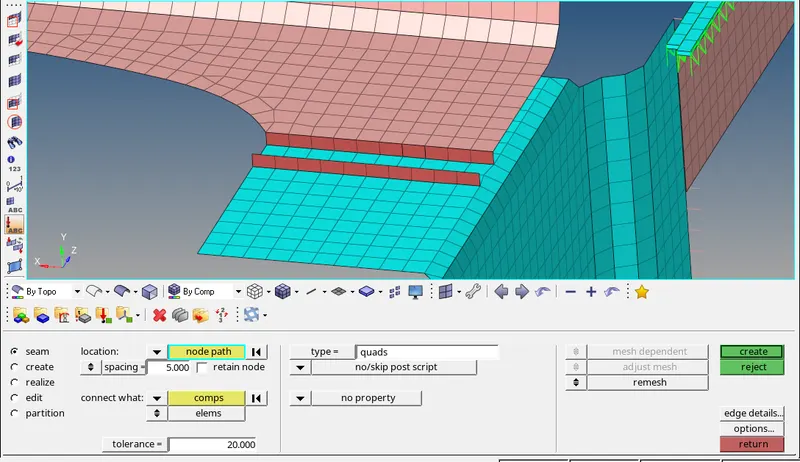
2. Seam weld quad connection:
¬Visible only the Left_Rail_2 & Front_truss_1.
¬Go to 2D - connectors - seam - type - Seam-Quad elements.
¬Give spacing value as 5
¬ Tolerance value as 20
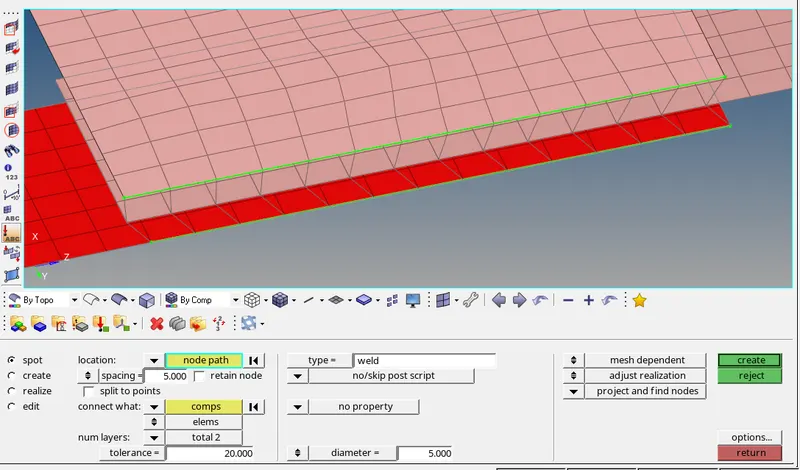
3. Spot weld connection:
¬Visible only the Front_truss_2, Front_truss_1 & Right_Rail_1.
¬Go to 2D - connectors - spot - type - weld.
¬Give spacing value as 5
¬ Tolerance value as 20
¬ Remesh need do it.
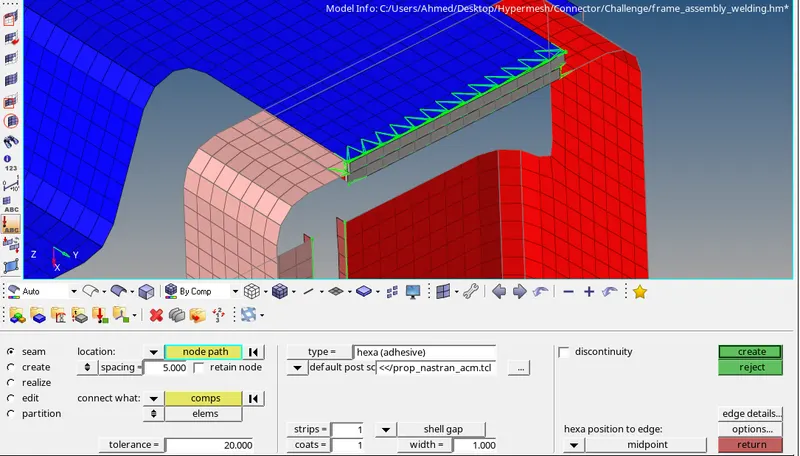
4. seam weld hexa adhesive:
¬Visible only the Front_truss_2, Front_truss_1 & Left_Rail_1.
¬Go - to 2D - connector - seam - type - hexa adhesive.
¬Give spacing value as 5
¬ Tolerance value as 20
¬ Remesh need do it.
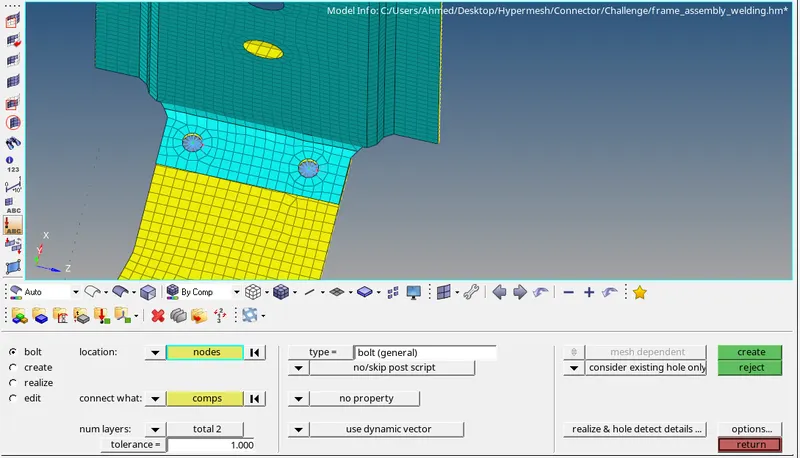
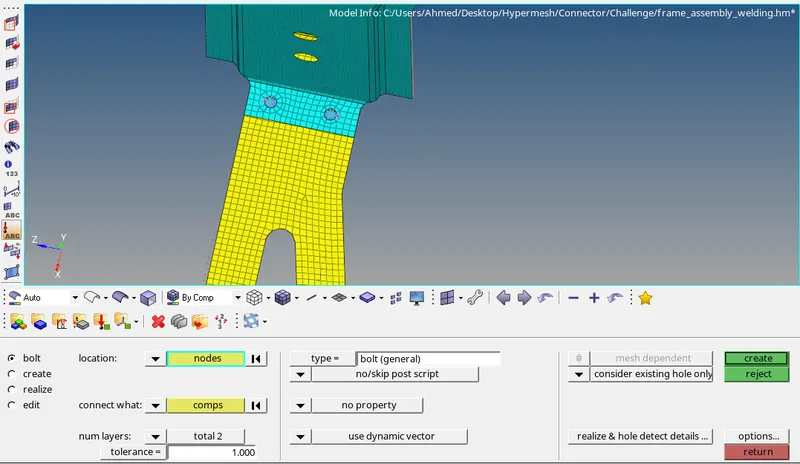
5. Bolt connection:
¬Visible only the Rear_truss_2 & Right_Rail_2.
¬Go to connection - bolt - type -general bolt -
¬ Select the node and select create hole if none option.
¬Tolorence as 20.
¬ Remesh after the bolt connection.
6. bolt connection;
¬Visible only Rear_truss_2 & Left_Rail_2.
¬Similar to the previous one.
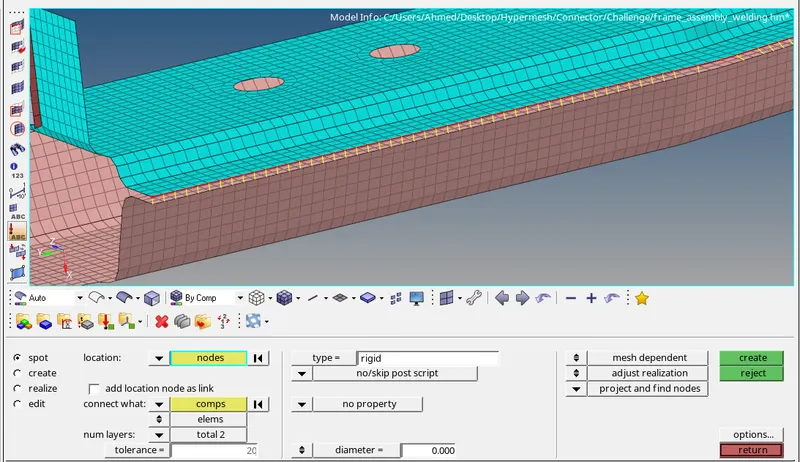
7. Spot weld Rigid Element:
¬visible only the Right_Rail_1 & Right_Rail_2.
¬Go to 2d - connector - spot - type -rigid.
¬Spacing value as 5.
¬Tolerance value as 20
¬ Remesh need do it.
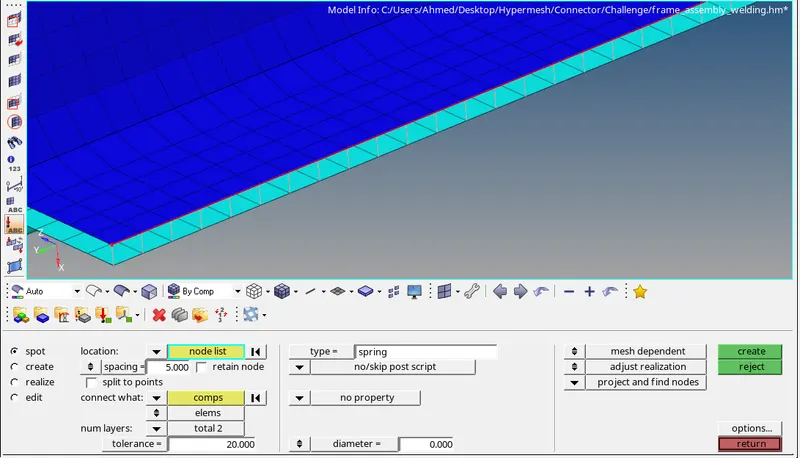
8. Spot Weld Spring Element;
¬visible only the Left_Rail_1 & Left_Rail_2.
¬ Go to 2d - connector - spot - type -spring.
¬Spacing value as 5
¬ Toilerence value as 20.
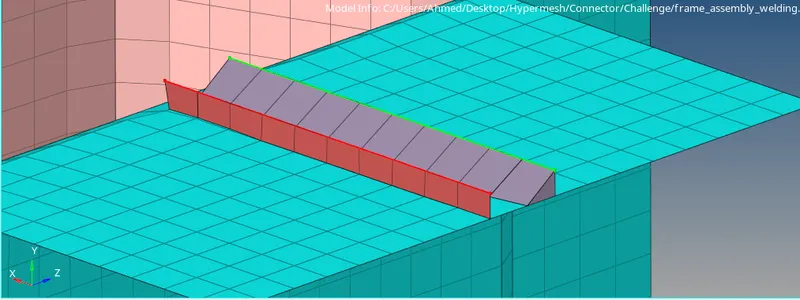
9. Remaining connection;
¬ Remaining parts are connected related to the previous connection method.
¬Connect using spot, seam, adhesive, rigid and spring method .
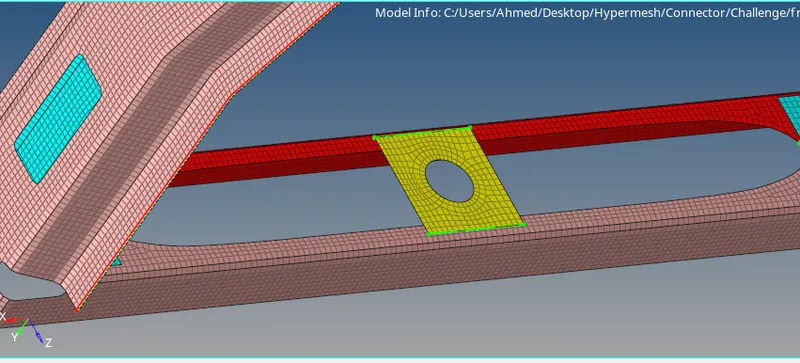
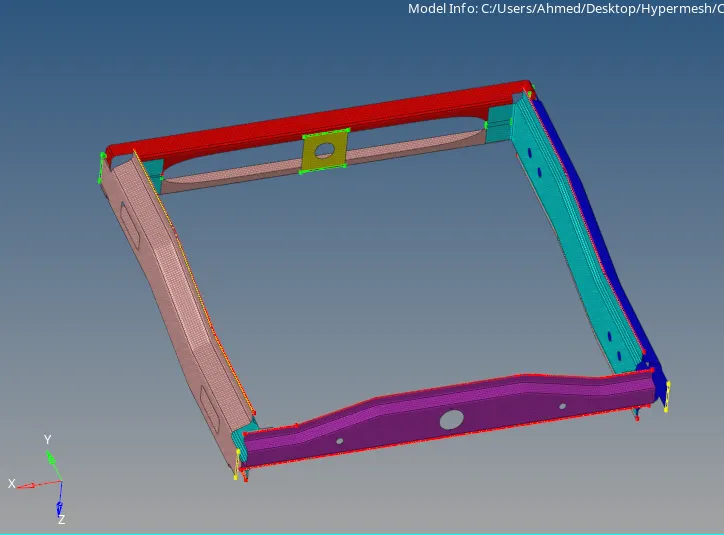
Final Model:
Conclusion:
¬Learn about seam weld, spot weld ,rigid and adhesive etc .
¬Learn the bolt connection.
¬Complete the given model is meshed and conncted as per given question.