Week 9-Creation of 1D Connectors Challenge
Aim: Mesh the given component by the given parameters and create connector and establish the mentioned connection to all the given components for the given model.
Procedure :
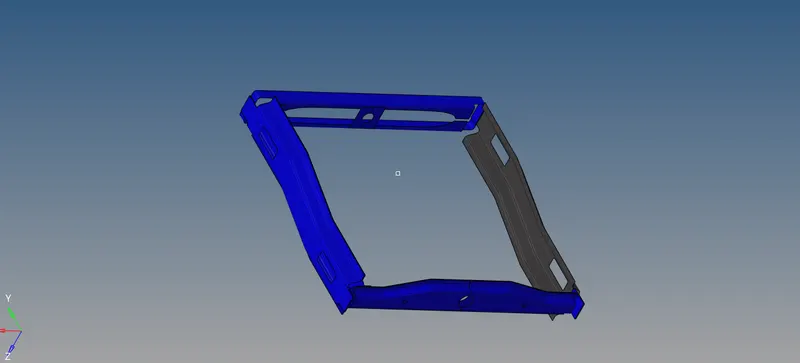
STEP 1: Import the model and look for the major or minor geometrical errors. if found , they are taken care by Geometry clean up.
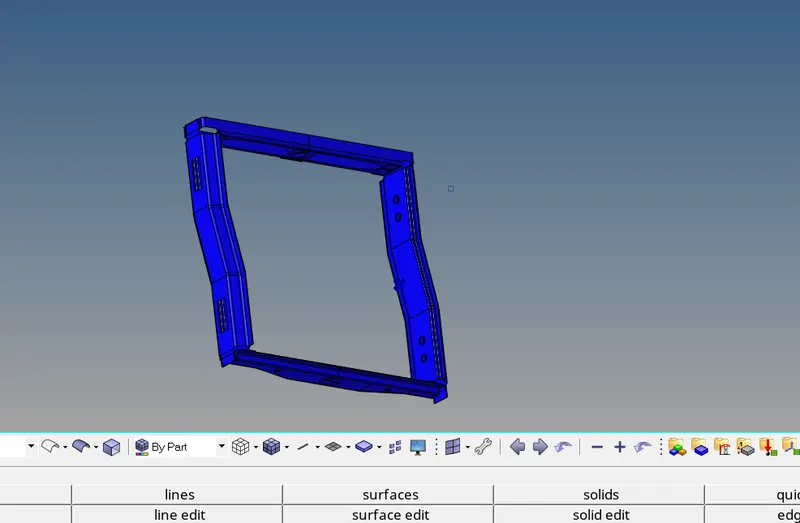
STEP 2: The part is changed to by topo mode and it is observed that rear truss component is not attached properly as we can see a red mark . so it is toggled using the toggle tool.
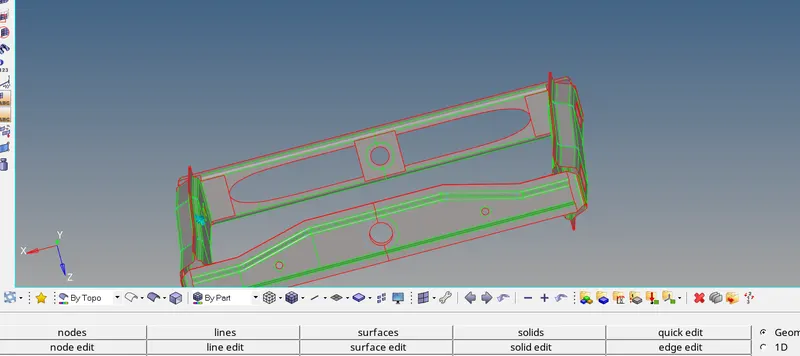
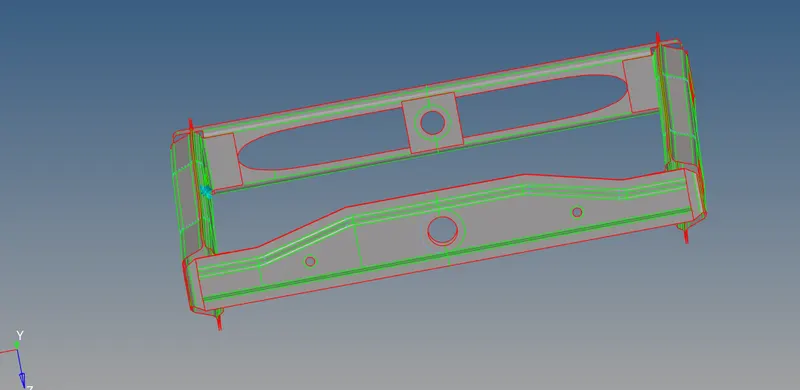
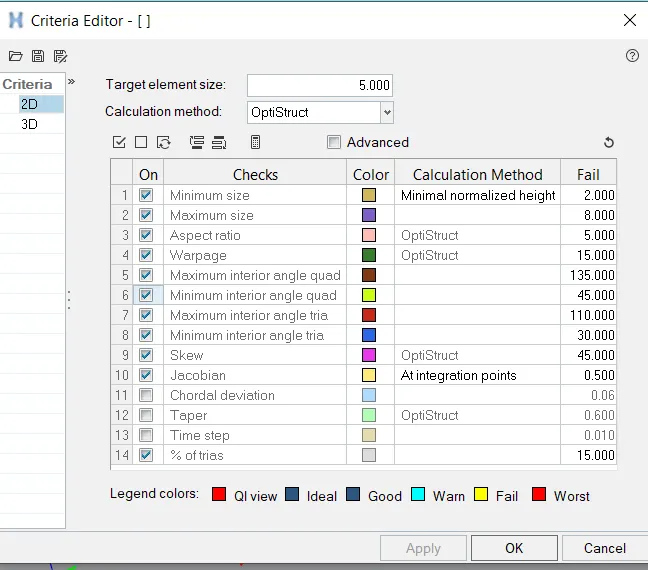
STEP 3: Before meshing set the given parameters for no quality failure.
STEP 4: Now mesh the individual component by the command 2D--> automesh.
The reinforced plate can be reflected as it is symmetrical.
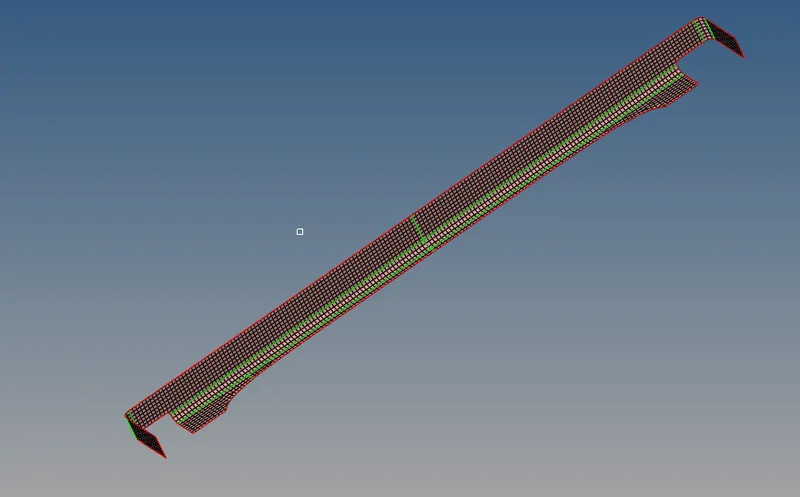
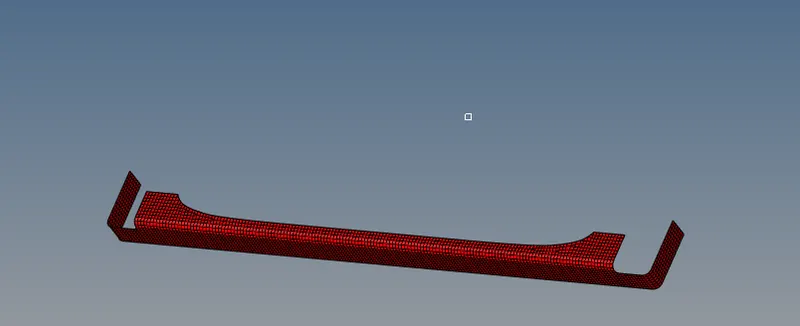
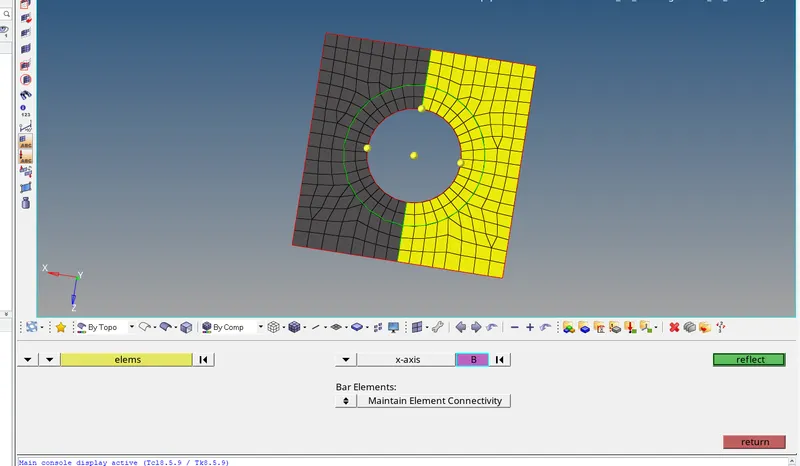
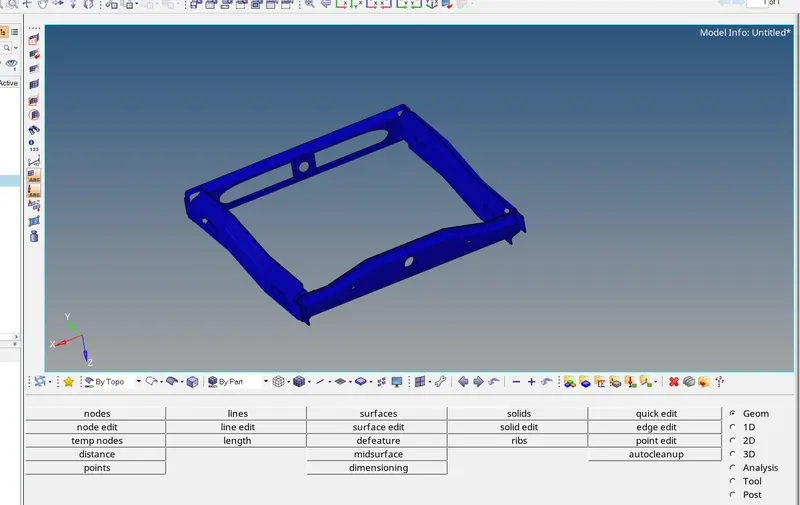
STEP 5 : As it is observed that the Right rail 1 , right rail 2 and left rail 1 , left rail 2 are symmetrical , we can mesh any of them and reflect the mesh.
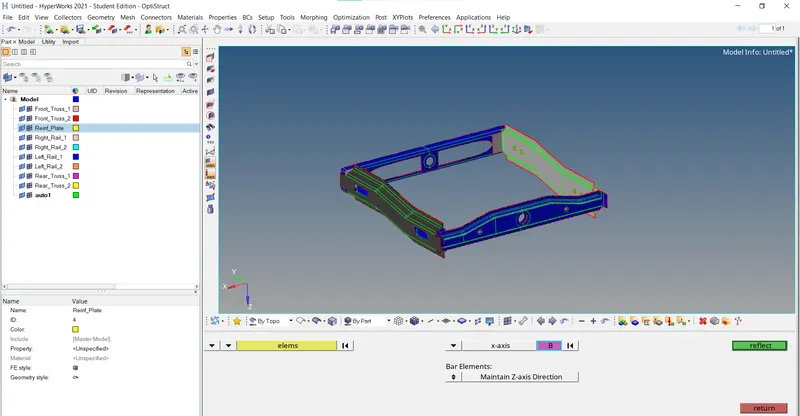
After reflecting:
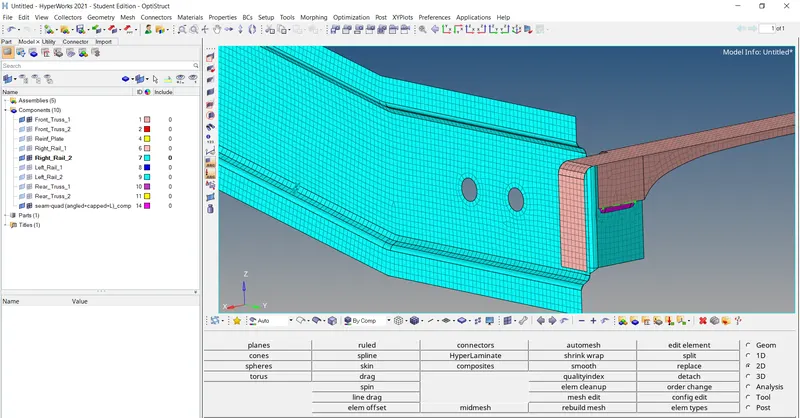
STEP 5 : Connecting Right_Rail_2 & Front_truss_1:- Seam-Quad(angled+capped+L)
To connect the two components with the seam weld use the following command : 1D--> connectors-->Seam-->select the node list -->Spacing -->Type : Quad(Angled+capped + L ) Tolerance-->create
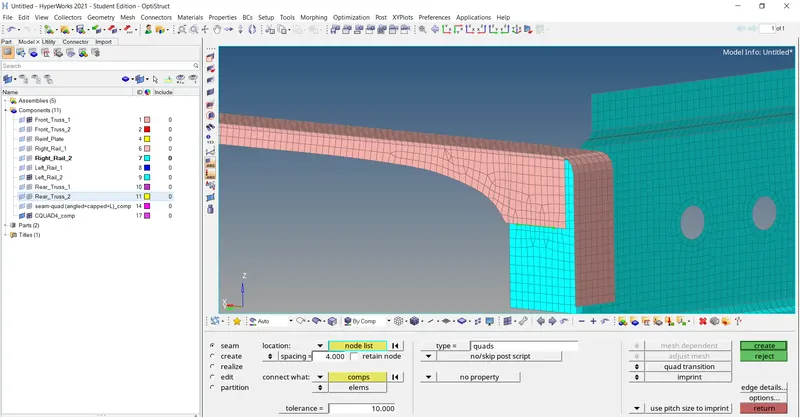
STEP 6 : Left_Rail_2 & Front_truss_1:- Quad elements
Follow the similar procedure as STEP 6 with only change of Type : Quads
STEP 7 : Front_truss_2, Front_truss_1 & Right_Rail_1:- Spot weld with 2 Layers and 5 mm Diameter
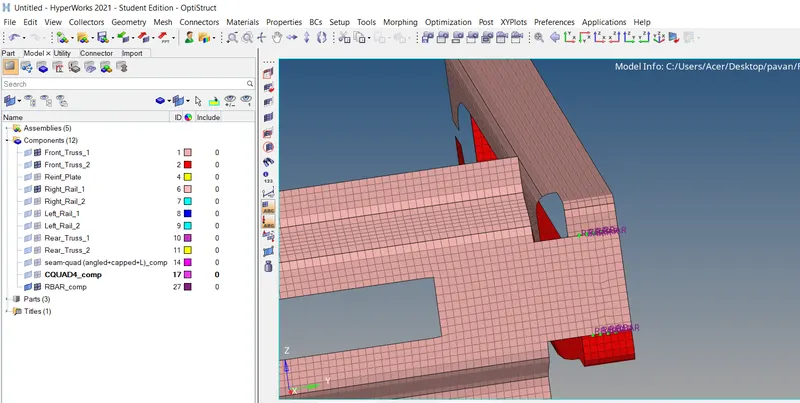
STEP 8 : Front_truss_2, Front_truss_1 & Left_Rail_1:- Hexa (Adhesive)
To connect the components as adhesives 1D--> connectors--> area-->Type: Adhesives-->create.
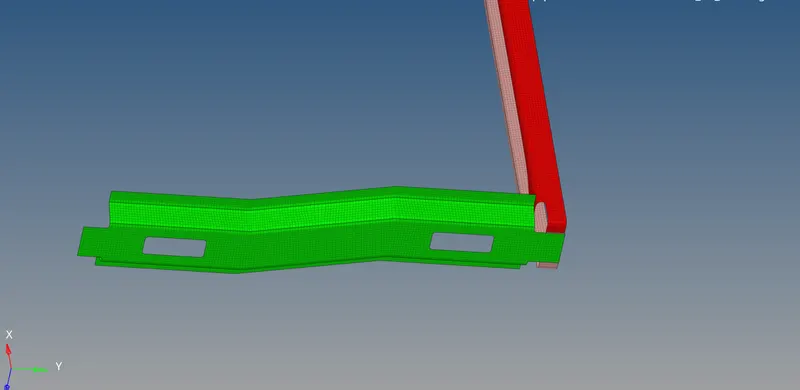
STEP 9 : Rear_truss_2 & Right_Rail_2:- Bolt Connector
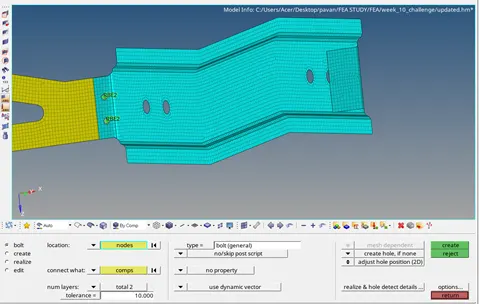
STEP 10: Rear_truss_2 & Left_Rail_2:- Bolt Connector
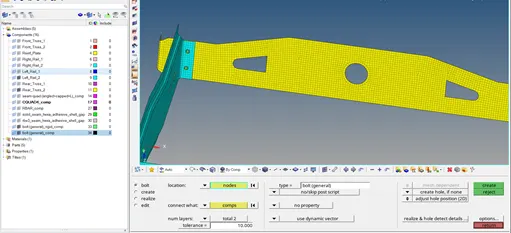
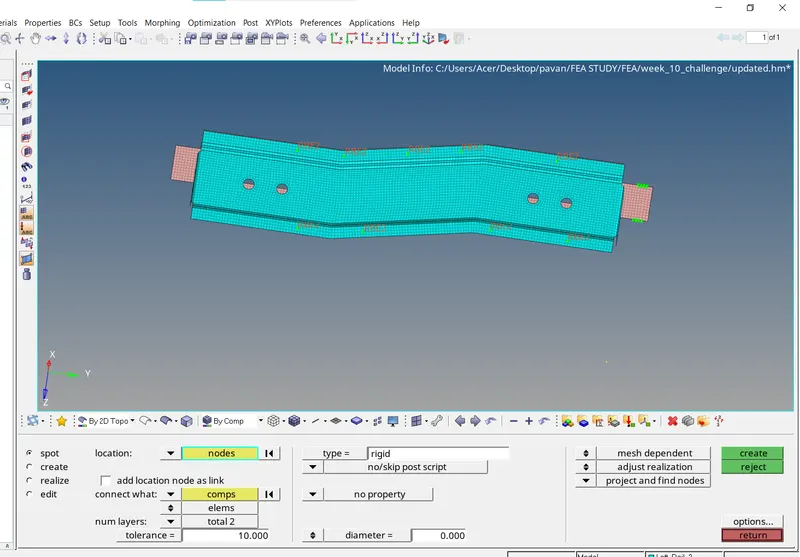
STEP 11 : Right_Rail_1 & Right_Rail_2:- Spot-weld with Rigid Elements
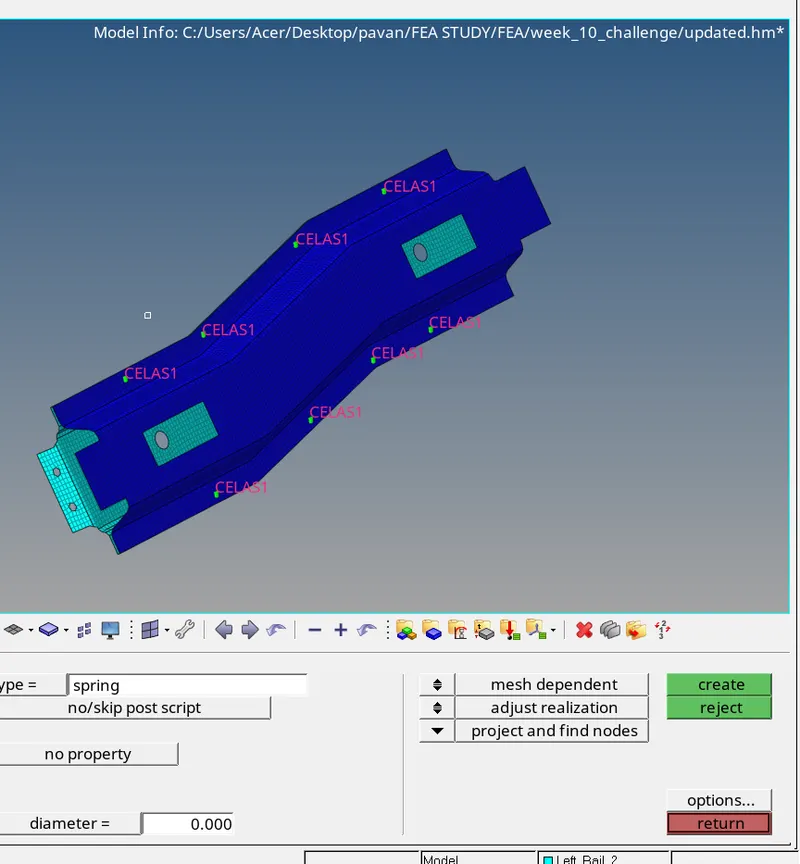
STEP 12: Left_Rail_1 & Left_Rail_2:- Spot-weld with Spring Elements
STEP 13 :
Join the remaining components with the suitable connectors.
Conclusion :
The different connectors and the procedure is well understood in this model. The various connectors like Bolt , seam , spot weld are used in this model.