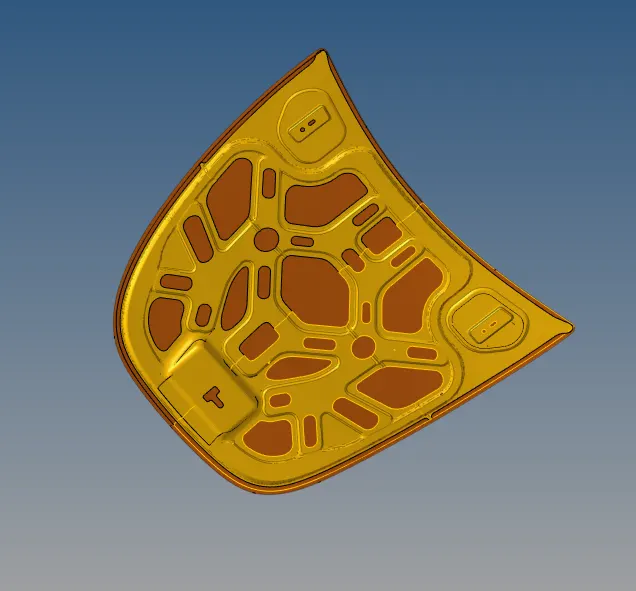
Week 6-Meshing of Hood Challenge
OBJECTIVE : Extract the midsurface and mesh the Hood according to the given criteria and assign thickness.
PROCEDURE :
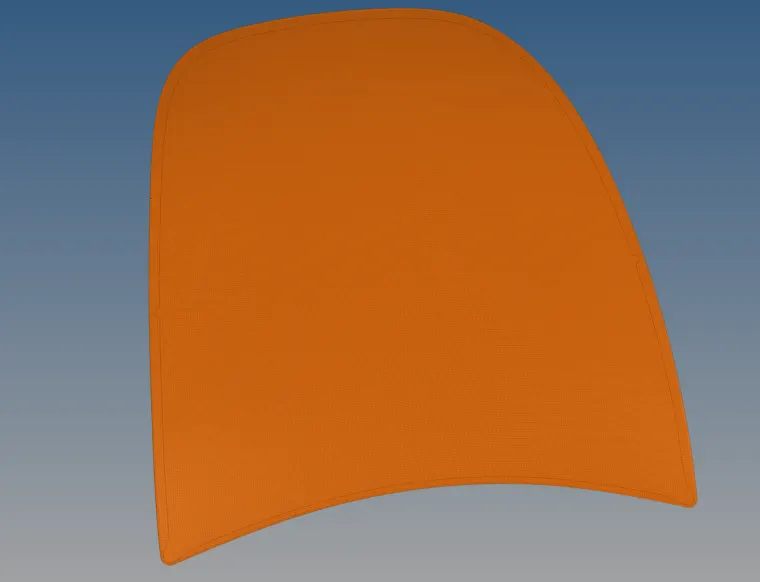
STEP 1 : Import the component and click F to see the component in the GUI area as shown below.
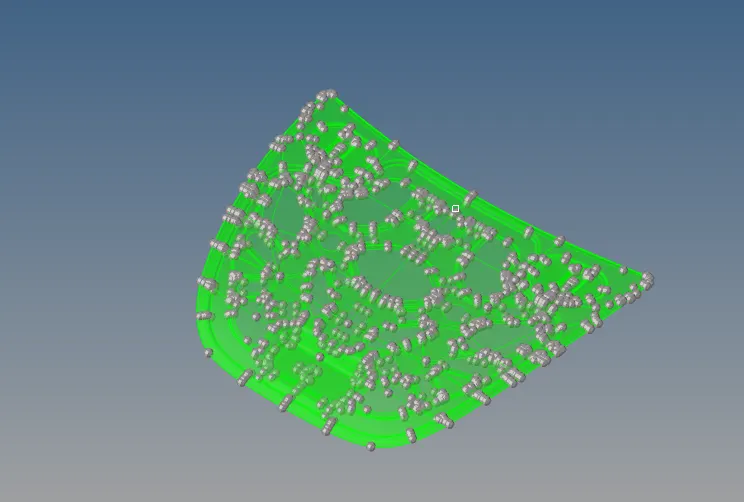
STEP 2 : Delete the solid so that we can work on the surface.
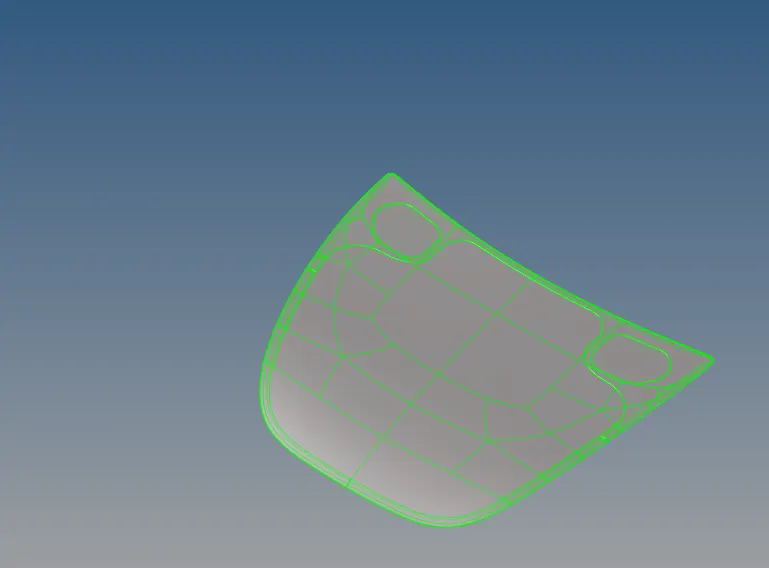
The components in the Hood assembly are as follows :
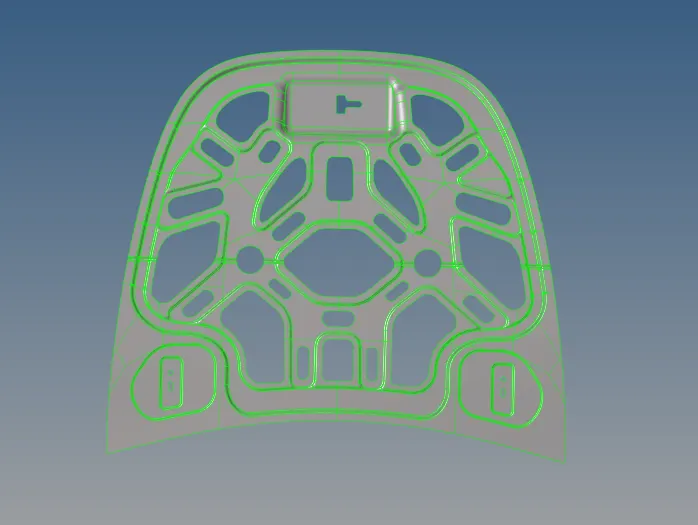
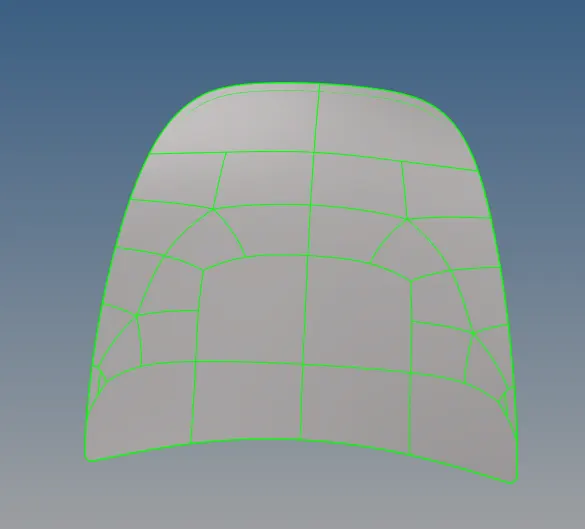
a) Inner extract b) Outer extract
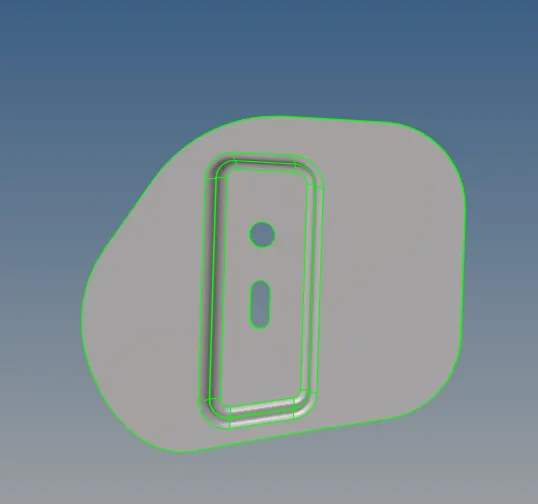
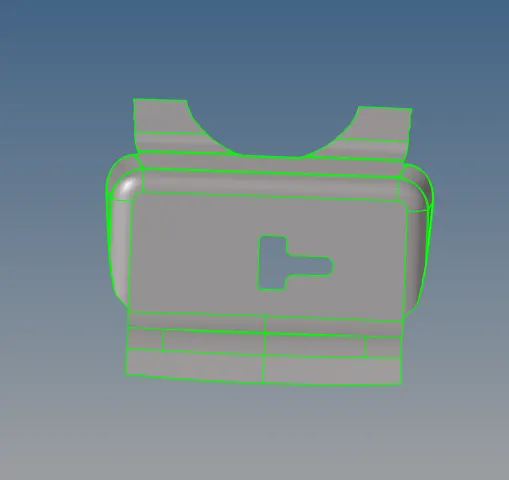
C) Hinge reinforcement D) Latch reinforcement
STEP 3 : Before creating a midsurface the Geometry cleanup should be performed .
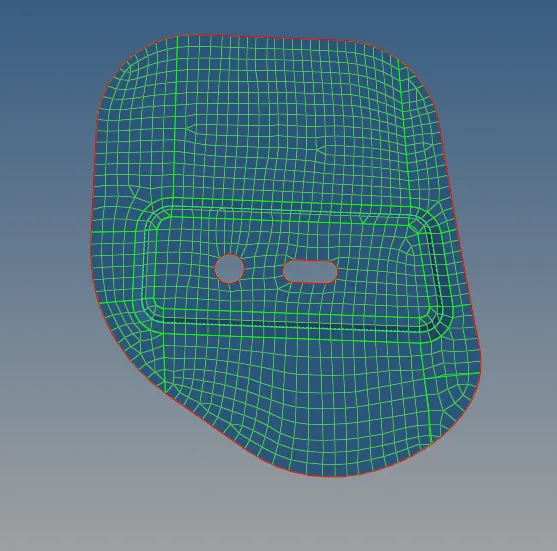
Consider the latch component . First view the component by Topo option to find the errors . since there is no missing surface or duplicate surfaces the component is proceed for the midsurface with the extraction option of skin offset and by command: (Geom + midsurface + create)
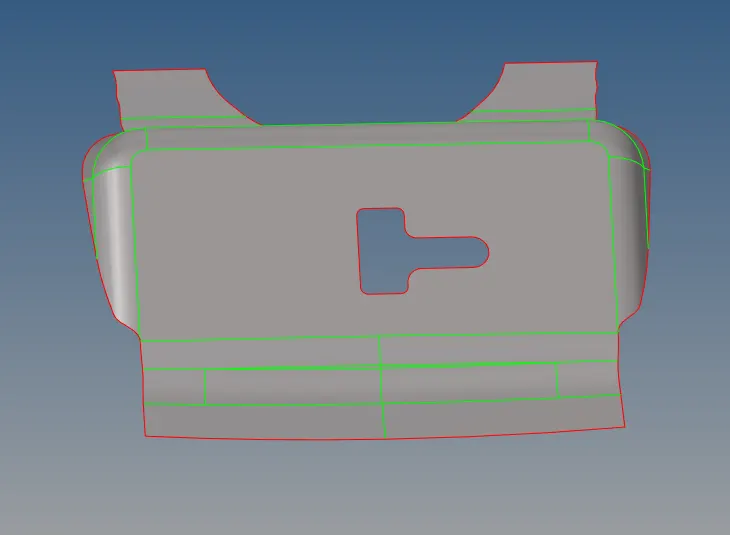
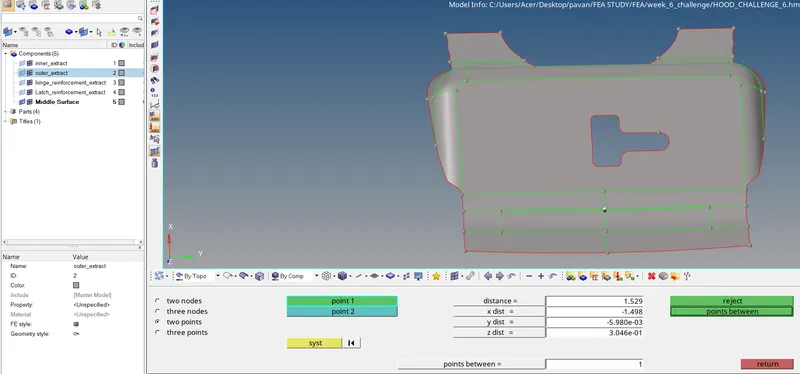
STEP 4 : Before meshing , we should observe the component if it will fail for minimum length element( 2 units as per given). It can be checked by F4 key for the checking of distance . clearly the minimum distance in the component is 1.5 as shown below. Therefore the line should be toggled inorder to avoid the failure by min length.
toggle command : (Geometry + quick edit + toggle edge )
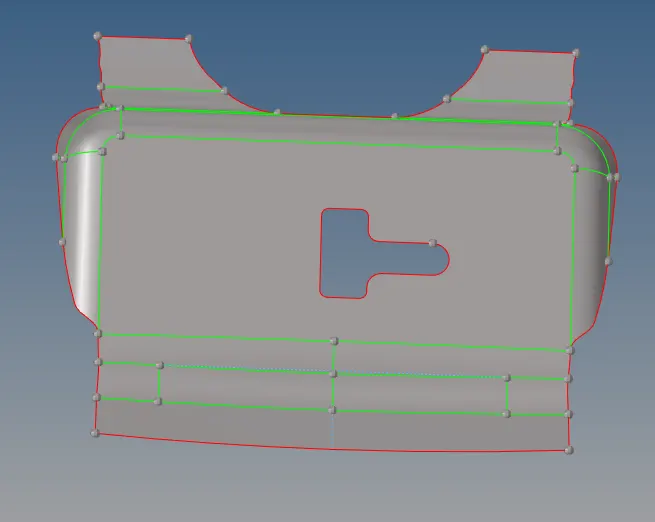
STEP 5 : In the similar lines the midsurface for the other components( inner extract , outer extract , hinge reinforcement) is created.
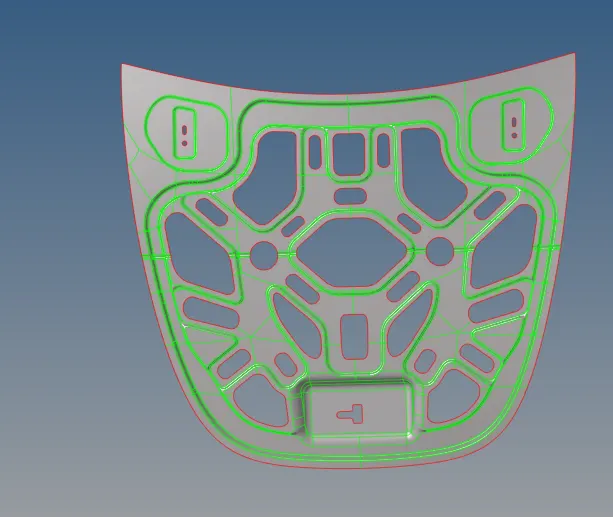
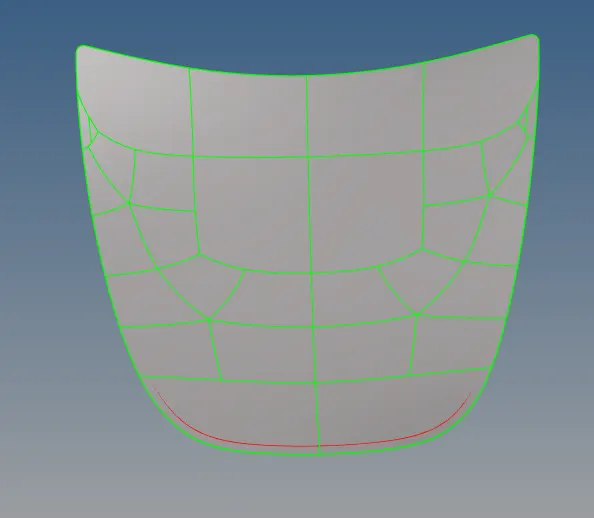
a) mid_inner b)mid_outer
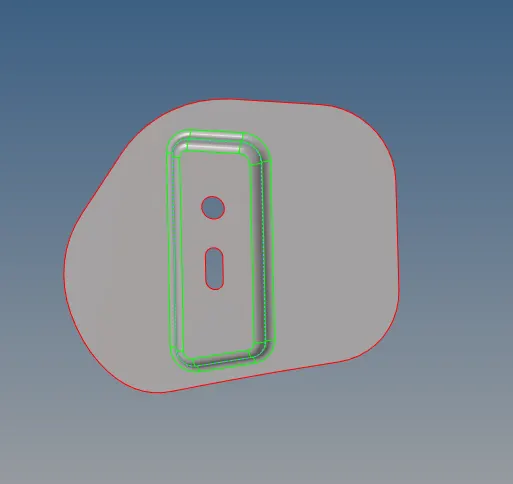
c)mid_hinge
STEP 6: Before meshing the qiality criteria requirements can be filled by the command: preferences + criteria file settings
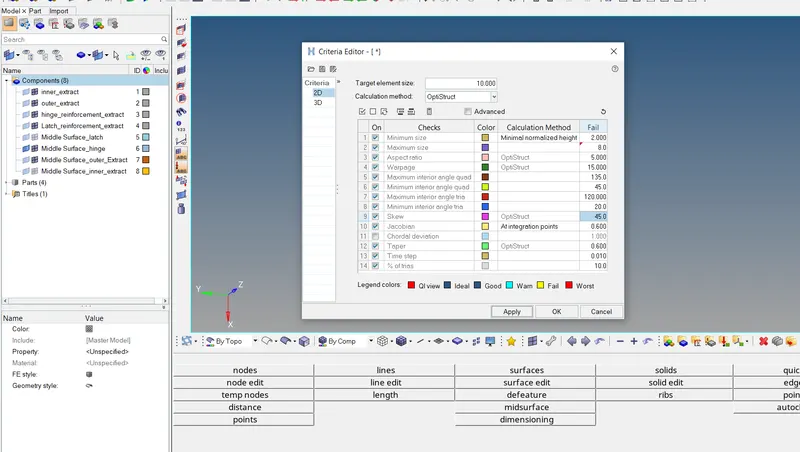
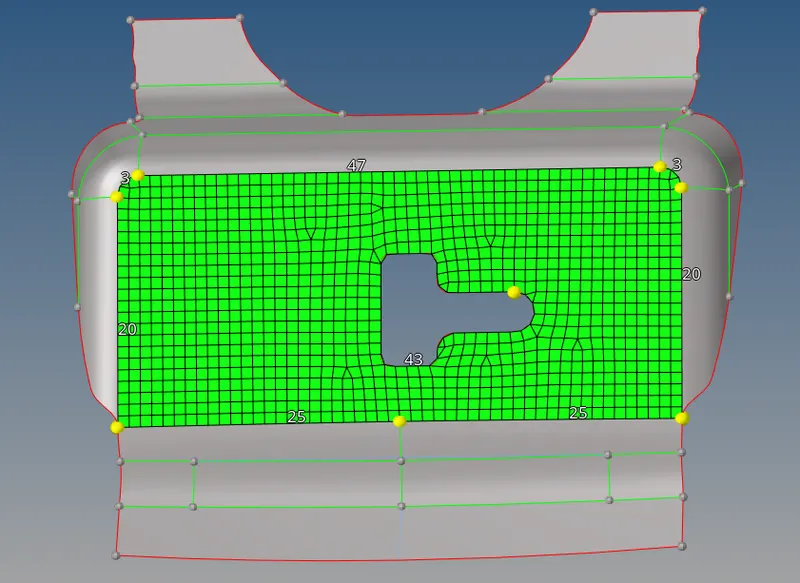
Step 7 : mesh the latch and make sure that the mesh is performed at an area adjacent to the mesh that is available.
Follow the command : 2D-->AUTOMESH -->SELECT THE AREA --> select mesh size and type of elements
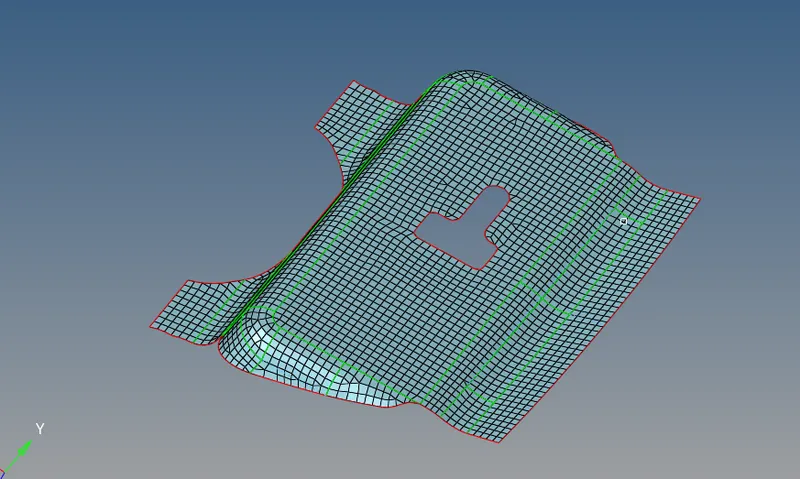
STEP 8 : Use the command smooth : shift +F12 -->select the elements -->smooth .
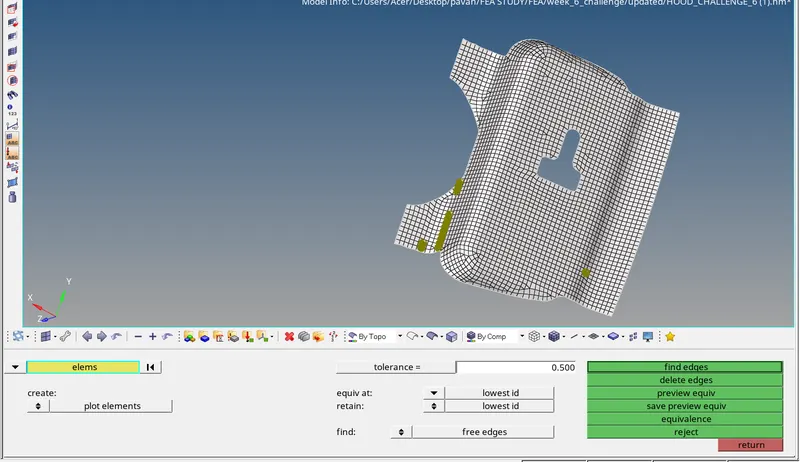
STEP 9 : Before going to check with mesh quality , the free edges should be checked by command Shift + F3 -->select elements/component-->free edges .
If the free edges are found , select the equivalence option to fix .
or use the command replace (F3) to replace the nodes.
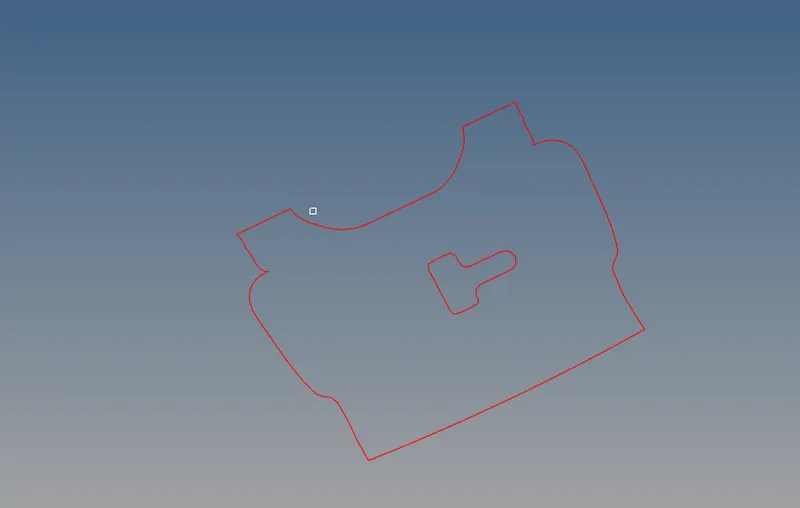
STEP 10 : The unnecessary free edges removal can be confirmed by deselecting the meshing and surface ,leaving only edges option . As there are no unnecesary free edges , the mesh is finalized .
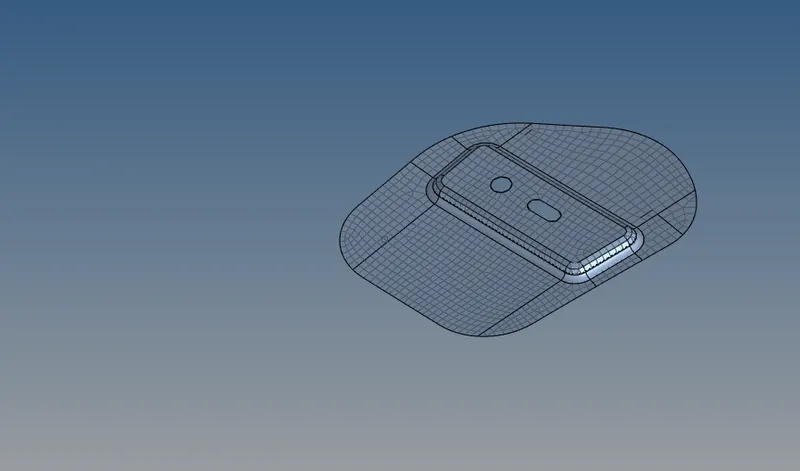
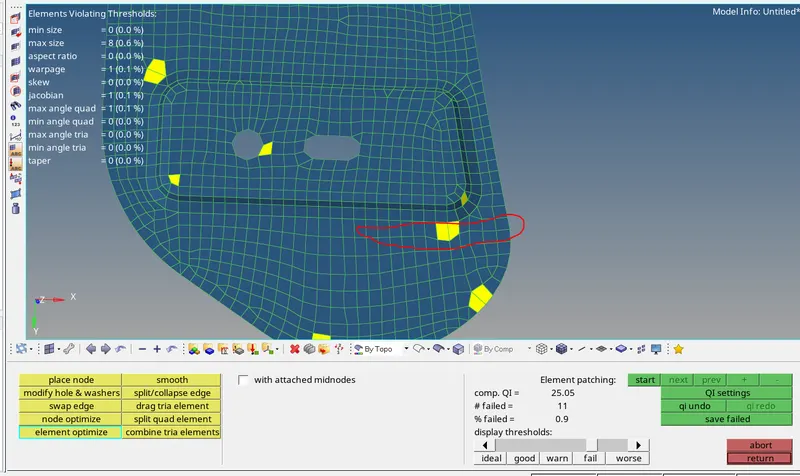
STEP 11 : The similar procedure is followed for the hinge as well. The element allignment can be modified using the clean up tools in quality criteria by follwing command : 2D --> quality index -->clean up tools--> place node/element optimize.
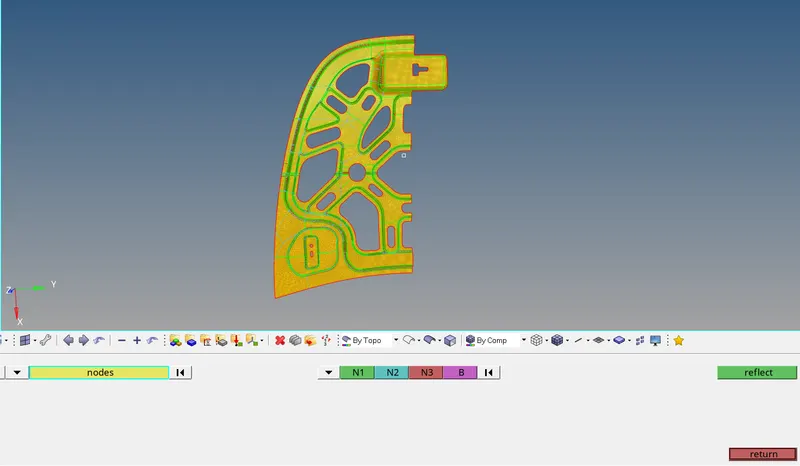
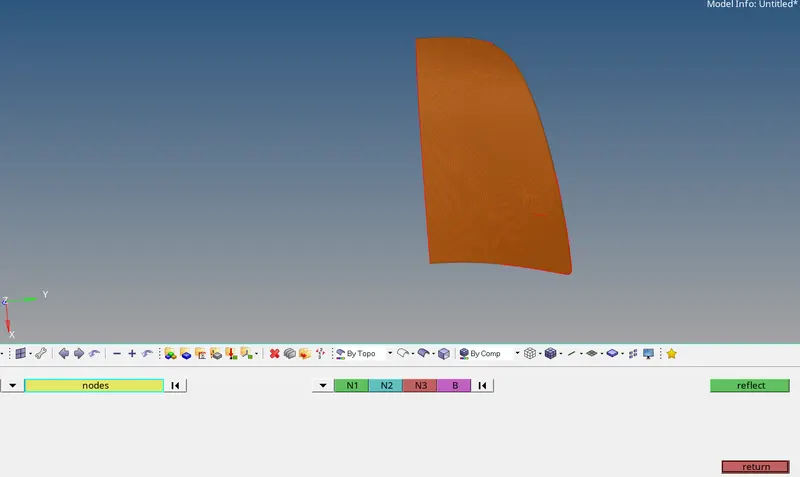
STEP 12 : For the inner extract , as we can see the symmetry excluding the latch , the half surface can be deleted and then after meshin , elements are reflected (mirror command) by Tools--> reflect-->elements-->choose the nodes (N1 ,N2 , N3 , B ) -->reflect
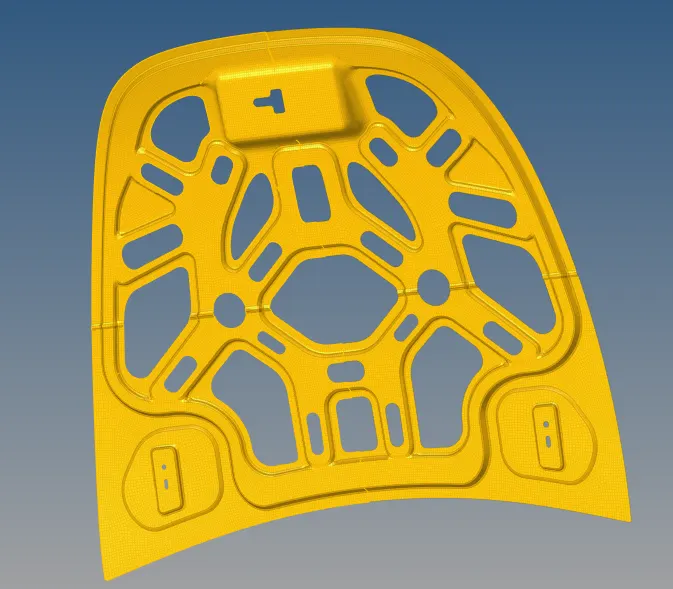
STEP 13 : Similarly , the outer extract is done by considering only one half and mesh which follows the reflection of elements.
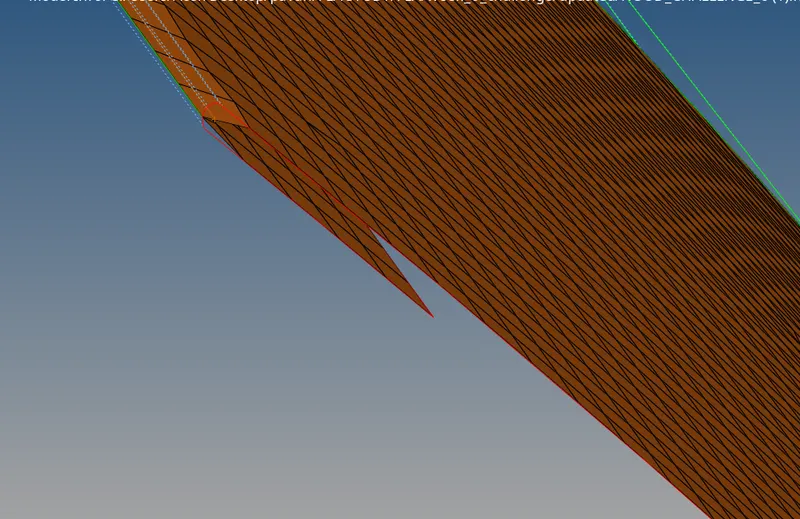
But for the hemming region , follow the steps :
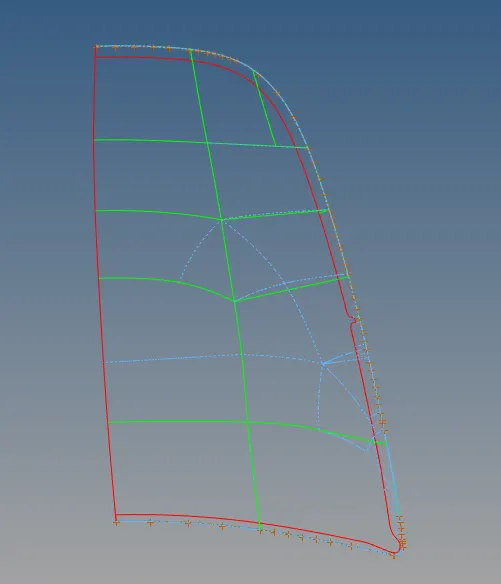
Geom--> line-->midline
and then trim the surface by line
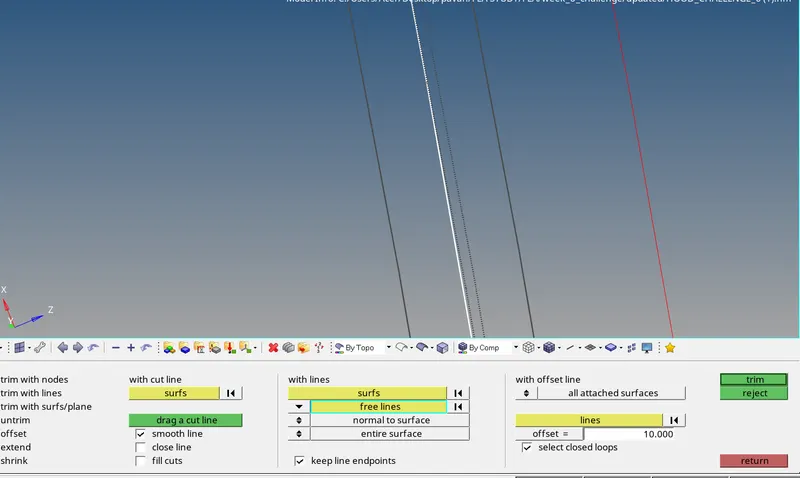
STEP 14 : For reflecting the symmetry elements , follow this command :
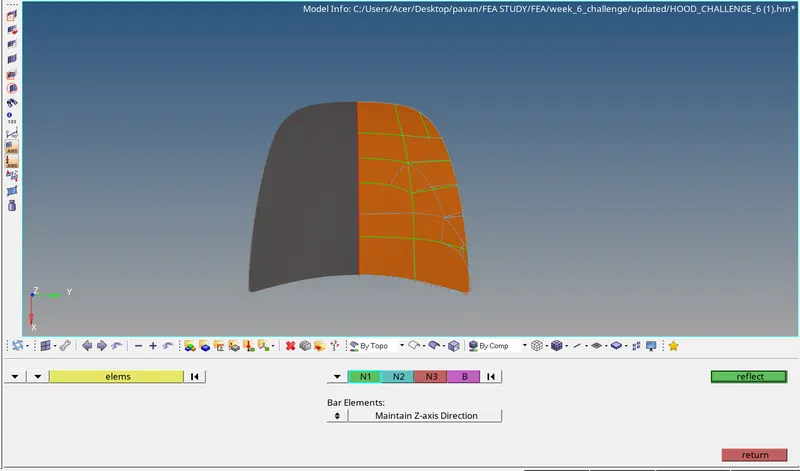
TOOLS--> REFLECT-->ELEMENTS--->SELECT N1, N2 , N3 , Base points-->reflect.
After reflecting the elements , check for the free edges(Shift +F3) and if there are unnecessary free edges , select equivalence at an appropriate tolerance or use replace node command.
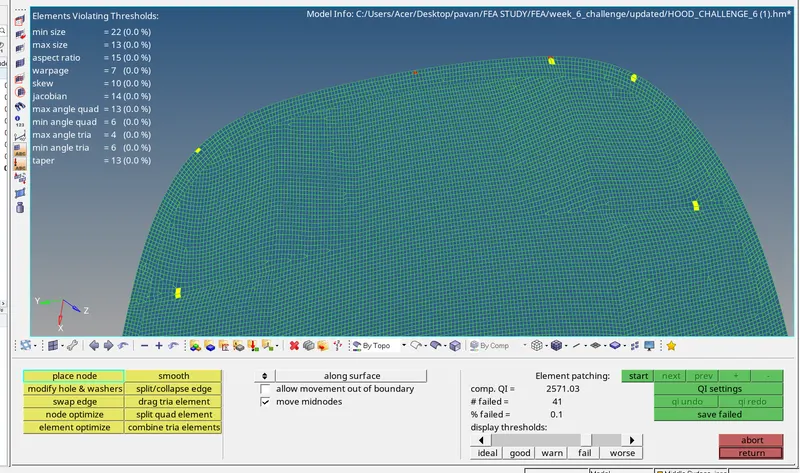
STEP 15 : The quality index is checked and an appropriate clean up tools are selected similar to the above components.
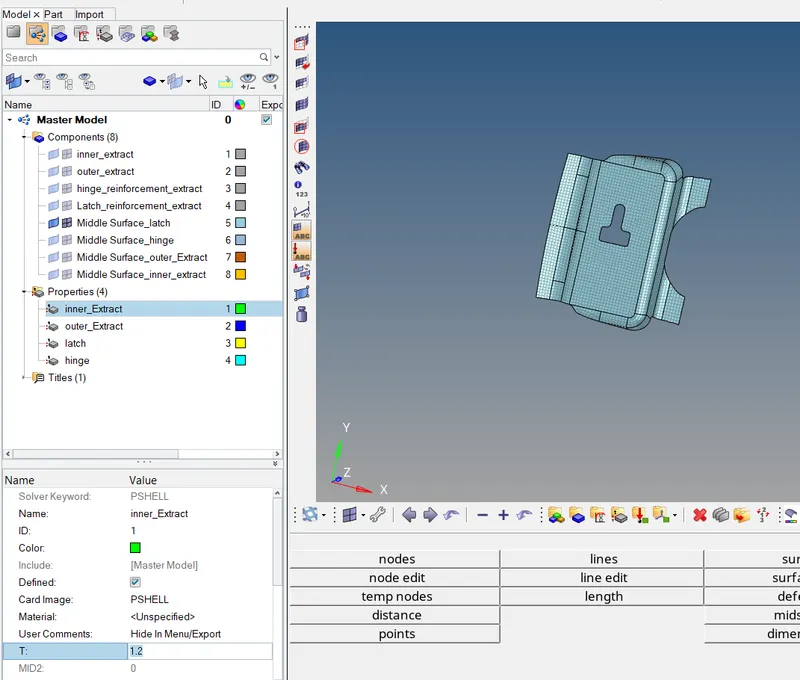
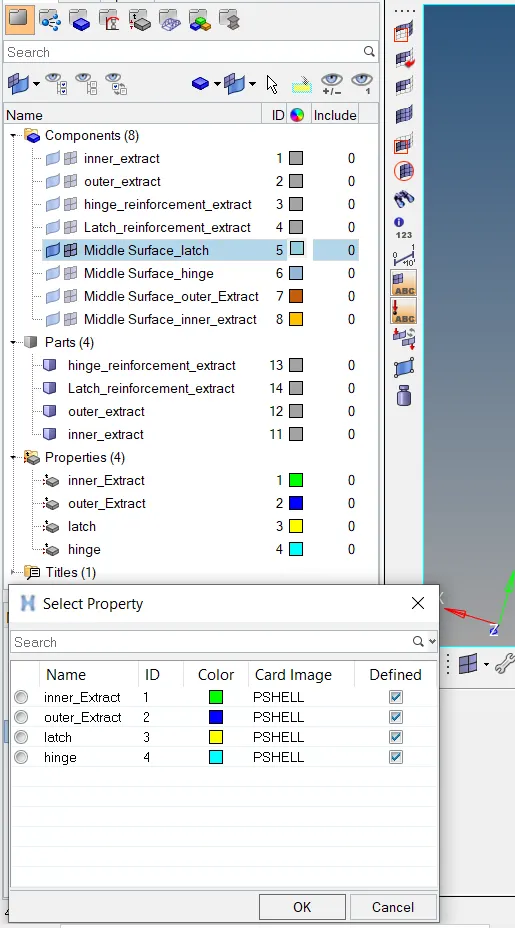
STEP 16 : to assign thickness , first the property is defined and then give thickness of the component to the property and assign the property to the mid surface component of the respective component.
RESULT AND CONCLUSION :
Extracted mid surface of the hood model of the car and performed geometry clean up , meshing according to the acceptable element criteria and mesh flow .