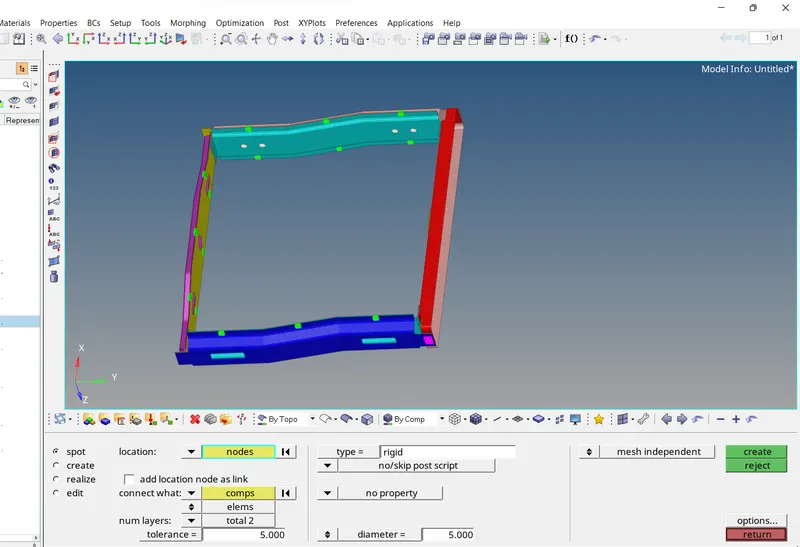
Week 9-Creation of 1D Connectors Challenge
Objective :
- Meshing of given component with target element size of 5 units , wit proper mesh flow and wit low tria concentration .
- Mesh Should pass all the provided Quality criteria .
- Connecting the com[ponent with the connectors properly .
CAD model :
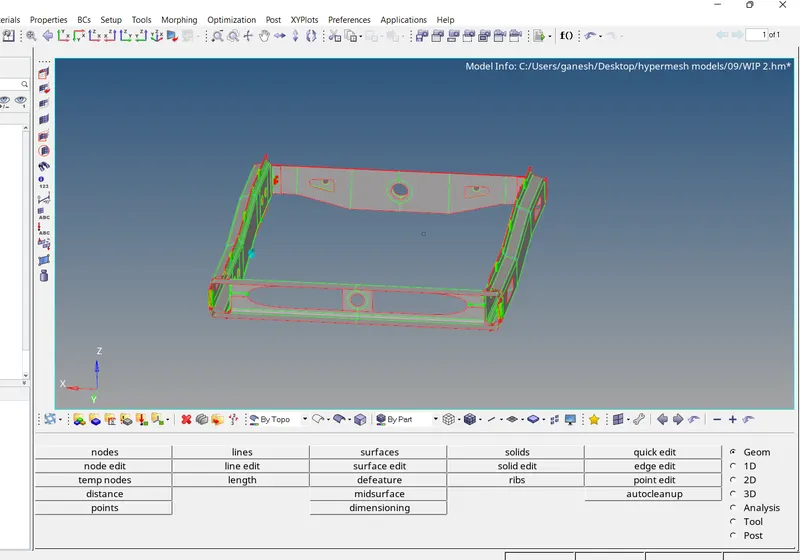
Procedure :
- Initialy model is imported and some Geometry clean up is done .
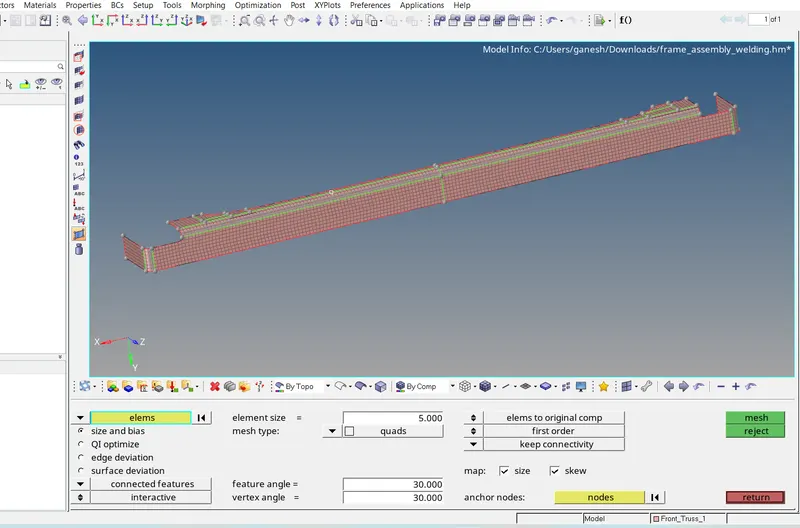
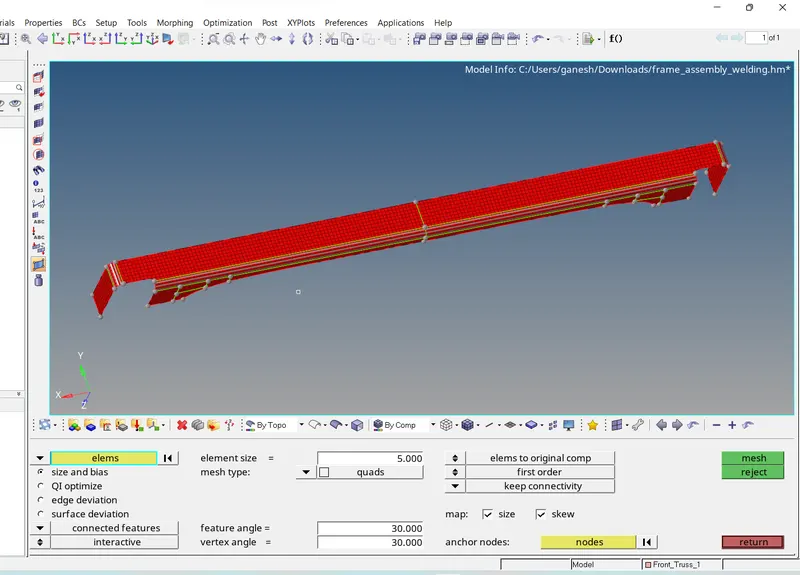
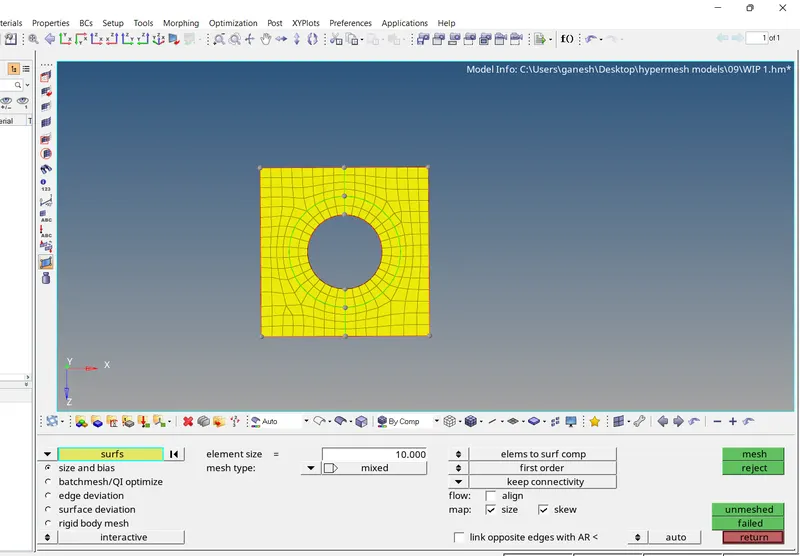
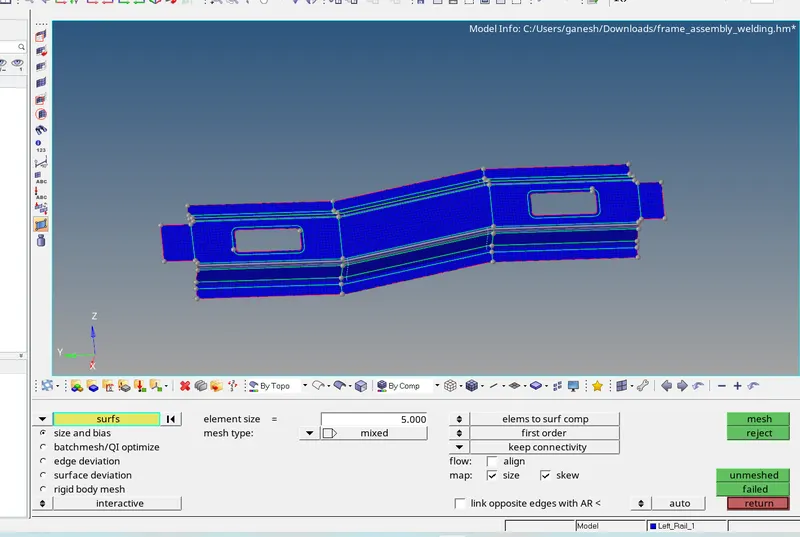
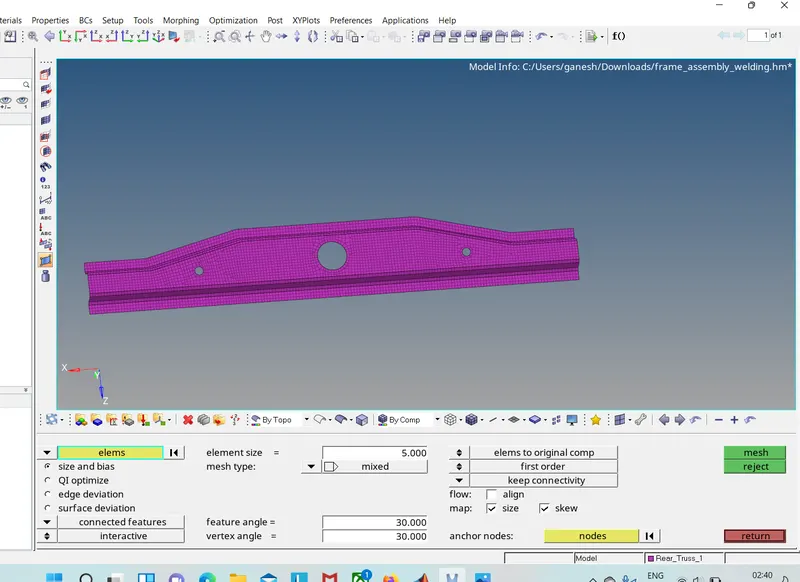
- The meshing is done component by component with the target element size of 5 units using the 2D - Automesh Tool .
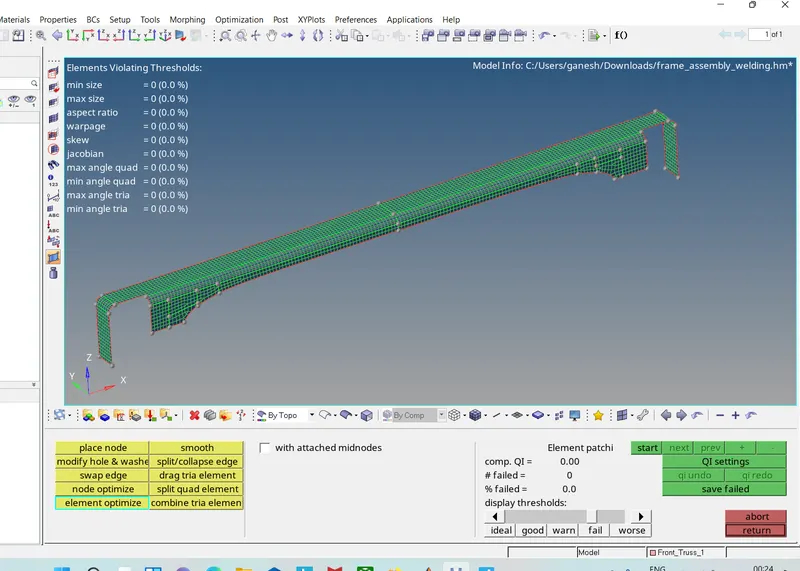
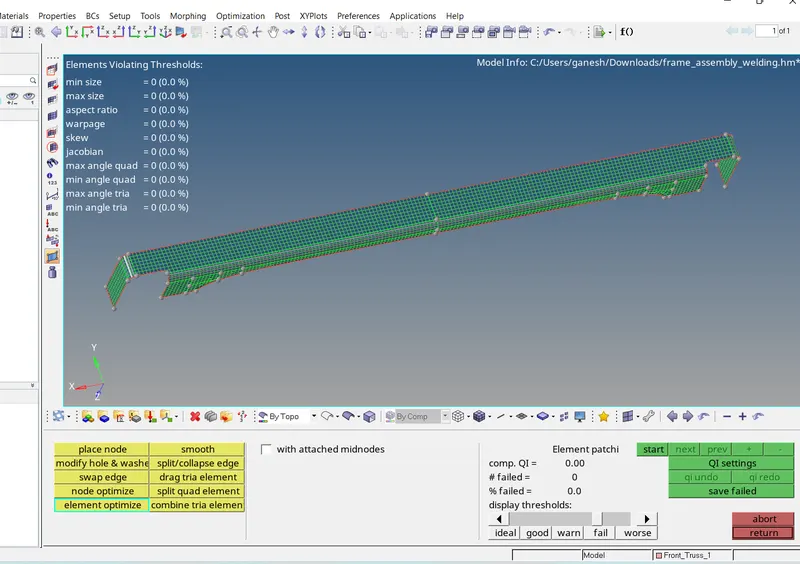
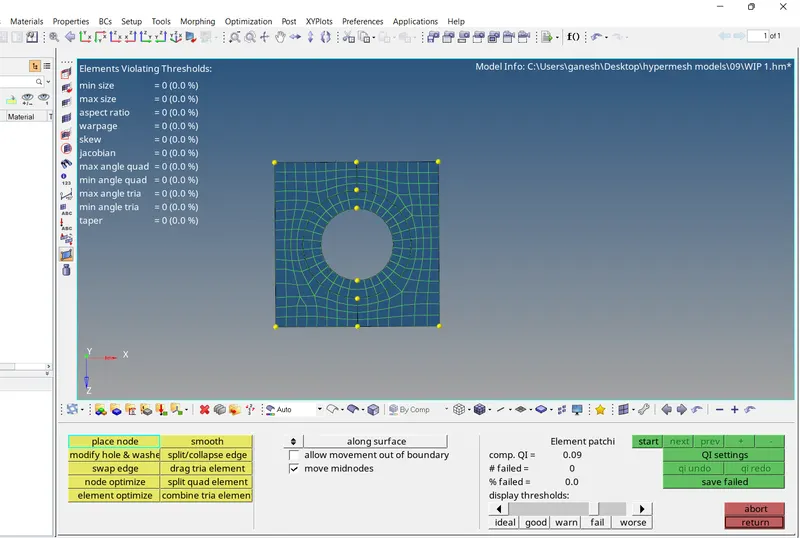
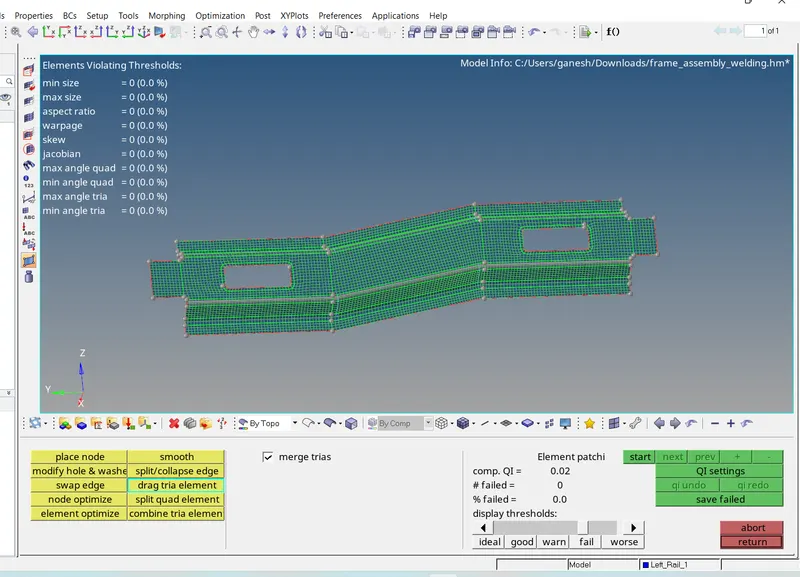
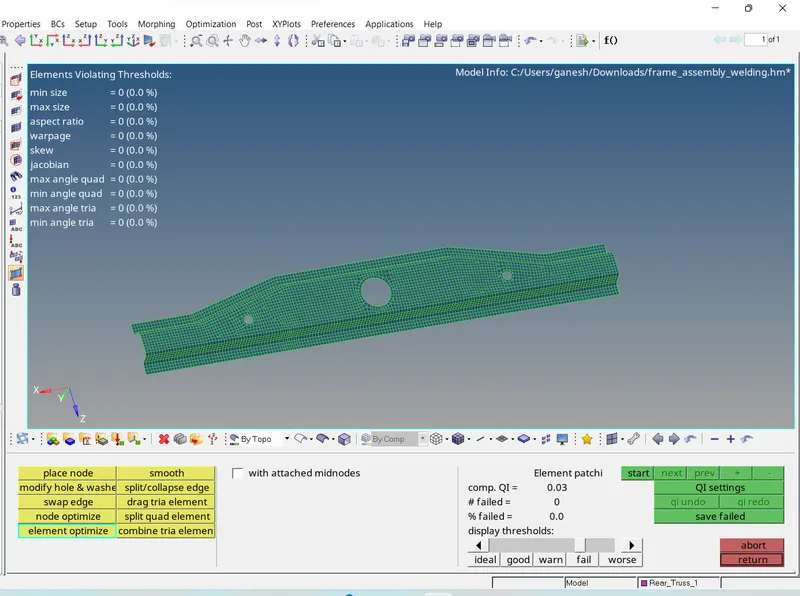
- The Quality check of every component is also checked with providing all the quality criteria in settings .
- The meshed and the Quality checked component can be seen below as ,
Front Truss 1:
Front Truss 2 :
Reinf Plate :
Right Rail 1 :
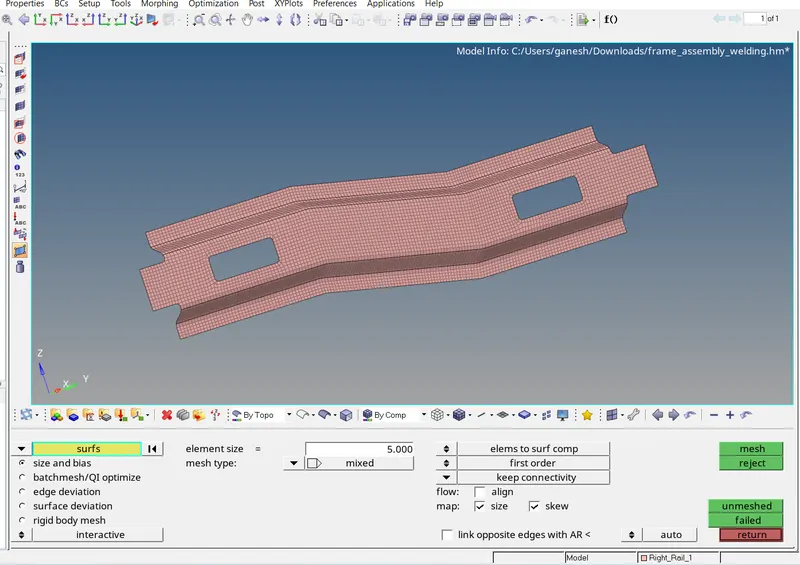
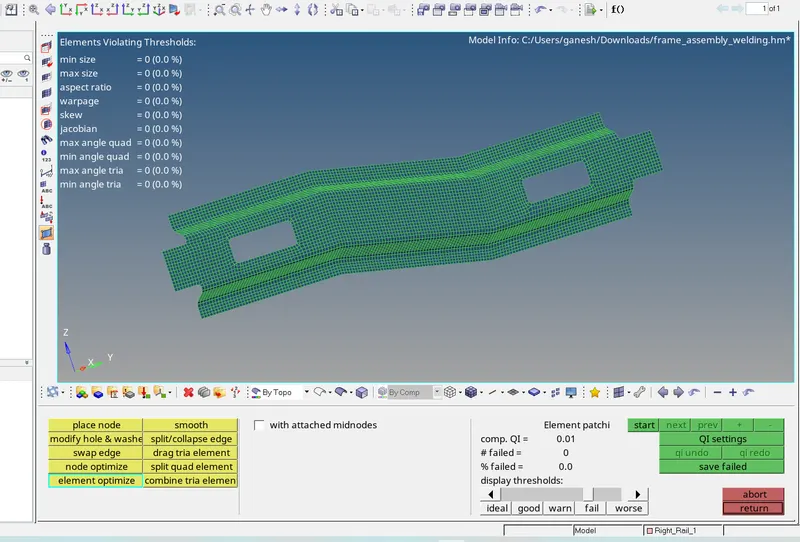
Right Rail 2 :
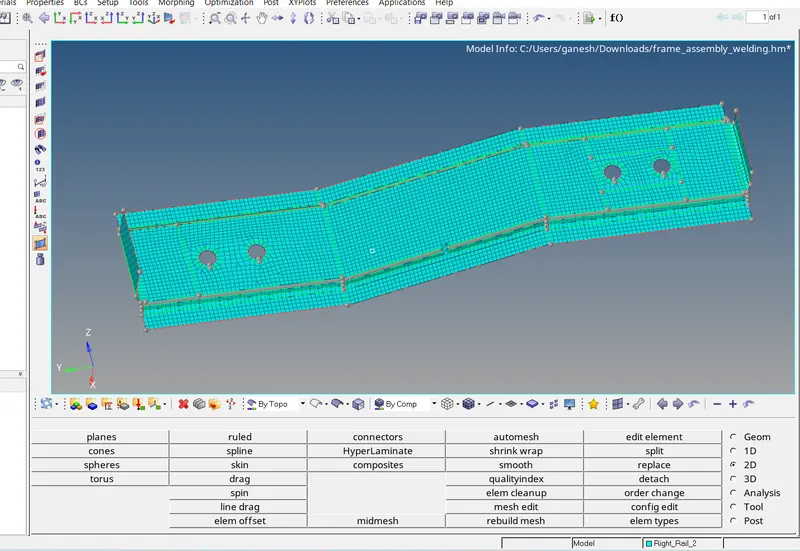
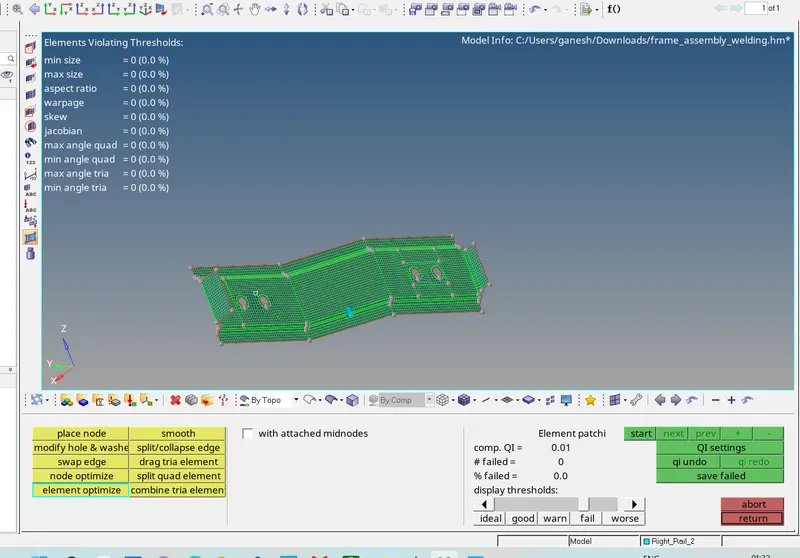
Left Rail 1 :
Rear Truss 1 :
- Now we have to Connect this components with connectores .
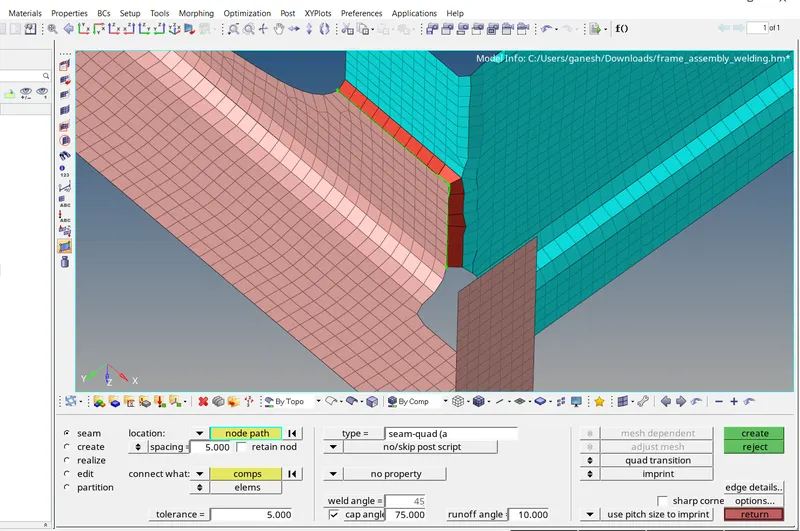
- Firstly I have connected Right Rail 2 and the Front Truss 1 with the Seam - Quad ( angled + Capped + L ) with weld angle of 45 degree using the 2D - connector - Seam - Quad ( angled + capped + L ) Tool .
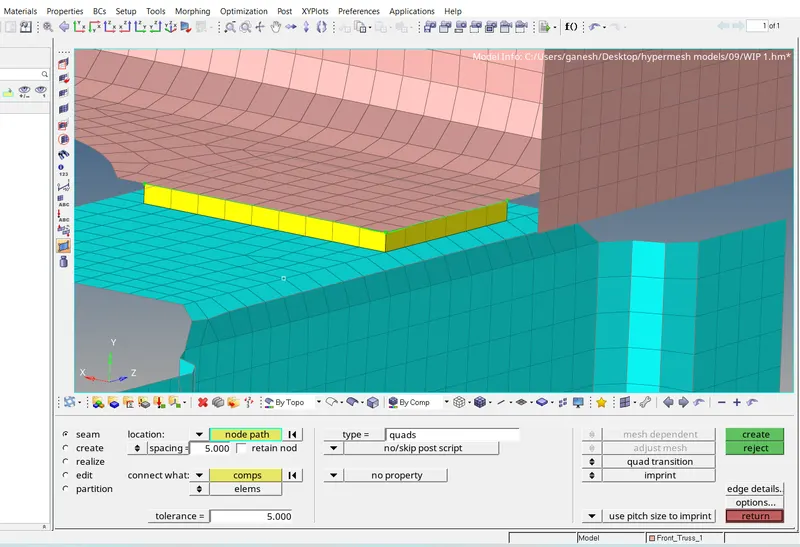
- Then Left Rail 2 and Front Truss 1 this components are joined by Quad Elements using the 2D - connectors - seam - Quad Elements Tool .
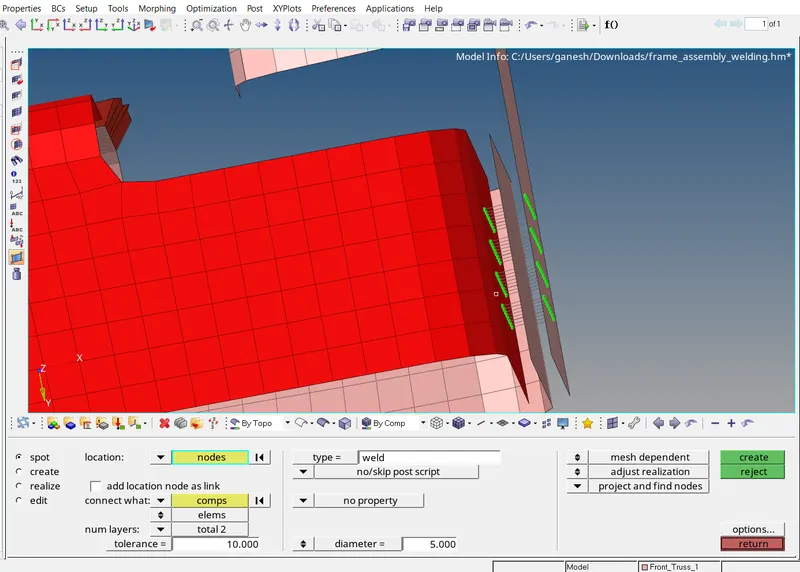
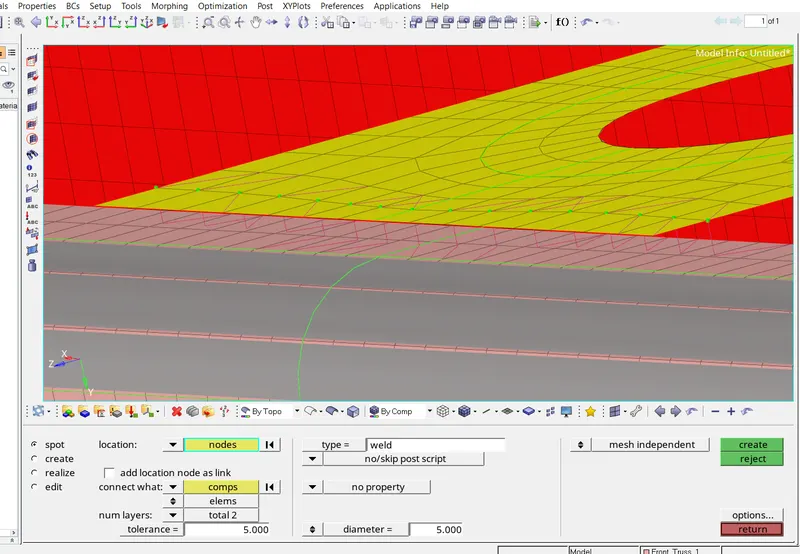
- Then Front truss 2 , Front Truss 1 and Right Rail 1 are joined by the Spot welding with 2 layers and 5 mm diameter using the 2D - connectors - Spot Tool .
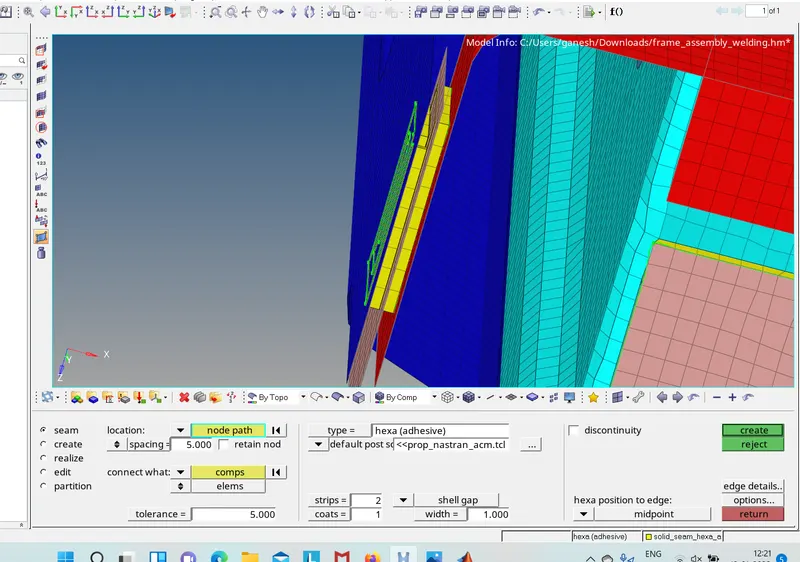
- Now Front truss 2 , Front Truss 1 and Left Rail 1 are connected with the Hexa ( Adhesive ) using the 2D - connectors - seam Tool with type of seam as Hexa ( Adhesive ) .
- Now Rear Truss 2 and Right Rail 2 are joined together with the Bolt connector using the 2D - Connectors - Bolt ( General ) .
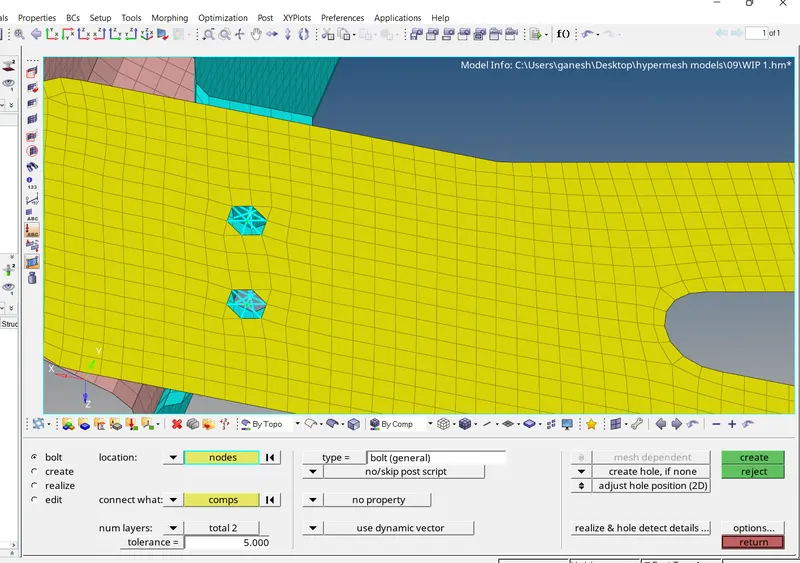
- Rear Truss 2 and Left Rail 2 are also conneted with the bolt connector .
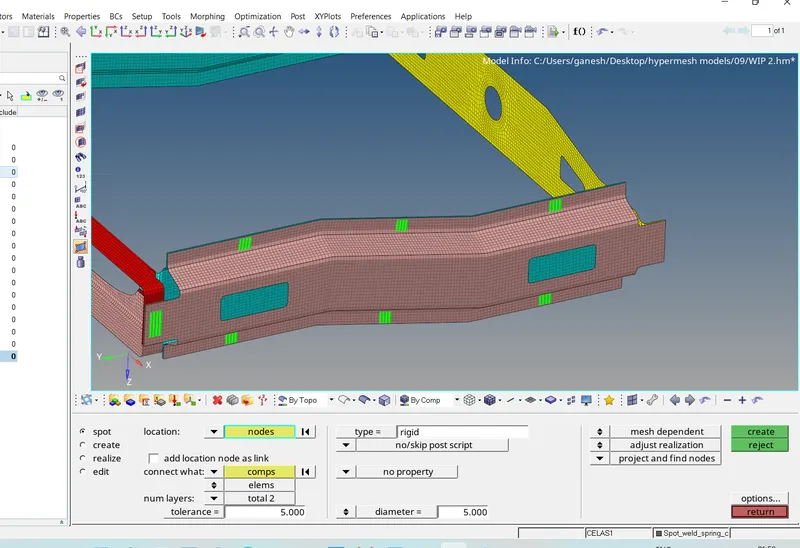
- Right rail 1 and the Right rail 2 are connected with the Spot Weld with Rigid Element .
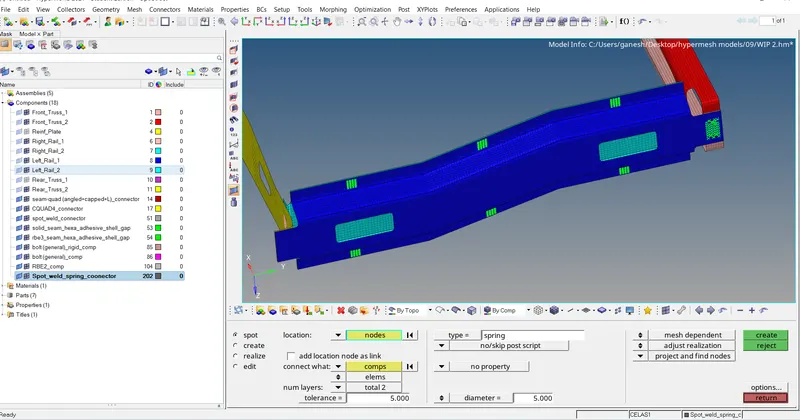
- Left Rail 1 and the Left Rail 2 are connected with the Spot weld With Spring Element as ,
- Rear Truss 1 and Rear Truss 2 are connected with the Spot Weld with rigid elements are ,
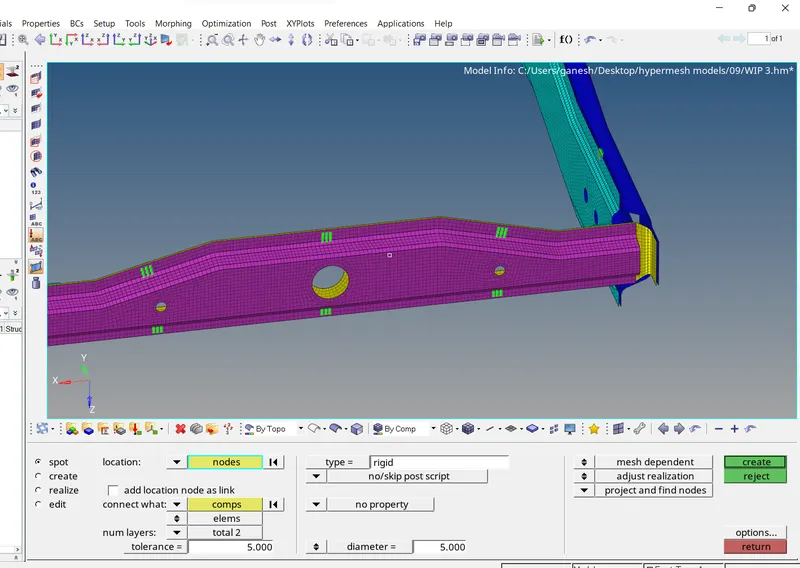
- Now the Reinf Plate is connected to the front Truss 1 and front Truss 2 with the Spot Weld Using the Weld Elements as ,
- Results :
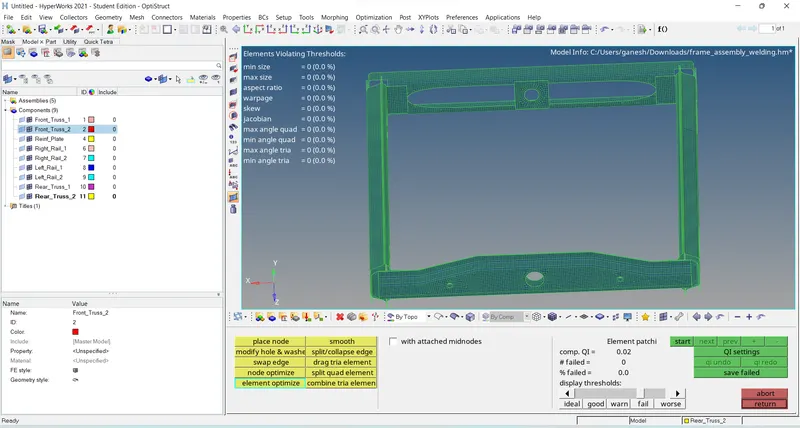
- The Final Hypermesh models are attached below .
- The Final meshed Part with Target Element size of 5 units and with prper mesh flow and with Quality check can be seen below ,
- The Final all components with the connectros can be seen below as ,