Week 9-Creation of 1D Connectors Challenge
MAIN OBJECTIVE;
In this challenge, we use different types of connectors and made connections between the part models.
1. Right_Rail_2 & Front_truss_1:- Seam-Quad(angled+capped+L)
2. Left_Rail_2 & Front_truss_1:- Quad elements
3. Front_truss_2, Front_truss_1 & Right_Rail_1:- Spot weld with 3 Layers and 5 mm Diameter
4. Front_truss_2, Front_truss_1 & Left_Rail_1:- Hexa (Adhesive)
5. Rear_truss_2 & Right_Rail_2:- Bolt Connector
6. Rear_truss_2 & Left_Rail_2:- Bolt Connector
7. Right_Rail_1 & Right_Rail_2:- Spot-weld with Rigid Elements
8. Left_Rail_1 & Left_Rail_2:- Spot-weld with Spring Elements
9. Rest all the component left Join them with suitable connectors
CONNECTORS;
- Connectors are different types of 1D, 2D, 3D elements (bars, rods, springs, links, spotwelds and seam welds) used to connect two or more components.
- Use of connectors plays a very essential role during analysis of a certain component as it transfers load from one part to the other.
- There are different types of connectors available in HyperMesh like Spot weld, Bolts, Seam Welds, Adhesives, masses, rigids,springs,quads etc.
- Applying connectors in a certain area may manipulate or partially destroy the mesh of that part and sometimes it will create the duplicate elements.
- The location where the connectors are to be applied can be specified by a point, node, nodelist, or elements.
- The Finite Element representation of a connector is called ‘realization’. A connector should always be in a realized state.
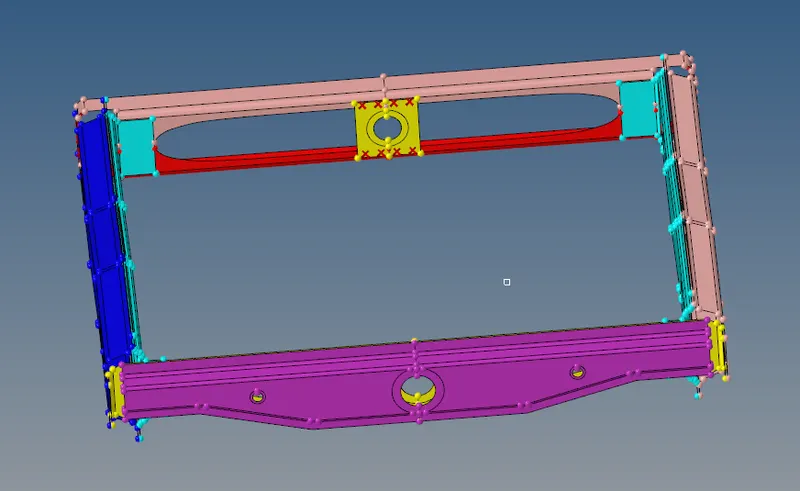
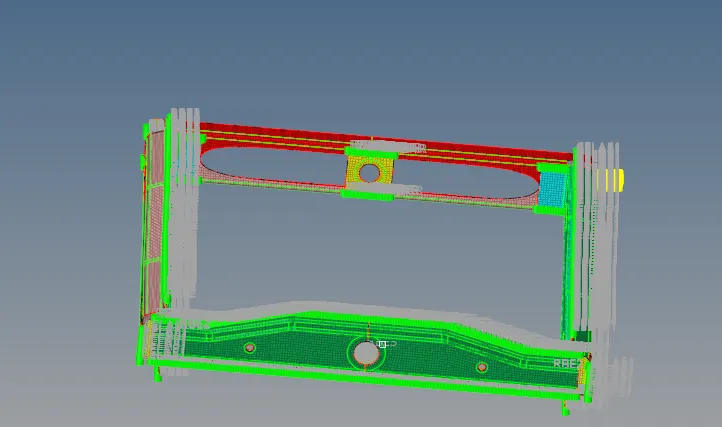
- The model Frame Assembly provided in the challenge different connectors had to be applied is as shown below.
States of Connectors:
There are three different states in the connector's realization. They are
- Realized Connector
- Unrealized connectors
- Failed connectors
1Realized connectors
Successful creation of connectors will be represented in green colour.
2 Unrealized connectors
Unrealized connector will be represented in yellow colour.
3 Failed connectors
Failed connectors connector will be represented in red colour.
PROCEDURE
Import the model in to an hpermesh.
Mesh the given Component with a Mesh size of 5mm to the model.
go to the 1D or 2D connectors and join them with an seamwelds, rigids,masses, springs,bars etc .
1. Right_Rail_2 & Front_truss_1:- Seam-Quad(angled+capped+L)
Go to 1d or 2d connectors >seam>select nodelist>spacing>select components>tolerance>type>set weld ,cap and runoff angles >create the seam quad (angled+capped+L) as shown in the below figure.

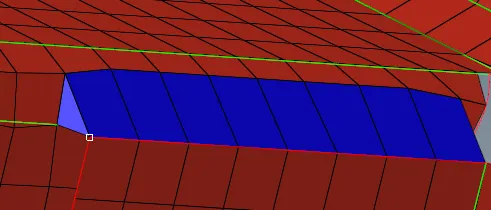
2. Left_Rail_2 & Front_truss_1:- Quad elements
Go to 1d or 2d connectors >seam>select nodelist>spacing>select components>tolerance>type as quad and create the quads.

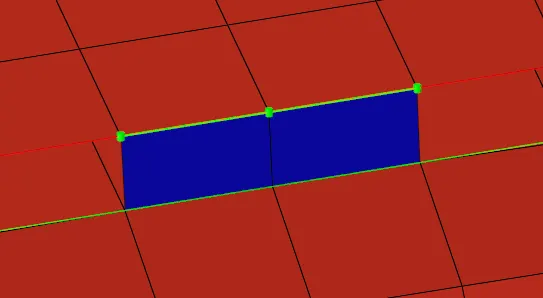
3. Front_truss_2, Front_truss_1 & Right_Rail_1:- Spot weld with 3 Layers and 5 mm Diameter
Go to 1d or 2d connectors >spot weld>select nodepath>spacing>select components>tolerance>type as weld >set diameter as 5mm >create weld between between three layers.

4. Front_truss_2, Front_truss_1 & Left_Rail_1:- Hexa (Adhesive)
Go to 1d or 2d connectors >seam>select nodelist>spacing>select components>tolerance>type as Hexa adhesive> set the strips,coats,and width>create the adhesives.

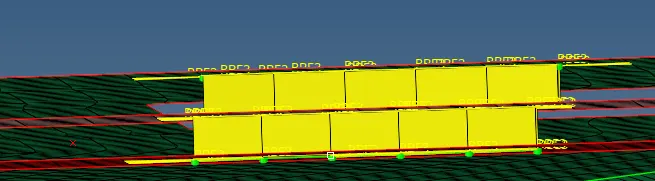
5. Rear_truss_2 & Right_Rail_2:- Bolt Connector
Go to 1d or 2d connectors >spot weld>select nodes>select components>tolerance>type as general (bolt) >create holes ,if none>create.

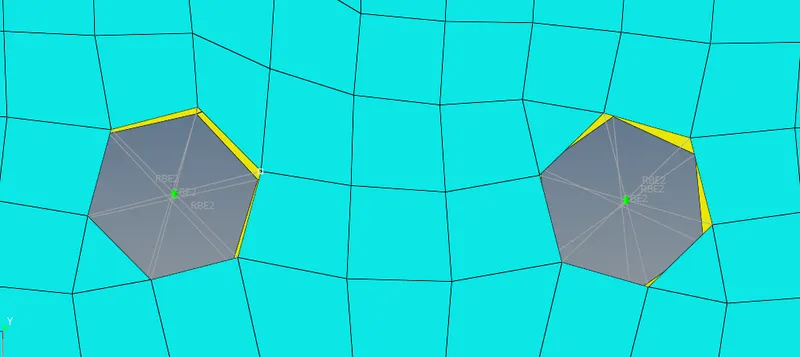
6. Rear_truss_2 & Right_Rail_2:- Bolt Connector
Go to 1d or 2d connectors >spot weld>select nodes>select components>tolerance>type as general (bolt) >create holes ,if none>create.
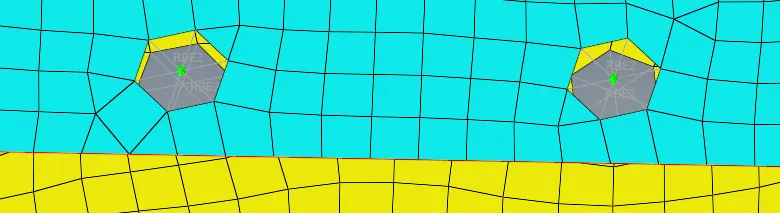
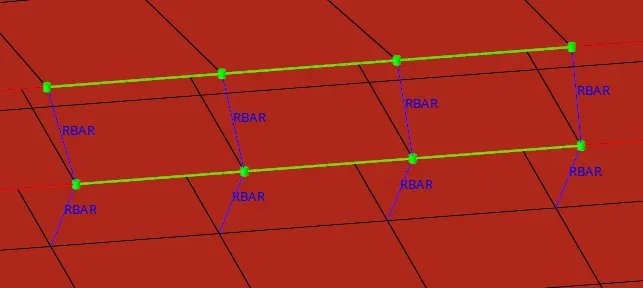
7.Right_Rail_1 & Right_Rail_2:- Spot-weld with Rigid Elements
Go to 1d or 2d connectors >spot weld>select nodepath>spacing>select components>tolerance>type as rigids and create rigids.

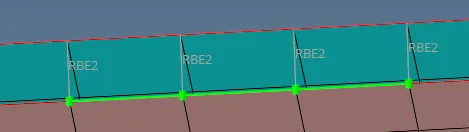
8. Left_Rail_1 & Left_Rail_2:- Spot-weld with Spring Elements
Go to 1d or 2d connectors >spot weld>select nodepath>spacing>select components>tolerance>type as springs and create the stiffnes among two links.

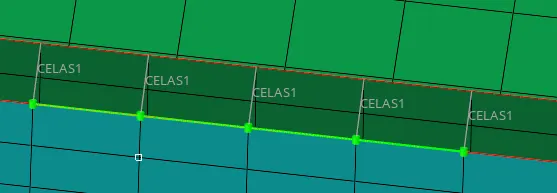
9.Rest all the component left Join them with suitable connectors
Using the 1d or 2d connectors and join the reaminig all the links with an suitable connectors.


CONCLUSION;
We have learnt about the connectors and their importance in an joining of any links or joints of their respective purposes.