Week 9 - Creating connection for Rear door
Week 9 - Creating connection for Rear door
This week, the connections for the front door by using different 1D elements are taught in detail.
Now for the given Rear door FE model, Create and Apply different PIDs for different components. By using the same technique and the elements as shown in the video, Perform suitable connections. (No thickness need to be assigned to FE as intention is just to deploy connections)
(Refer “Model Requirements” in “Grading Policy” to know what to be done in the model)
Write a detailed report on why you choose a certain type of element for connecting certain parts of the door. ( Refer “Report Requirements” in “Grading Policy” to know what to be added in the report)
To Create a connection for Rear Door
The Imported Car Rear Door Geometry.
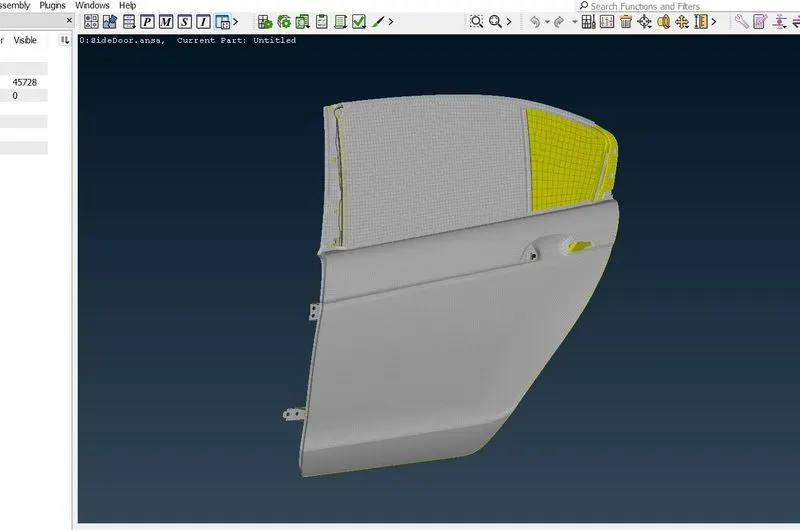
As this geometry is already meshed and refined, we need to do the connection part only.
RBE2 elements is made for the bolt, as it is a fixed connection.
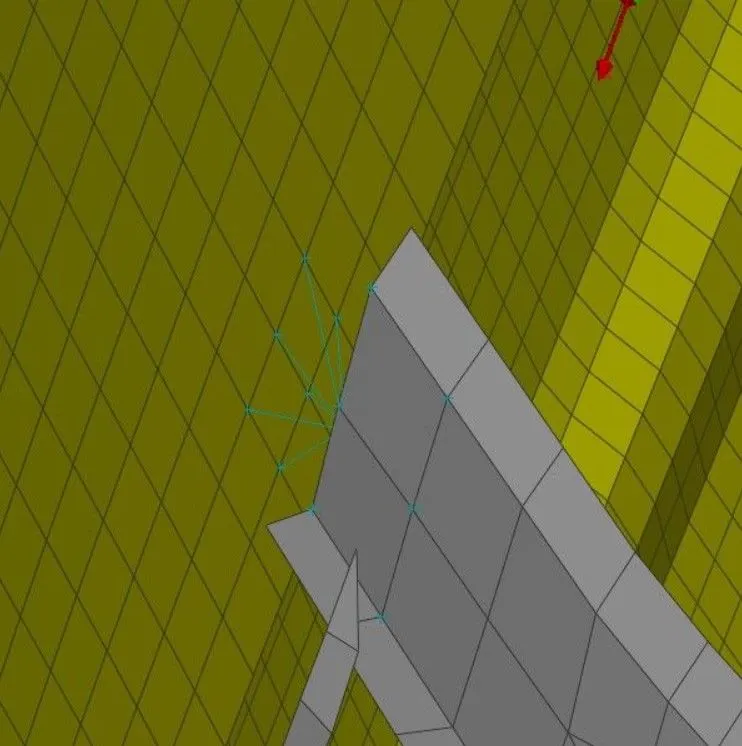
RBE2 > Select many Nodes > Then select the node > after that click on next - Selection is done
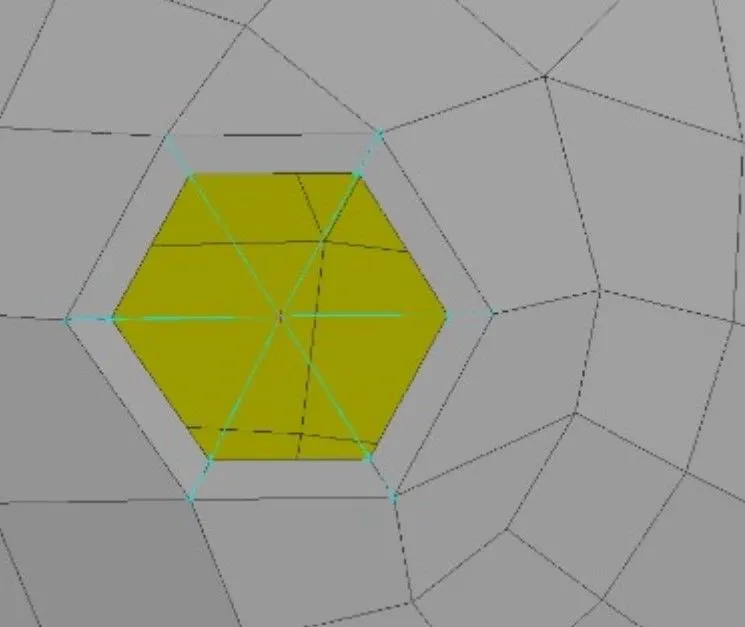
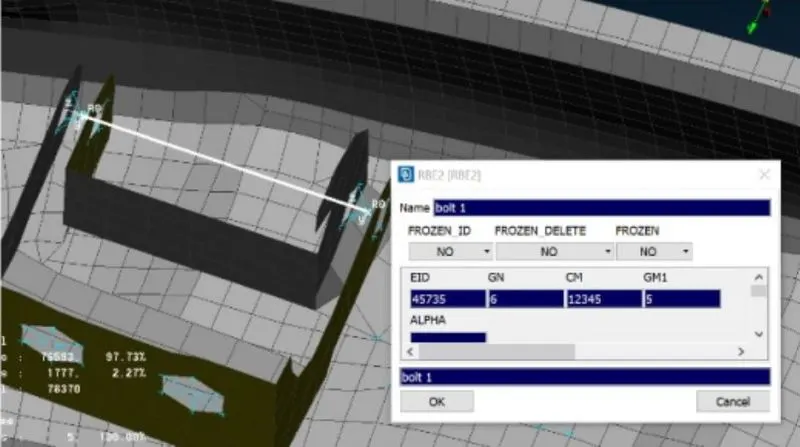
RBE3 Element Type
For some part i used RBE3 element because it is already fixed.
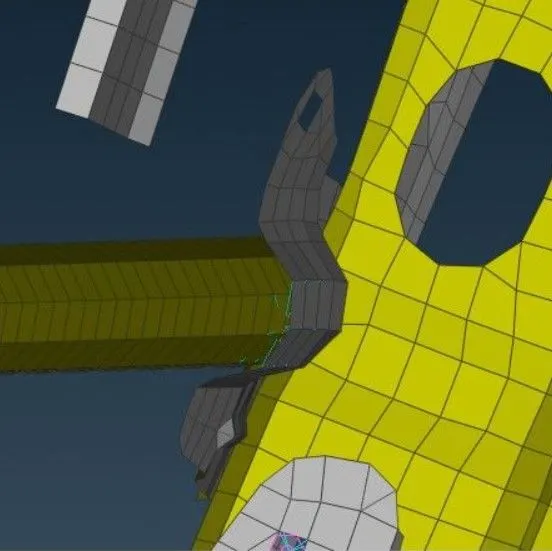
Moving nodes
Here, i moved the modes till the glass, as it is fixed up to the glass and it will assist it to go up and down.
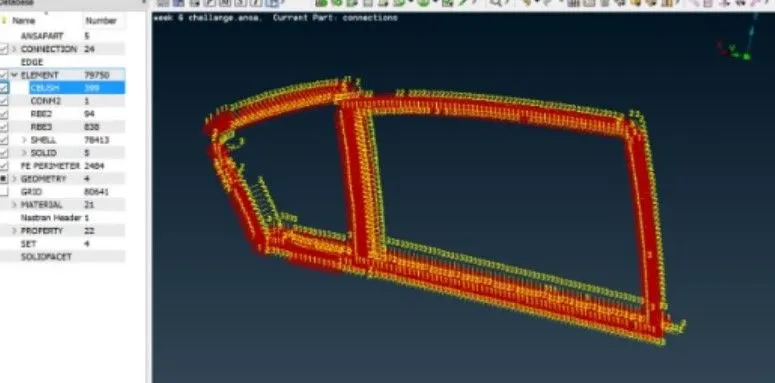
CBush Connection
It is used for window as it is made of glass, and weather strips is used areound the glass to give a better insulation and cushion effect.
Firstly, we need to make a curve by using Feat2Curve option, and curves on both side of the glass is made.
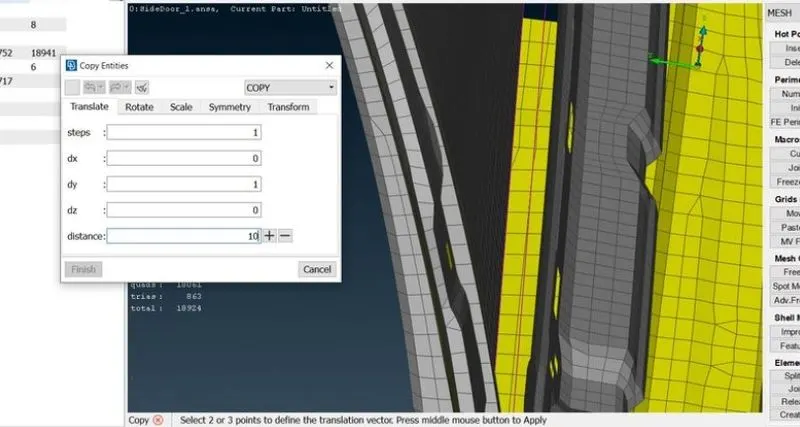
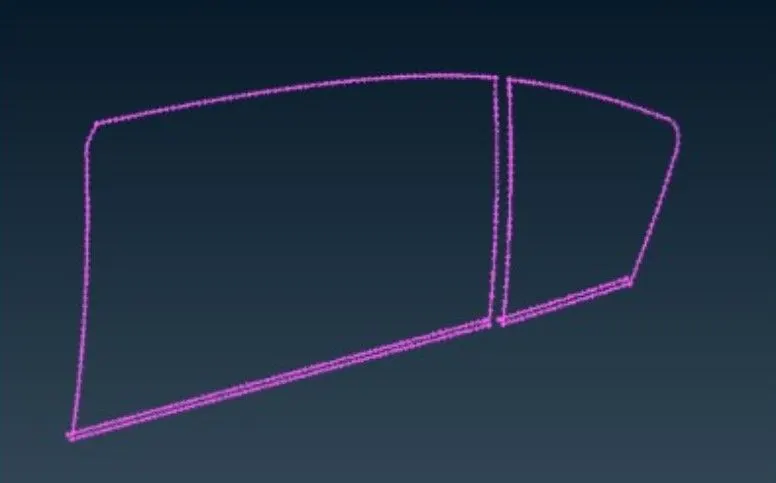
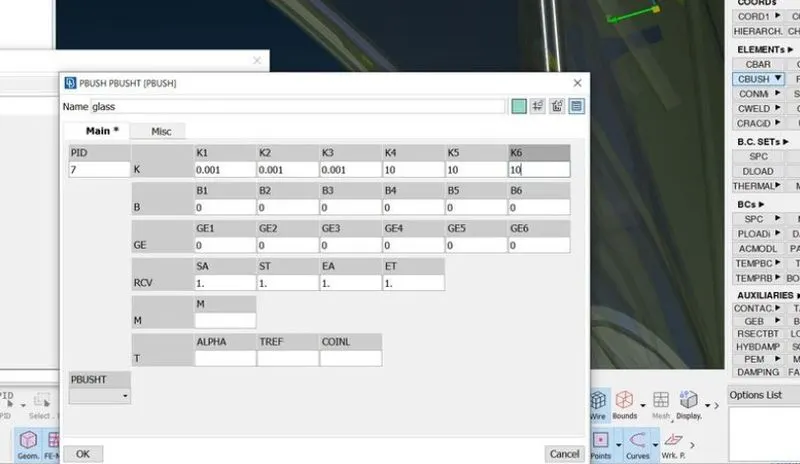
Now, in the Nastran tab, go to the cbush and select the curve and the stiffness value is being assigned.
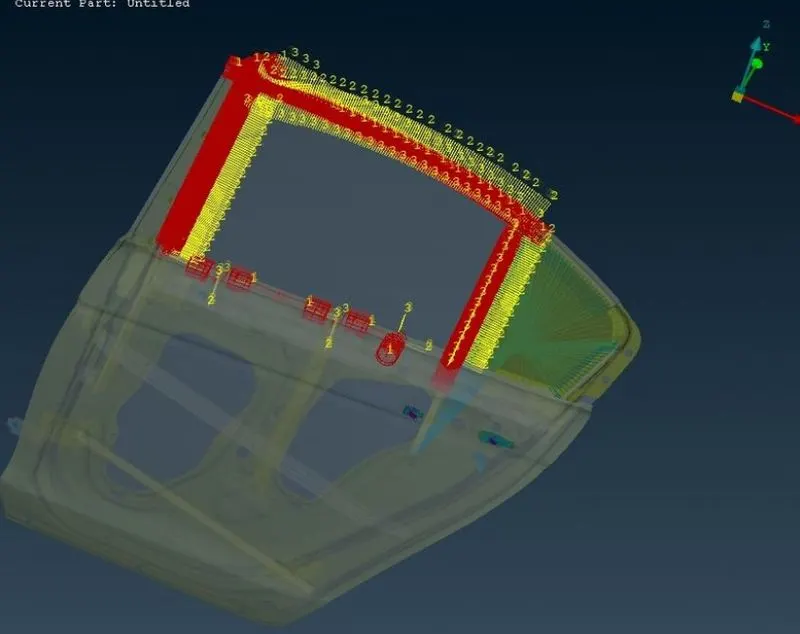
The Final part.
Thank You