Week 9 - Creating connection for Rear door
AIM:
for the given Rear door FE model, Create and Apply different PIDs for different components. By using the same technique and the elements as shown in the video, Perform suitable connections. (No thickness need to be assigned to FE as intention is just to deploy connections)
PROCEDURE :
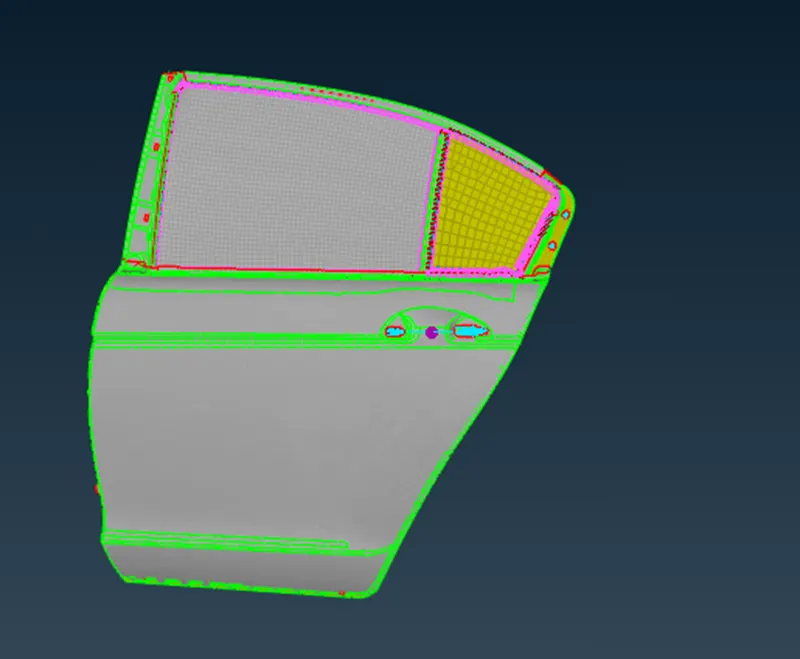
The model is given as
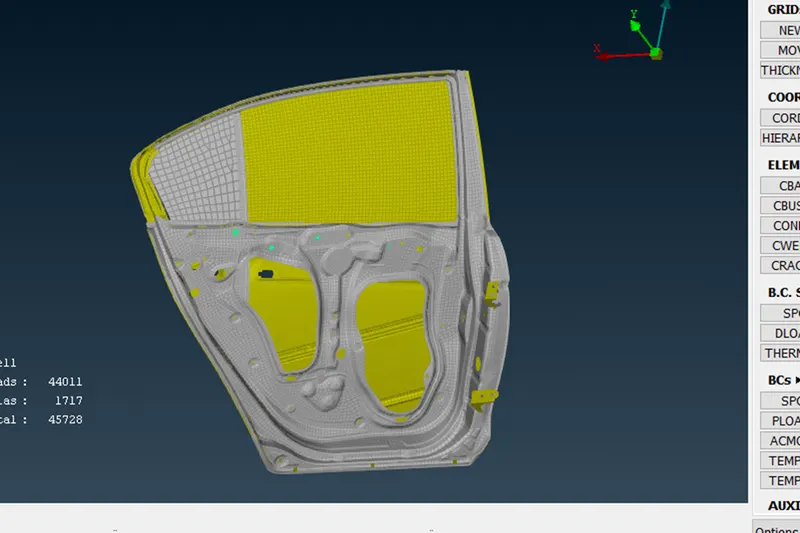
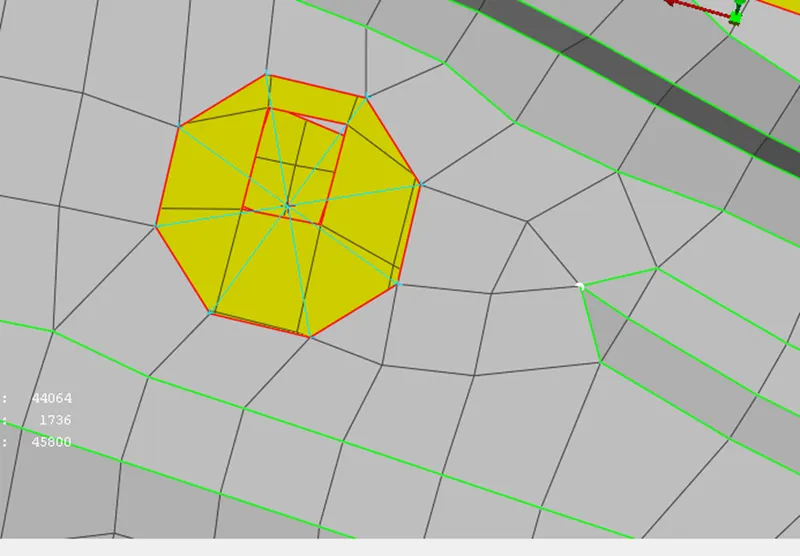
As the first step we can connect all the small holes by RB2 option in the Nastran module
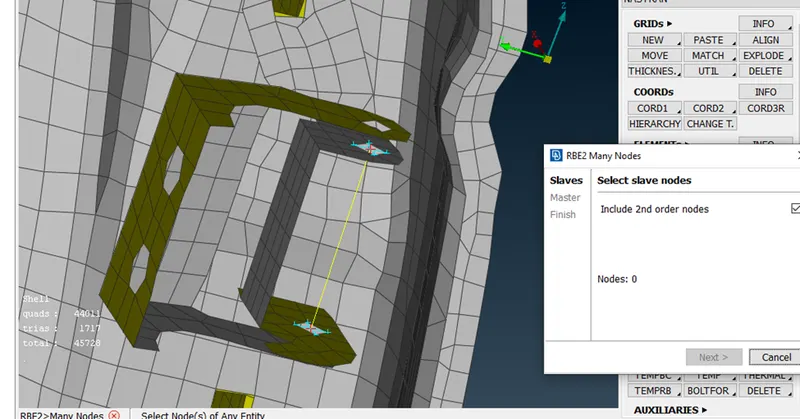
- For the below given part of the door we need connect the two master nodes by RB2 , two nodes option
- Because the total load on the door will be acting on this connection
- And for the below given joint we need to connect by spot weld connection
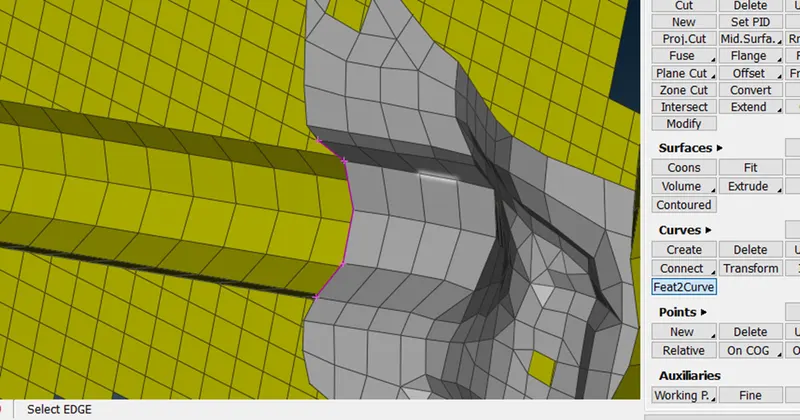
- For that we need to create one curve at the end by feature2curve option
- Then the curve is converted into seam weld by convert option
- Then from the connection manager we need to create separate property for the two parts to be connected
- Also the search distance and the thickness is assigned in the same
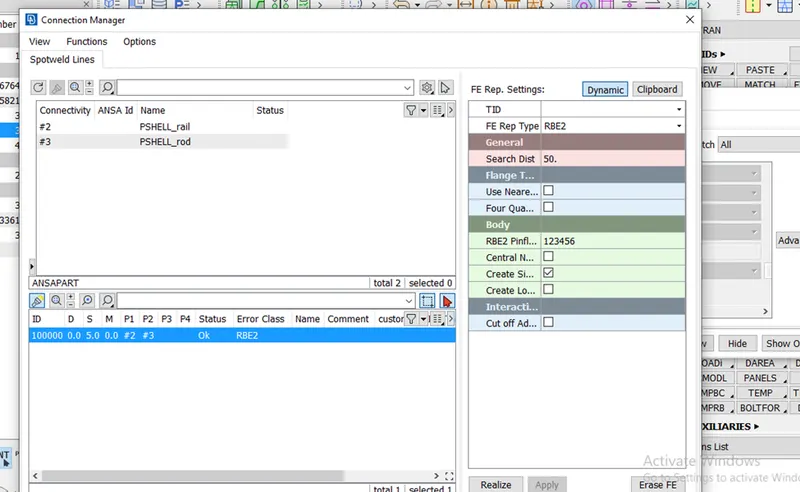
- By clicking on apply and realize we can get a connection between the two parts
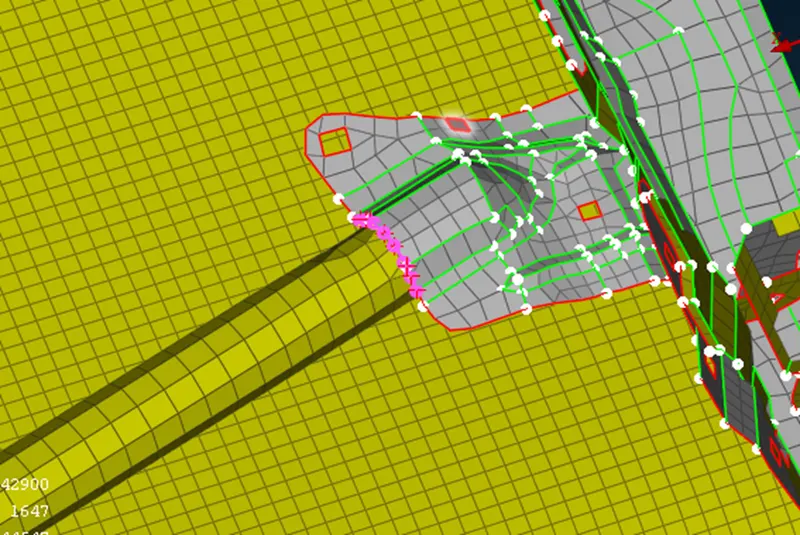
- Also for the below given window part same as before the line is created and converted into seam weld
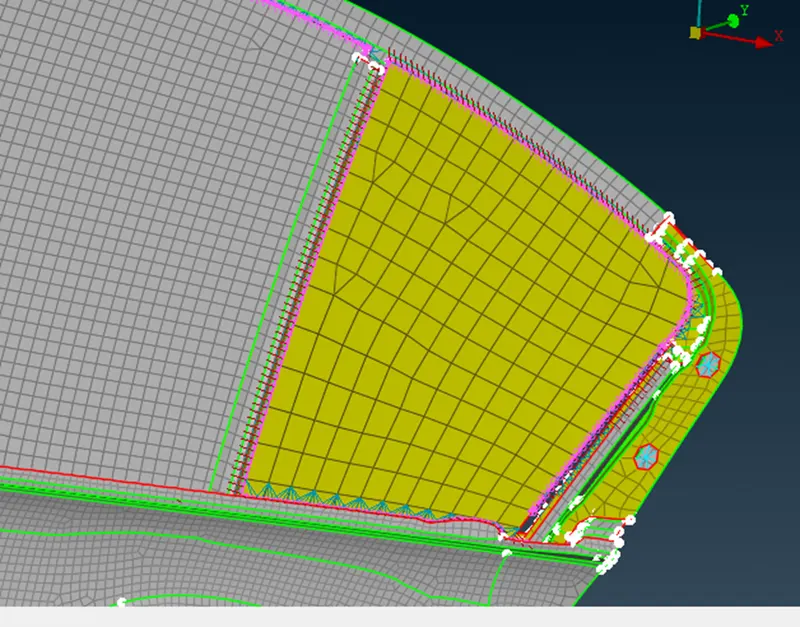
- Then in the connection manager the RB3-CBUSH-RBE3 is selected
- After declaring the search distance and property card selection click on apply and realize to get the connection as given below
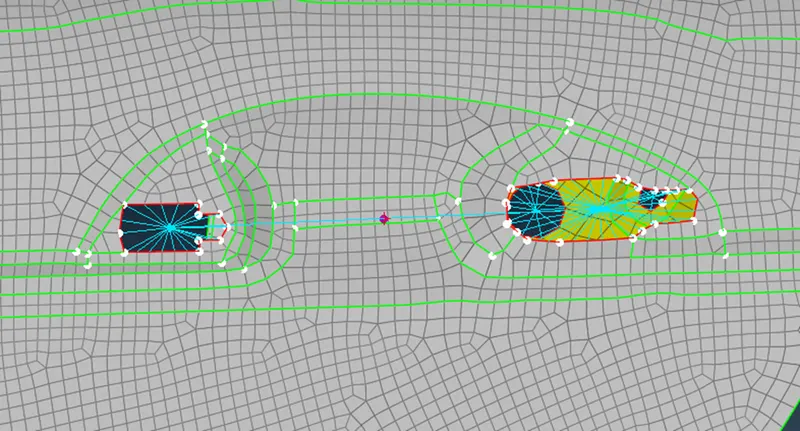
- For the door connection two master nodes are connected by the two nodes option
- And a mass is applied on the master node in between the connection
The final model image is given as
my learning outcomes :
I have learned a new method of connection from this challenge , also a new module is introduced ie. NASTRAN ,
conclusion :
basics of connections have been learned from this challenge