Week 9-Challenge
Aim: To mesh and apply the appropriate connectors to the frame assembly model.
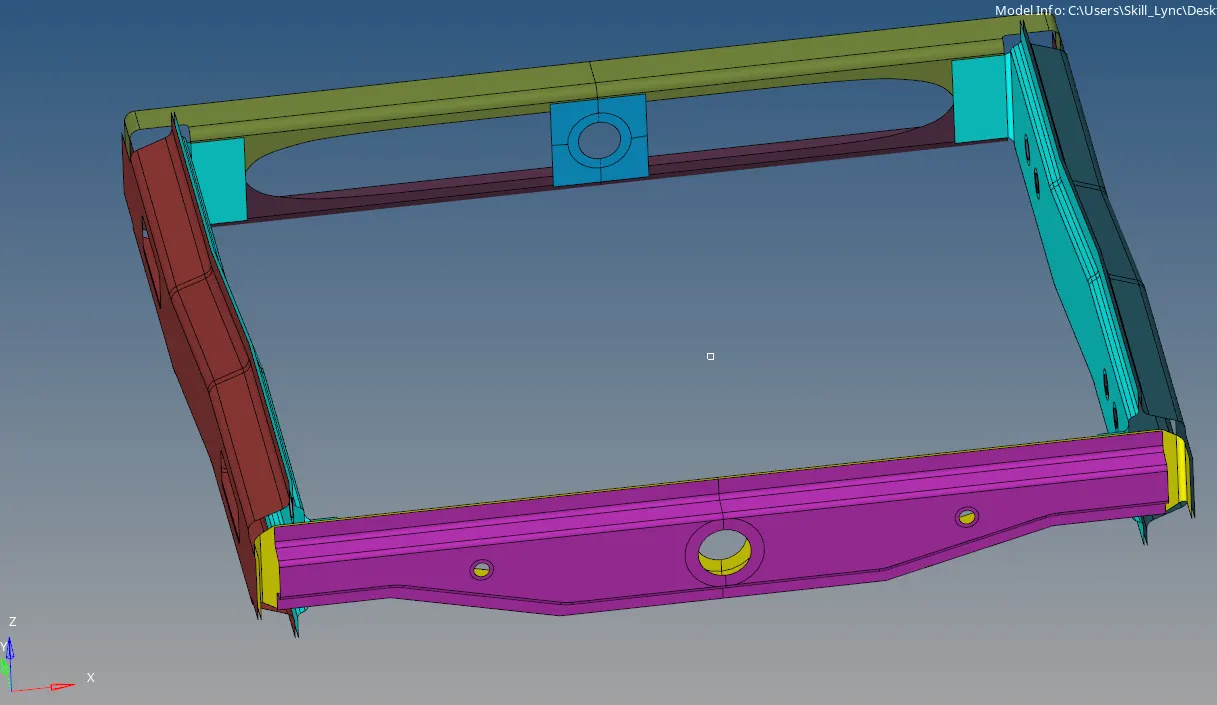
Given
Create connector and Attach the various parts of the given model
1. Right_Rail_2 & Front_truss_1:- Seam-Quad(angled+capped+L)
2. Left_Rail_2 & Front_truss_1:- Quad elements
3. Front_truss_2, Front_truss_1 & Right_Rail_1:- Spot weld with 3 Layers and 5 mm Diameter
4. Front_truss_2, Front_truss_1 & Left_Rail_1:- Hexa (Adhesive)
5. Rear_truss_2 & Right_Rail_2:- Bolt Connector
6. Rear_truss_2 & Left_Rail_2:- Bolt Connector
7. Right_Rail_1 & Right_Rail_2:- Spot-weld with Rigid Elements
8. Left_Rail_1 & Left_Rail_2:- Spot-weld with Spring Elements
9. Rest all the component left Join them with suitable connectors
Procedure:
applying connector means giving information about type of joining operations used to combine the different components of an assembly.
Now using 2D automesh, mesh each components individually.

Now go to view browsers-hypermesh and select the connector option .
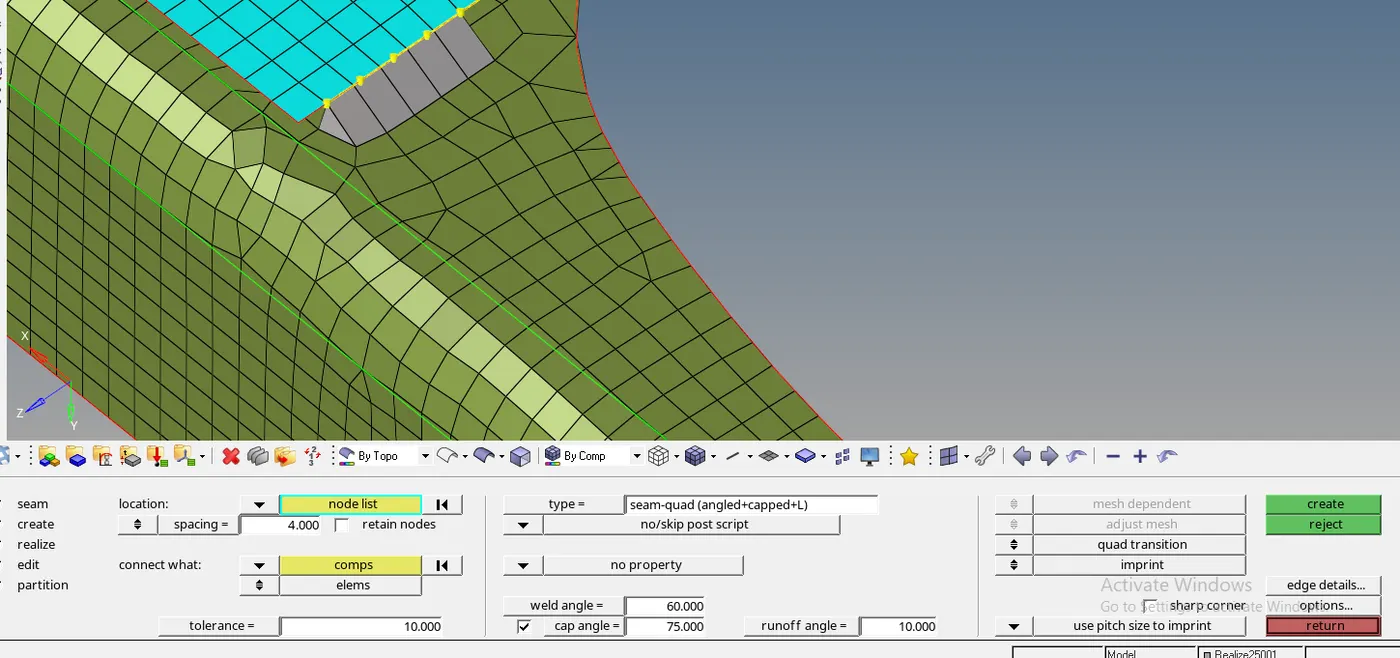
1. Right Rail_2 & front truss_1:- Seam quad(angled+capped+L)
Hide all the components except the required components.
Go to 2D tools connectors-seam.
In type select seam quad(angled+capped+L)
Given Tolerence =10 ,spacing =4.
select the nodes ,components and click on create.
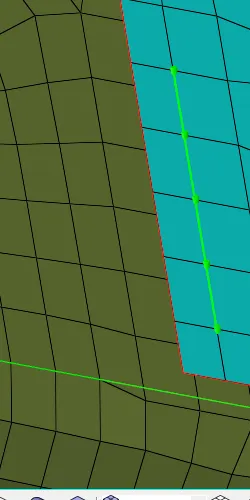
2. Left_Rail_2 & Front_truss_1:- Quad elements
Hide all the components except the required components.
Go to the 2D tool- connector -Seam.
In type select quads.
Give tolerence=10 , spacing 4.
select the nodes ,components and click on create.

3. Front_truss_2, Front_truss_1 & Right_Rail_1:- Spot weld with 3 Layers and 5 mm Diameter
Hide all the components except the required components.
Go to the 2D tool- connector -Spot.
In type select weld.
Give tolerence=10 , spacing 4.
select nodes and components and click on create.
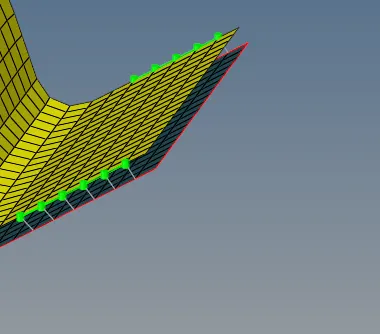

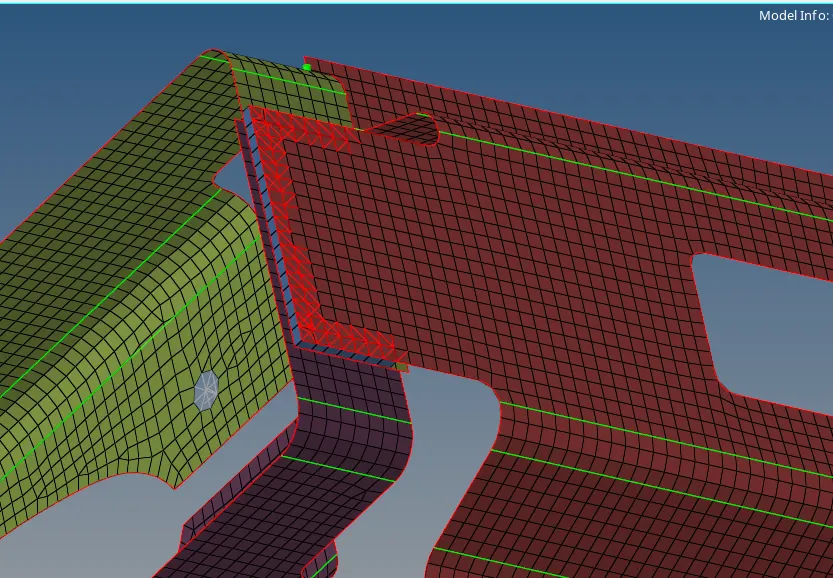
4. Front_truss_2, Front_truss_1 & Left_Rail_1:- Hexa (Adhesive)
Hide all the components except the required components.
Go to the 2D tool- connector -Seam.
In type select hexa (adhesive)
Give tolerence=10 , spacing 4.
select the nodes ,components and click on create.

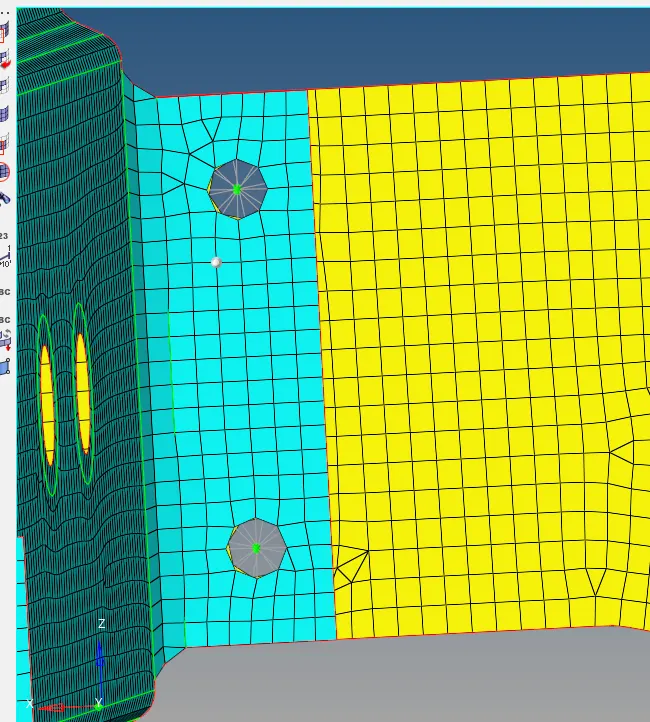
5. Rear_truss_2 & Right_Rail_2:- Bolt Connector
6. Rear_truss_2 & Left_Rail_2:- Bolt Connector
Hide all the components except the required components.
Go to the 2D tool- connector -bolt..
In type select bolt (general).
Give tolerence=10 , spacing 4.
select the nodes ,components and click on create.

7. Right_Rail_1 & Right_Rail_2:- Spot-weld with Rigid Elements
Hide all the components except the required components.
Go to the 2D tool- connector -spot.
In type select rigid.
Give tolerence=10 , number of layer=total 3 ,diameter =5mm.
select the nodes ,components and click on create.
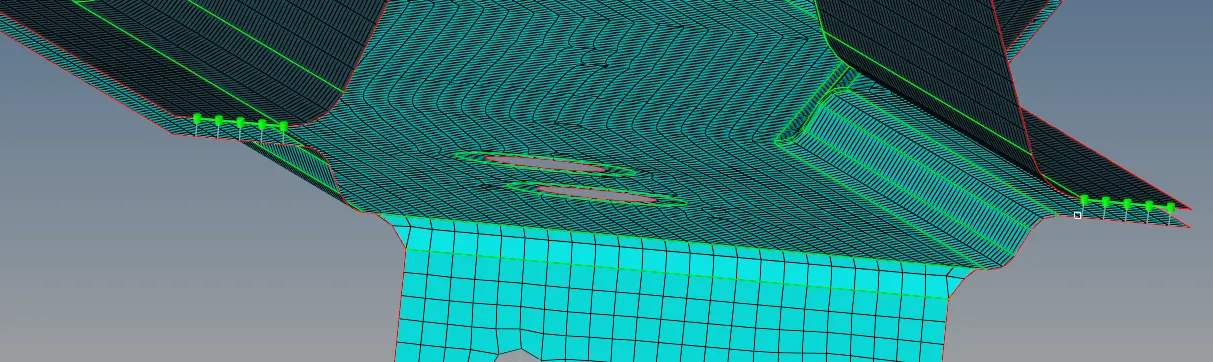

9. Rest all the component left Join them with suitable connectors
After connecting all the components unhide all the components
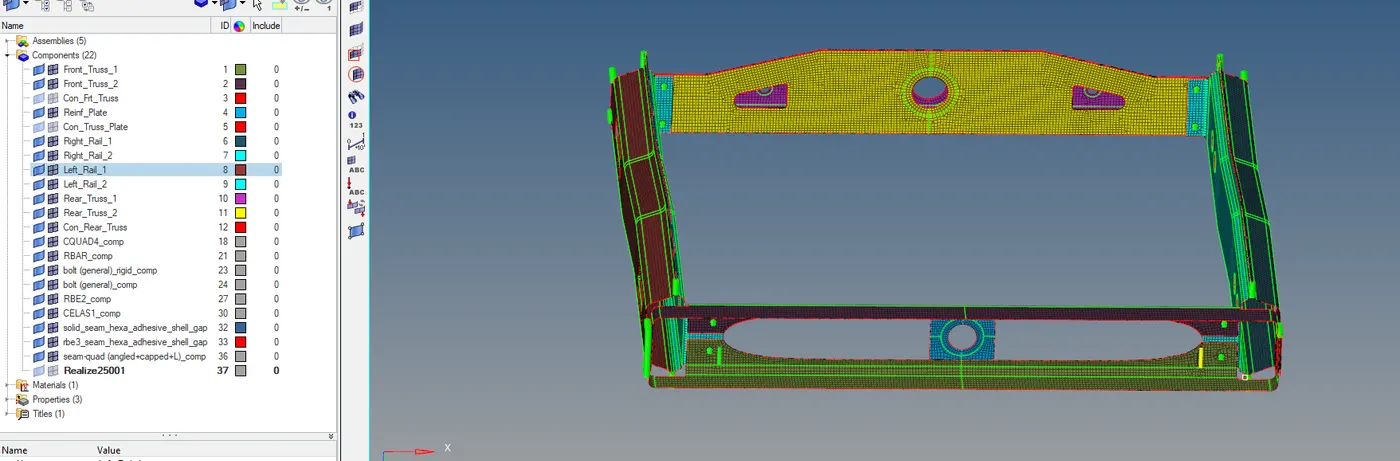
Result and conclusion
All the components are connected as mentioned.
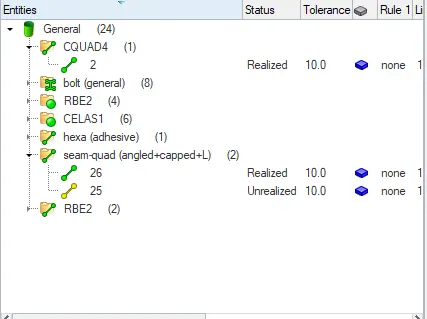
All the created connectors are shown below.