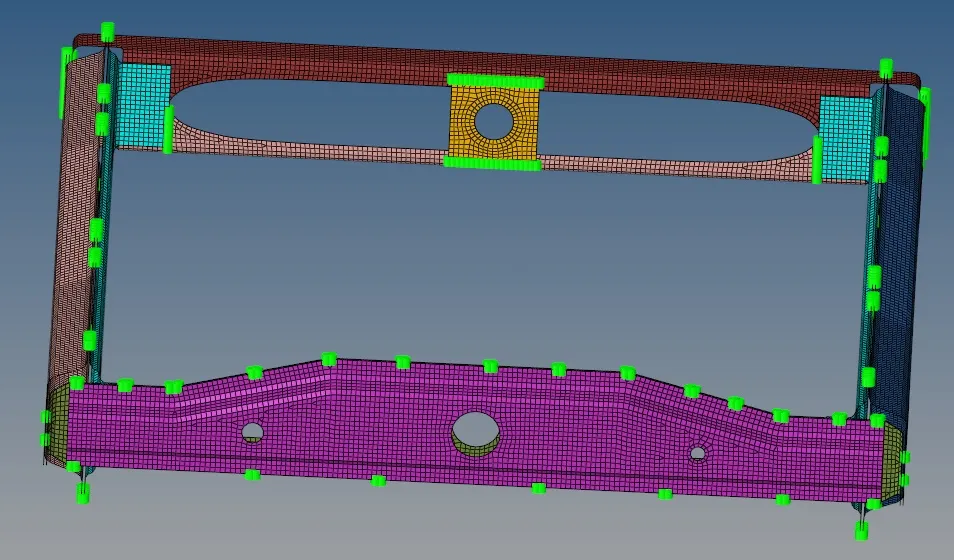
Connectors
Aim: To create connectors to assembly provided as per data provided.
1. Right_Rail_2 & Front_truss_1:- Seam-Quad(angled+capped+L)
2. Left_Rail_2 & Front_truss_1:- Quad elements
3. Front_truss_2, Front_truss_1 & Right_Rail_1:- Spot weld with 3 Layers and 5 mm Diameter
4. Front_truss_2, Front_truss_1 & Left_Rail_1:- Hexa (Adhesive)
5. Rear_truss_2 & Right_Rail_2:- Bolt Connector
6. Rear_truss_2 & Left_Rail_2:- Bolt Connector
7. Right_Rail_1 & Right_Rail_2:- Spot-weld with Rigid Elements
8. Left_Rail_1 & Left_Rail_2:- Spot-weld with Spring Elements
Model:
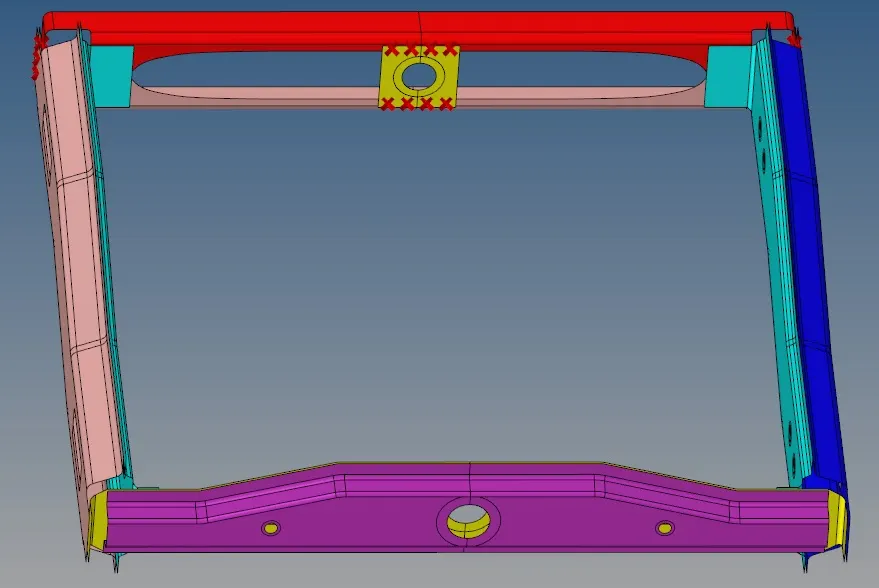
Procedure:
Meshing:
The given components are of extracted midsurface so we can generate mesh as per required quality criteria and to maintain proper mesh flow as shown for each component.
Front Truss 1:
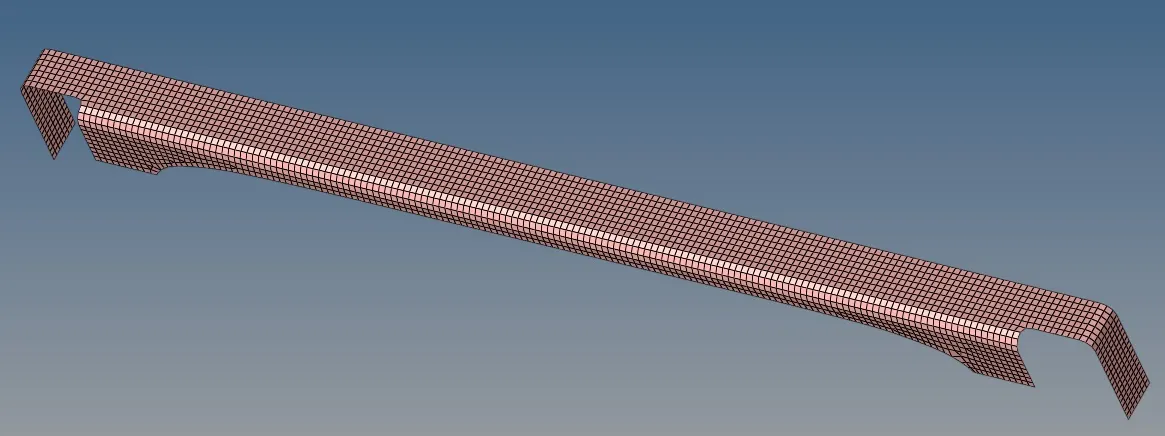
Front Truss 2:
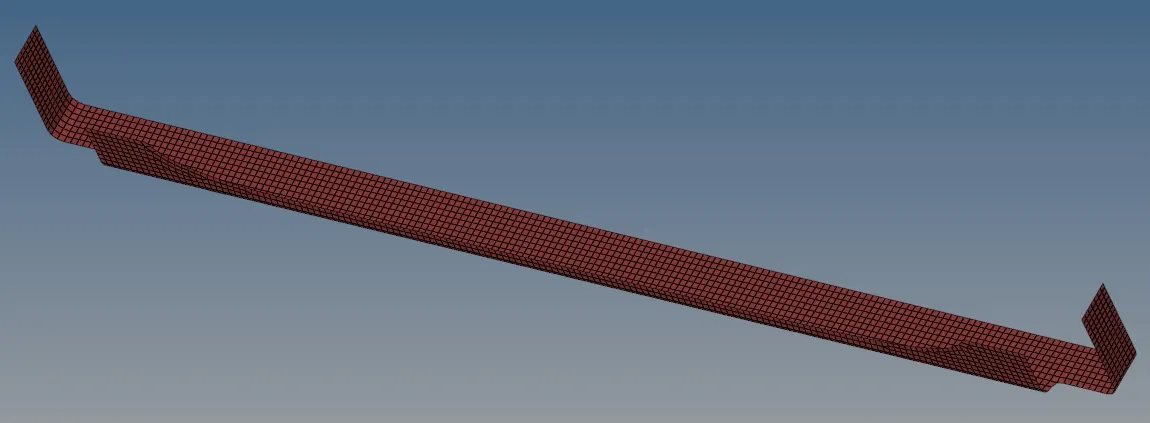
Reinforcement Plate:
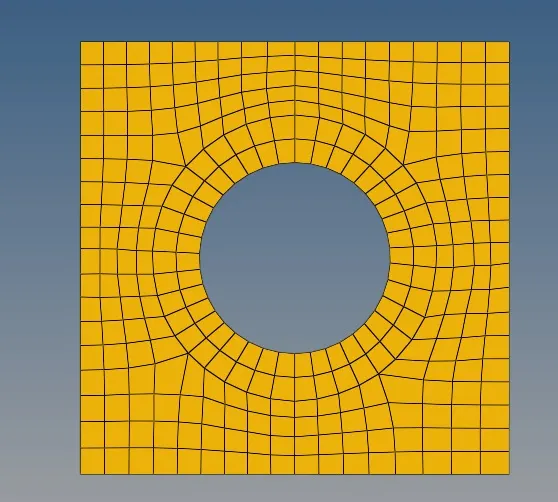
Right Rail 1:
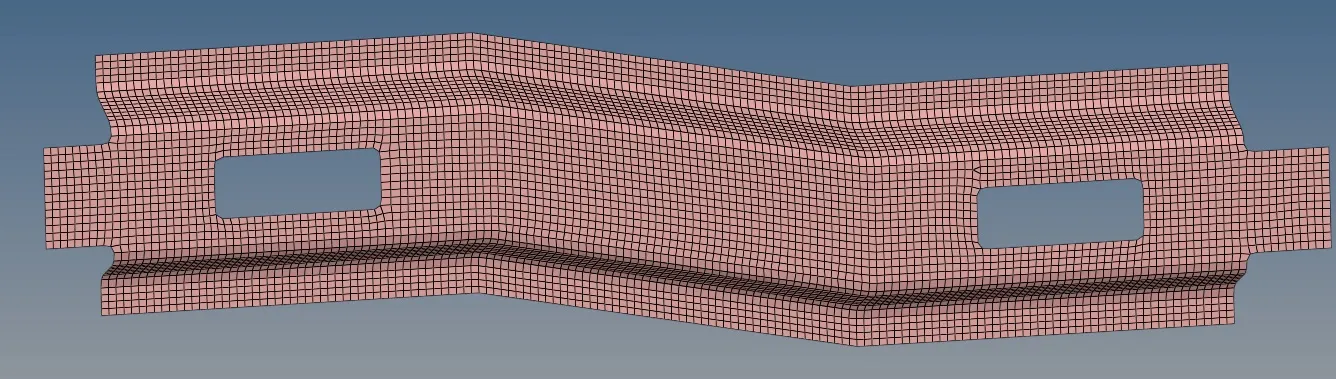
Right Rail 2:
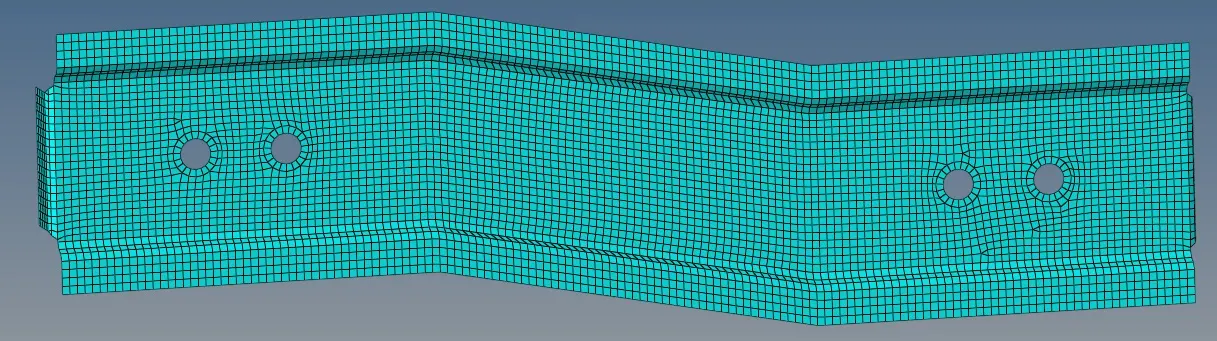
Left Rail 1:
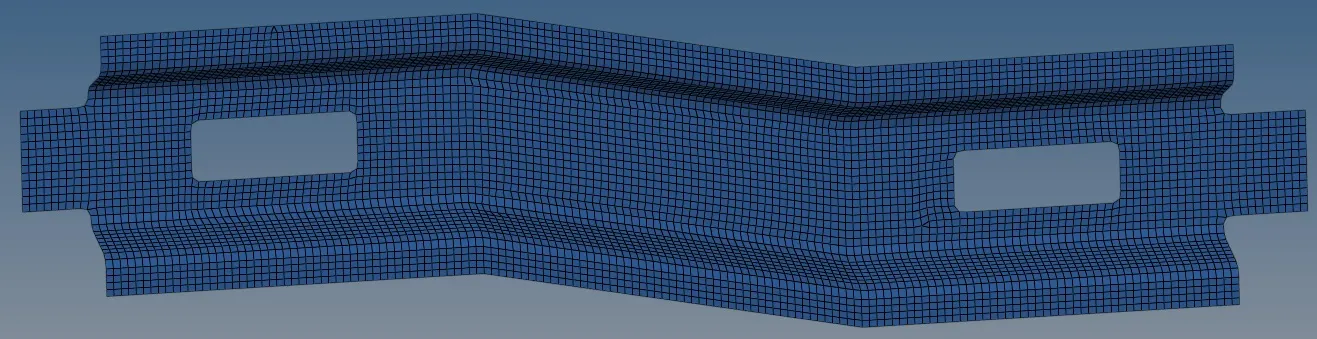
Left Rail 2:
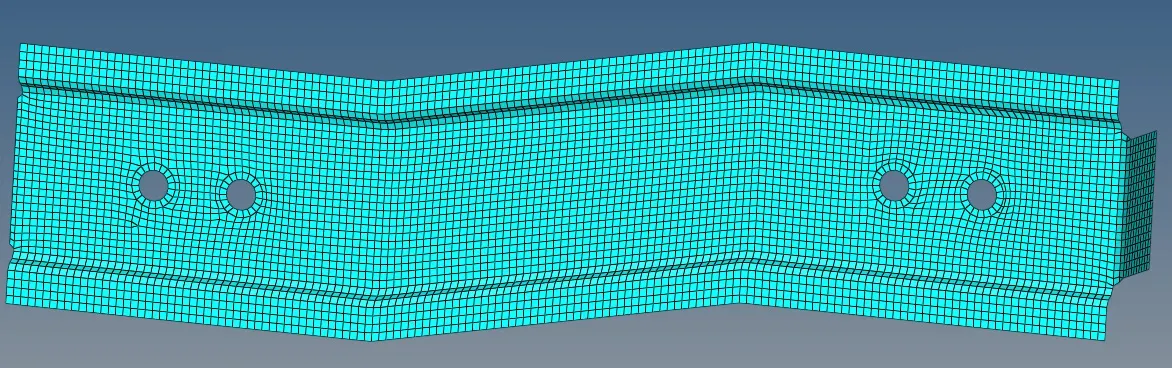
Rear Truss 1:
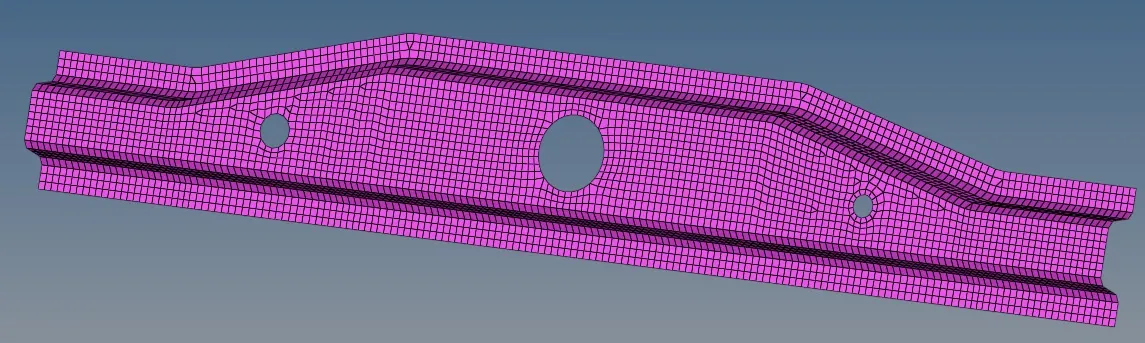
Rear Truss 2:
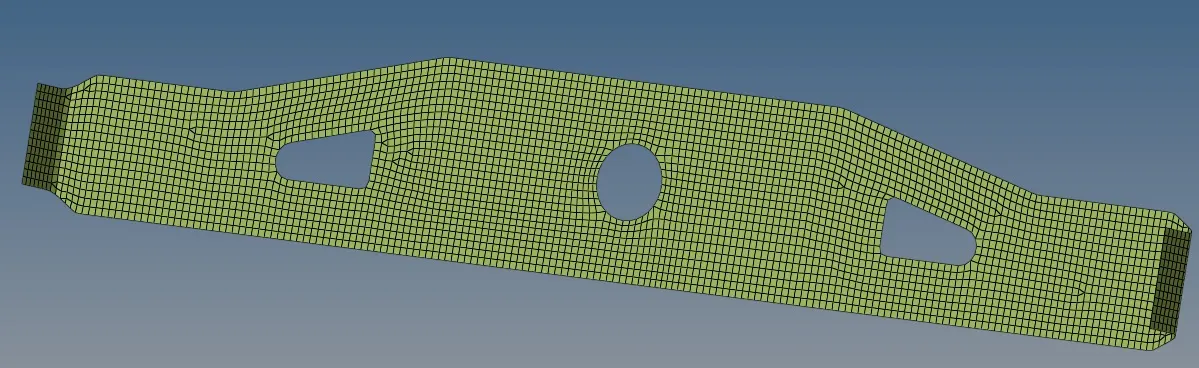
Creating Connectors:
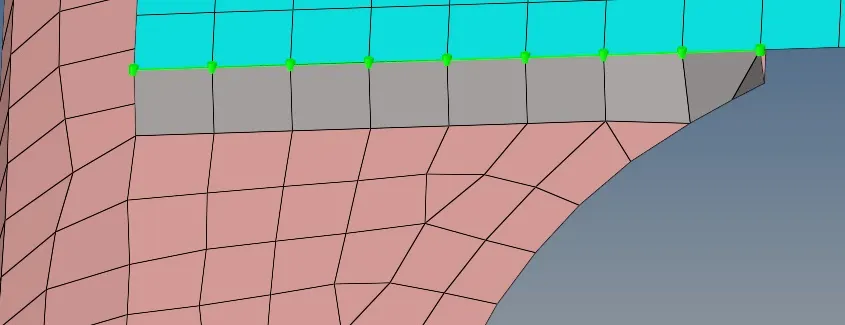
i. Right Rail 2 & Front Truss 1 with Seam-Quad(angled+capped+L):
. Hide the other Components and go to 2D - Connectors - Seam - Type - Seam-Quad(angled+capped+L).
. Change to node list and enter the required parameters. Select the nodes as shown.

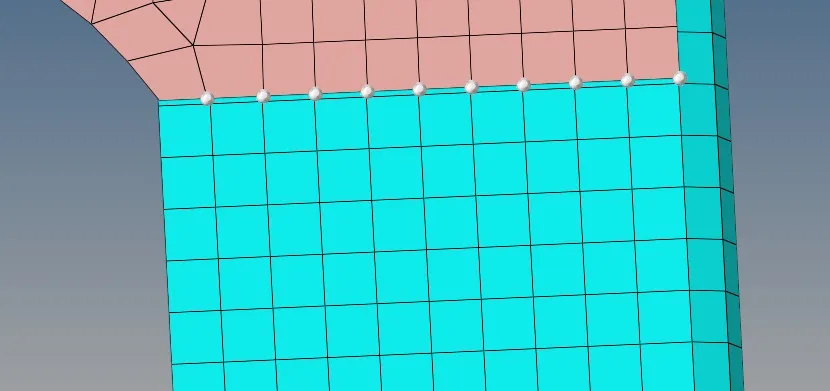
. Choose the components and create seam connector as shown.
ii. Left Rail 2 & Front Truss 1 with Quad Elements:
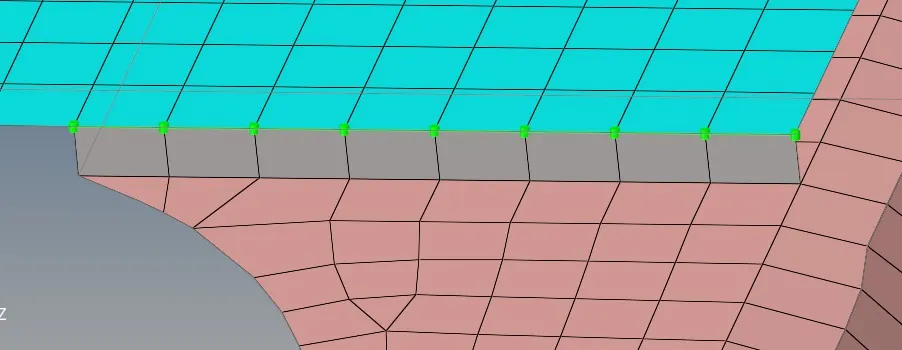
. Hide the other Components and go to 2D - Connectors - Seam - Type - Quads
. Change to node list and enter the required parameters. Select the nodes as shown.

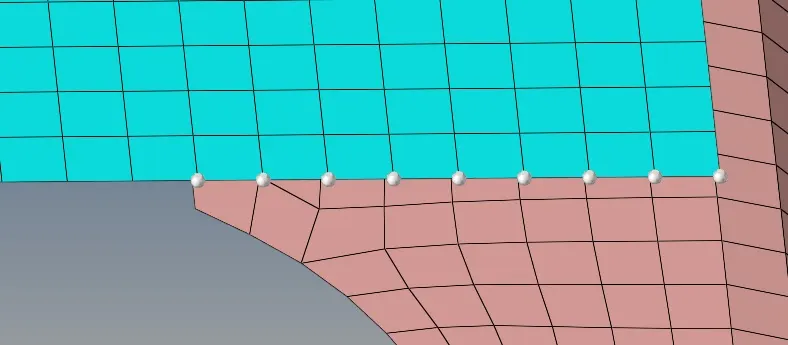
. Choose the components and create seam connector as shown.
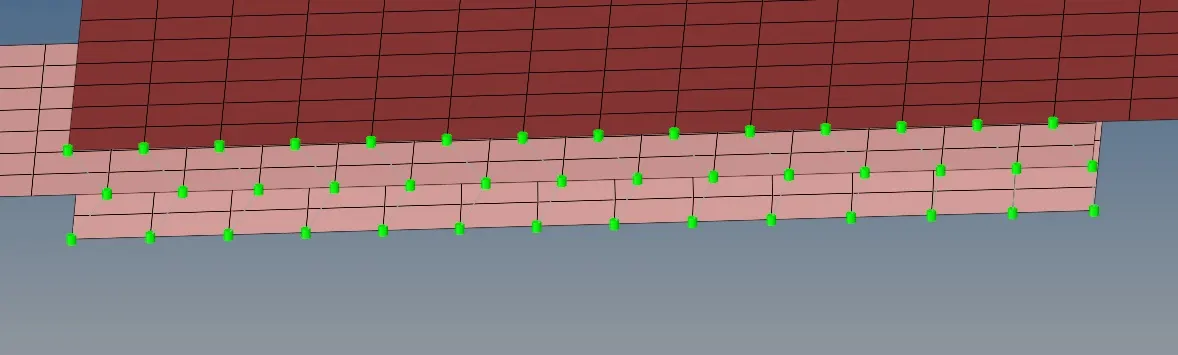
iii. Front Truss 2, Front Truss 1 & Right Rail 1 with Spot weld (3 Layers) & 5 mm Diameter :
. Hide the other Components and go to 2D - Connectors - Spot - Type Weld
. Choose nodes and select the components and create the spot weld with the given parameters as shown.

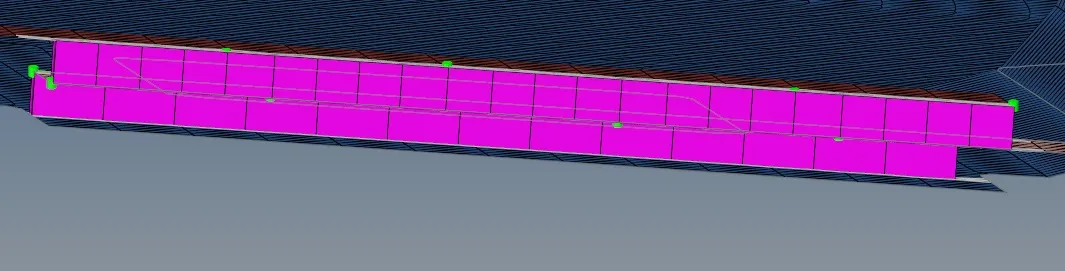
iv. Front Truss 2, Front Truss 1 & Left Rail 1 with Hexa (Adhesive):
. Hide the other Components and go to 2D - Connectors - Seam - Type Hexa (adhesive)
. Choose the node list and components and create the hexa connectors as per parameters shown.

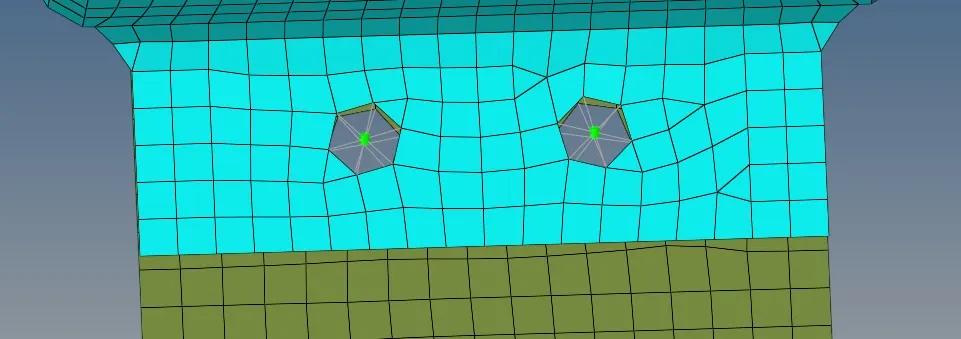
v. Rear Truss 2 & Right Rail 2 with Bolt Connector:
. Hide the other Components and go to 2D - Connectors - Bolt - type Bolt (general).
. Choose the nodes and components and create the bolt connectors as shown.
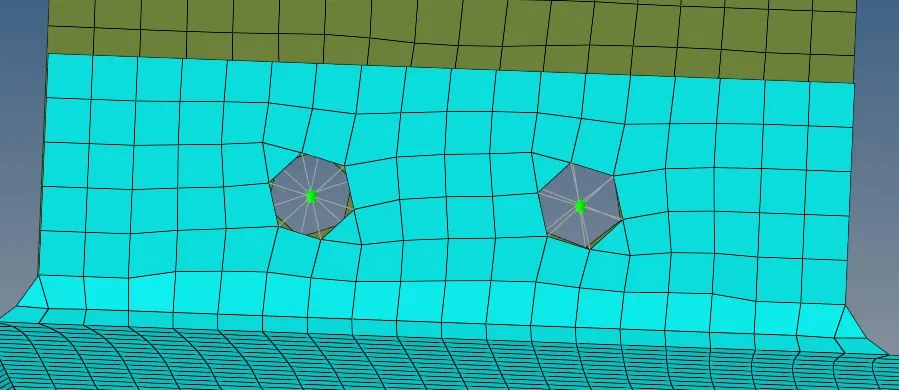
vi. Rear Truss 2 & Left Rail 2 with Bolt Connector:
. Hide the other Components and go to 2D - Connectors - Bolt - type Bolt (general).
. Choose the nodes and components and create the bolt connectors as shown.
vii. Right Rail 1 & Right Rail 2 with Spot-weld with Rigid Elements:
. Hide the other Components and go to 2D - Connectors - Spot - Type rigid.
. Choose the nodes and components and create spot weld with rigid as shown.
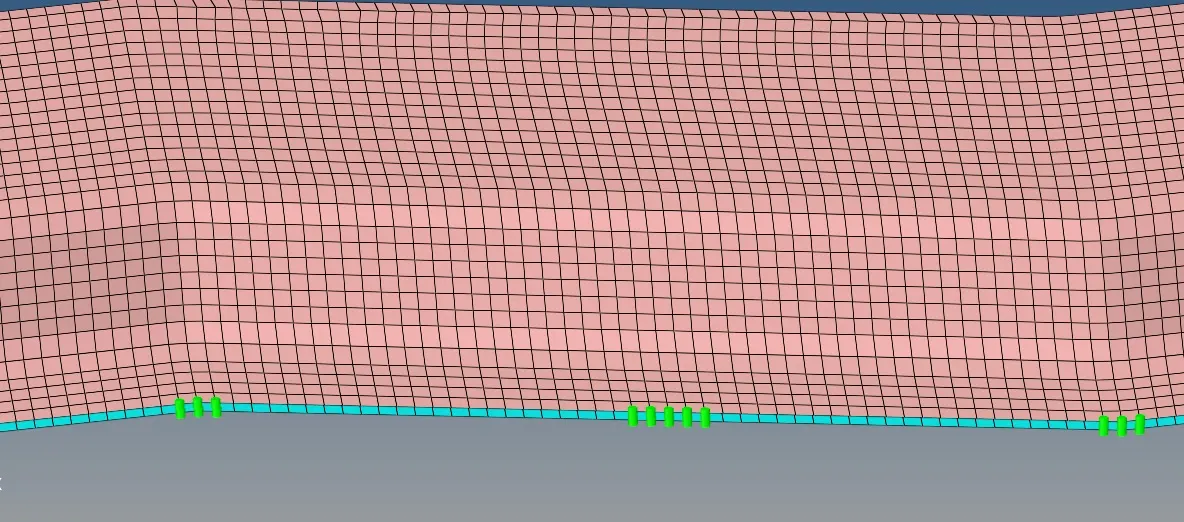
Since it is a spot weld only few places were applied with the weld connection. in practice spot weld is done at intervals i.e distance is maintained between two weld locations to ensure the welding strength. same is applicable for the below connection.
viii. Left Rail 1 & Left Rail 2 with Spot-weld with Spring Elements:
. Hide the other Components and go to 2D - Connectors - Spot - Type Spring.
. Choose the nodes and components and create spot weld with rigid as shown.
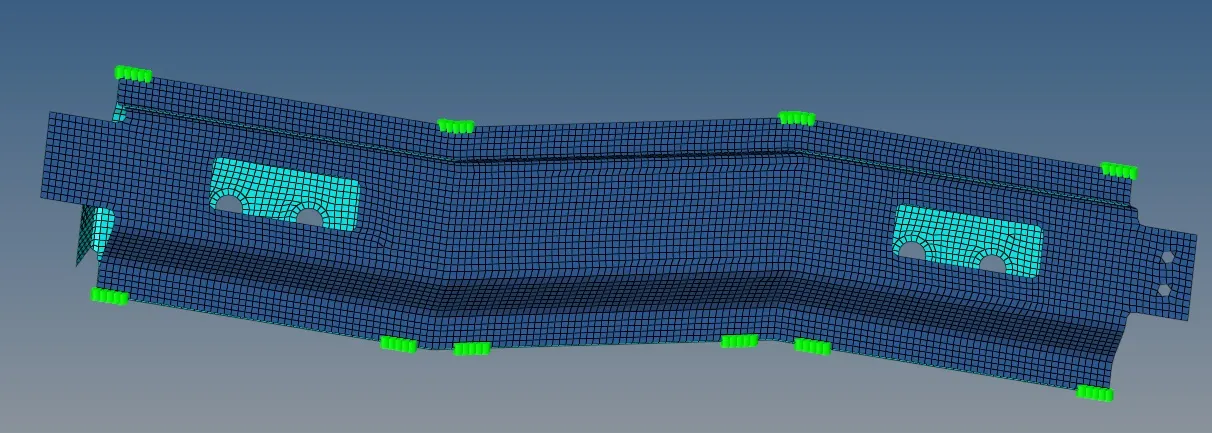
ix. Front Truss 1, Front Truss 2 & Reinforcement Plate with Seam-Quad(angled+capped+L):
. Hide the other Components and go to 2D - Connectors - Seam - Type - Seam-Quad(angled+capped+L).
. Change to node list and enter the required parameters. Select the nodes as shown.
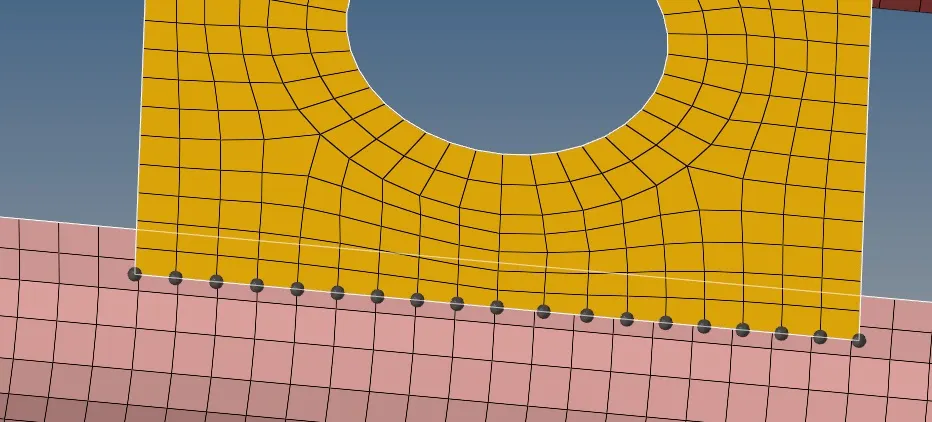
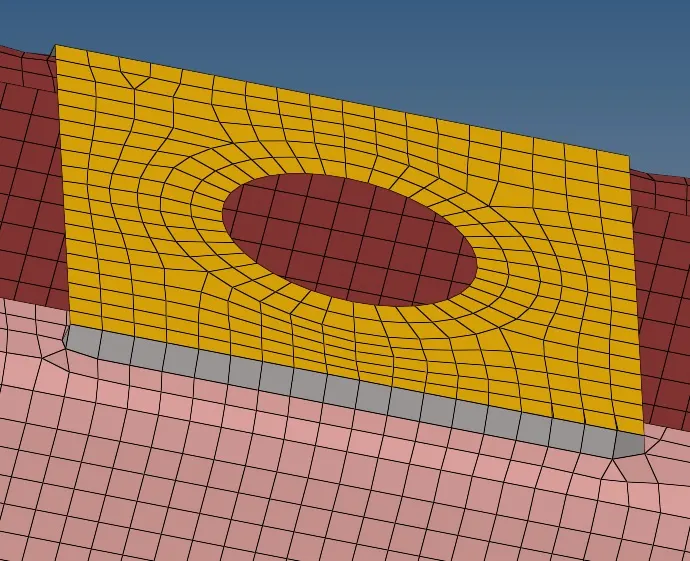
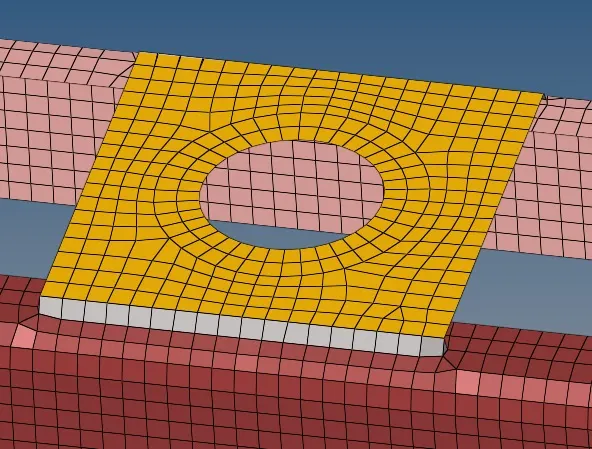
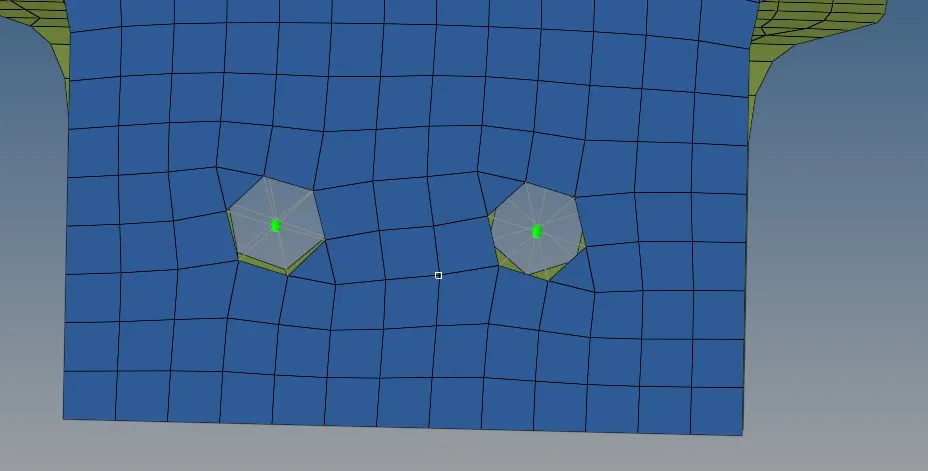
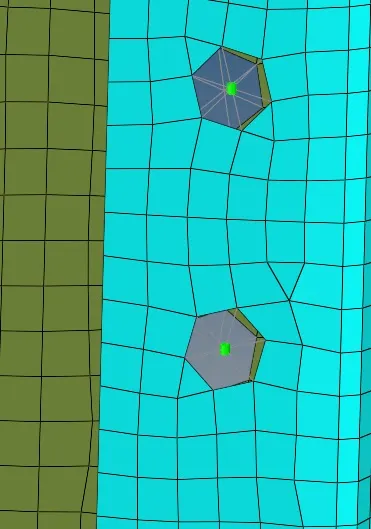
x. Left Rail 1 & Rear Truss 2, Right Rail 2 & Rear Truss 2 with Bolt Connector:
. Hide the other Components and go to 2D - Connectors - Bolt - type Bolt (CBAR).
. Choose the nodes and components and create the bolt connectors as shown.
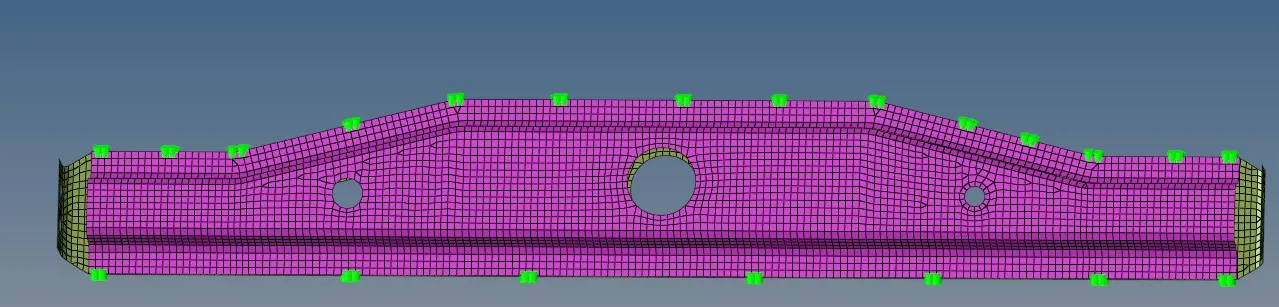
xi. Rear Truss 1 & Rear Truss 2 with Spot weld rigid elements:
. Hide the other Components and go to 2D - Connectors - Spot - Type rigid.
. Choose the nodes and components and create spot weld with rigid as shown.
Result:
The connectors were assigned for the components with data provided and appropriate connectors were assigned for the remaining components.