To Create connector in Hypermesh and Attach the various parts of the given model
OBJECTIVE:
Create connector and Attach the various parts of the given model
1. Right_Rail_2 & Front_truss_1:- Seam-Quad(angled+capped+L)
2. Left_Rail_2 & Front_truss_1:- Quad elements
3. Front_truss_2, Front_truss_1 & Right_Rail_1:- Spot weld with 3 Layers and 5 mm Diameter
4. Front_truss_2, Front_truss_1 & Left_Rail_1:- Hexa (Adhesive)
5. Rear_truss_2 & Right_Rail_2:- Bolt Connector
6. Rear_truss_2 & Left_Rail_2:- Bolt Connector
7. Right_Rail_1 & Right_Rail_2:- Spot-weld with Rigid Elements
8. Left_Rail_1 & Left_Rail_2:- Spot-weld with Spring Elements
9. Rest all the component left Join them with suitable connectors
PROCEDURE:
1. First of all go to Import Solver Deck > lmport Geometry > File type > Choose File > Import. The geometry is imported.
2. Geometry color mode > By Topo.
3. 2d > Automesh > mesh all the component with the target element 5mm.
Right Rail 2 & Front truss 1:- Seam-Quad (angled+capped+L)
1. Hide rest of the surfaces and wireframes except for right rail 2 and front truss 1.
2. Go to 2D > Connectors > seam > type=seam-quad (angle+capped+L) > spacing: 5 > tolerance: 10 > select nodes > select components > create.
3. And adjust the mesh by remeshing in those regions. The connectors are created .
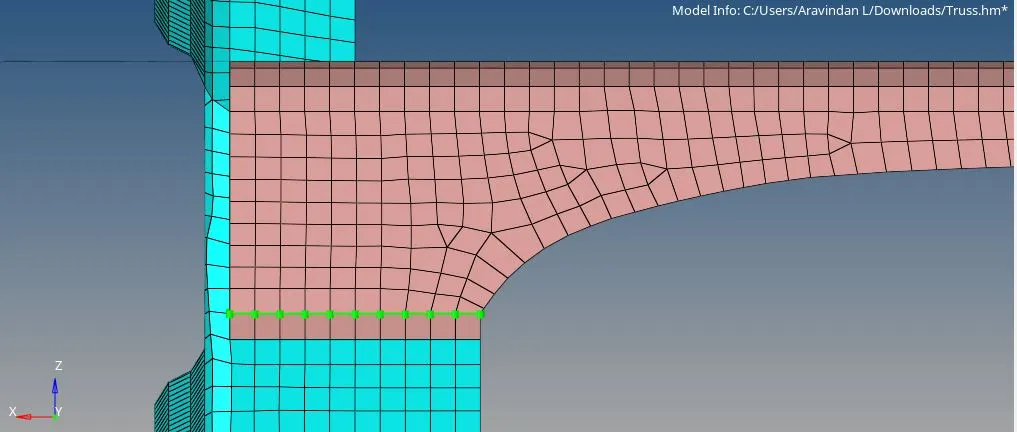
Left Rail 2 & Front truss 1- Quad elements
1. Hide rest of the surfaces and wireframes except for left rail 2 and front truss 1.
2. Go to 2D > Connectors > seam > type=quads > spacing: 5 > tolerance: 10 > select nodes > select components > create.
3. And adjust the mesh by remeshing in those regions. The connectors are created.
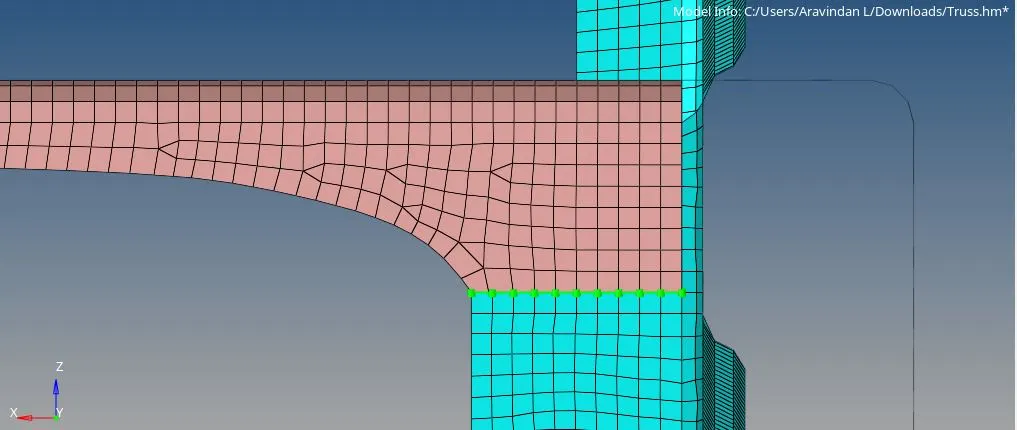
Front_truss 2, Front_truss 1 & Right Rail 1:- Spot weld with 3 Layers and 5 mm Diameter
1. Hide rest of the surfaces and wireframes except for right rail 1, front truss 1 and front truss 2.
2. Go to 2D> Connectors > spot > type=weld > total:3 > diameter: 5 > spacing: 5 > tolerance: 10 > select nodes > select components > create.
3. And adjust the mesh by remeshing in those regions. The connectors are created.
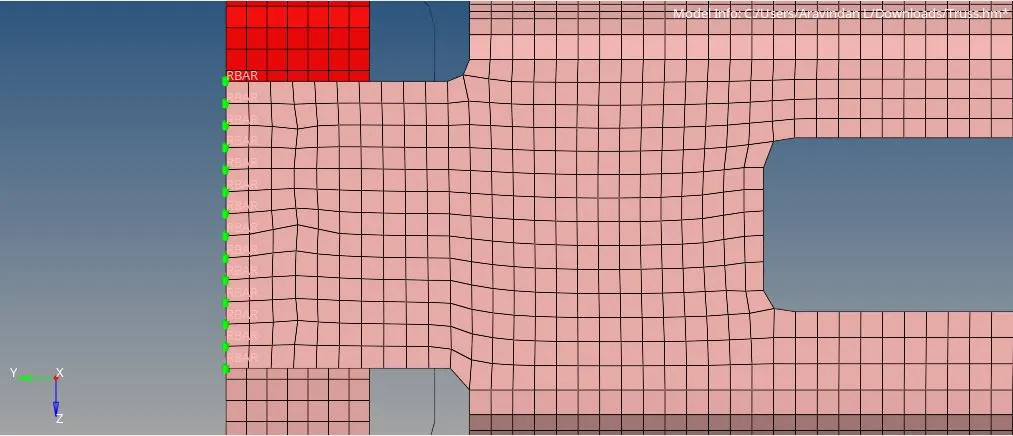
Front truss 2, Front truss 1 & Left Rail 1:- Hexa (Adhesive)
1. Hide rest of the surfaces and wireframes except for left rail 1, front truss 1 and front truss 2.
2. Go to 2D > Connectors > seam > type=hexa(adhesive) > strips: 2 > spacing: 5 > tolerance: 10 > select nodes > select components > create.
3. And adjust the mesh by remeshing in those regions. The connectors are created.
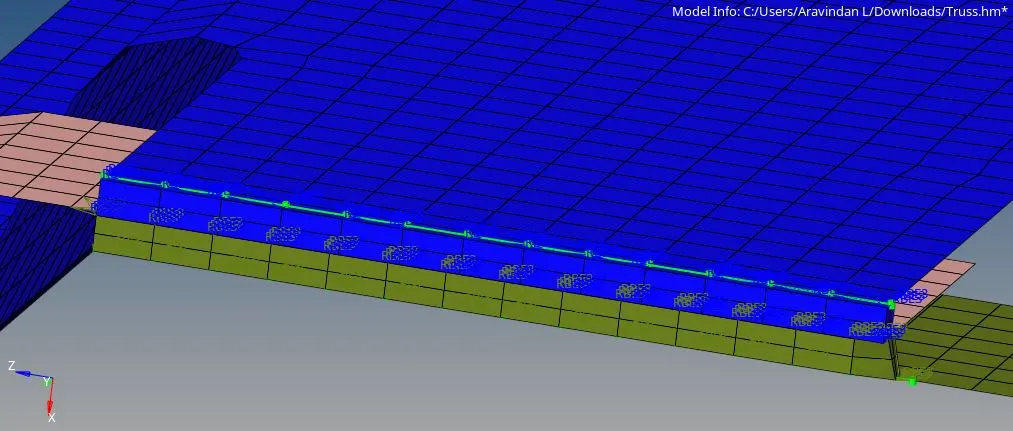
Rear truss 2 & Right Rail 2:- Bolt Connector
1. Hide rest of the surfaces and wireframes except for right rail 2 and rear truss 2.
2. Go to 2D > Connectors > bolts > type=bolt(general) > tolerance:10 > create hole if none > select nodes > select components > create.
3. And adjust the mesh by remeshing in those regions. The connectors are created.
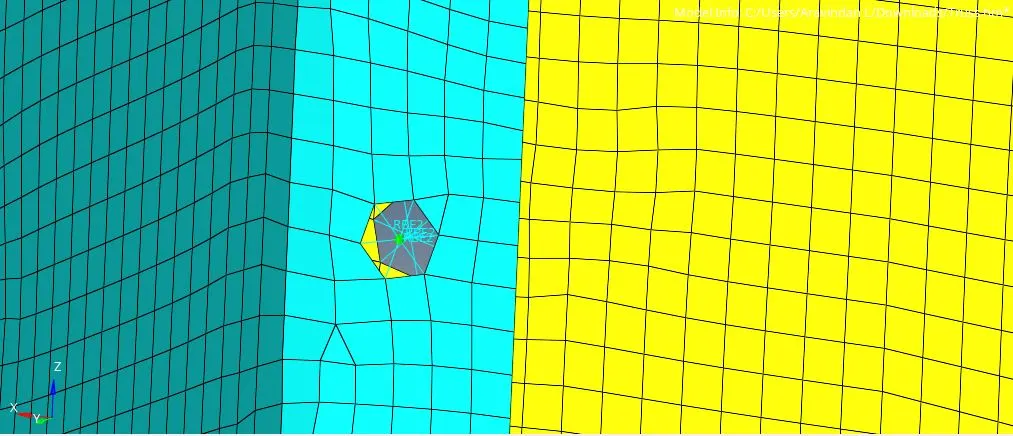
Rear truss 2 & Left Rail 2:- Bolt Connector
1. Hide rest of the surfaces and wireframes except for left rail 2 and rear truss 2.
2. Go to 2D > Connectors > bolts > type=bolt(general) > tolerance:10 > create hole if none > select nodes > select components > create.
3. And adjust the mesh by remeshing in those regions. The connectors are created.
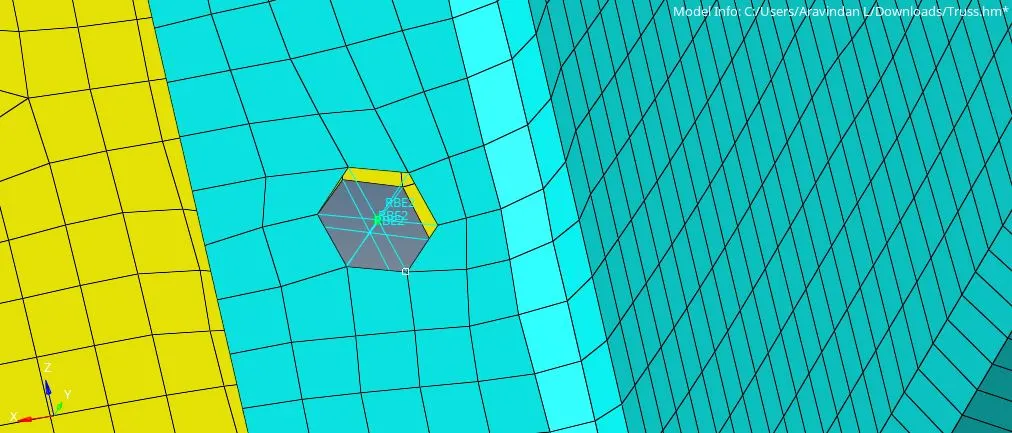
Right Rail 1 & Right Rail 2:- Spot-weld with Rigid Elements
1. Hide rest of the surfaces and wireframes except for right rail 1 and right rail 2.
2. Go to 2D > Connectors > spot > type=rigid > total:2 > diameter: 5 > spacing: 5 > tolerance: 10 > select nodes > select components > create.
3. And adjust the mesh by remeshing in those regions. The connectors are created.
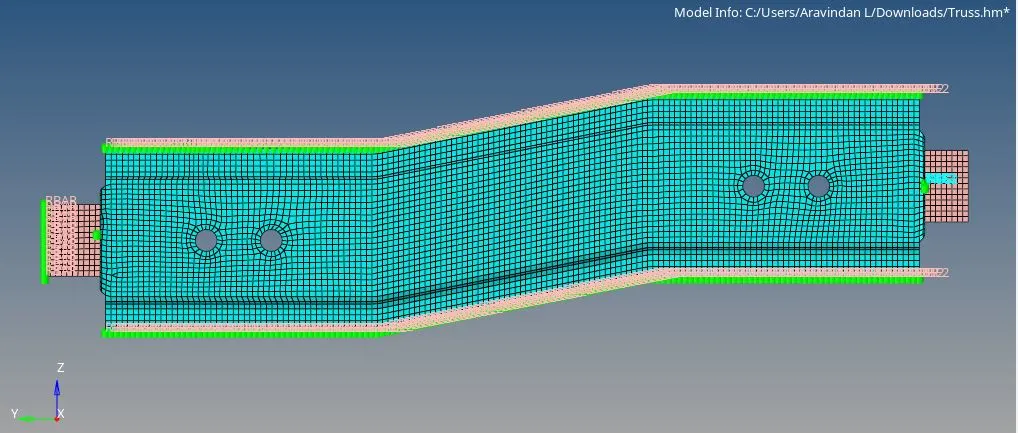
Left Rail 1 & Left Rail 2:- Spot-weld with Spring Elements
1. Hide rest of the surfaces and wireframes except for left rail 1 and left rail 2.
2. Go to 2D > Connectors > spot > type=spring > total: 2 > diameter: 5 > spacing: 5 > tolerance: 10 > select nodes > select components > create.
3. And adjust the mesh by remeshing in those regions. The connectors are created.
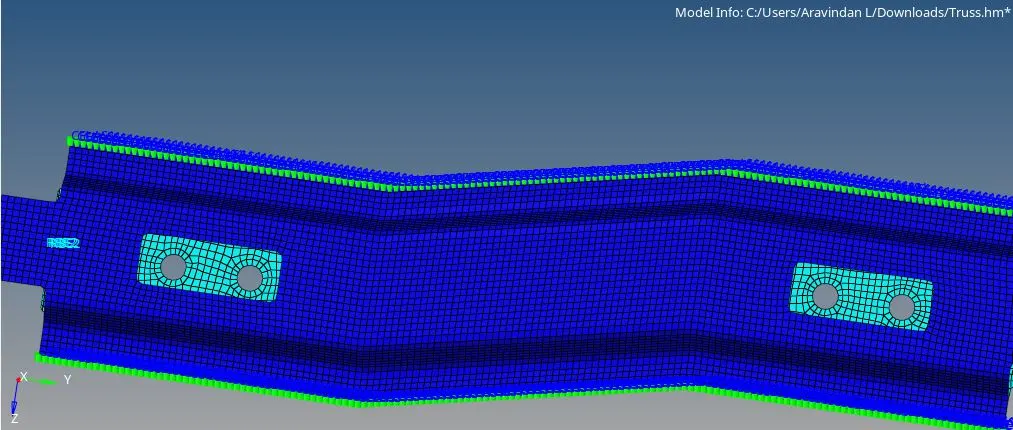
RESULT AND CONCLUSION:
Therefore, The various components has been connected by using the connectors and also this challenge helps me to learn various types of connectors in hypermesh.