Week 9 - Challenge 3 - Bumper
Greetings !!
1. Creation Of Tooling Axis :
- By Analysing X Axis found to be good for tooling axis , as all the surfaces and its patches were seen in it .
- So choosed X Axis for tooling.
- Created a point on the random curve of Class A
- Formed a line on X Direction as dummy tooling axis and checked with draft for its clearing or not.
- As it is clearing , so i made it as my main tooling axis.
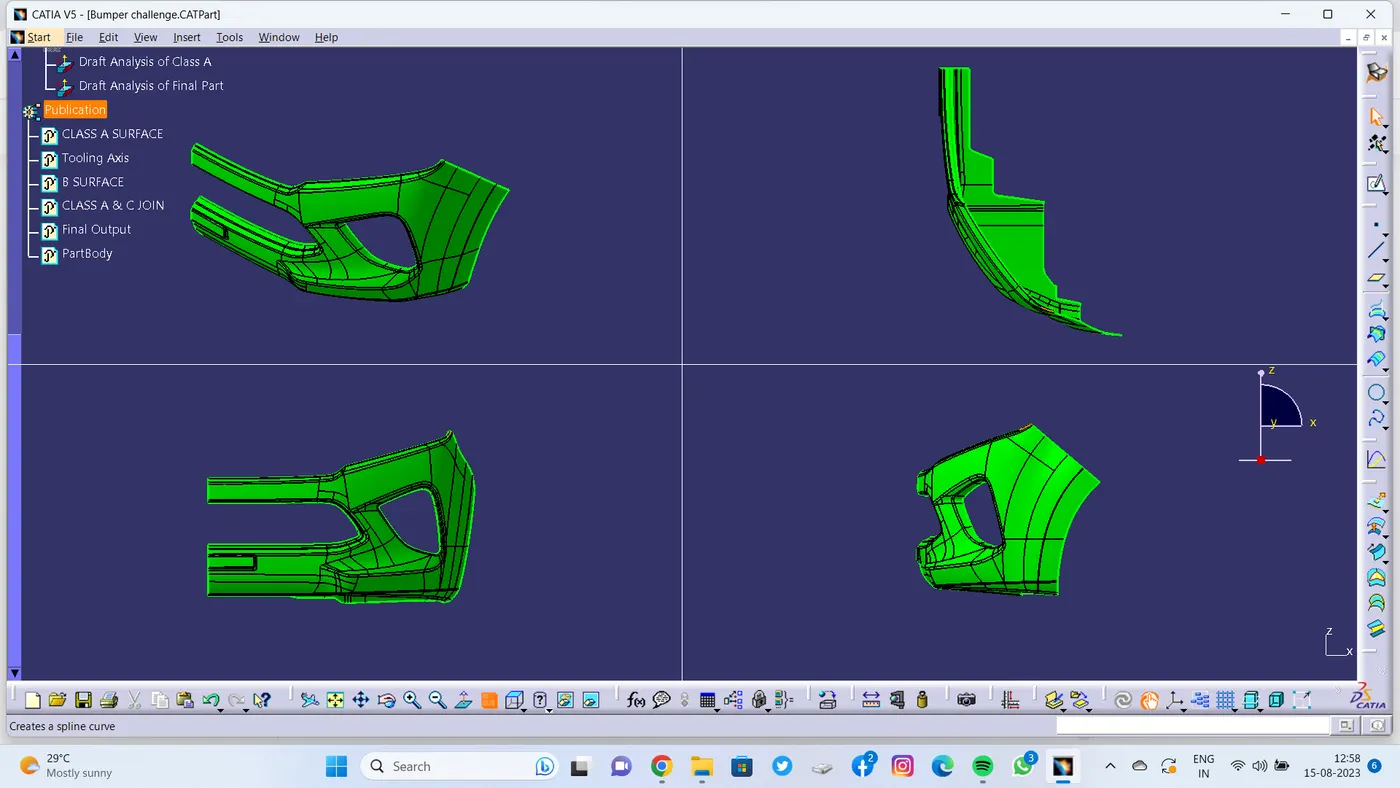
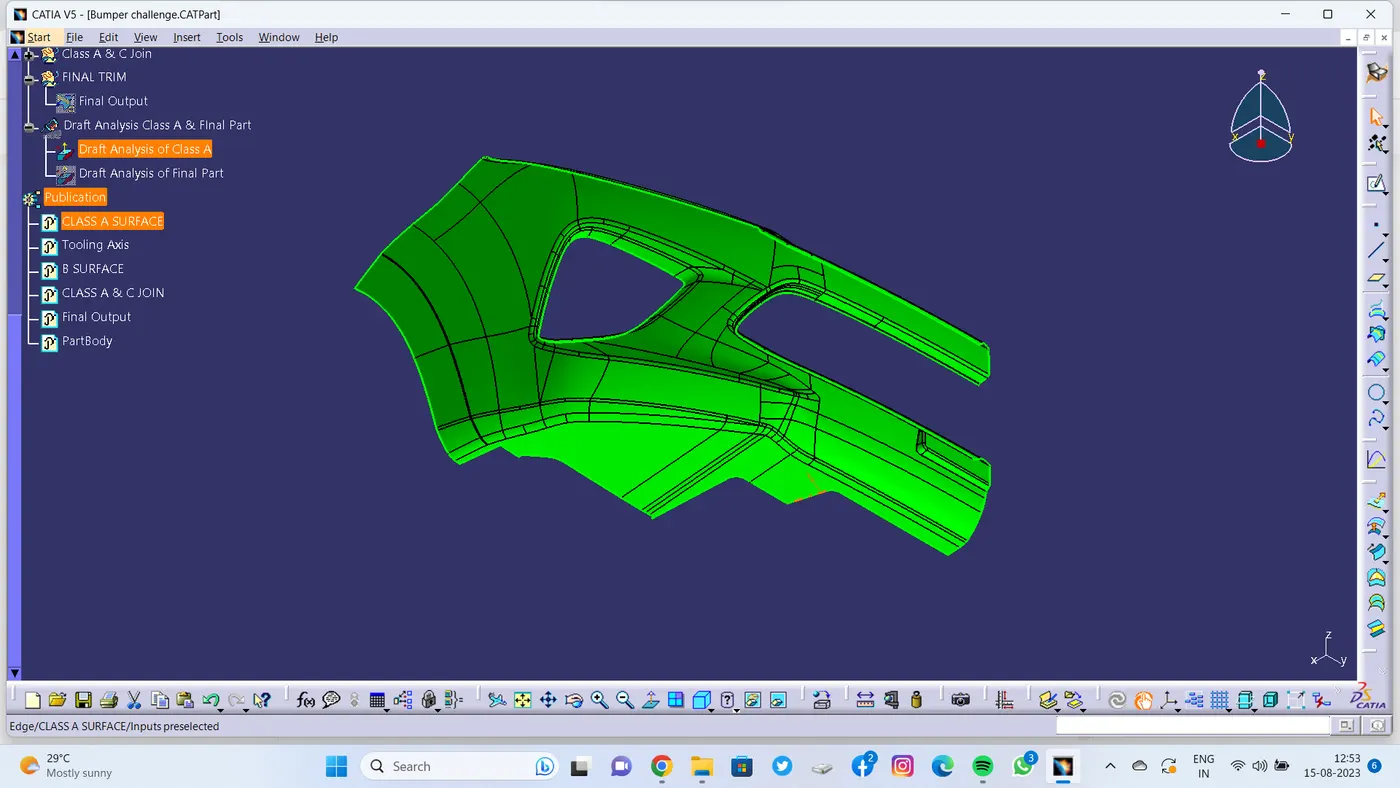
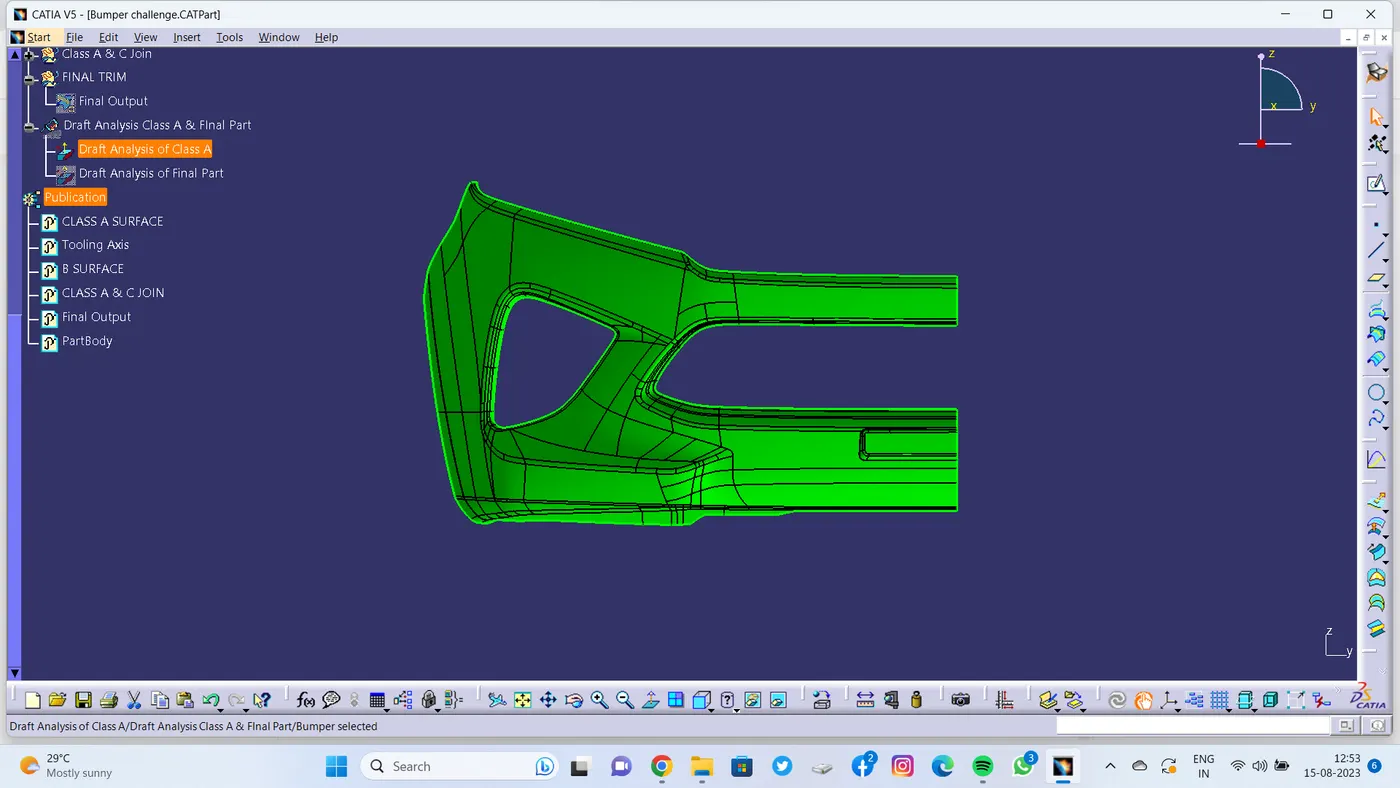
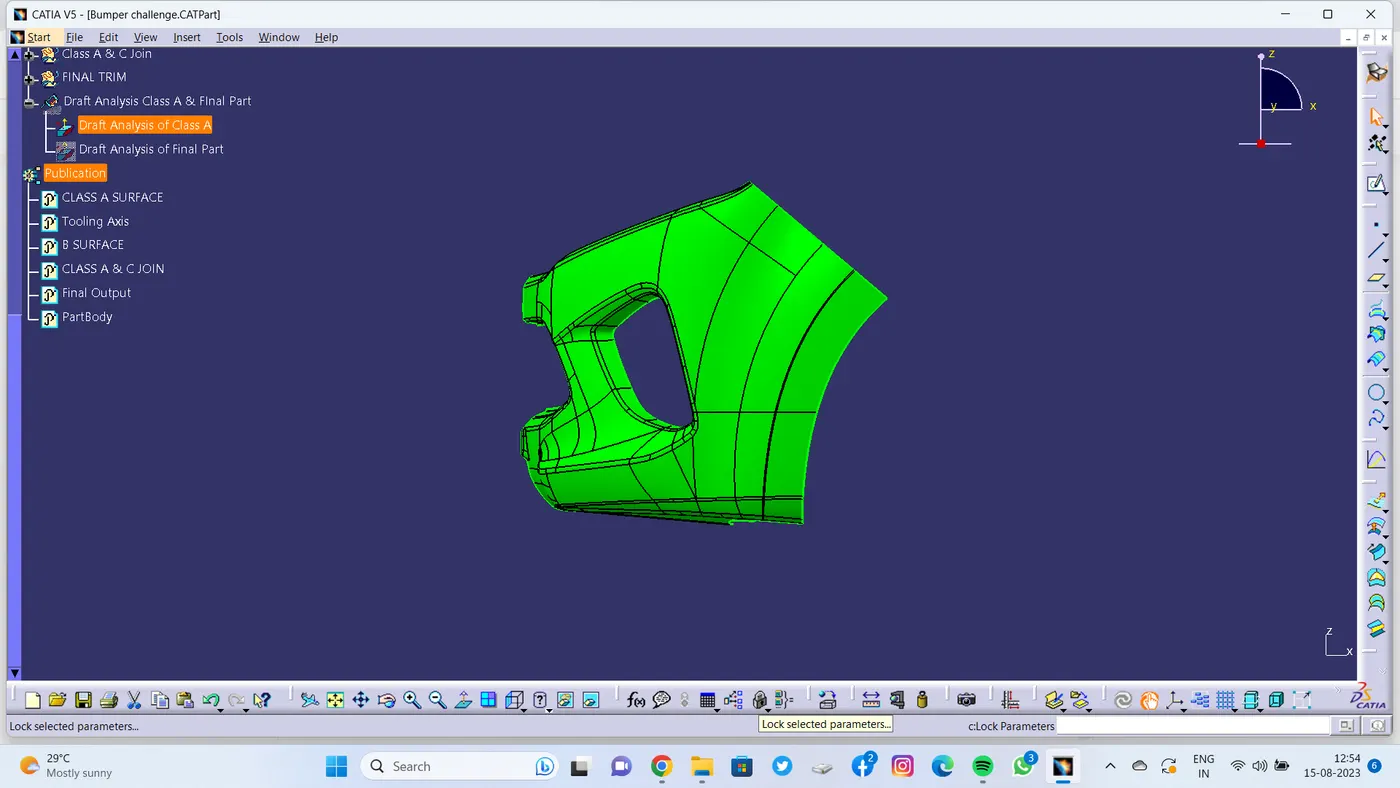
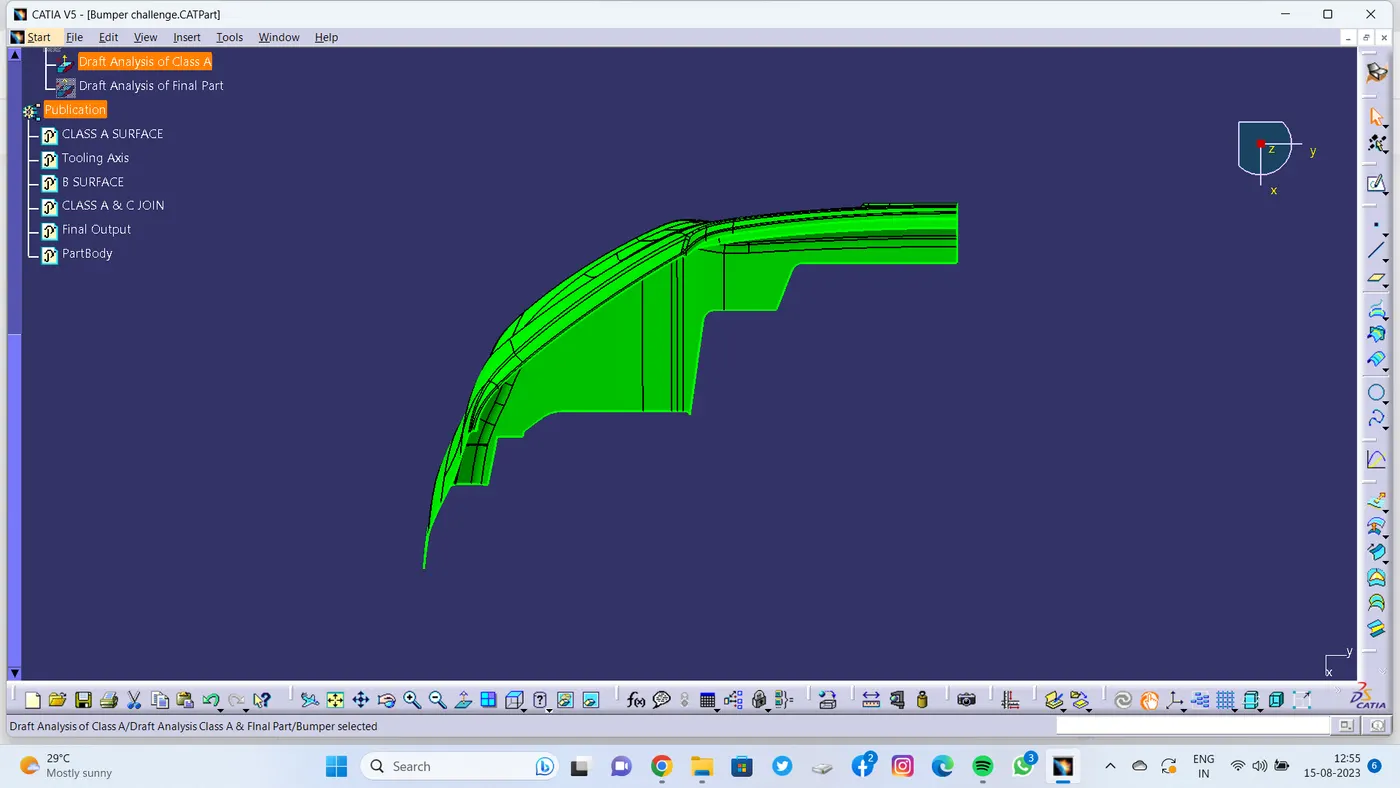
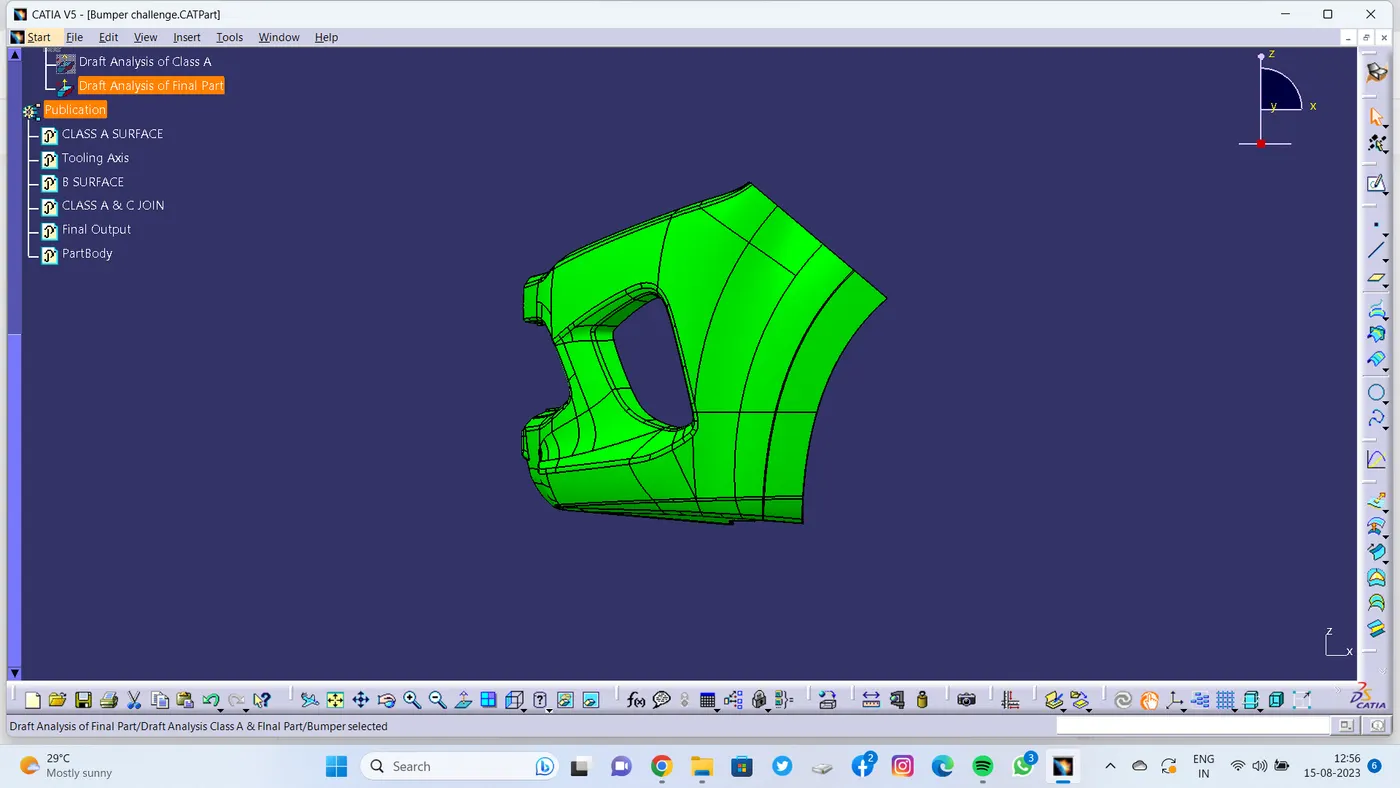
2. Creation of Draft Analysis for Class A Surface :
- Changed to Material mode , and Selected Draft Analysis tool.
- Dragged the compass to the Tooling Axis for draft direction and locked.
- By using analysis under running point option checked on all surfaces .
- by using colour scale variant dialogue box checked for clearing 3 degree as it is indicating Green colour.
- Thus Proceed for creating Class B.
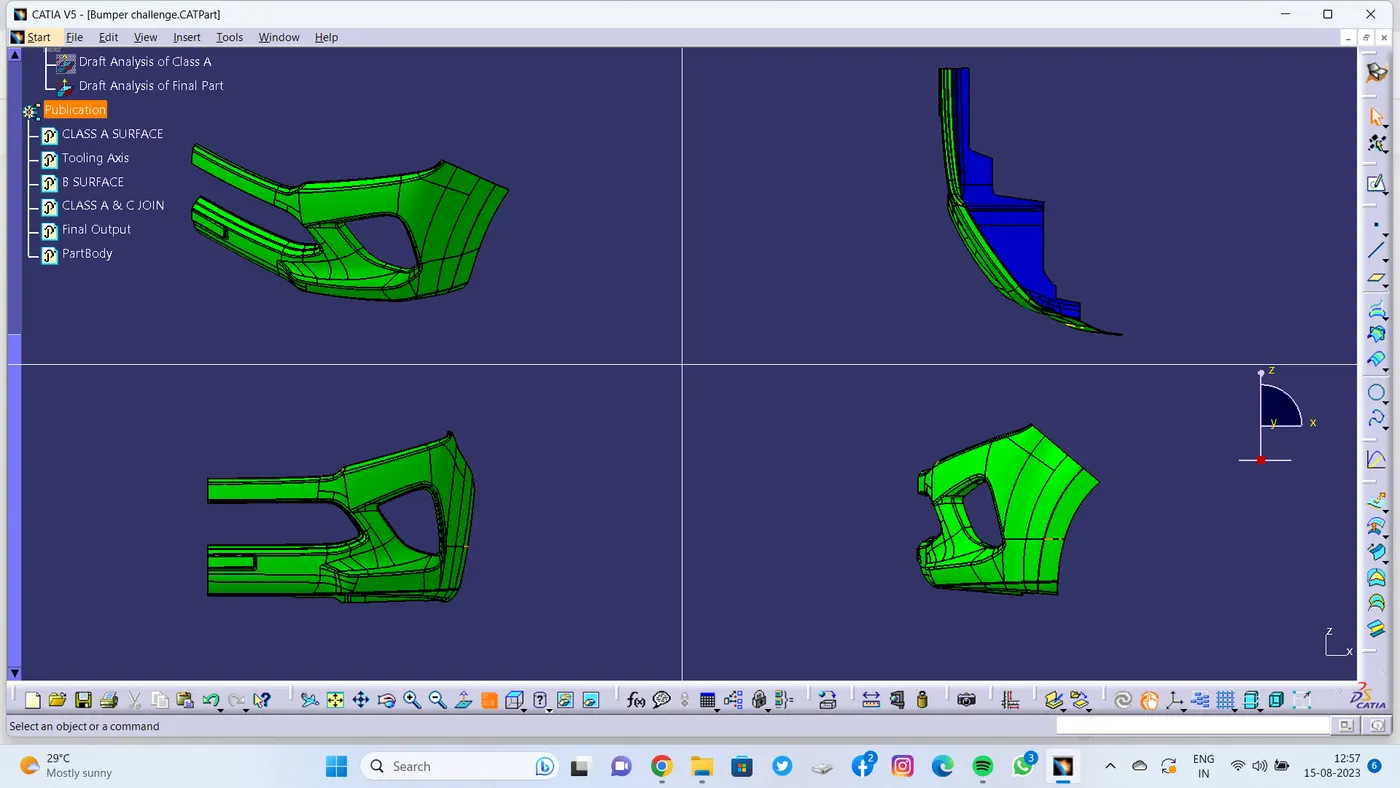
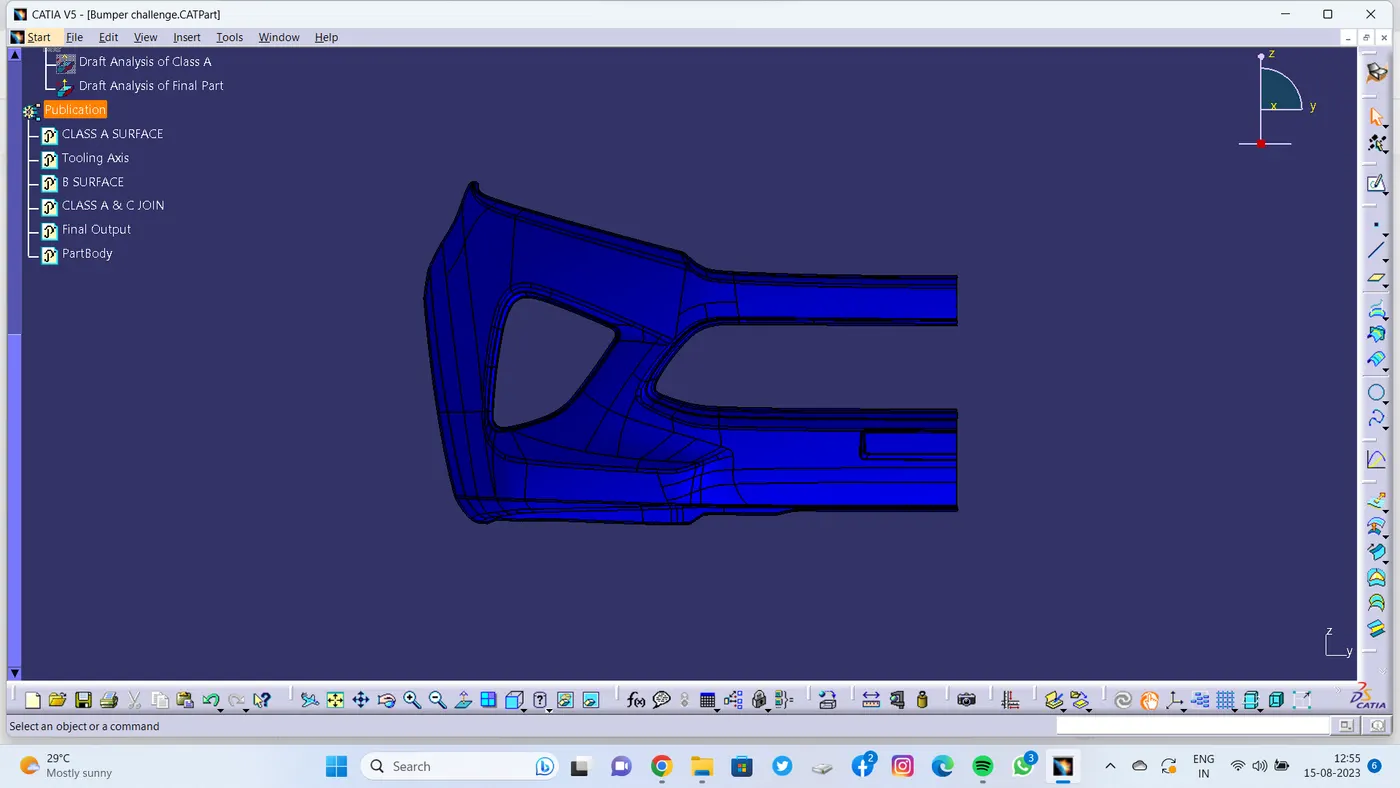
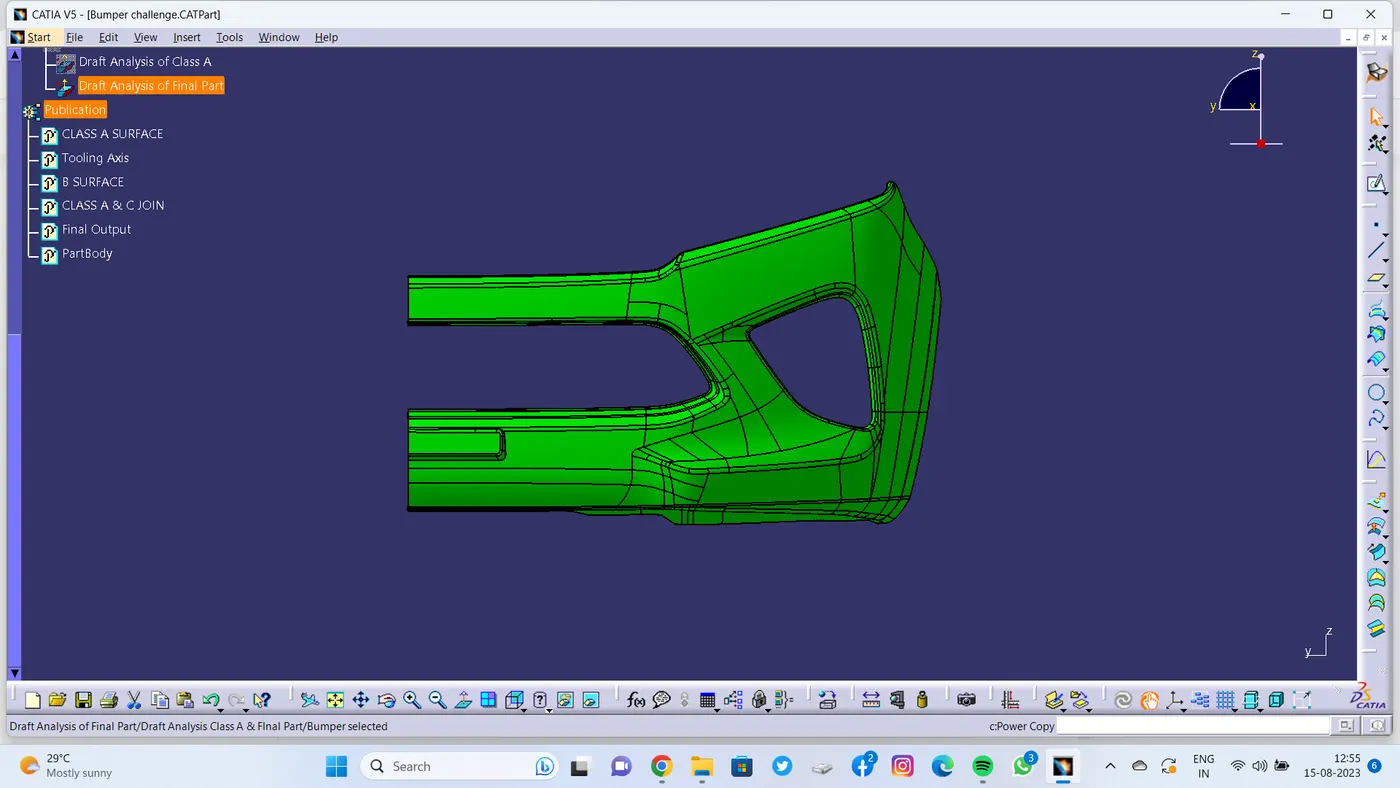
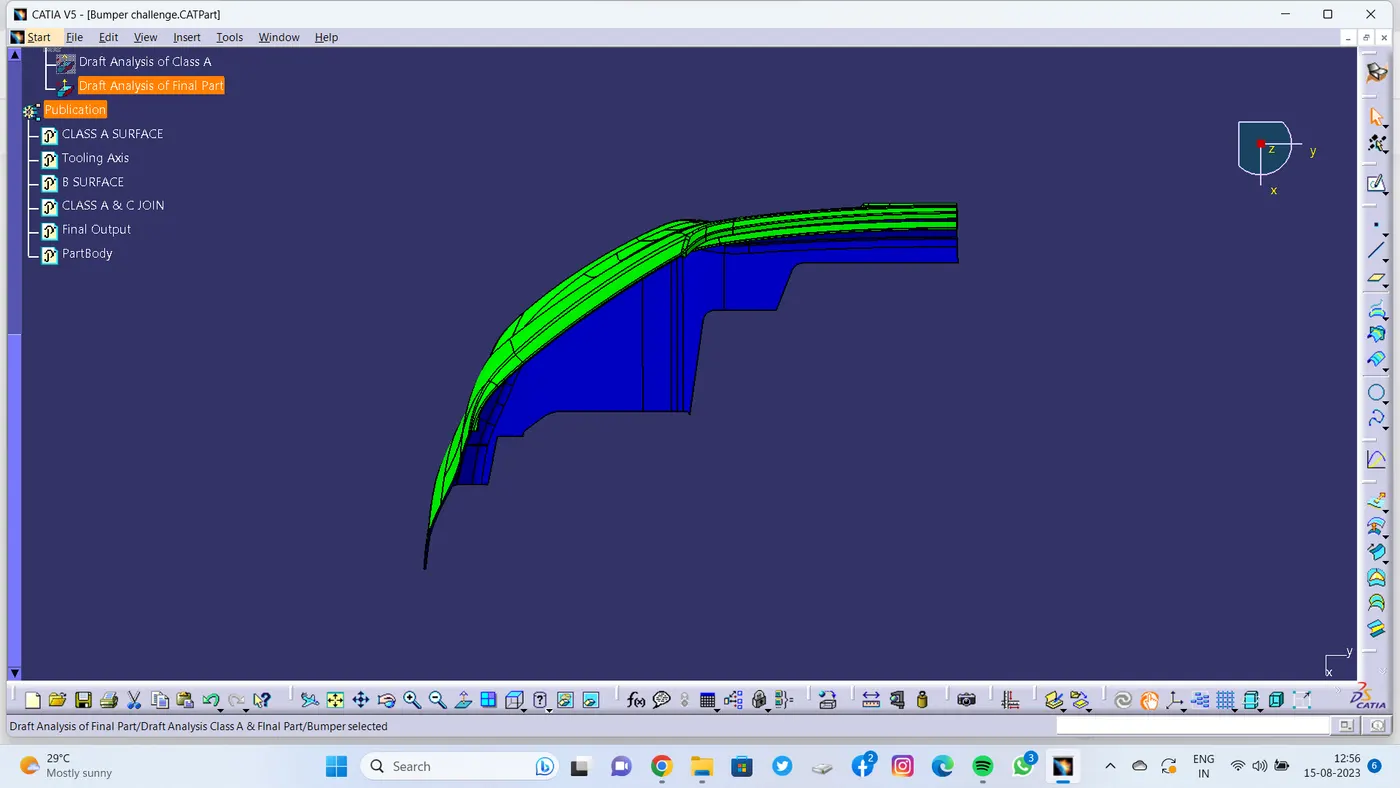
3. Creation of Draft Analysis for Final Product :
- In material mode selcted Draft analysis tool.
- Compass made in angle with the tooling axis created. and locked.
- some areas were showing red , so checked with analysis under running point for finding the error.
- And found some area under 3 deg , by using colour scale variant tool
- By decreasing draft angle to minimum level , found it to be clearing the tooling axis.
- And thus found our Final Product to be toolable.
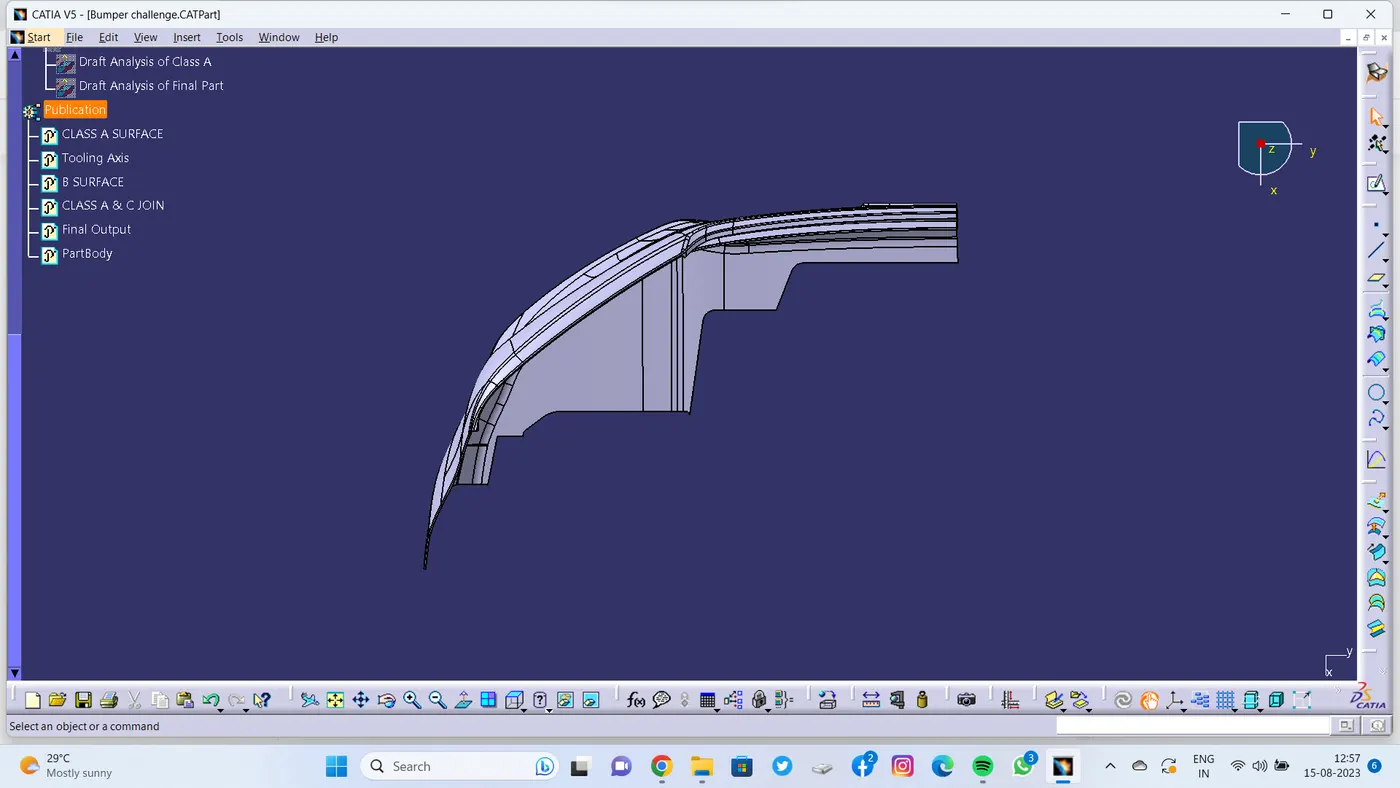
4. Images of Draft Analysis of Class A Surface :
5. Images of Draft Analysis of Final Product:
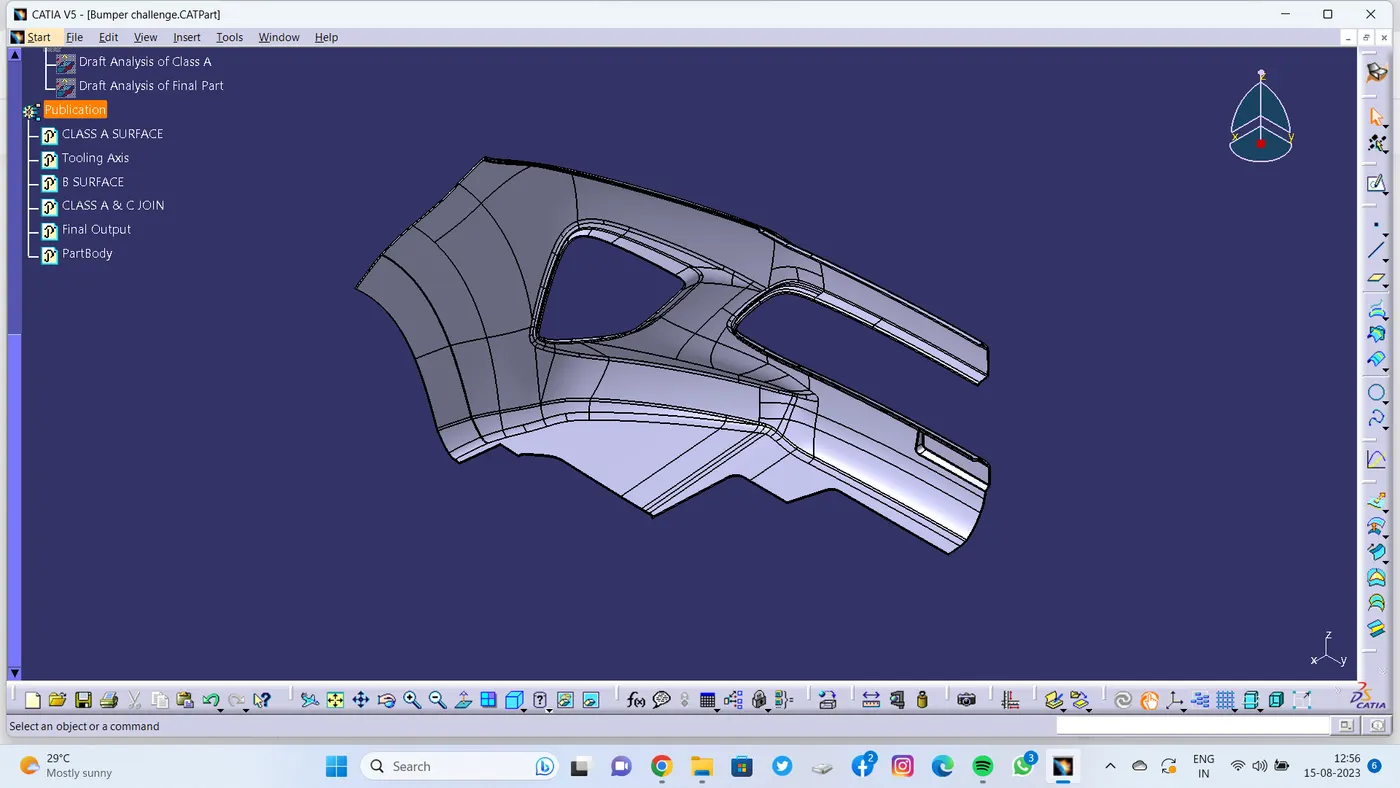
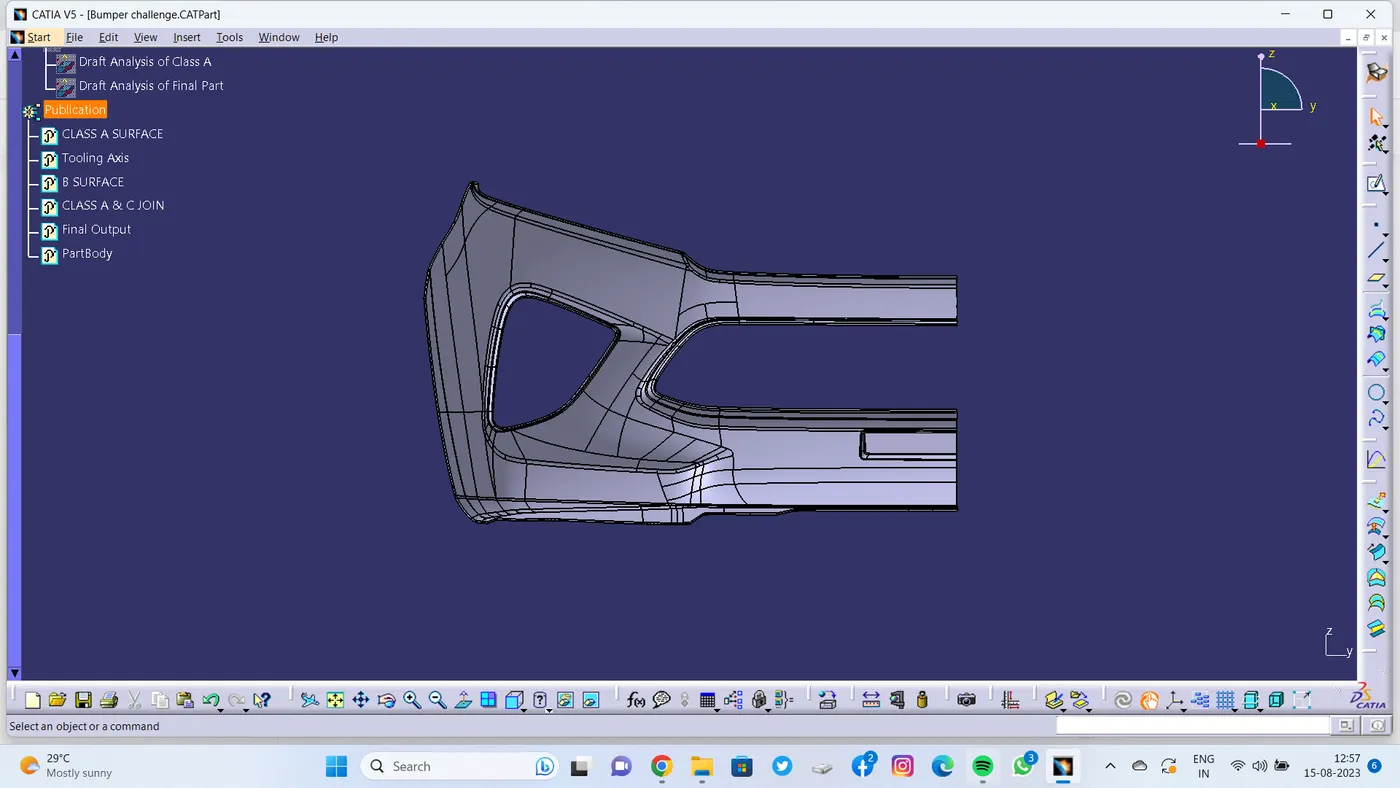
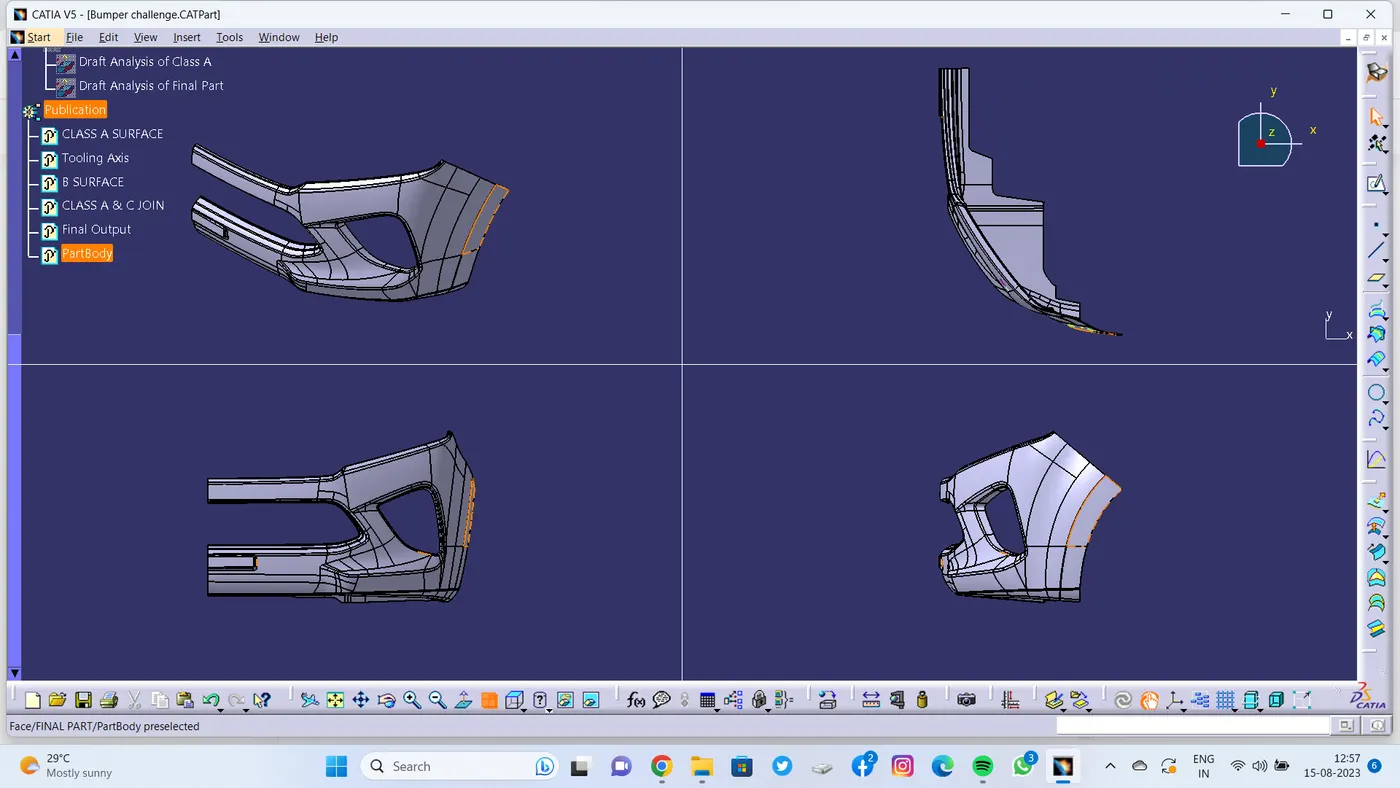
6. Images of FINAL PLASTIC PRODUCT :
THANK YOU !