Week 9 - Challenge 3 - Bumper
Design and Draft Analysis of Bumper
Objective:
Create the Bumper Plastic component through the given Class-A surface. To begin with, the tooling axis for the given Class-A Surface should be created meeting the requirements of the draft angle and at the end perform the Draft analysis on the model.
Take the Thickness of the component to be 3 mm.
CLASS-A SURFACE: the class-A surface is used in the automotive design industry. it describes the final production surface data for the aesthetic parts.
CLASS-B SURFACE: the class-B surface is the second surface that has a specific thickness from the class-A surface. this surface contains engineering aspects of a model. These must be smooth and "error-free" as well but are not held to the standards that class A surfaces are.
CLASS-C SURFACE: The Class C finish allows more imperfections than Class A or B. Class C is often specified for interior surfaces not readily visible, surfaces that will be covered by another part when assembled, or surfaces.
BUMPER:
Class_A_Surface:
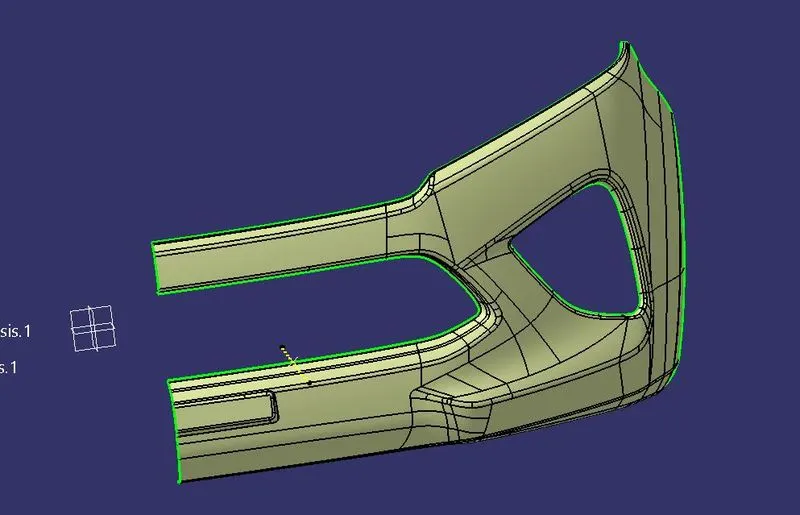
The above A_Surface is the source part for creating the B and C surface of the bumper.
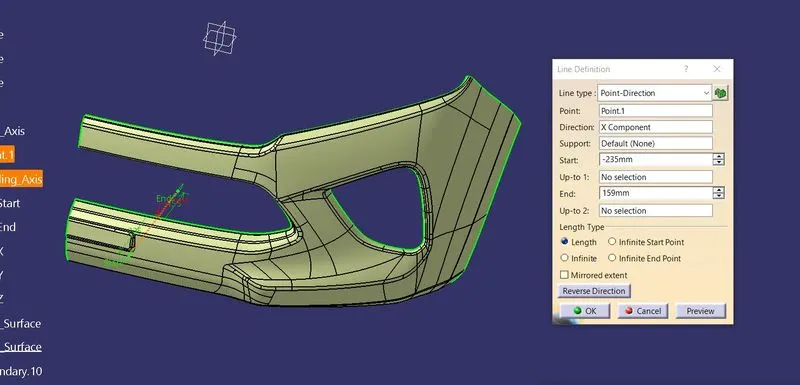
Tooling Axis:
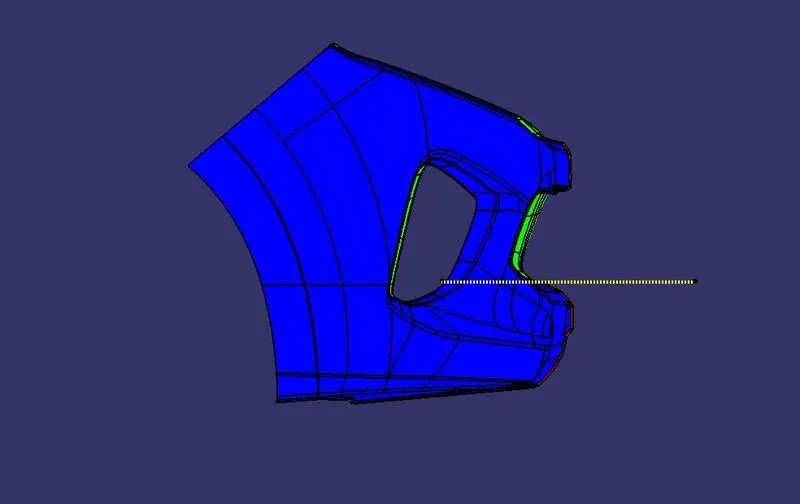
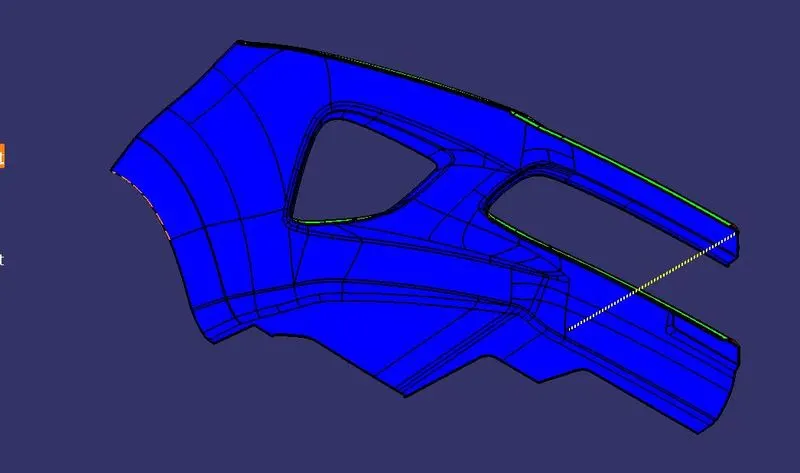
To create the tooling axis first we have to check the best suitable direction for tooling by using the compass. the x direction is suitable for creating the tolling axis because in the x direction most of the surfaces are clearing while performing draft analysis. Generally tooling axis is created using bisecting line method but here A line normal to the surface is created in the x direction and considered the tooling axis.
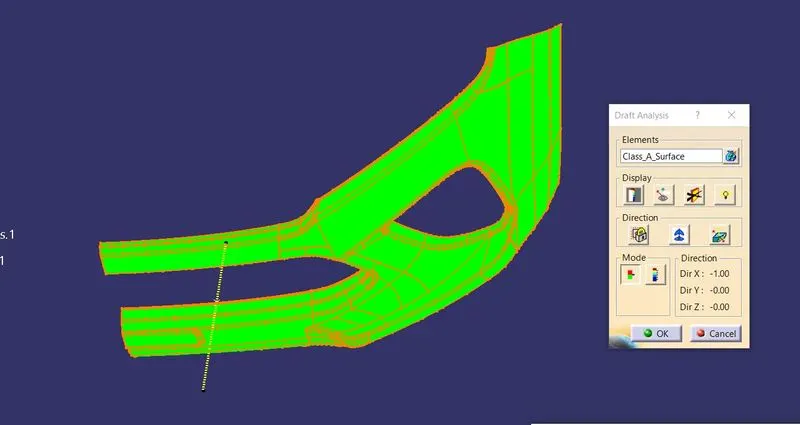
Draft analysis of Class- A
After creating a tooling axis we do the draft analysis. Before drafting we have to make sure that in the view mode it is selected for the materials.
After selecting the feature draft analysis tool we drag the compass from its position to the tool axis. Then lock the compass. After that select anywhere on the component and it will give you the result.
We change the minimum draft for the component to 3°.
We can use the running point option to check the angle of the component.
Class_B_Surface:
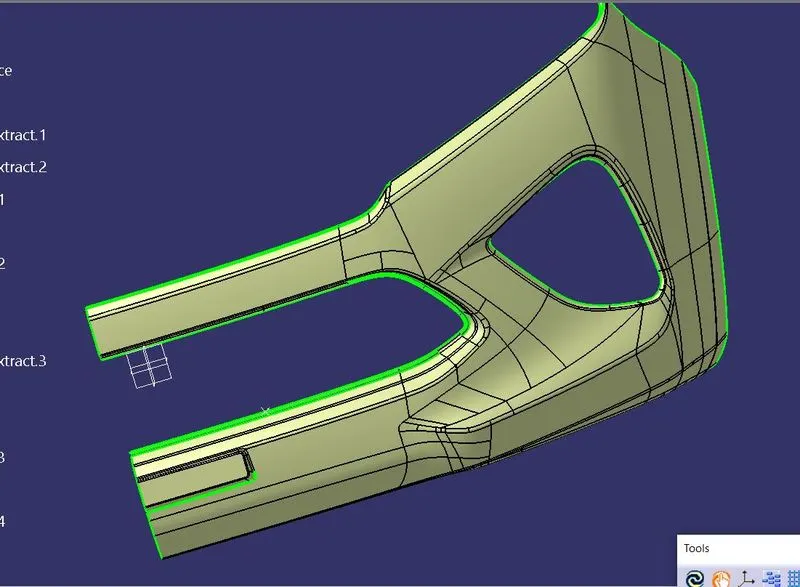
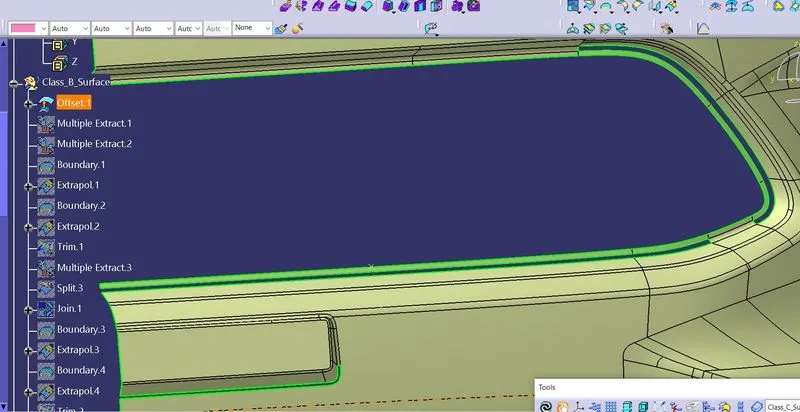
In this part we are going to use the another method for B_Surface creation, for this we can offset the A_Surface directly to the inward direction. After offseting we have some errors on the B_Surface. Because some fillet patches are not offset perfectly, they'll make incomplete surface gaps. So we want to create the near surfaces to extract, untrim and then extrapolate, later we'll trimmed them to get the final output. After we'll make fillet on it.
Offset_B_Surface:
Incomplete Surface:
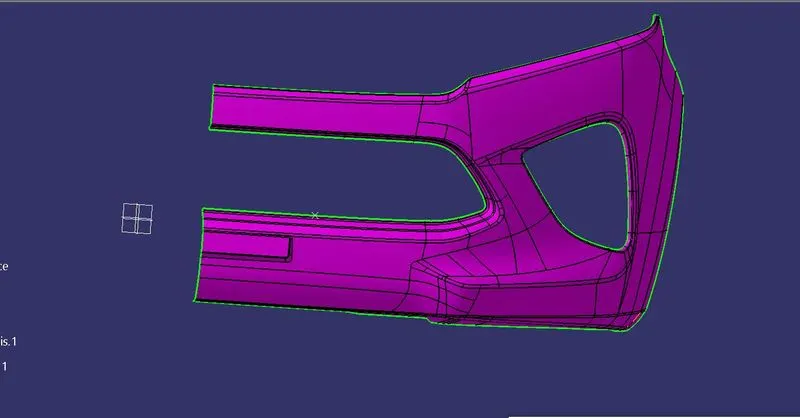
Final_B_Surface:
After creating all the surfaces on the B_Surface we can use that for the part creation.
Class_C_Surface:
In this we are going to use the A_Surface edge boundaries to create the C_Surface for the by using the sweep tool. In that sweep we'll use the draft direction to 3deg, and also using the reference surface to create the C_Surface.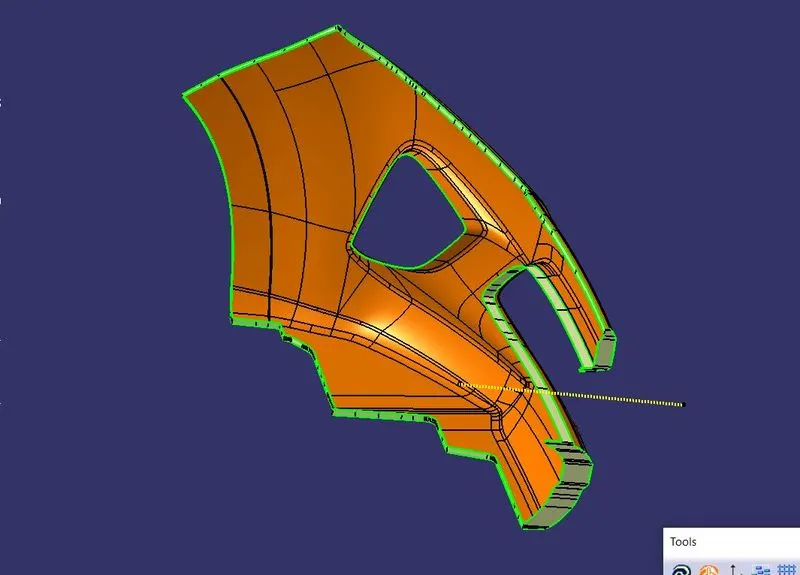
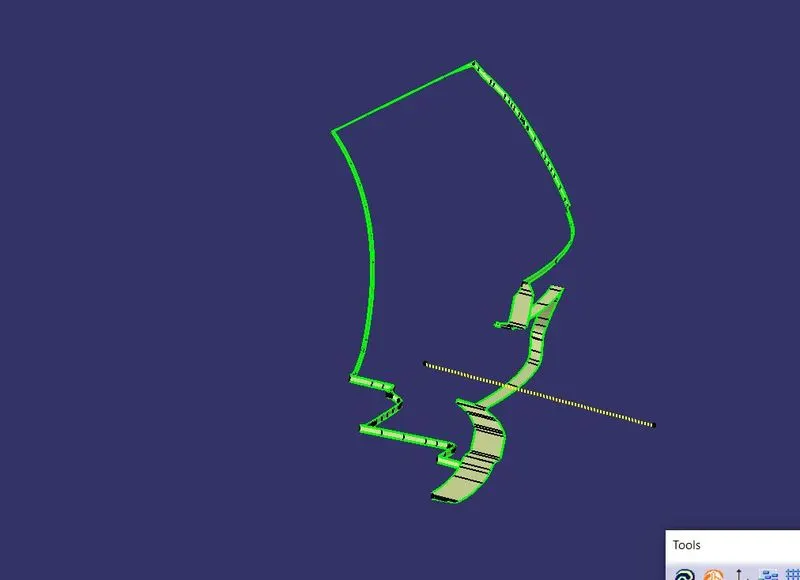
Then we are going to join the A_Surface and the C_Surface, later we'll get this surface. Then we can trim with the B_Surface, Later we'll get the final part surface.
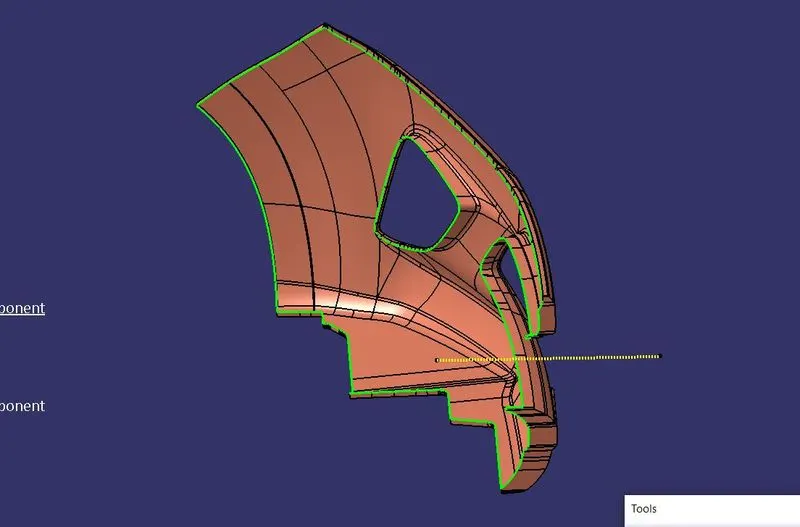
the final component surface,
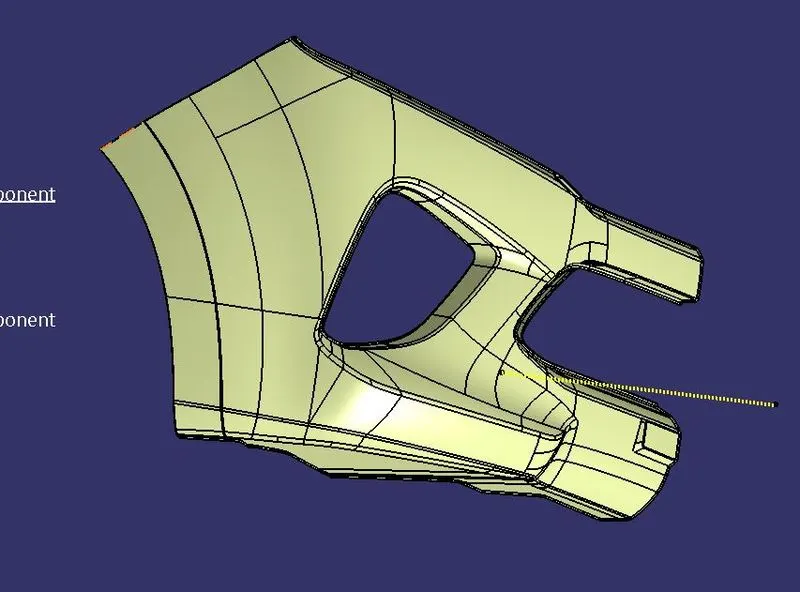
Final Plastic Component:
By using the close surface tool in the part workbench we'll get the final part as solid profile.
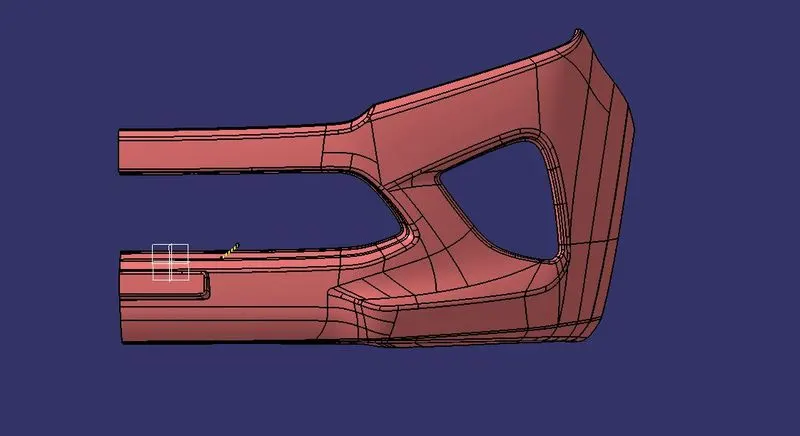
Draft Analysis for Final Plastic Component:
By using the above procedure for the Class_A_Surface we'll use the same procedure to find out the draft analysis for the Final component.
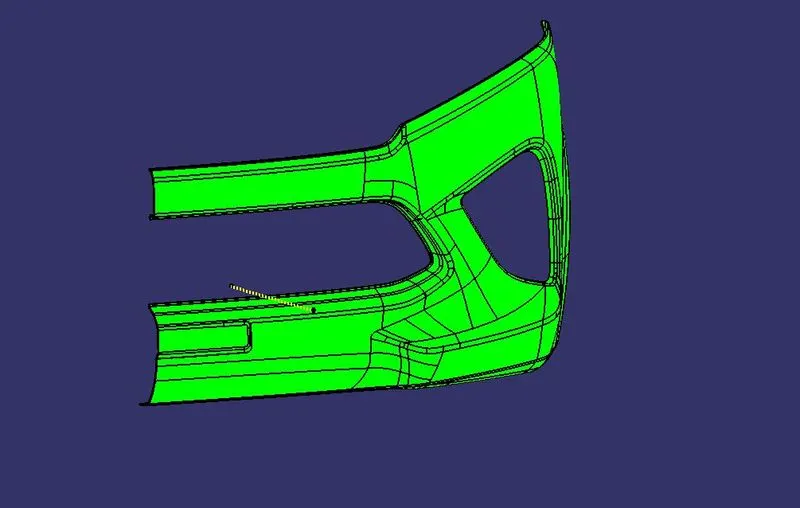
Front View:
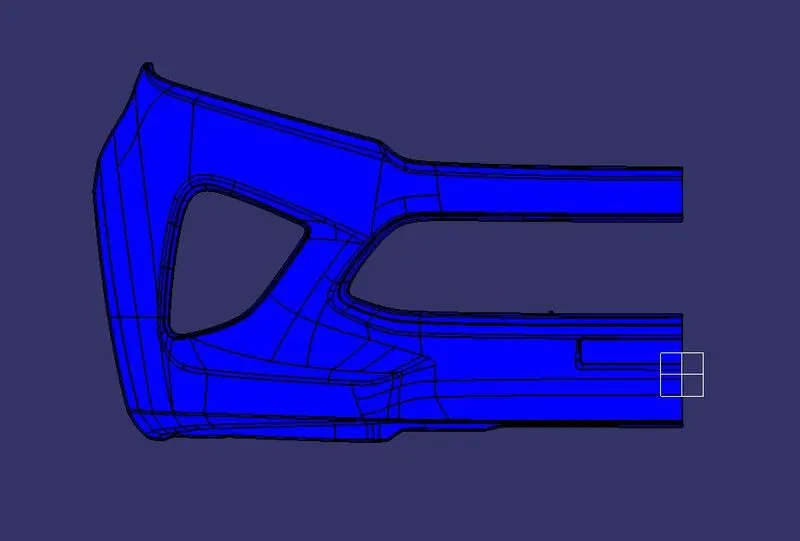
Top View:
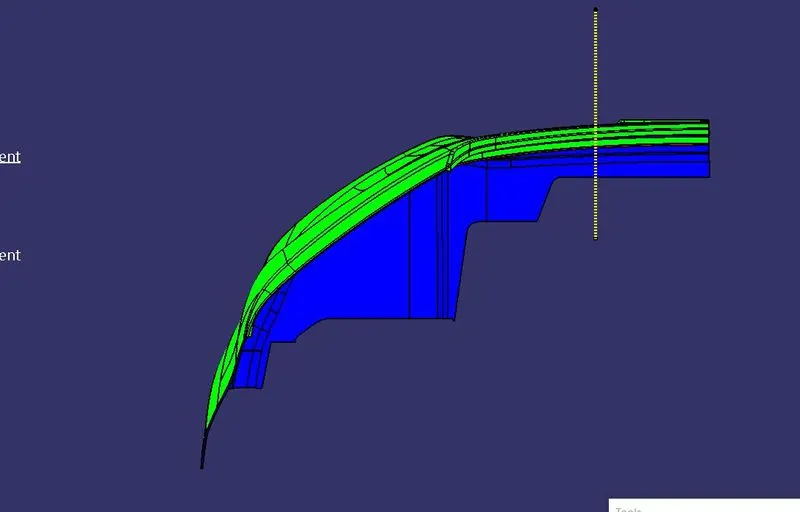
Side View:
Isometric View:
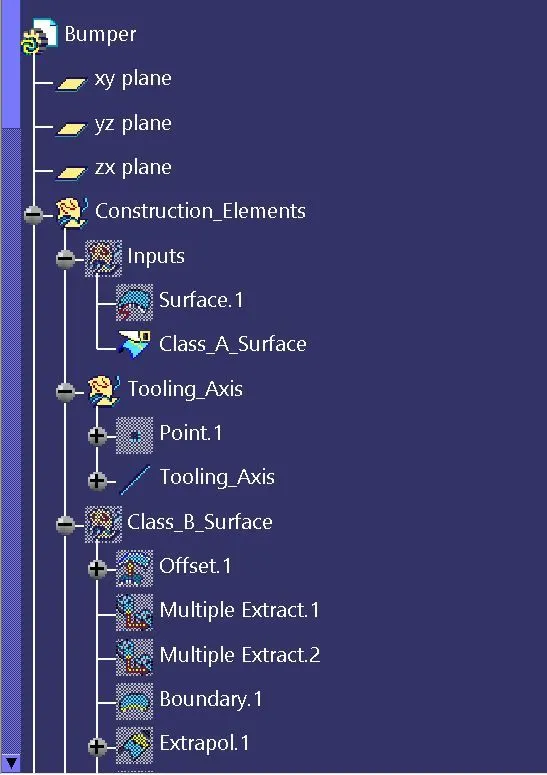
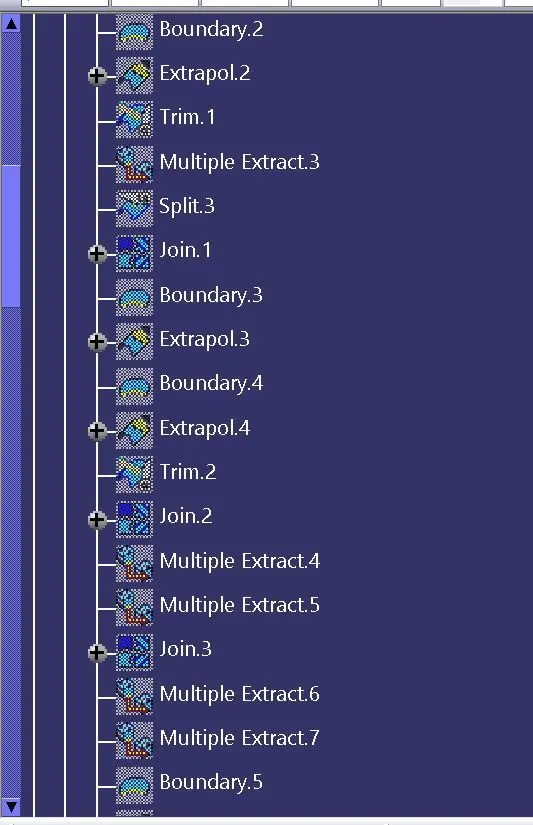
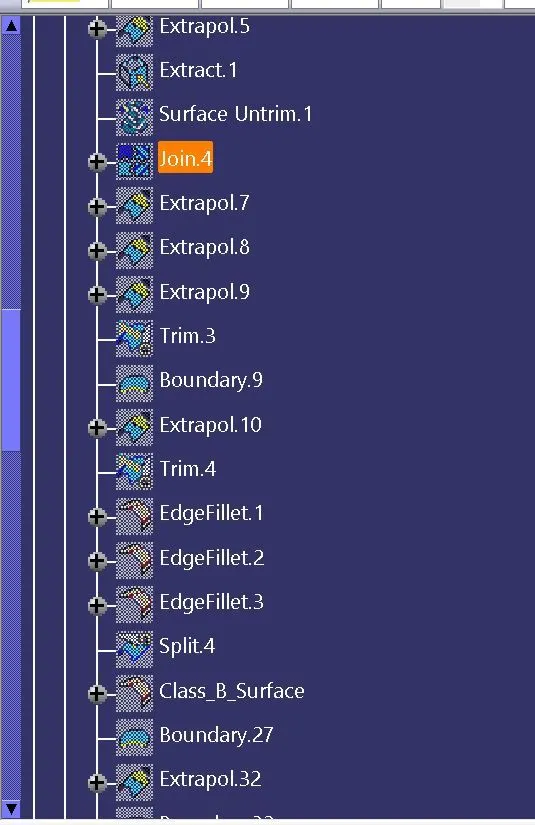
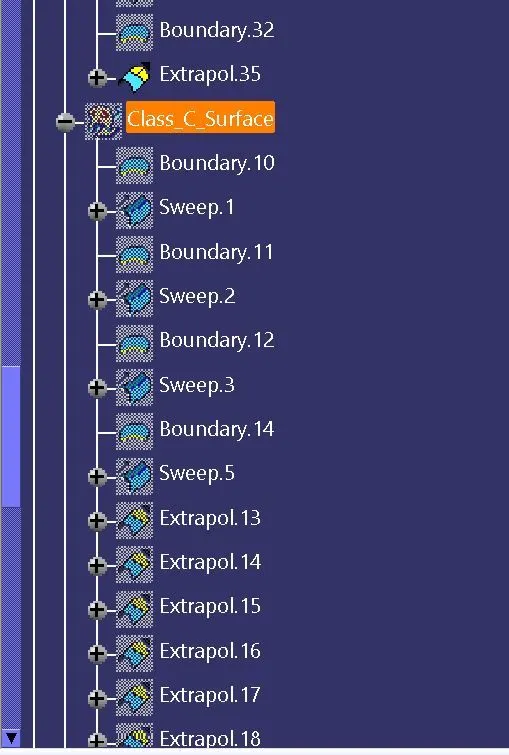
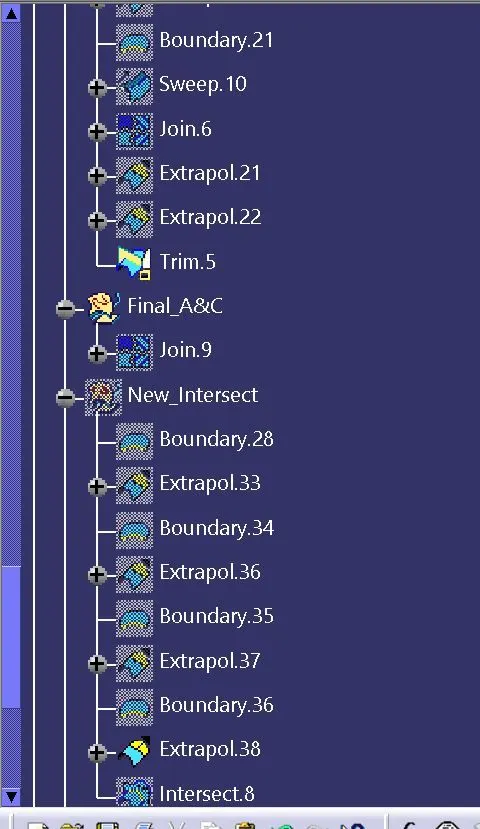
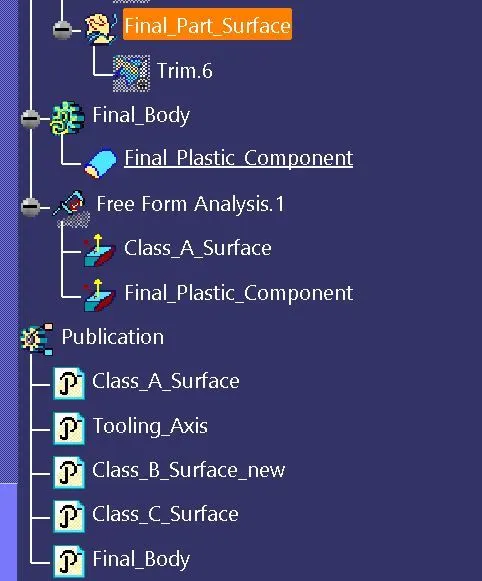
Tree Structure: