Week 9 - Challenge 3 - Bumper
AIM :
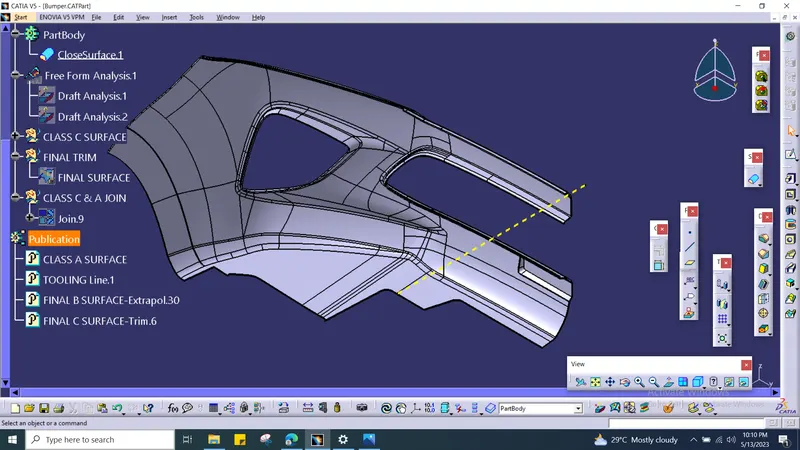
Create the Bumper Plastic component through the given Class-A surface. To begin with, the tooling axis for the given Class-A Surface should be created meeting the requirements of the draft angle and at the end perform the Draft analysis on the model.
Take the Thickness of the component to be 3 mm.
GIVEN CLASS A SURFACE :
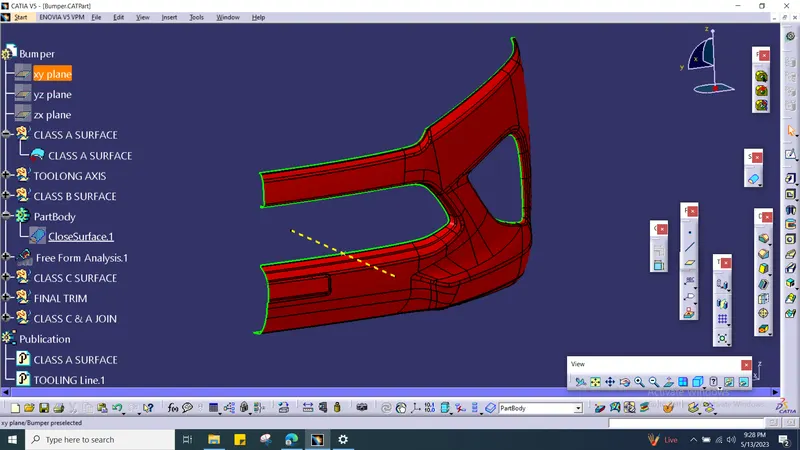
This surface given from styling team. With this surface we need to check all boundary and near closet checkpoints.
With the help of the Surface A we will make the surface B and surface C as well. After that we will do the tickining using close surface tool. Atlast we will do the draft Analysis. With the Analysis we will understand the behaviour of the entitre model.
CREATION OF TOOLING AXIS:
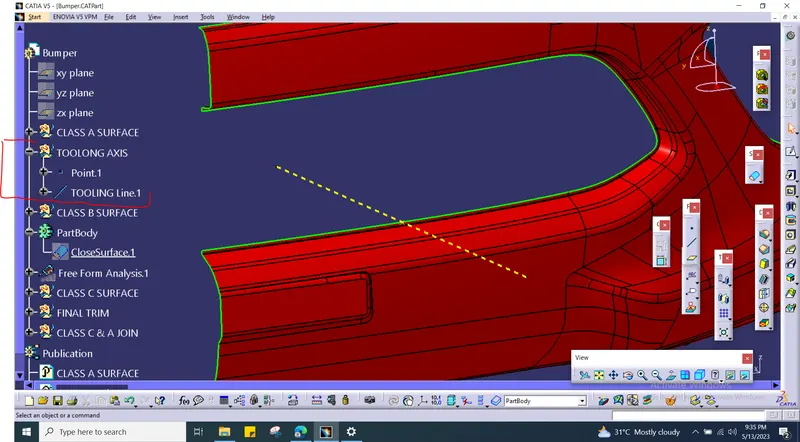
In this cases we need to check which axis need to create tooling line direction. Inorder identify axis which axis having most viewable space.So that axis is X axis in this case. In X axis having most area are viewable so that we decided the X axis.
Creating Tooling line we need to have one point using on curve option. With help of point we can drawing line using point on direction.
These are the way to create the Tooling axis in a proper way. For more understanding refer below image.
CREATION OF B SURFACE:
Initially we need to offset the class A surface upto 3mm.
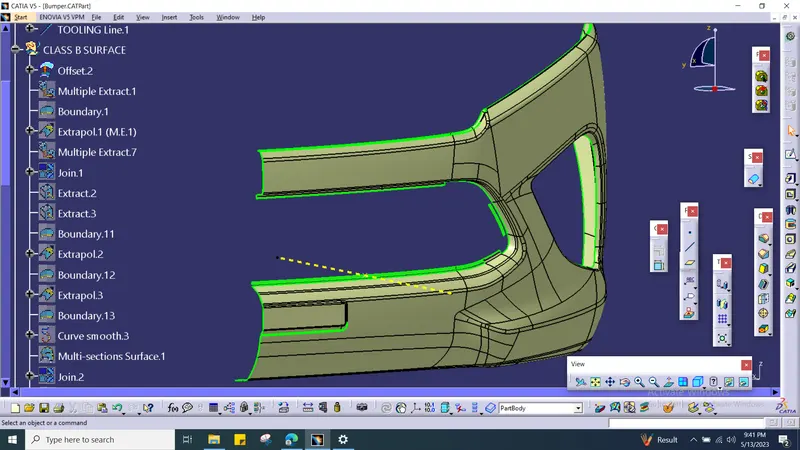
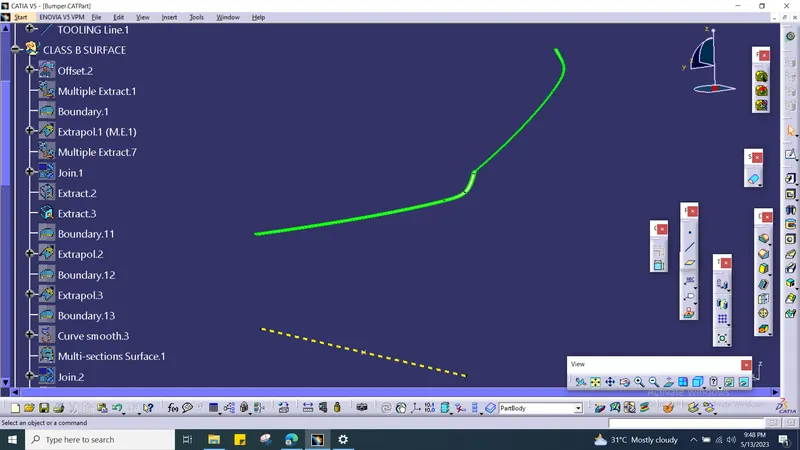
In this B surface which line are going to intersect with C surface that surface we need to do proper zero boundary surface. Then only we can do Final trim in last portion. Due to that surface creation we need to using exact geomentry, Exact multiple, Join, Split, Trim, Offset, Extrapolate.
SURFACE B - TOP OF THE BUMPER:
B SURFACE - BUMPER GRILL PORTION :
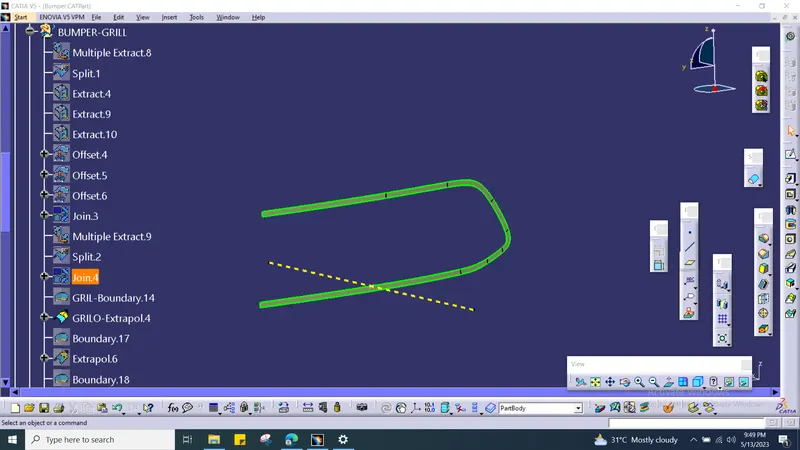
B SURFACE - NUMBER PLATE PORTION :
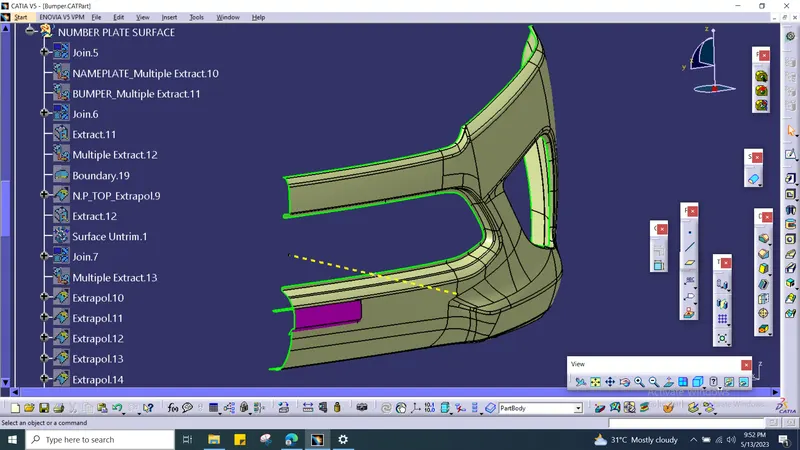
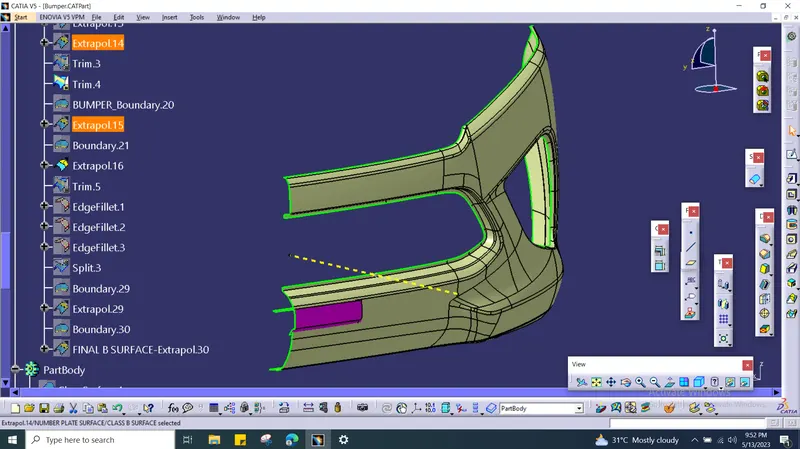
FINAL B SURFACE :
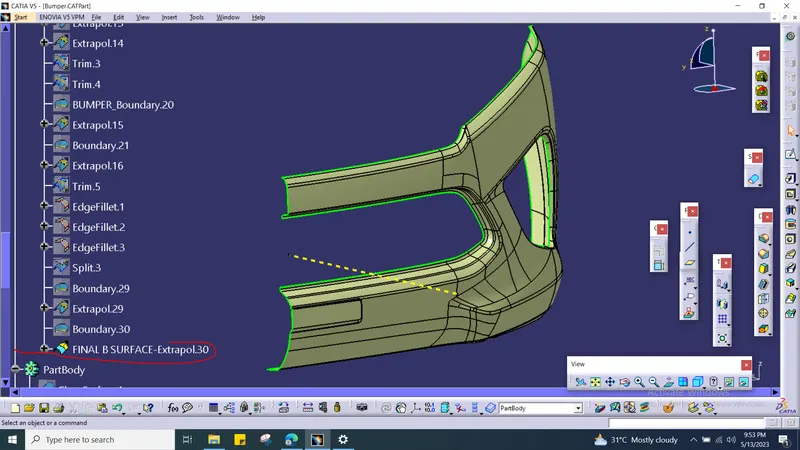
C SURFACE CREATION :
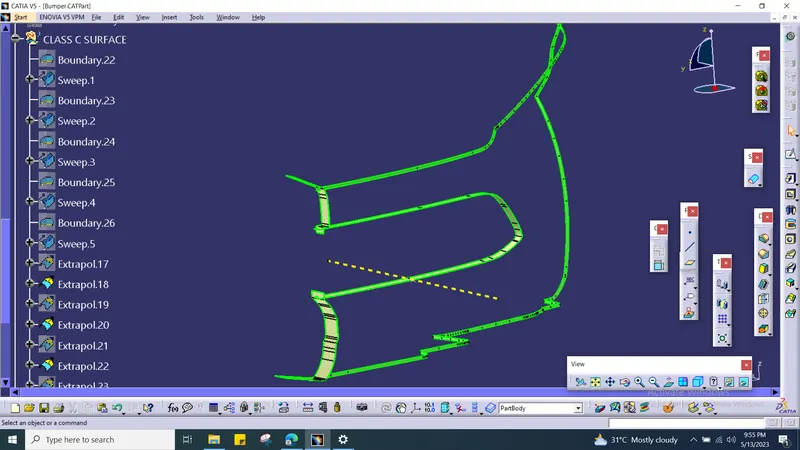
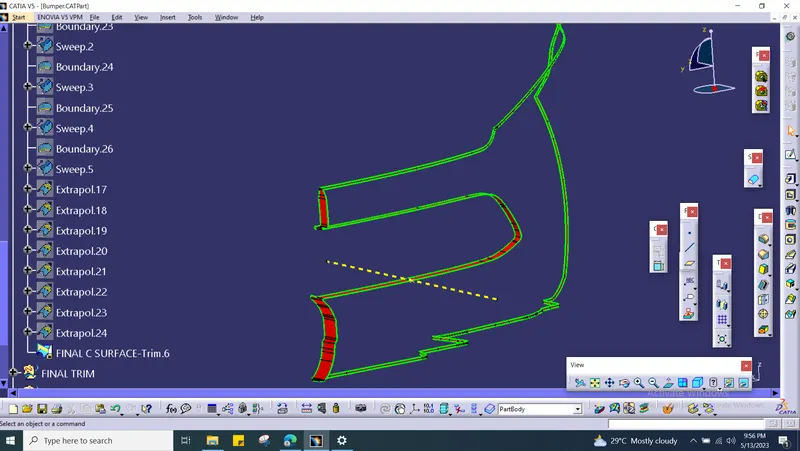
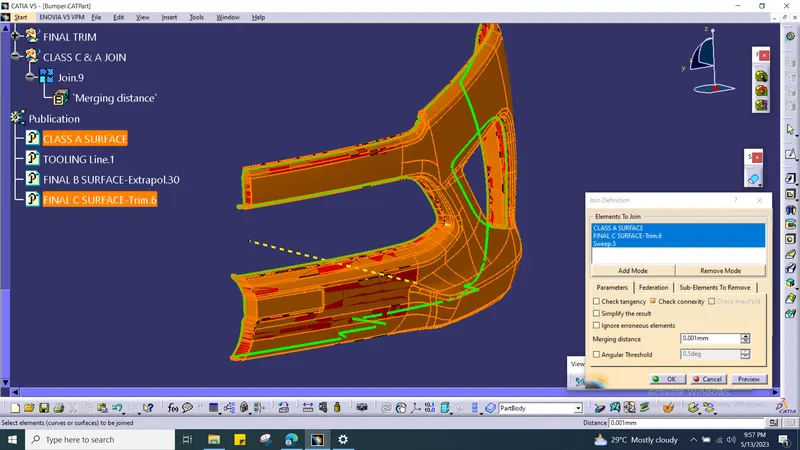
JOINING A & C SURFACE :
Join A and C surface using join tool. With these joing process we can trim the B surface as a Final trim. Before that ensure that all surface projected sufficient length then it will intersect the B surface.
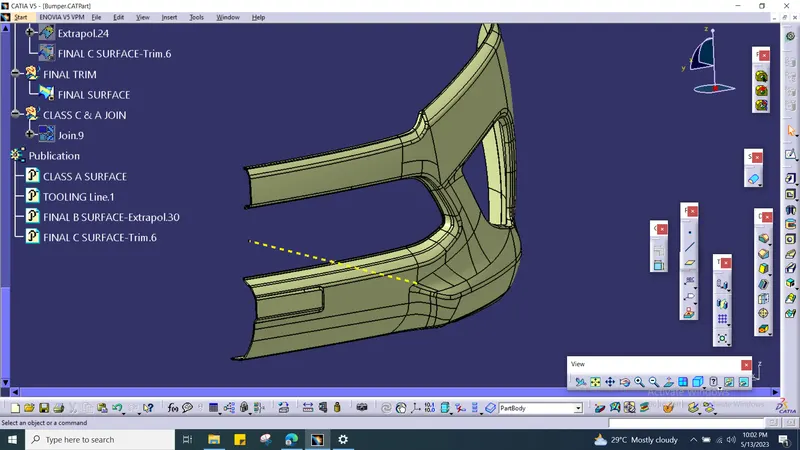
FINAL TRIM :
After proper intersecting line with both surface then we need to do final trim.
CLOSE SURFACE :
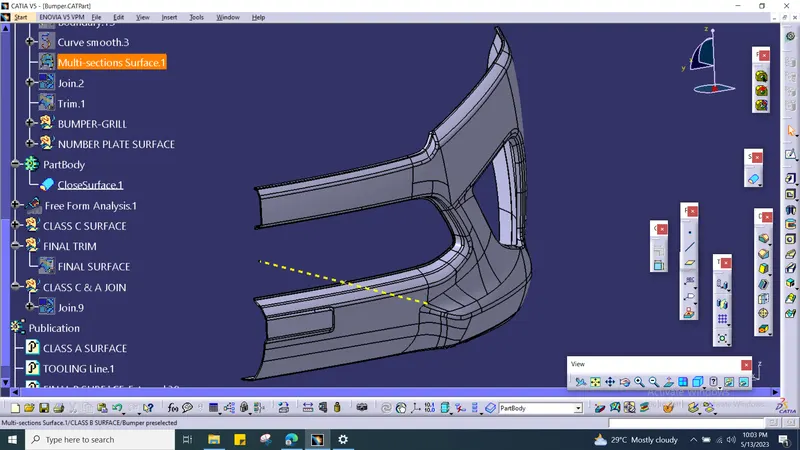
PRE-DRAFTING ANALYSIS OF CLASS A SURFACE :
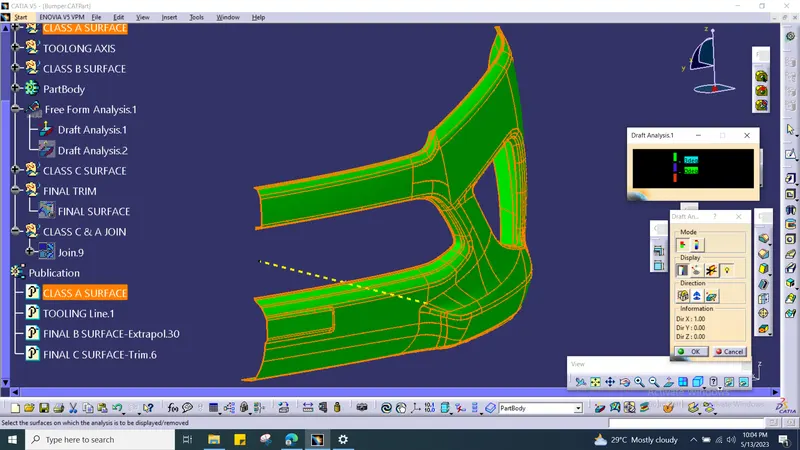
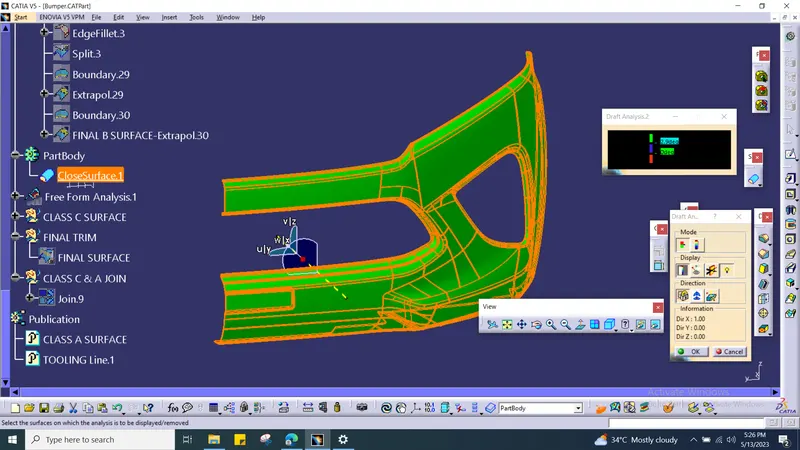
FINAL DRAFT ANALYSIS :
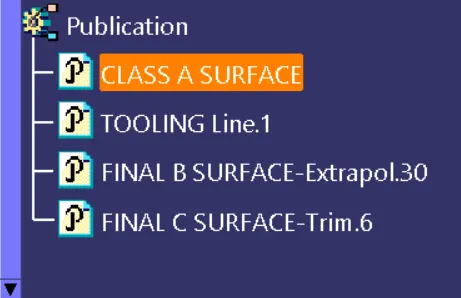
PUBLICATION :
FRONT VIEW :
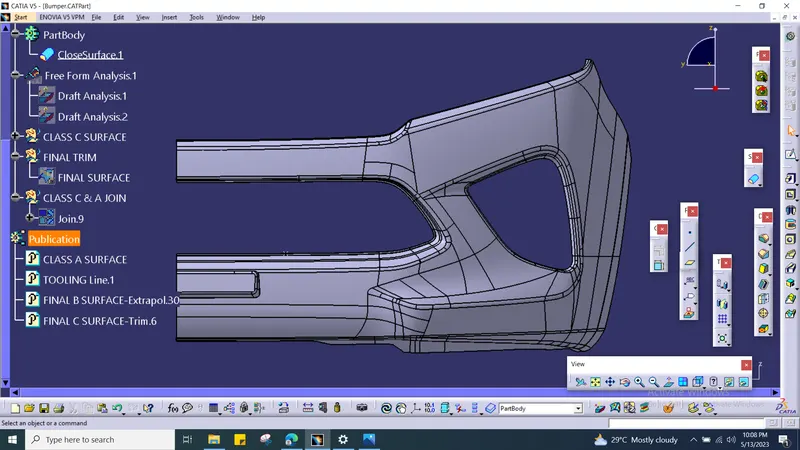
SIDE VIEW :
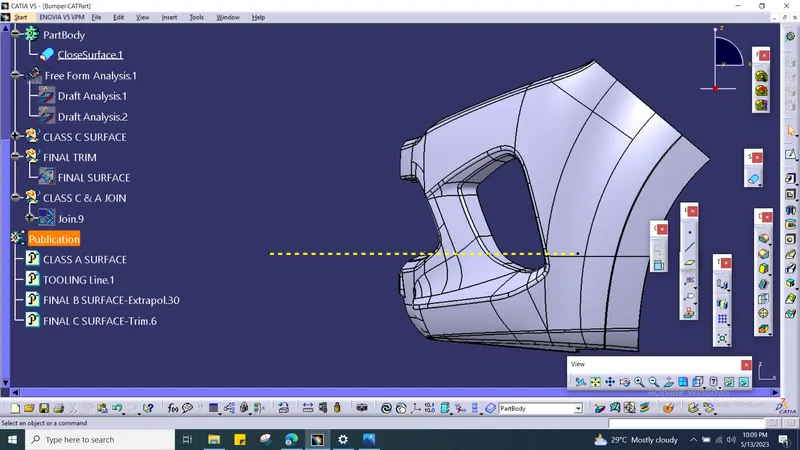
TOP VIEW:
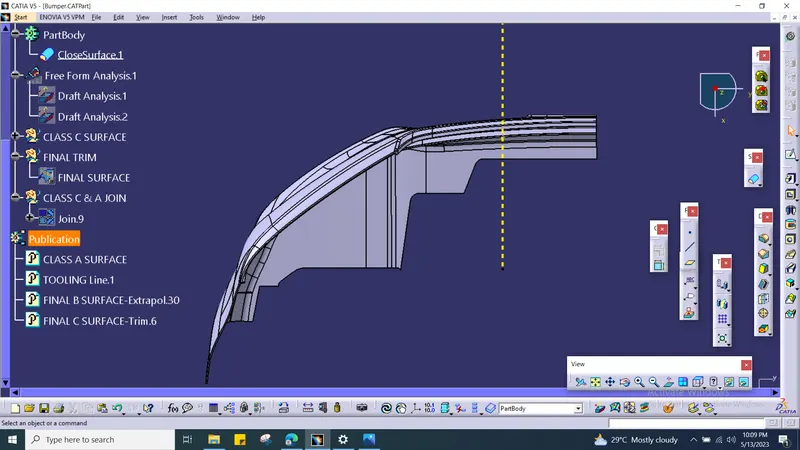
ISOMETRIC VIEW :
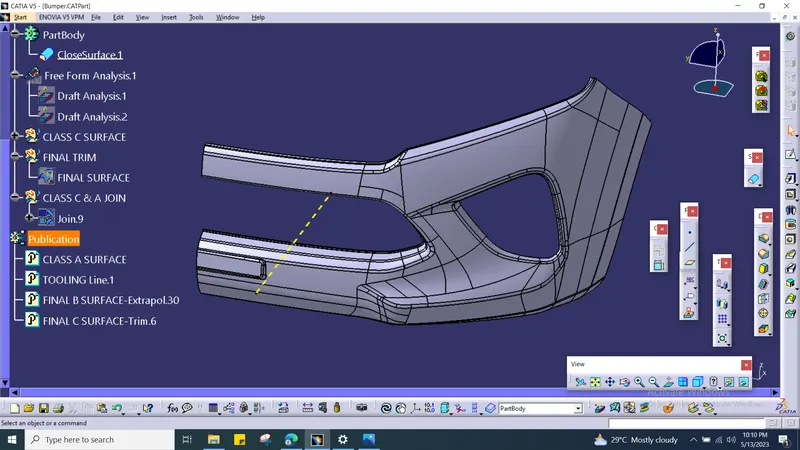
CONCLUSION:
As per above instrction given we created the surface B, C and draft analysis using close surface method