Week 9 - Challenge 2 - Switch Bezel Design
The SWITCH BEZEL CLOSESURFACE Method has been used which they provided by CATPART and I have attached with the 2D(Drawing) and with CADpart.
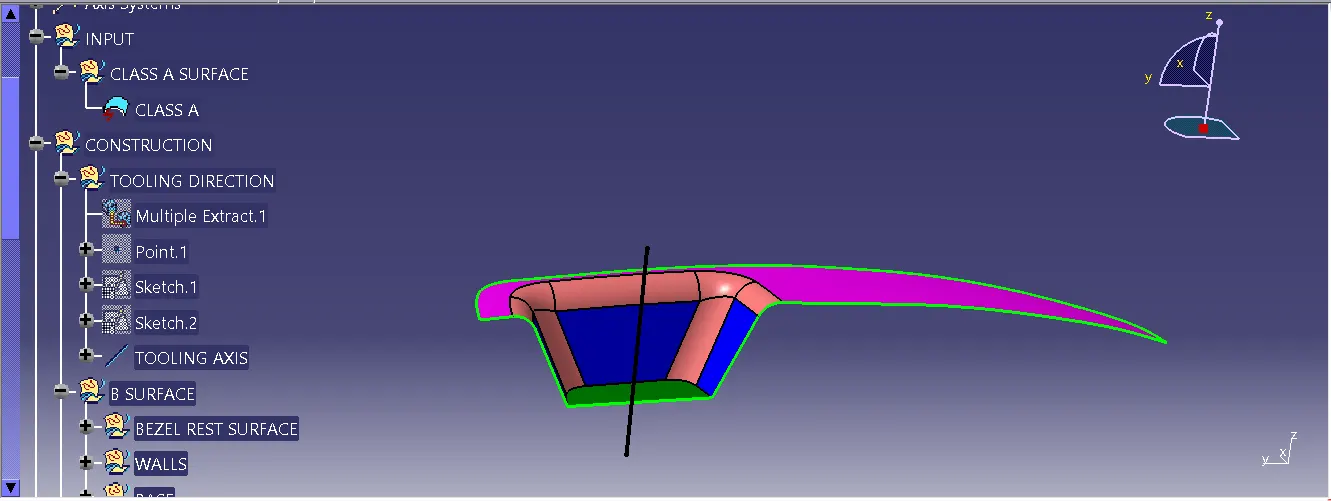
STEP 1: I used the side walls to make a supporting tooling line with that i used the Bisecting Line to create a TOOLING AXIS,
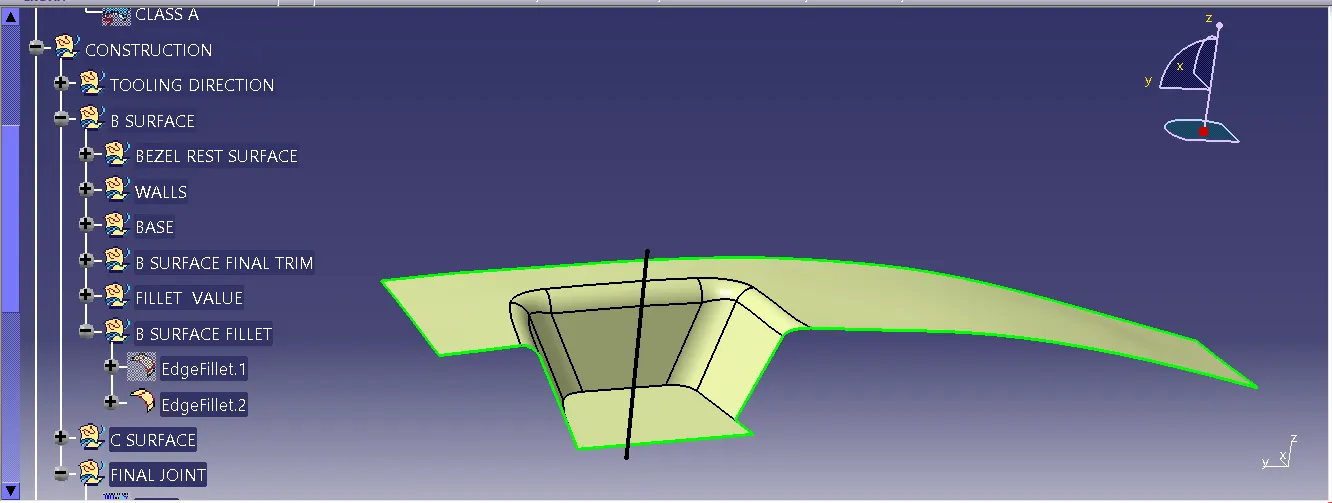
STEP 2: i create step by step to create a B SURFACE, Like make a BEZEL REST SURFACE after that i made a WALLS, and i made a BASE and TRIM with the BEZEL REST SURFACE, WALLS AND BASE. And i uesd to find the fillet value and i made a EDGE FILLET,
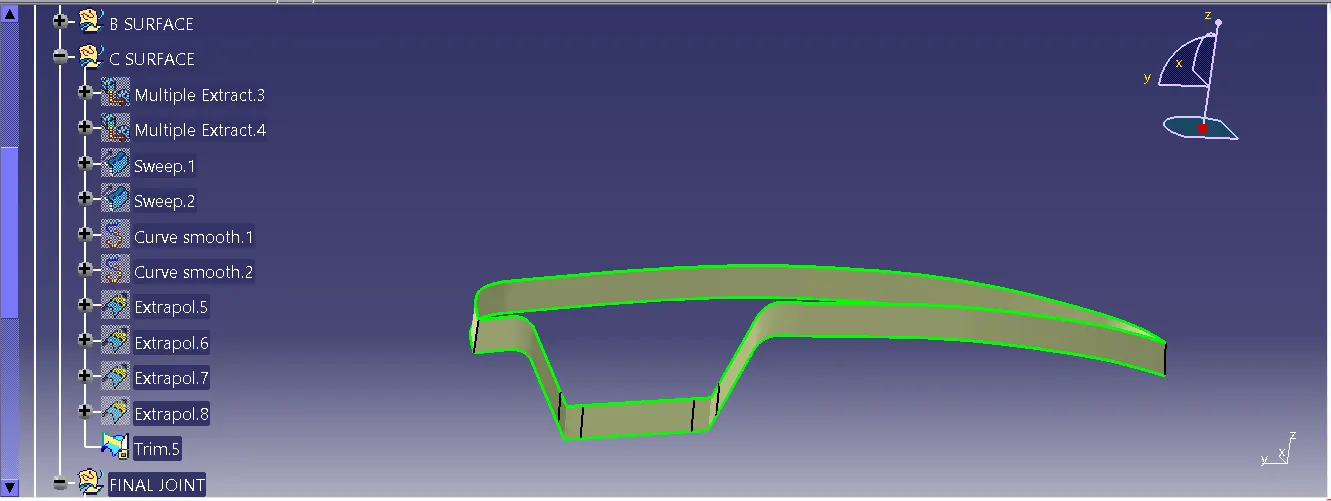
STEP 3: Creating the multiple extract by using the CLASS A SURFACE, In that i made a SWEEP and a CURVE SMOOTH for the edges connection with that I made a EXTRAPOL with a both end which is not intersecting the EXTRAPOL and I made TRIM with that to make a CLASS C SURFACE,
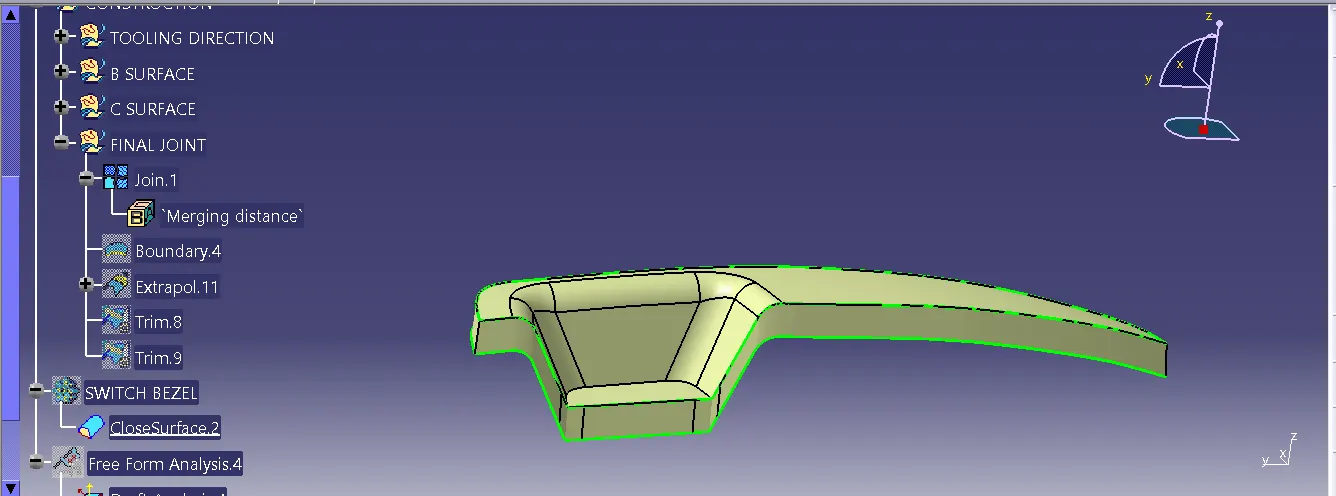
STEP 4: I used the JOIN command to JOIN the CLASS A and CLASS C SURFACE,
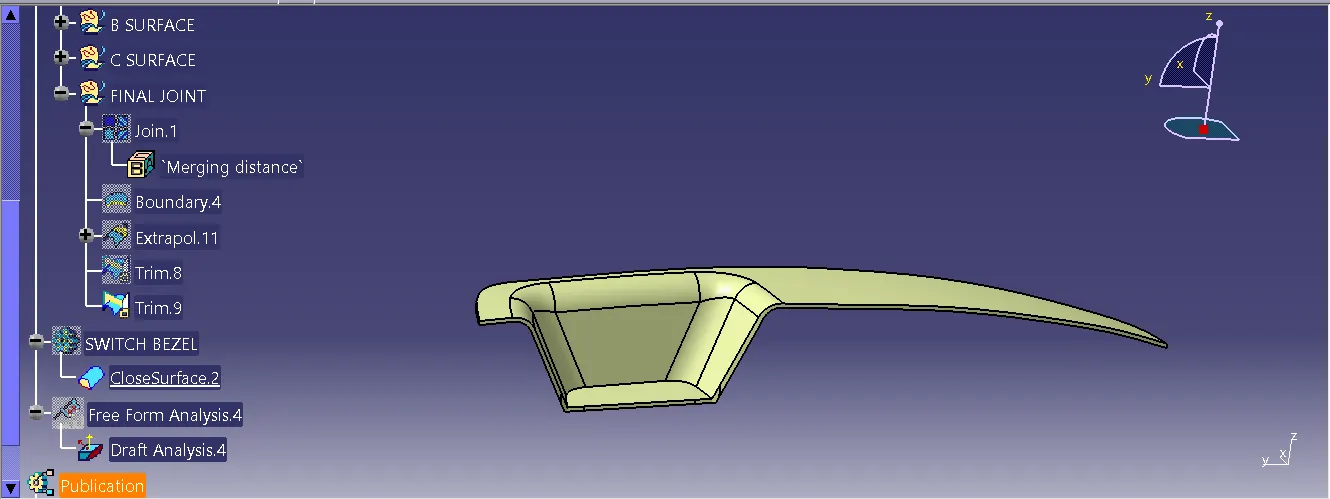
STEP 5: I used the TRIM command to TRIM the CLASS A, CLASS C SURFACE with that CLASS B SURFACE,
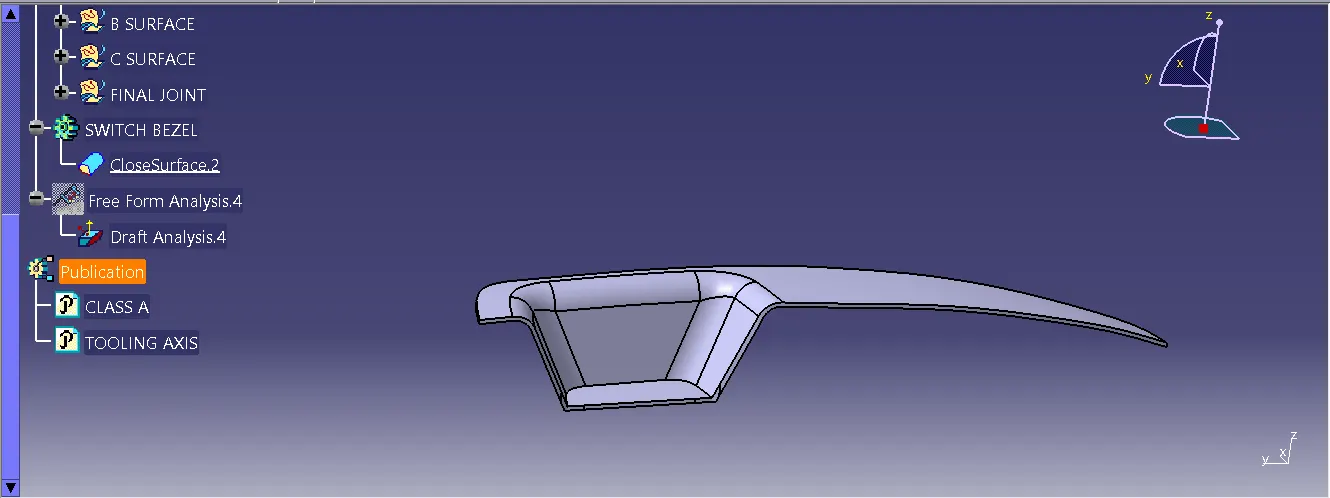
STEP 6: I used the PART DESIGN to make the CLOSESURFACE,
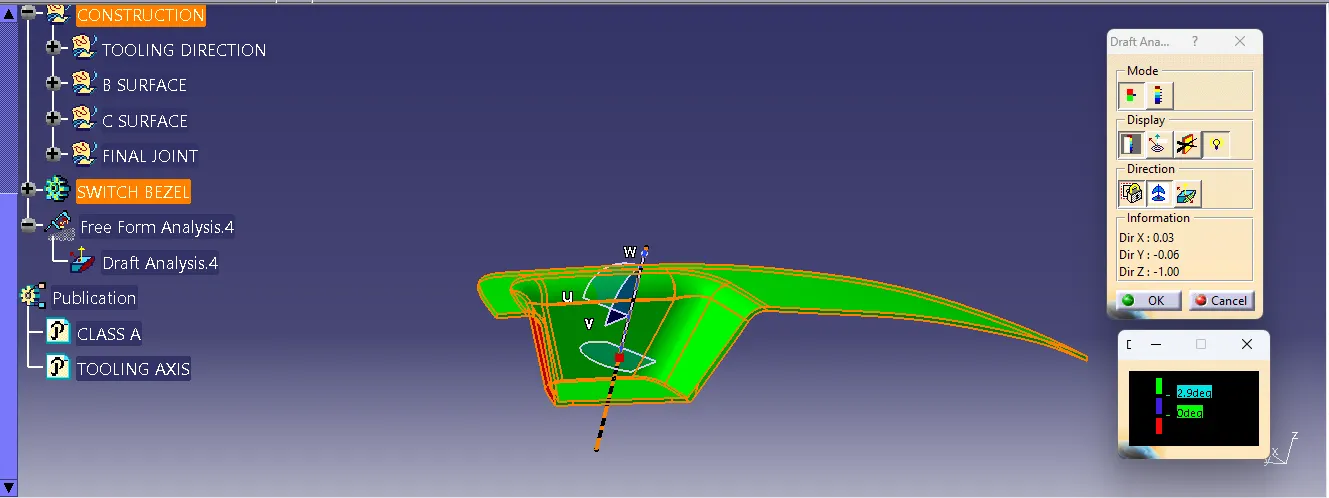
STEP 7: I used the FREE FROM ANALYSIS tool to make a confirm the correct degree,
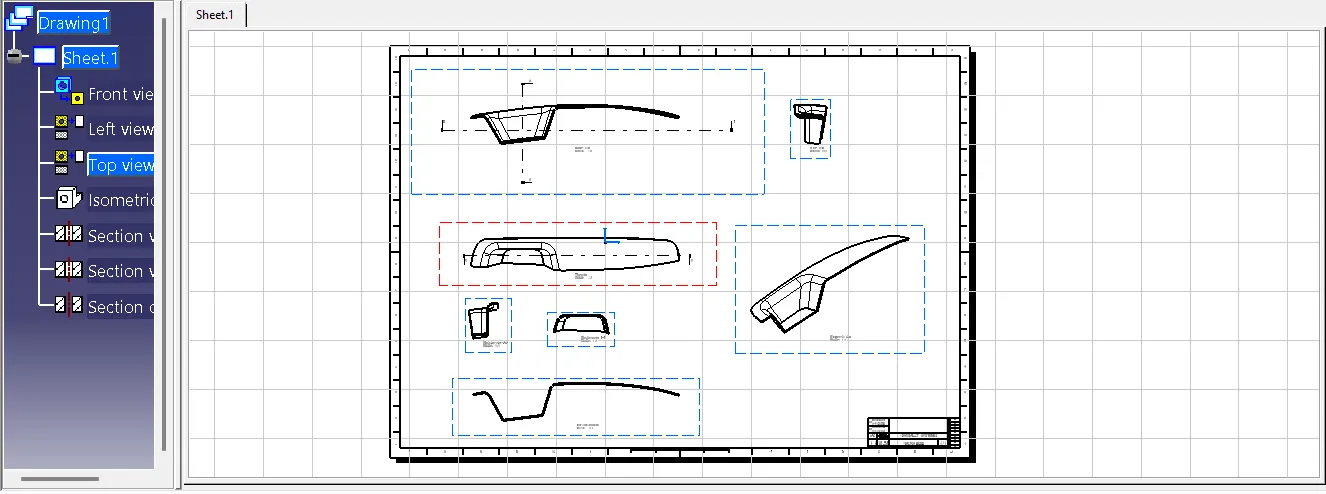
STEP 8: I have created the DRAWING using the TOP VIEW, SIDE VIEW, FRONT VIEW AND ISOMATRIC VIEW.