Week 9 - Challenge 2 - Switch Bezel Design
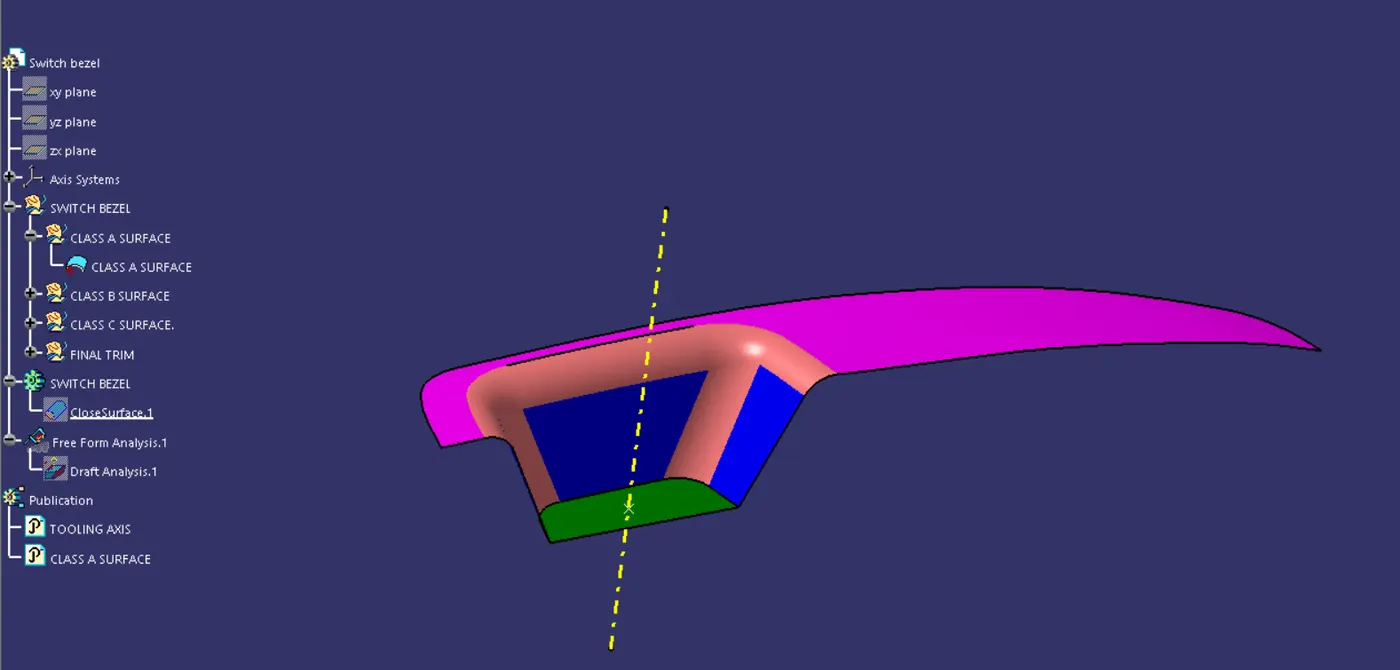
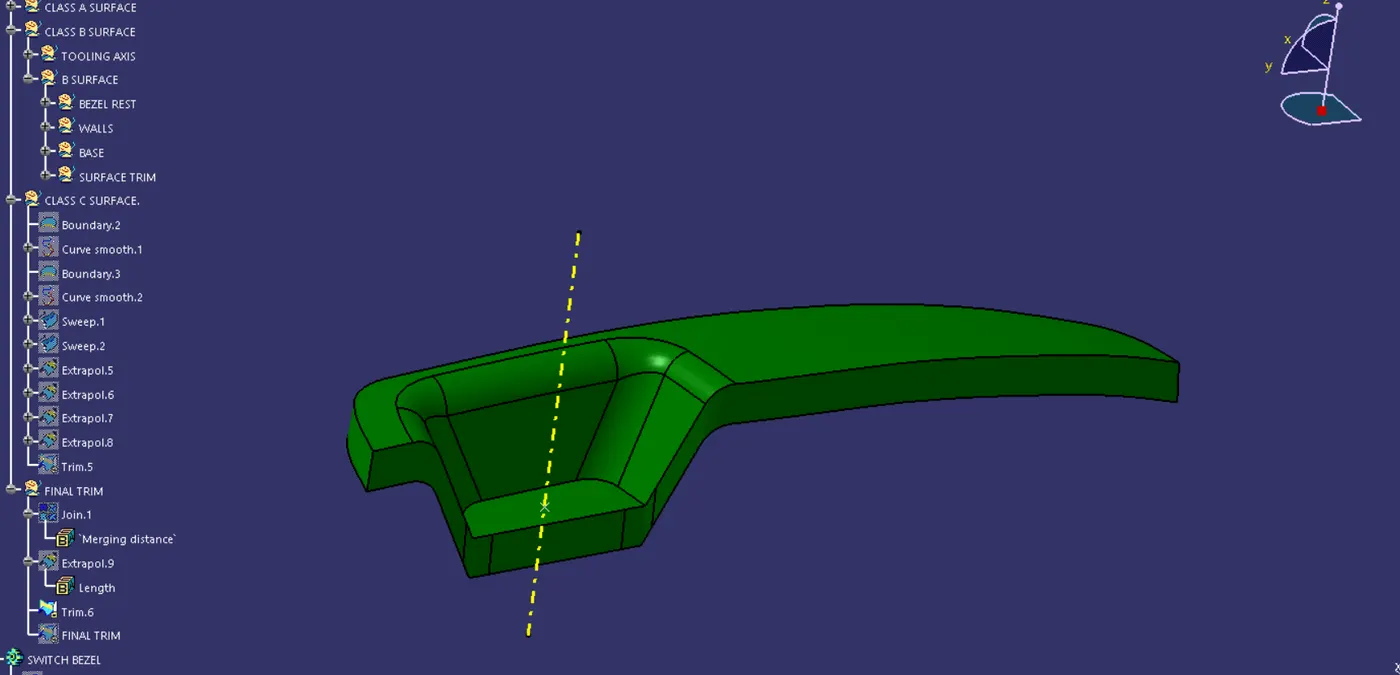
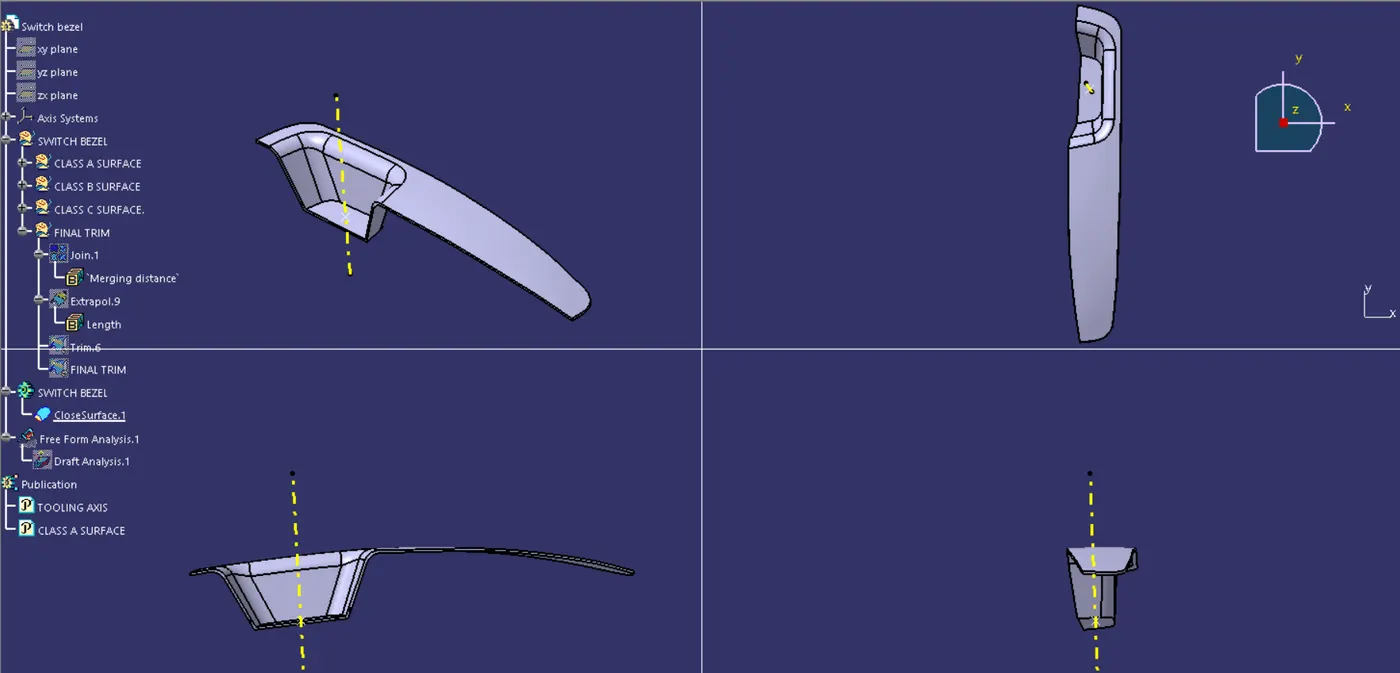
TOOLING AXIS
The direction in which the mold or the core and the cavity opens is called as the tooling axis.
Class A Surface
Checking the connectivity by using the boundary or the intersection feature.
Class B Surface
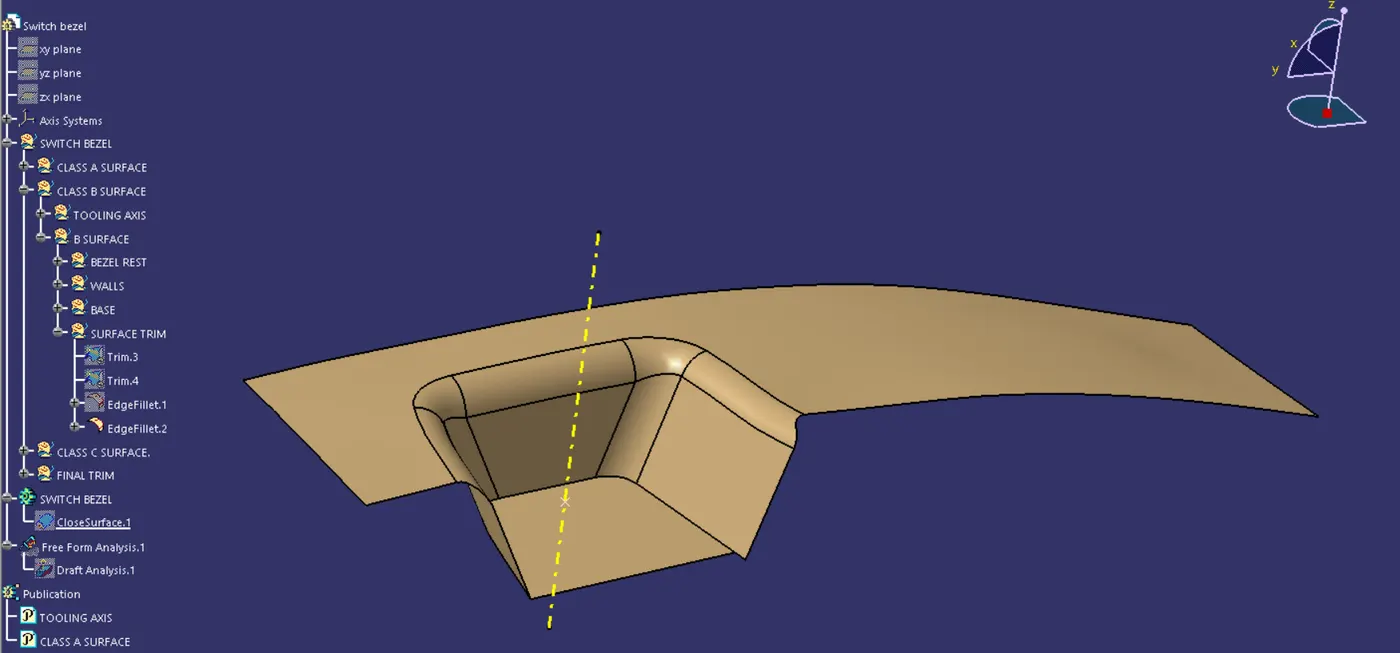
Created by extracing the walls, bezel and the base , untrimming it, extrapolating and offsetting it the given thickness before triming it all together.
Class C surface
Created by sweeping the draft by direction method, where with the boundary of the class a surface is used as the guide curve along with the tooling axis we are able to join the class A & B surface together.
Step 1
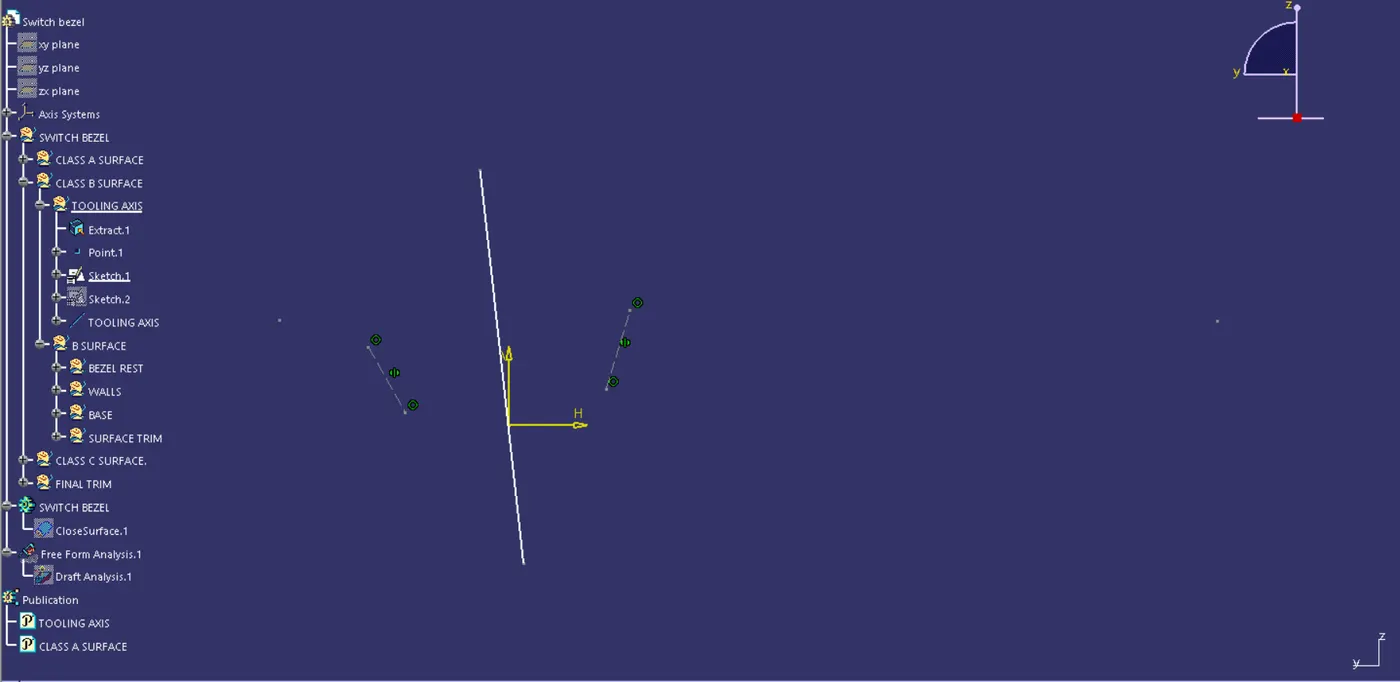
We used the sketch workbench to determine the intersection of the walls created lines on each side bisceted it to find the first dummy tooling axis.
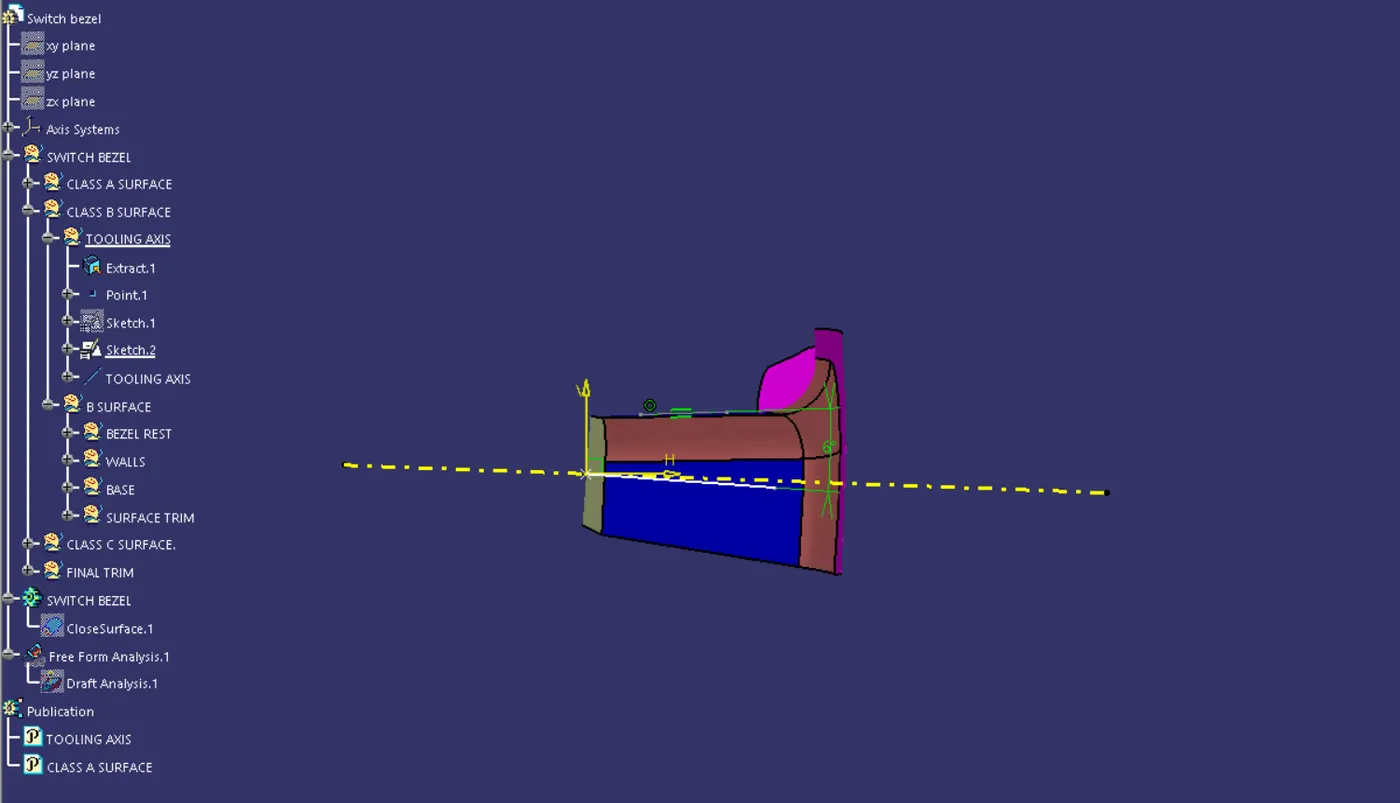
Then we created another sketch where we took the inner walls and drew a line and contraint it with an angle in such a way that the final draft angle would be a minimum of 3 degs.This became the second dummy tooling axis.
Then we were able to biscet these two dummy tooling axis to get the Main TOOLING AXIS
Step 2
We started to extract all the surfaces, starting with the bezel surface,then the walls & finally the base. Now we used the untrim method and then extrapolated each surface. Now we offset each of the surface by 2.5mm to thicken it and then we trimmed it all together to get the Class B surface. We later on gave it the edge fillets too keeping in mind to maintain the thickness of 2.5mm
Step 2
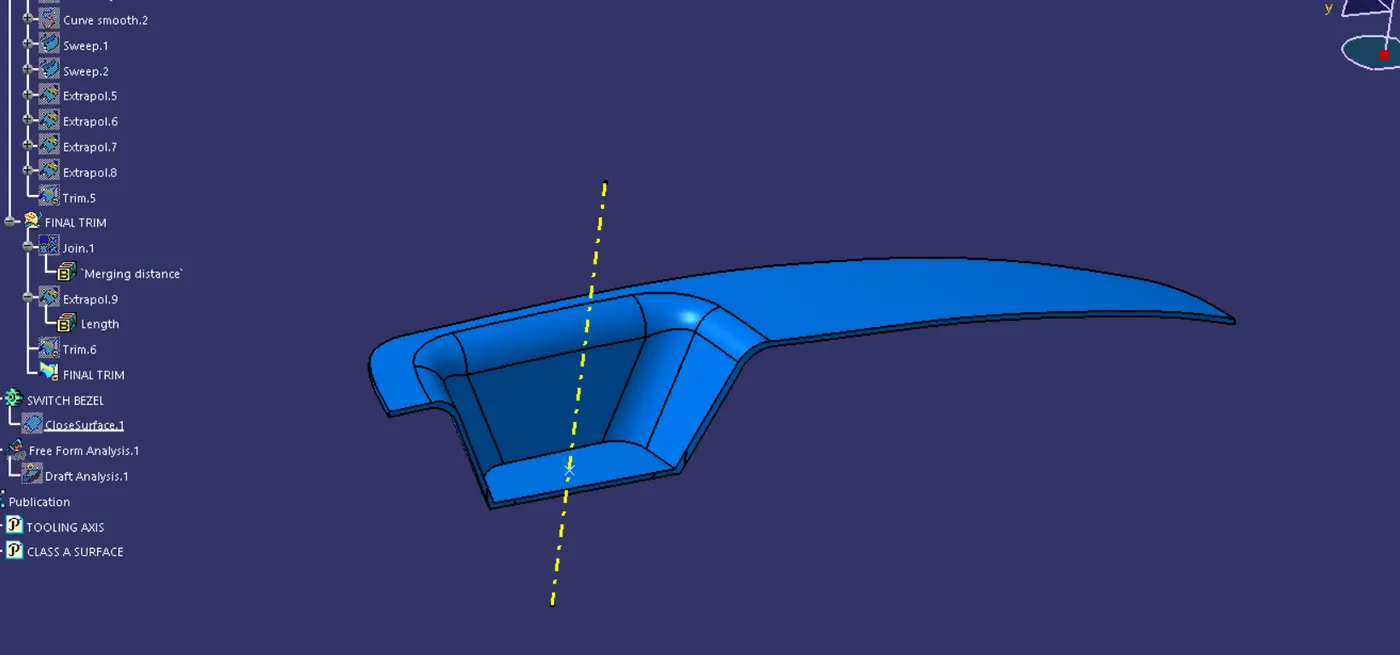
To create the class C surface we at first created the boundary on the class A surface and used the smooth surve operation to not form any angle disstortion and then used the sweep method where the boundaries and tooling axis where chosen and a draft of 3 degree was given. Then we trimmed the class A & B together to form the Class C surface. We noticed some openings when we used the boundary key. so we extrapolated the class a surface by 0.05 and increased the merging distance by 0.003mm. then we were able to get a closed surface.
Step 3
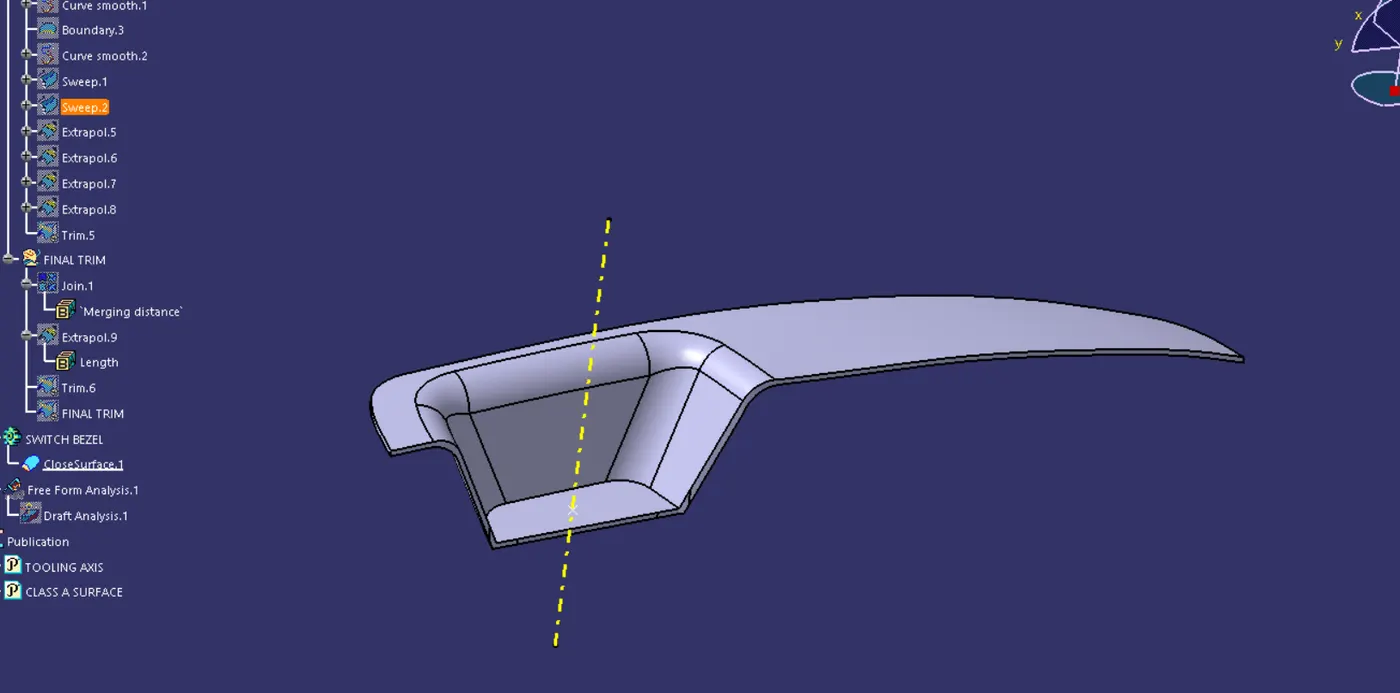
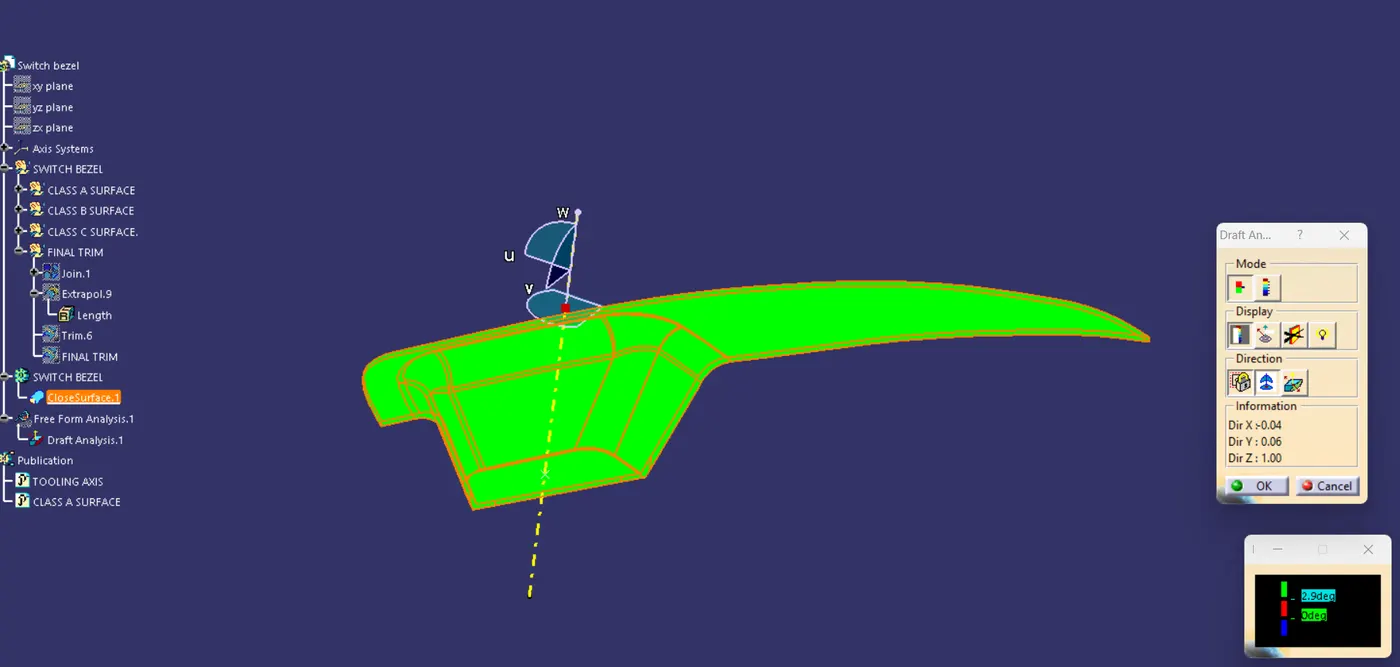
We then took the final trim to the product workbench and used the closed surface to thicken the Class C surface and then did the draft analysis, we dragged the compass fixed it to the tooling axis and then checked for any undercuts by giving it a 2.9 degree draft angle and we achieved an all green surface thus completing the challenge.