Week 10 - Challenge 2- Attachment Feature Creation (Dog House)
DOG HOUSE
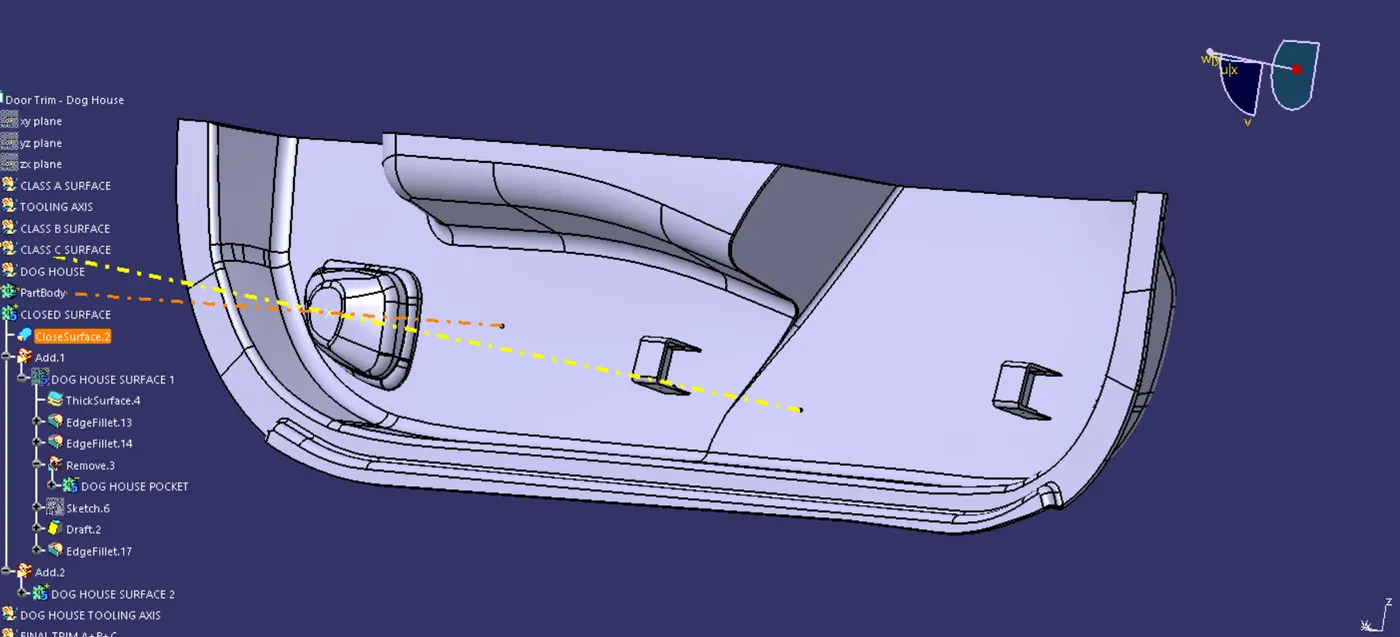
They an engineering feature used in plastic trims designs. They are used as a supporting feature usually snaps or screw bosses are mounded upon them to increase their strength. They are subjected to draft analysis to prevent the breakage of the component during ejection from the mould cavity.
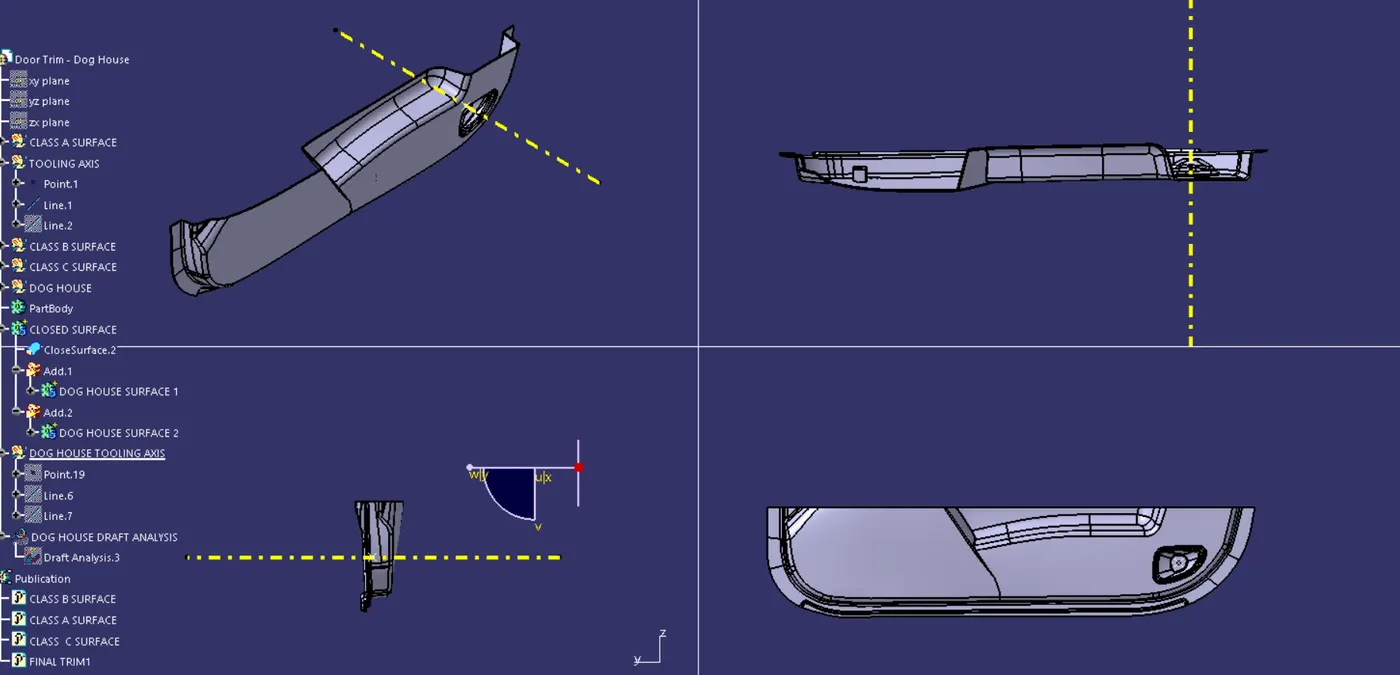
Tooling Axis
The direction in which the mold or the core and the cavity opens is called as the tooling axis.
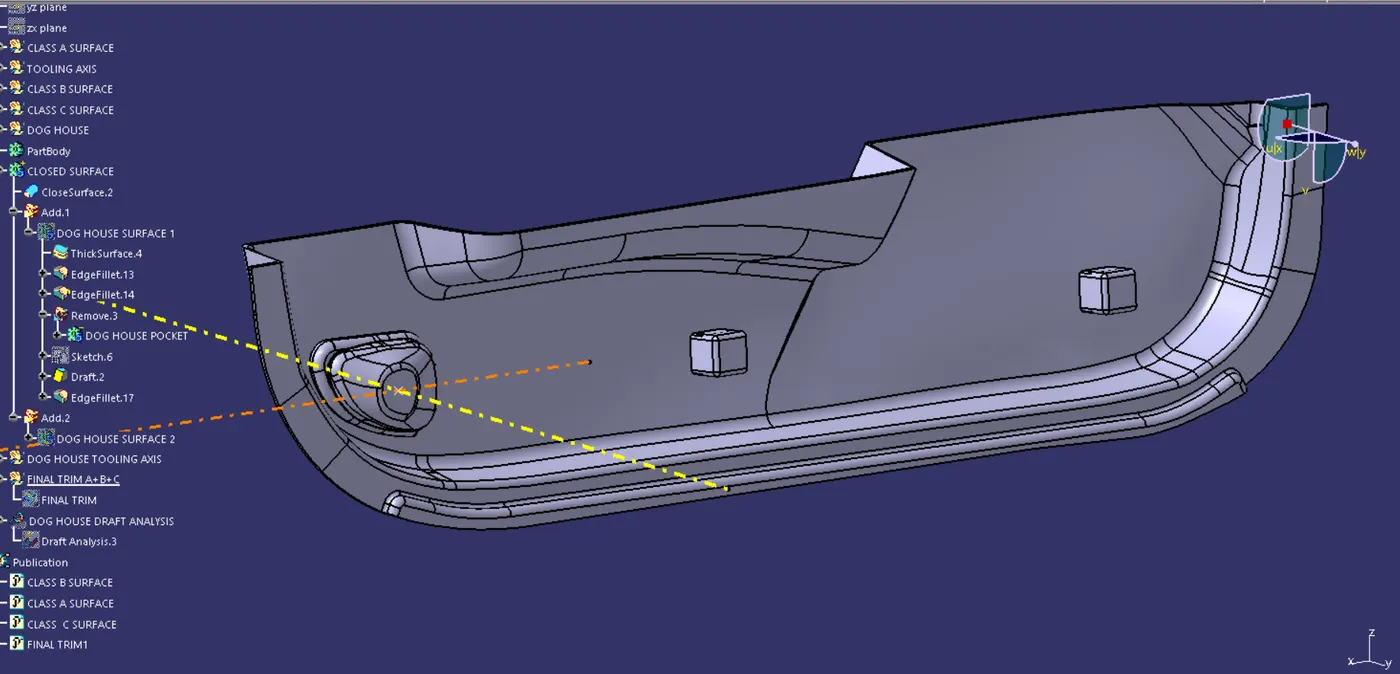
Class B Surface
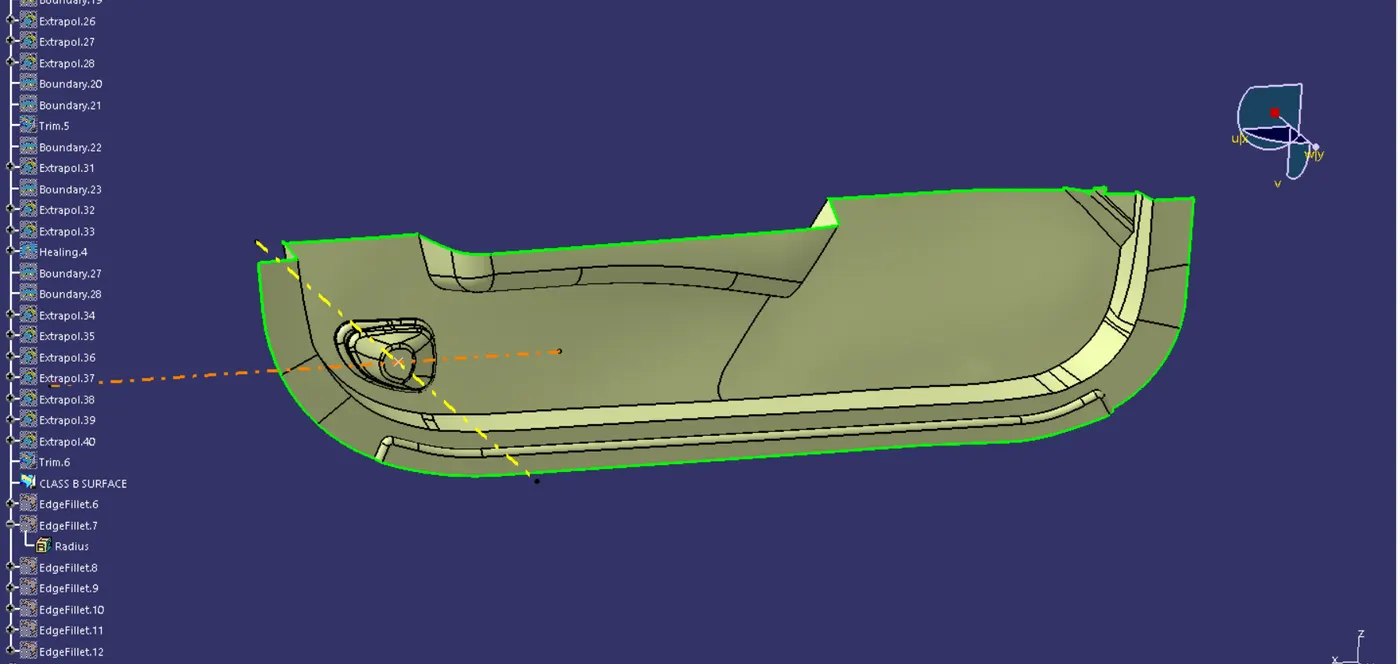
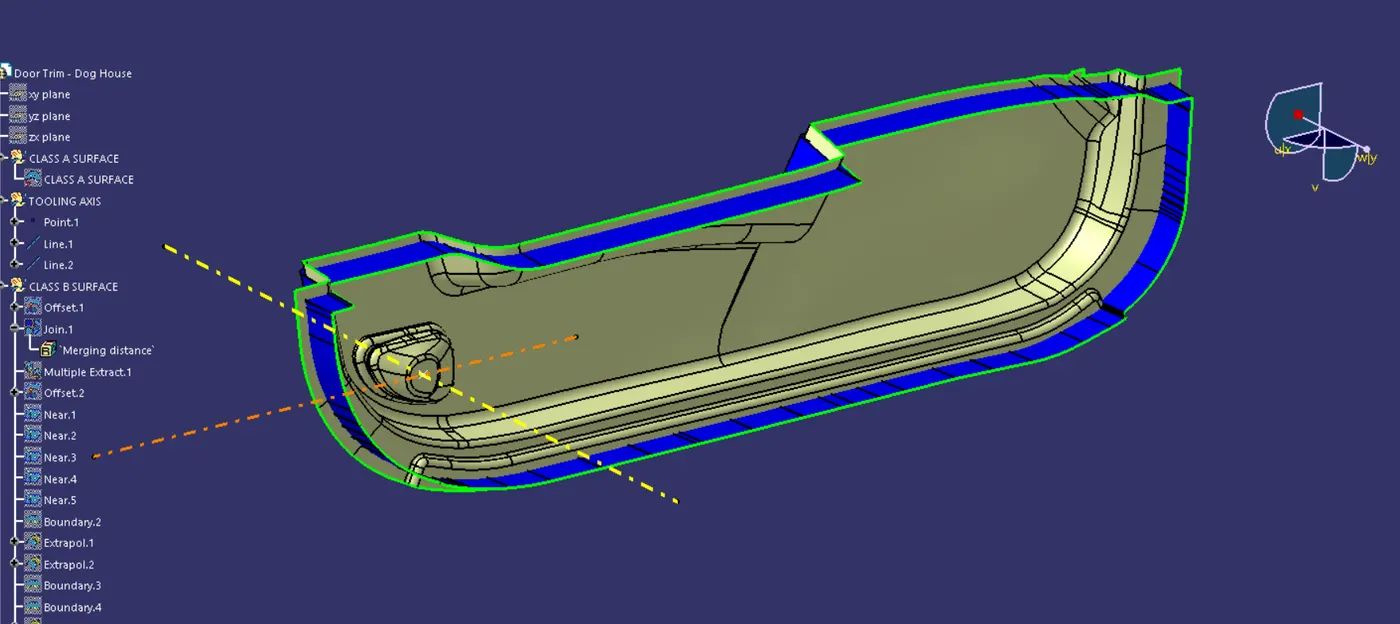
Created by extracting the walls, bezels and the base, untrimming it, extrapolating and offsetting it with a given thickness before triming it all together.
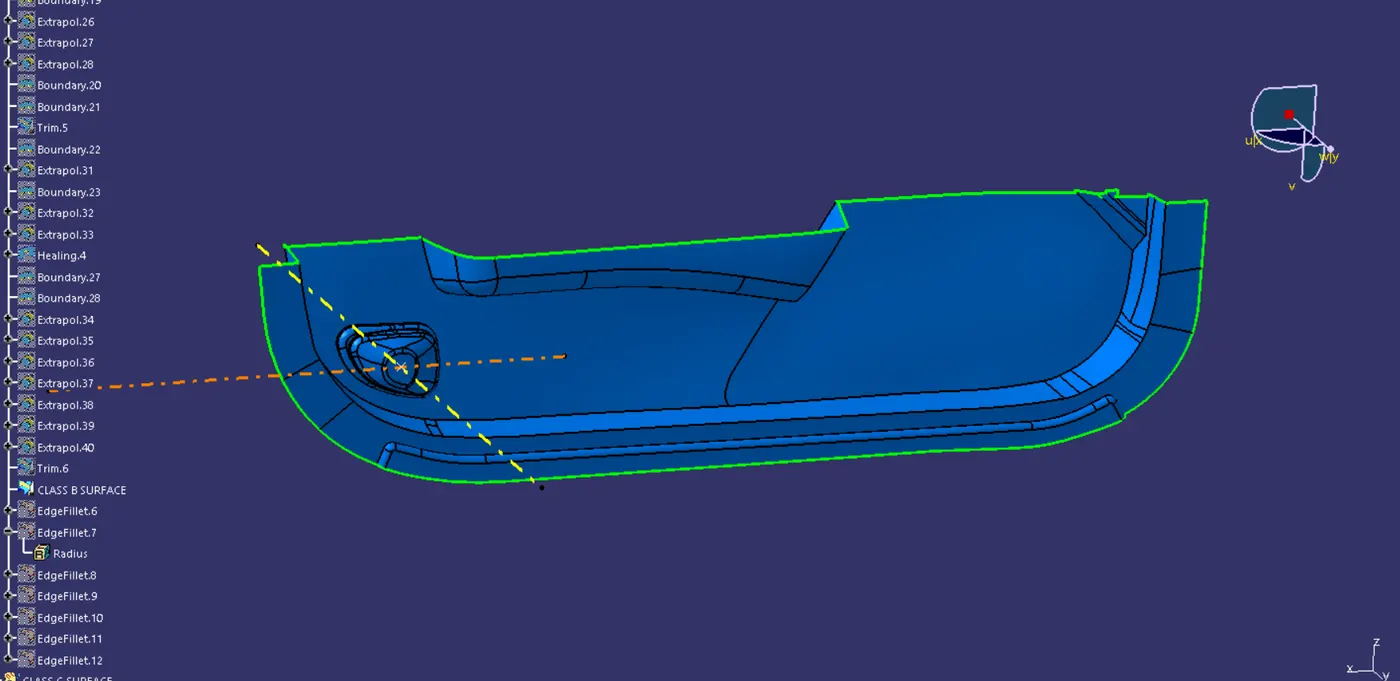
Class C Surface
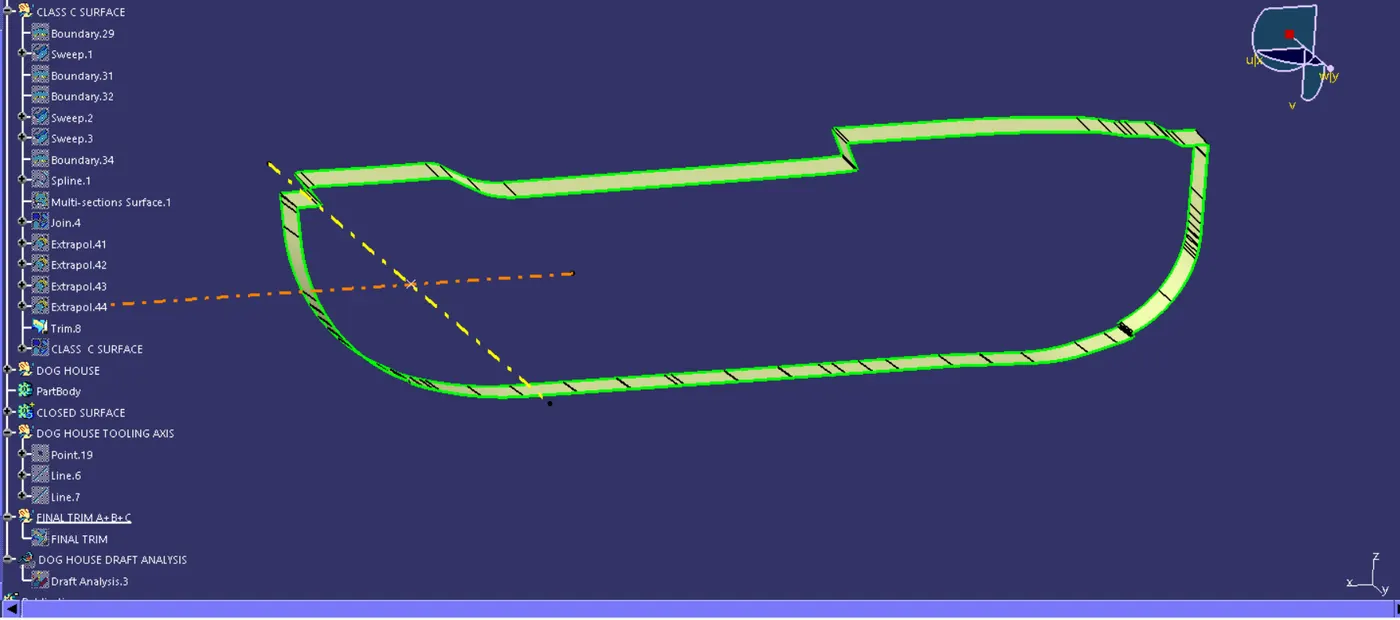
Created by sweeping the draft by direction method, where with the boundary of the Class A surface is used as the guide curve along with the tooling axis where we are able to join the class A and B surface together.
Step 1
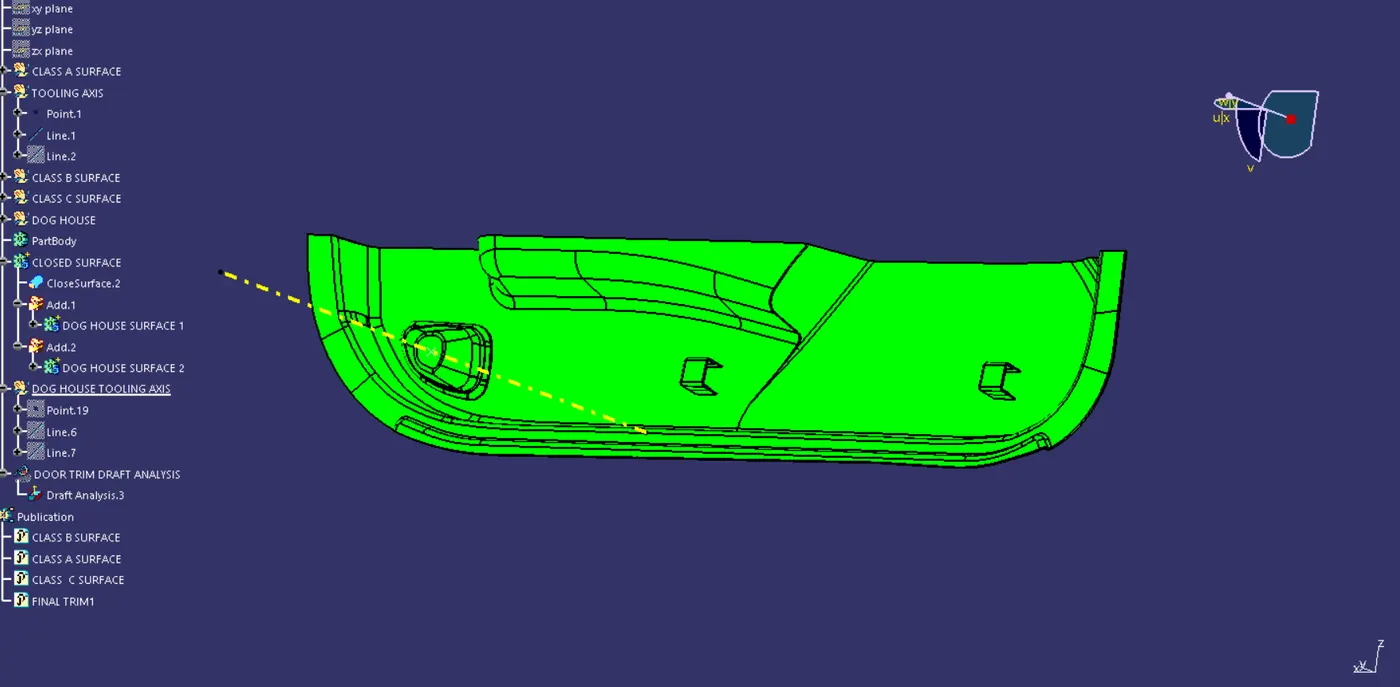
We checked through different positions where the part would be able to draft with the minimum draft angle and created a point and 2 lines in X&Y direction and verified it with the draft analysis and we found it out that this axis was right and renamed it as the main tooling axis.
Step 2
We stared to extract, extrapolate and trim the surfaces of the door trim where the fillets were supposed to be there but was lost after offsetting the surface by 2.5 mm as mentioned. All the extracts where filleted accordingly and a final trim was performed
Step 3
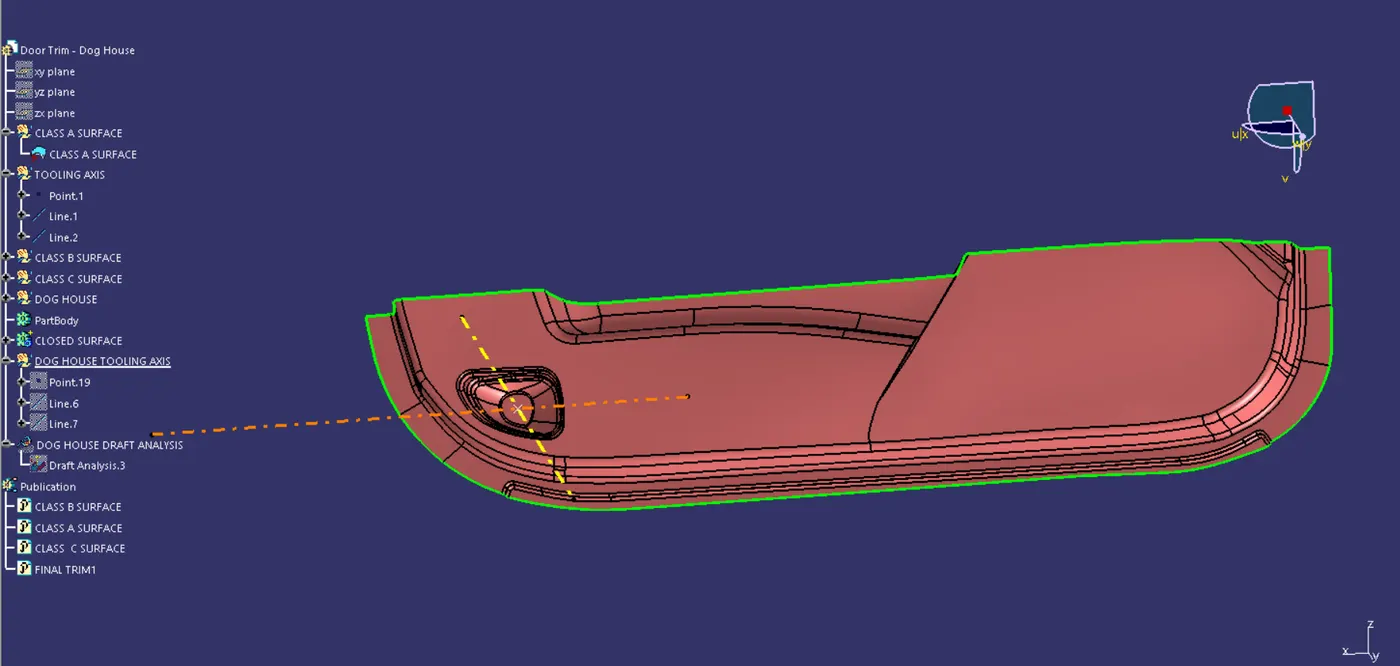
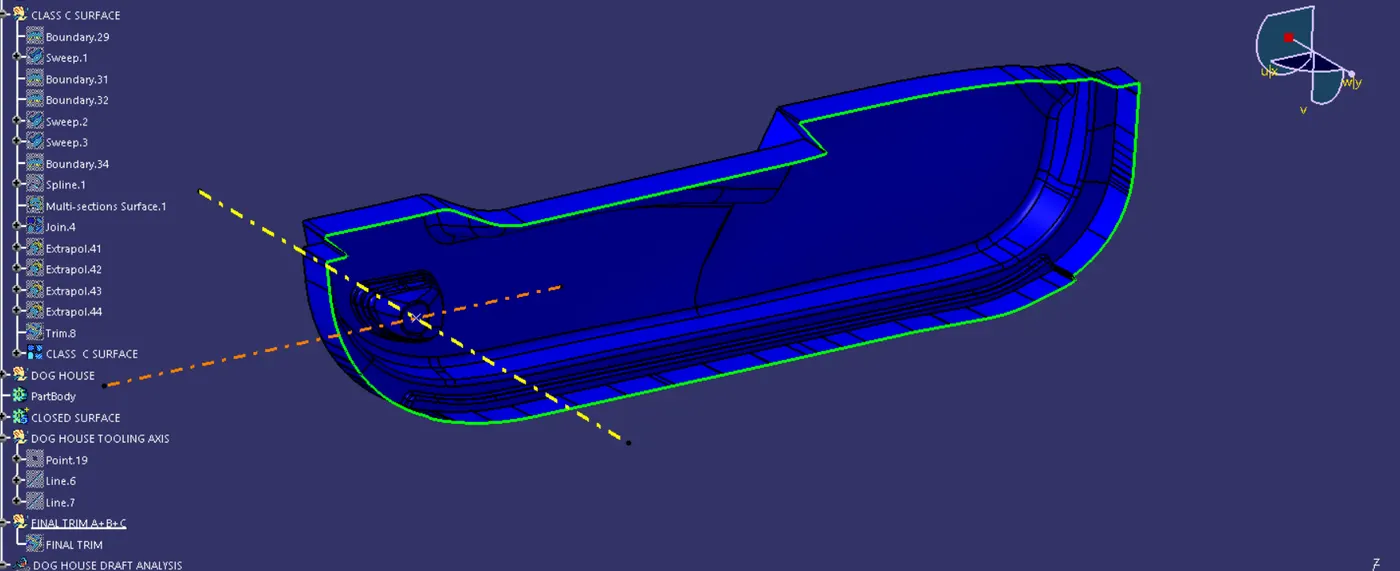
To create the class c surface we at first created the boundary on class A surface and then we used the sweep command where the boundaries and tooling axis where choosen and a darft of 3 degrees was given. then we trimmed the Class A and B together to form the Class C surface. Then we were able to gert a closed surface.
Step 4
We then took the final trim to the product workbench and used the closed surface to thicken the class c surface and then did the draft analysis, we dragged the compass and fixed it on the tooling axis and then checked for any undercuts we were able to achieve an all green surface.
Step 5
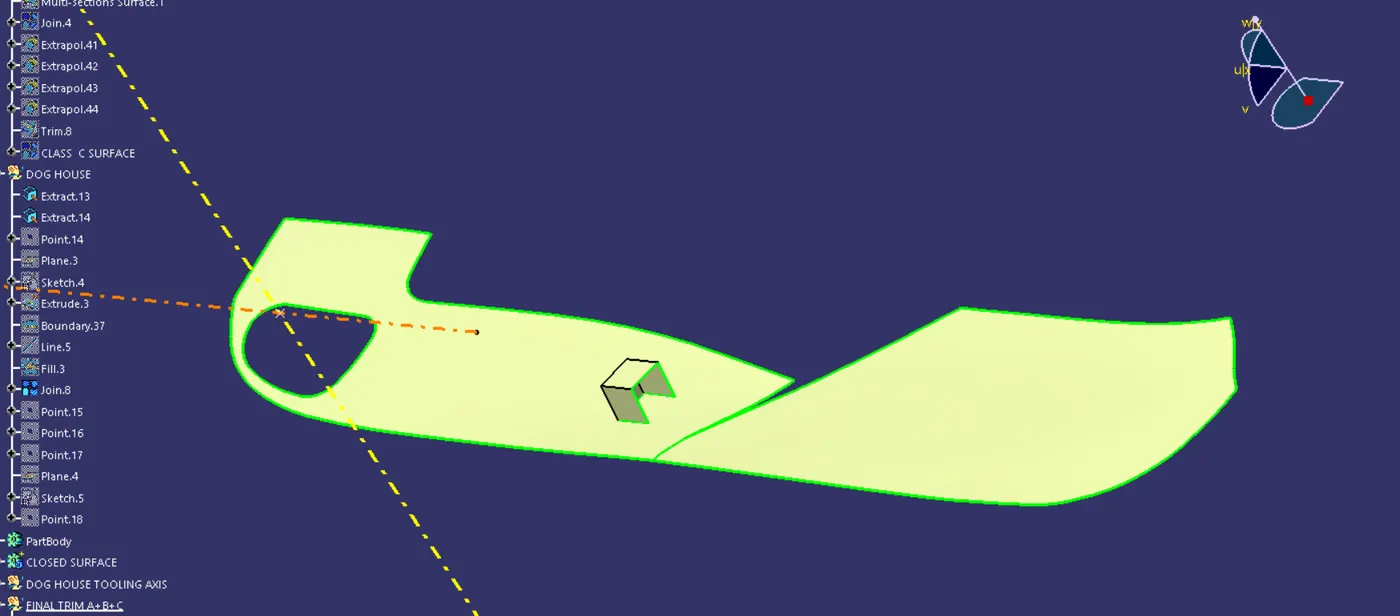
In this step we created the dog house we first extracted a couple of surfaces as the dog house is made on the B surface. Upon extracting the surface we then placed a point and also gave a plane on that surface and created the base of the dog house.
Step 6
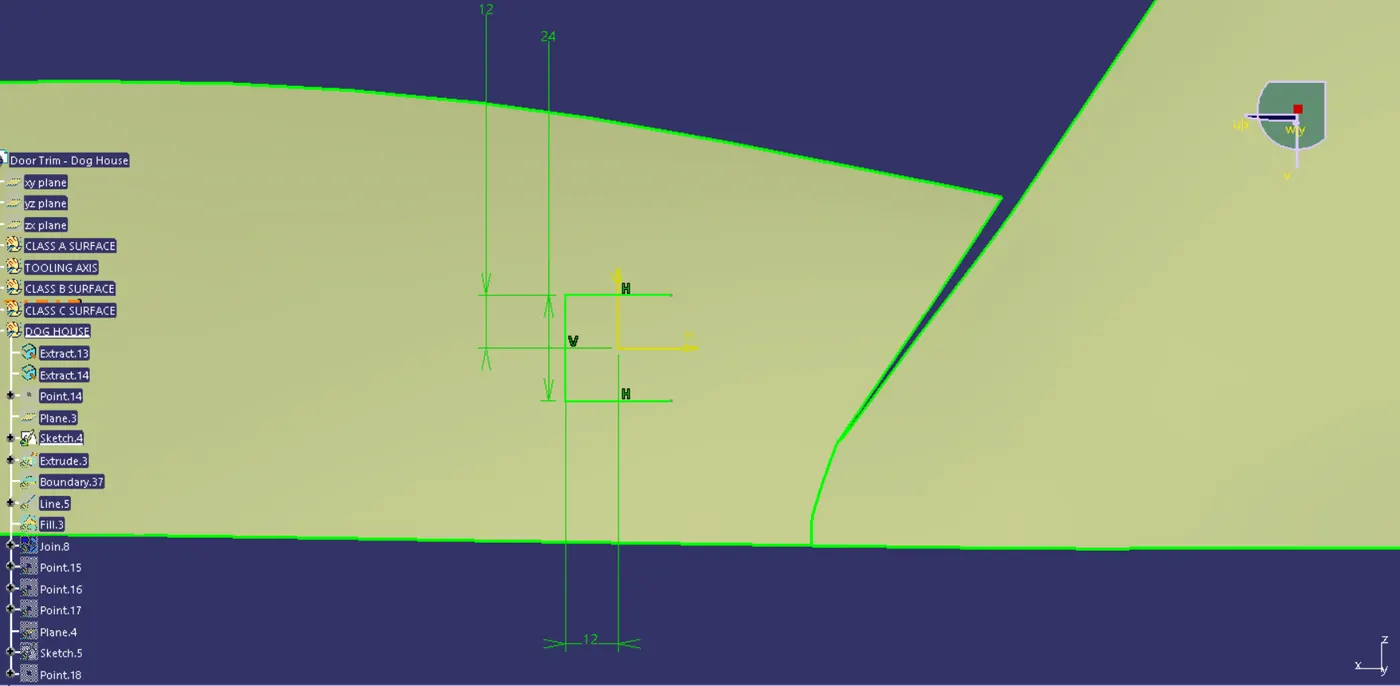
In the next step we extruded the boundaries and the topsurface was remaining which was fined by creating a line and filling it. Now we went to the part surface and thickened it by 1 mm. Edge Fillets were provided and to make the pocket inside the dog house we created a rectangle of 12 mm and made sure it was 1 mm towards the insides of the dog house walls.
Step 7
We later on removed it from the dog house and now another point was created on the on the surface and we copy pasted the dog house and translated one of it to the other point and now defined the part body and added both to the Closed surface of the door trim.