Week 9 - Challenge 2 - Switch Bezel Design
CHALLENGE-2 (SWITCH BEZEL DESIGN)
AIM:
The aim of challenge is creat the switch bezel design by using given class A surface. To begin with tooling axis for the given class A surface should be created meeting the requirements of the draft angle and the end draft analysis...
CLASS-A-SURFACE:
# The class-A-surface ensure that is no gap between the component using join tool. And check once to conform use boundary tool.
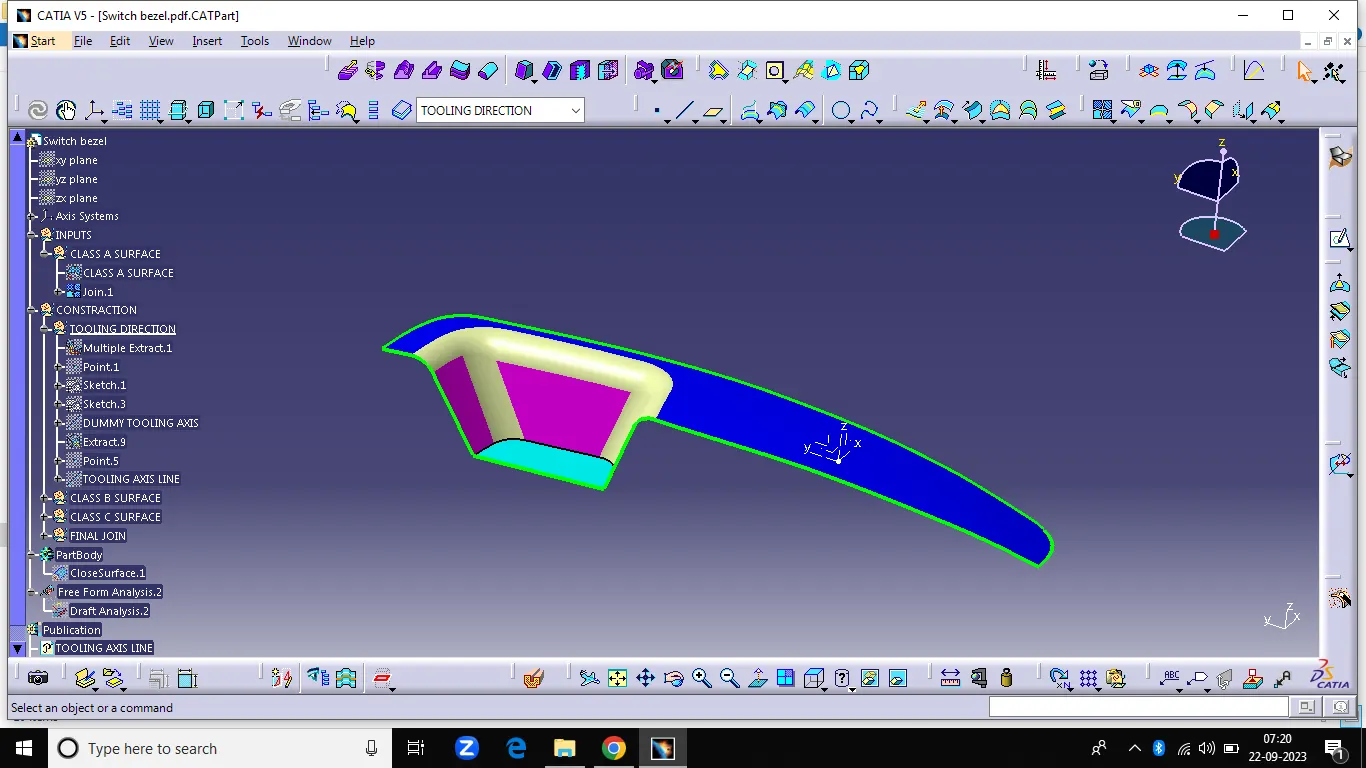
TOOLING AXIS:
# Creating the tooling axis used the base surface in sky blue colour by the extract tool. And create the center point of extract surface that point is reference to create a point to direction line .This line called as tooling axis line.
CLASS-B-SURFACE:
# Select the surfaces in class A surface and untrim the surfaces.use of extrapolate tool and trim the connecting surfaces. And all reference surface are offset 2.5mm in downward in axis.
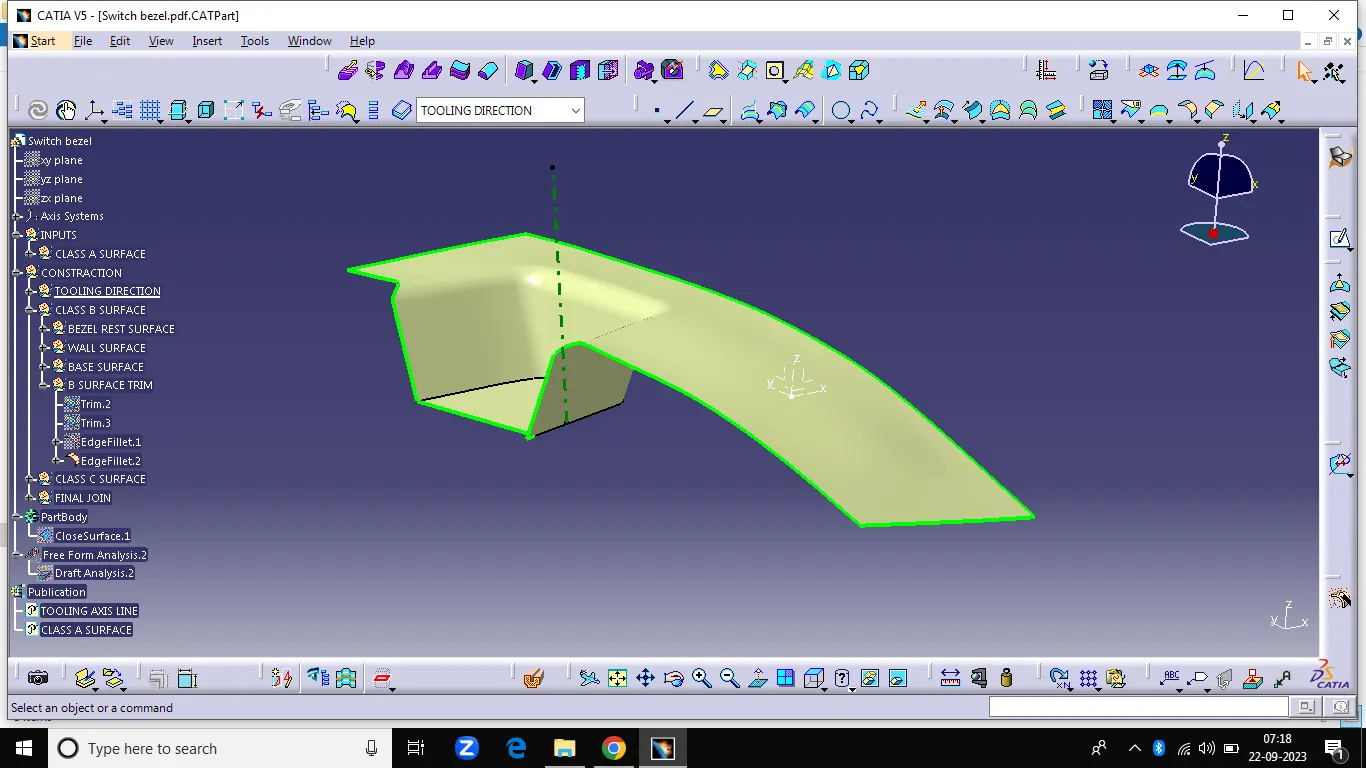
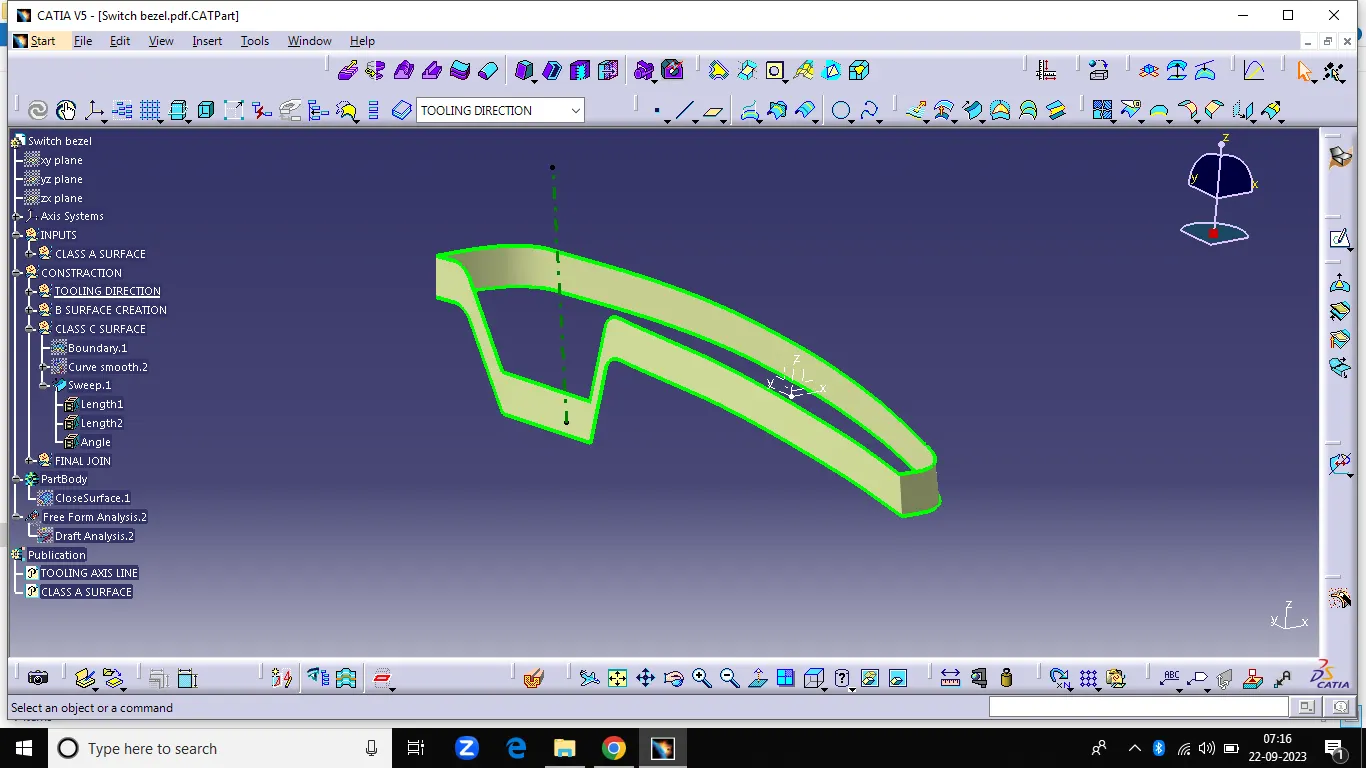
CLASS-C-SURFACE:
# Create the boundary of class A surface. And use sweep tool and give input of class A surface boundary and tooling axis is a sweep direction and given angle is 3deg.
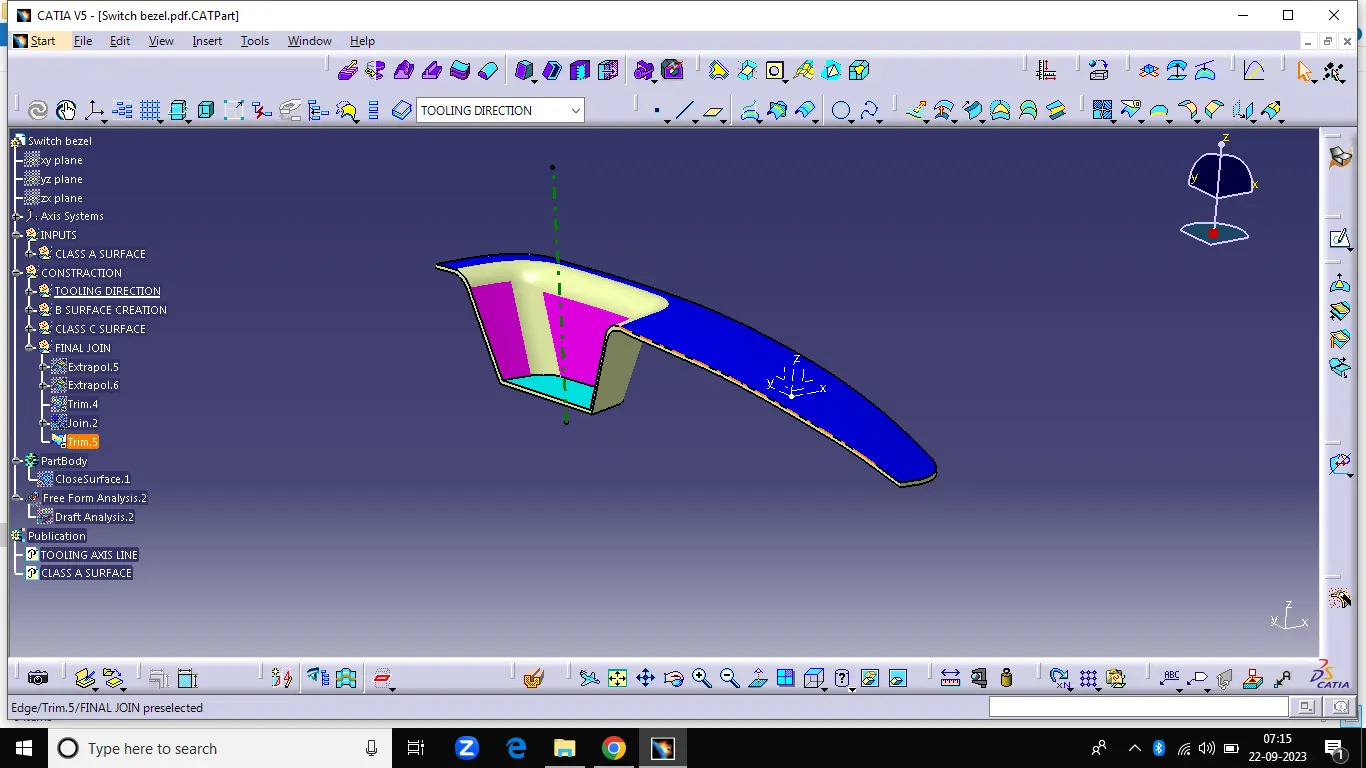
# Use the join tool to merge the class A surface and class C surface.
FINAL TRIM SURFACE:
# Unhide the class A,B and C Surfaces. and use the trim tool trim all unwanted surfaces to trim.
Close surface:
# Convert surface design to part design. By useing of close surface tool select the final trim. To convert part design.
DRAFT ANALYSIS:
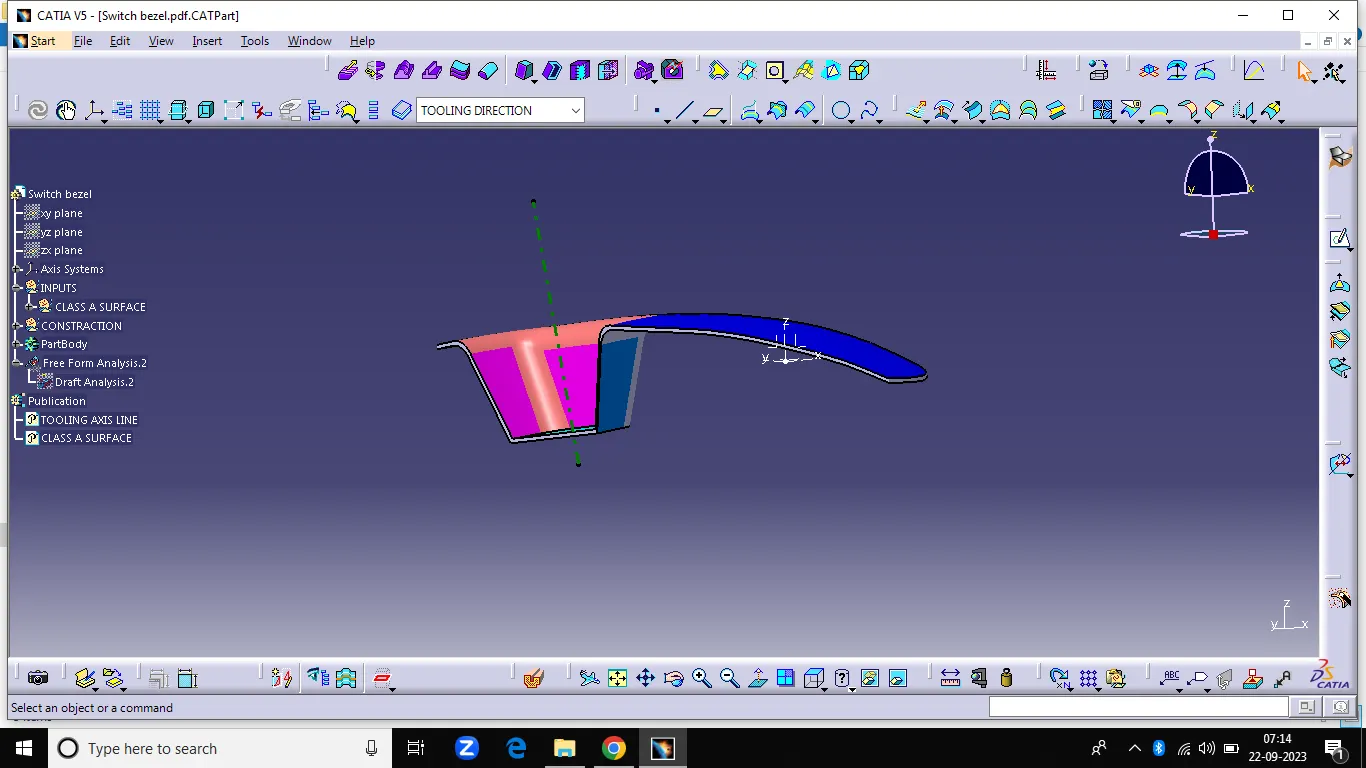
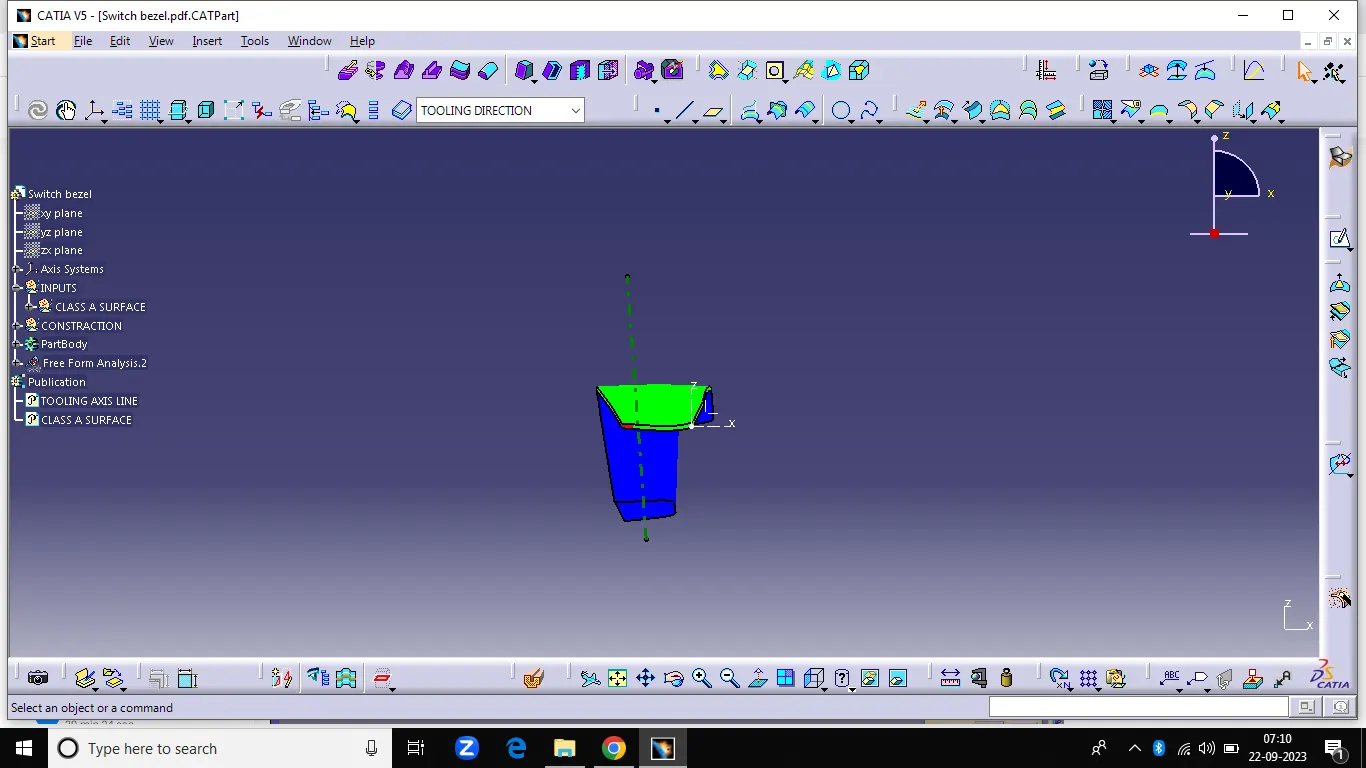
# Final step is draft analysis. Select draft analysis tool from the toolbar or go to insert > analysis > feature draft analysis tool. And select the compass and fit in to tooling axis line.
# Lock the compass with tooling axis. And select direction tool it take reference is tooling axis and select the close surface part design. it will show error or given input is currect . Currect means its will show in green and blue colour.
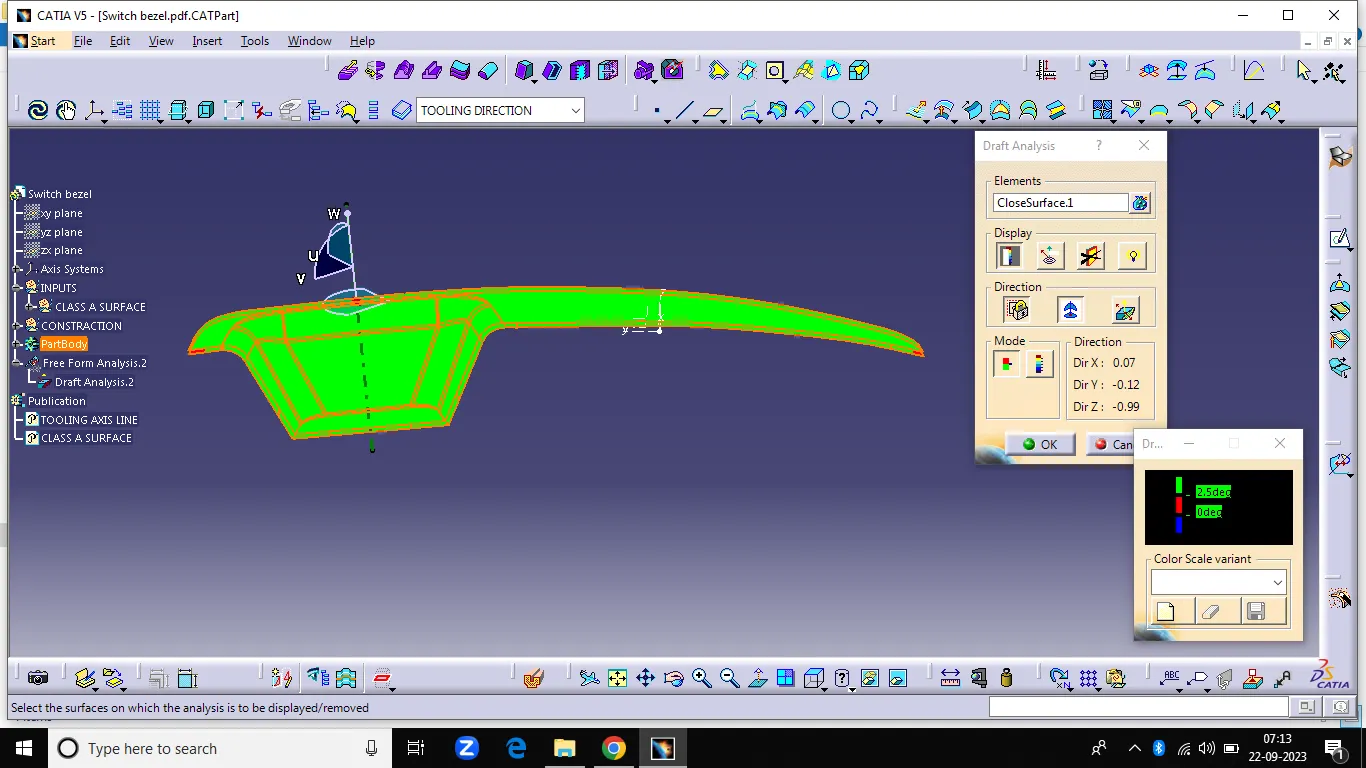
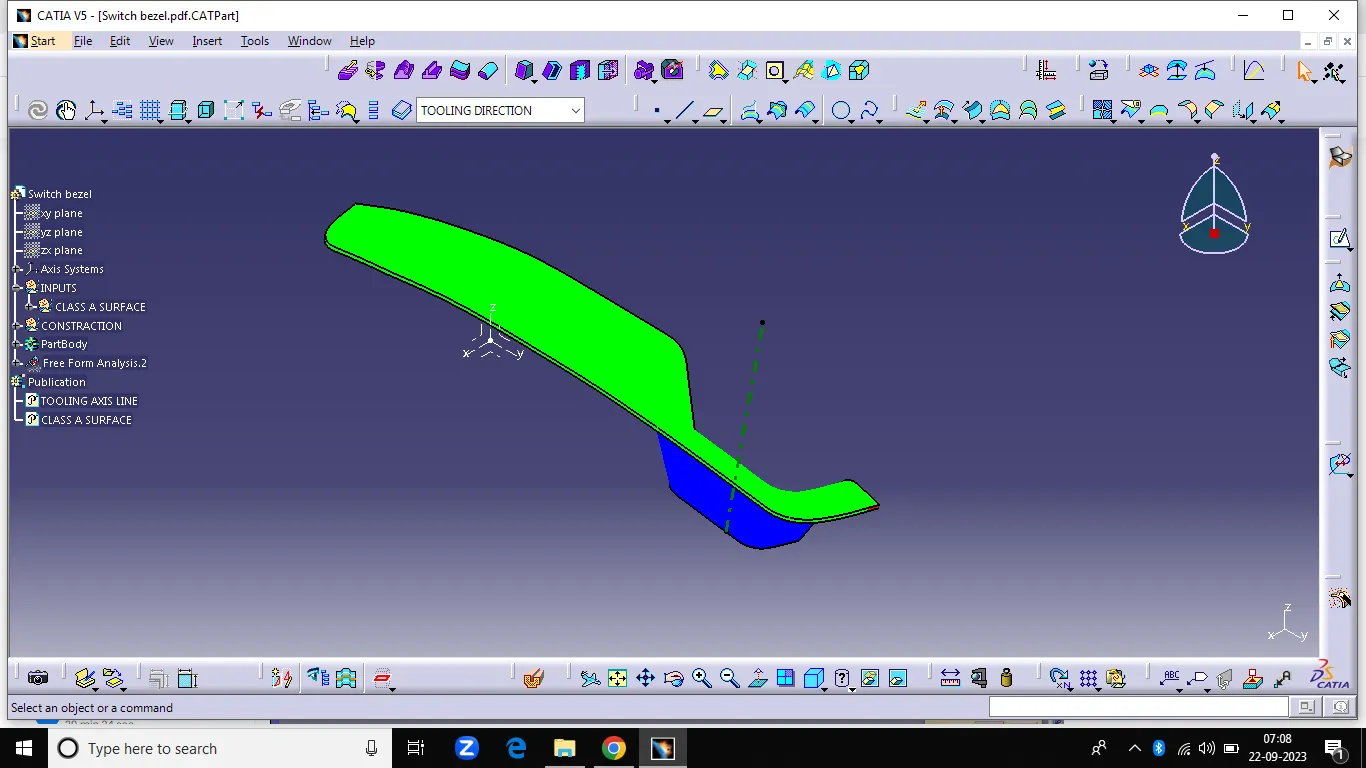
THE FINAL DRAFT ANALYSIS
ISOMETRIC VIEW
FRONT VIEW
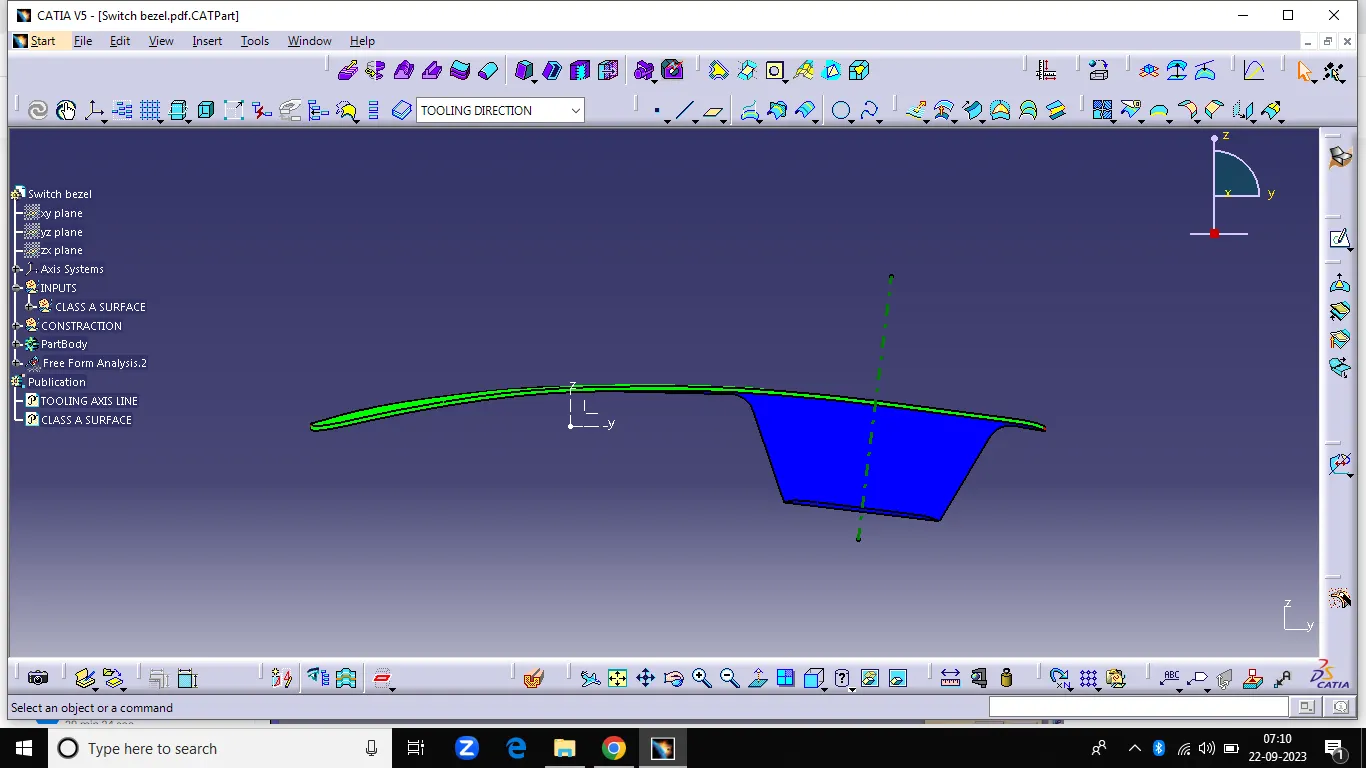
SIDE VIEW
TOP VIEW
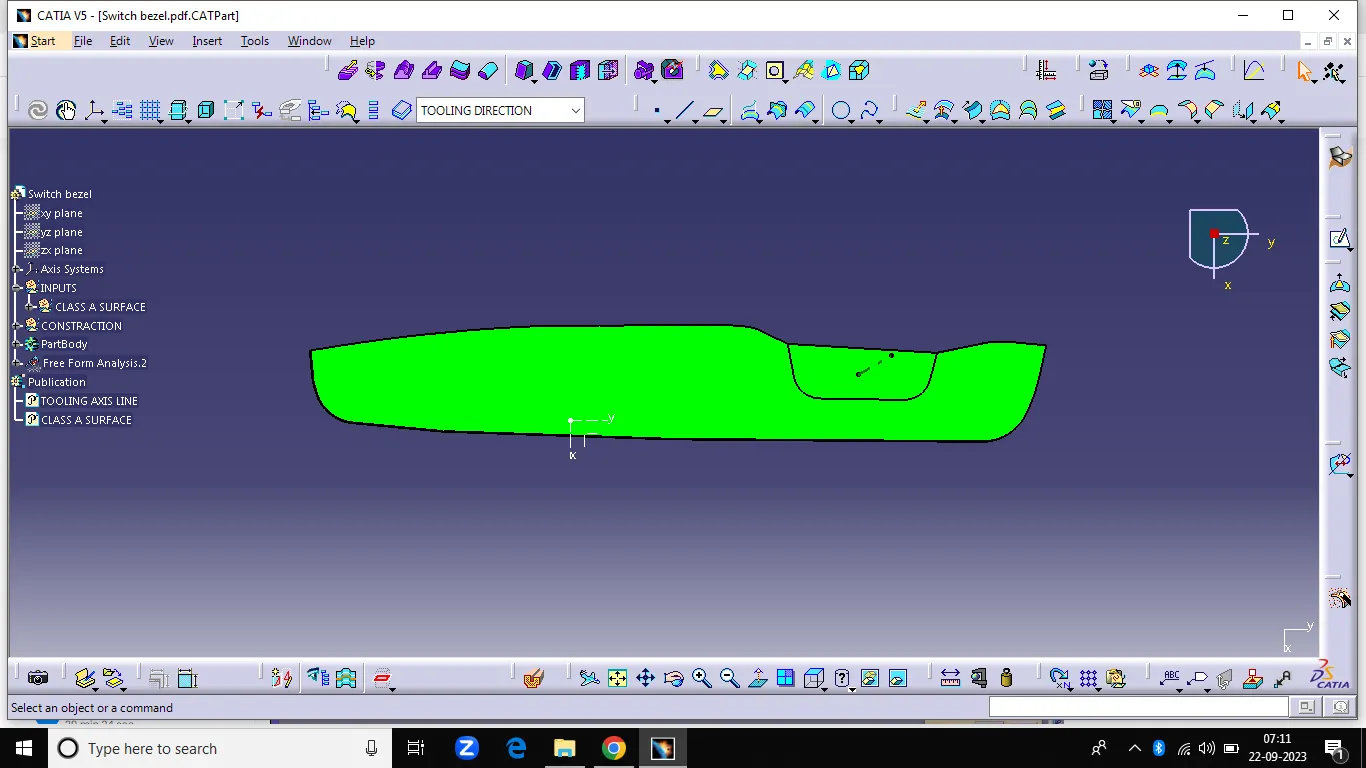 .
# The draft analysis helps ensure that the part can be easily released from molds during the manufacturing process. This process is very helpful to avoid error in the final product...