Week 9 - Challenge 2 - Switch Bezel Design
Switch Bezel Design
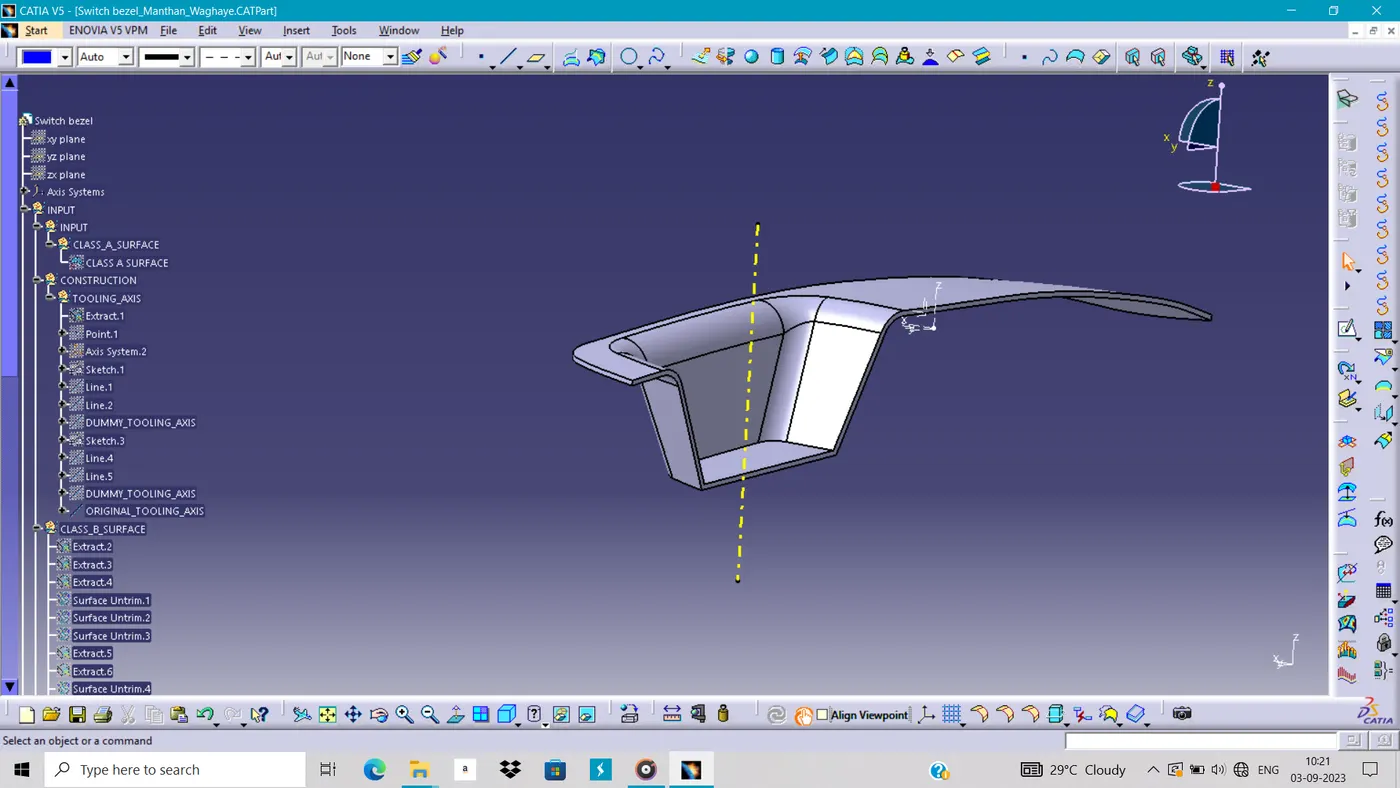
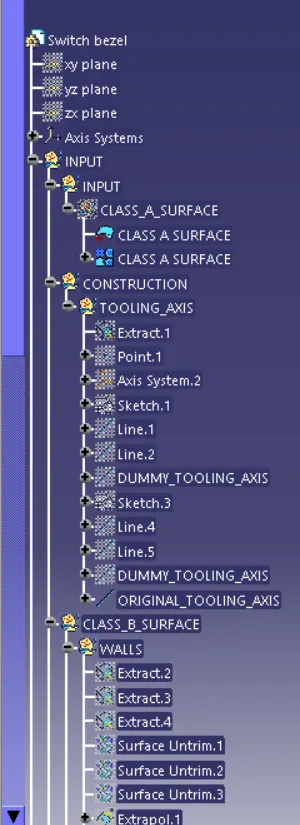
We should be start with the first with create with the tooling axis for creating the tooling axis we have select the edge which are to be create the issue for the draft or plastic mold.
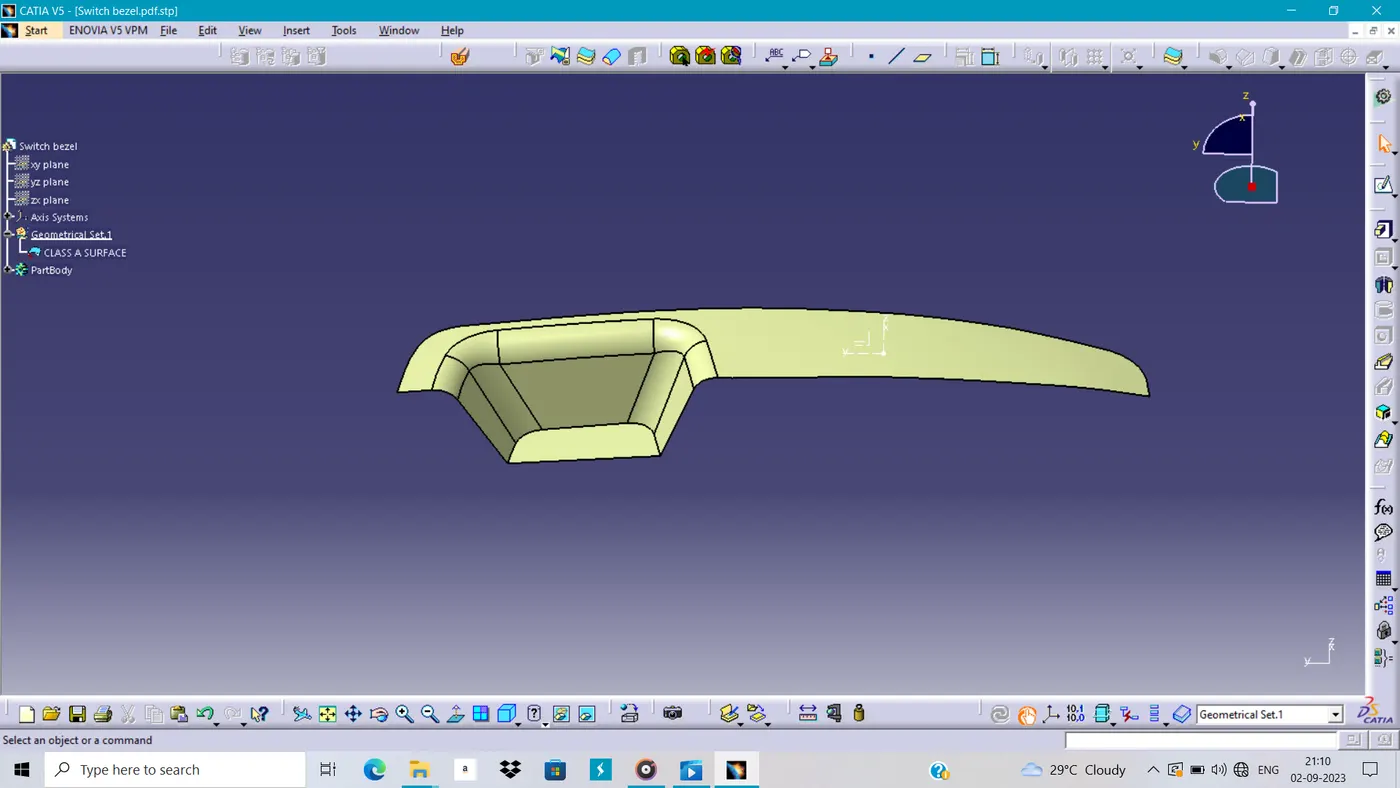
To get the proper view of wall and the base surface we give the color to the surface.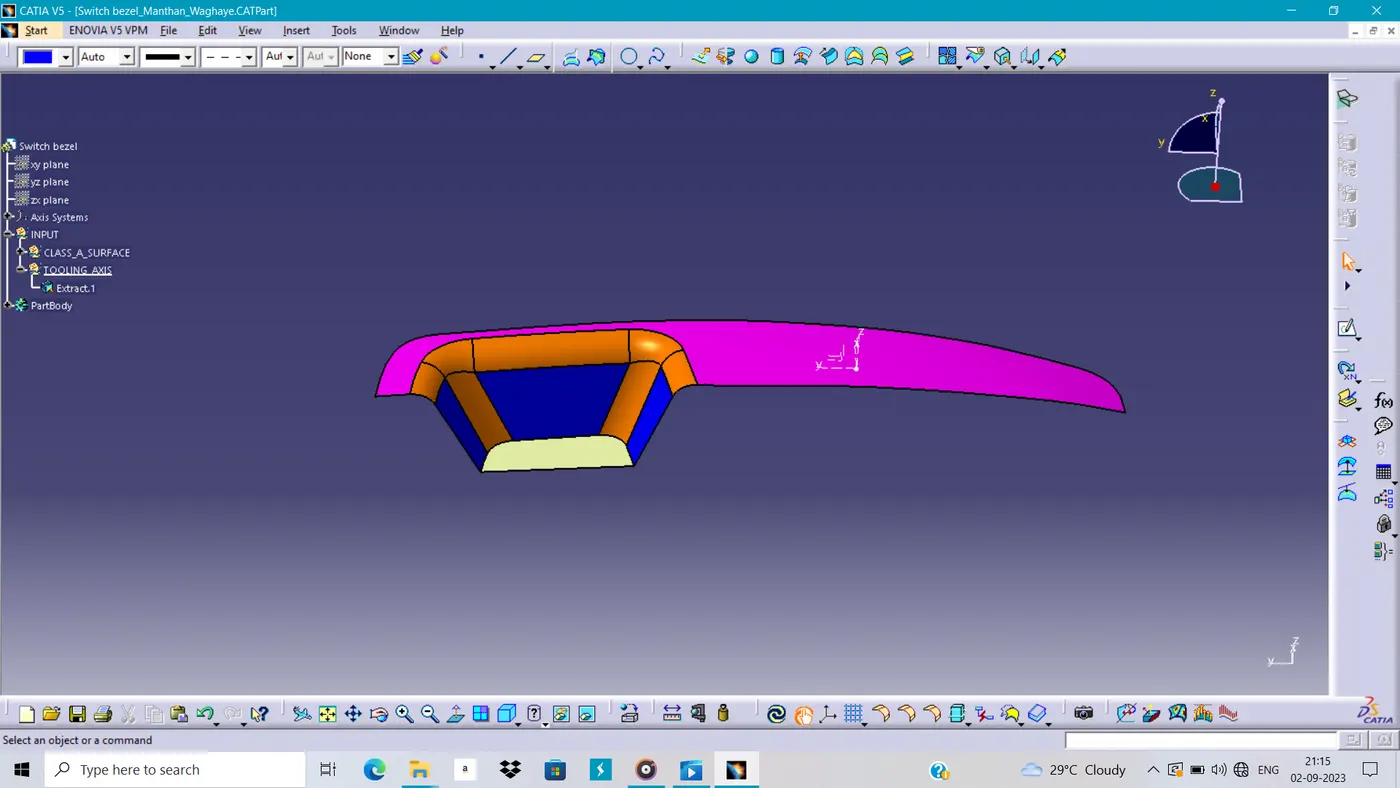
So we have to do the draft analysis for the plastic mold so we have to analyze the part for creating the dummy axis and then we have to create the bisecting line from this edge.
We have create the dummy tooling axis according to the two wall which are in blue color we get the original tooling axis from this two dummy tooling axis.
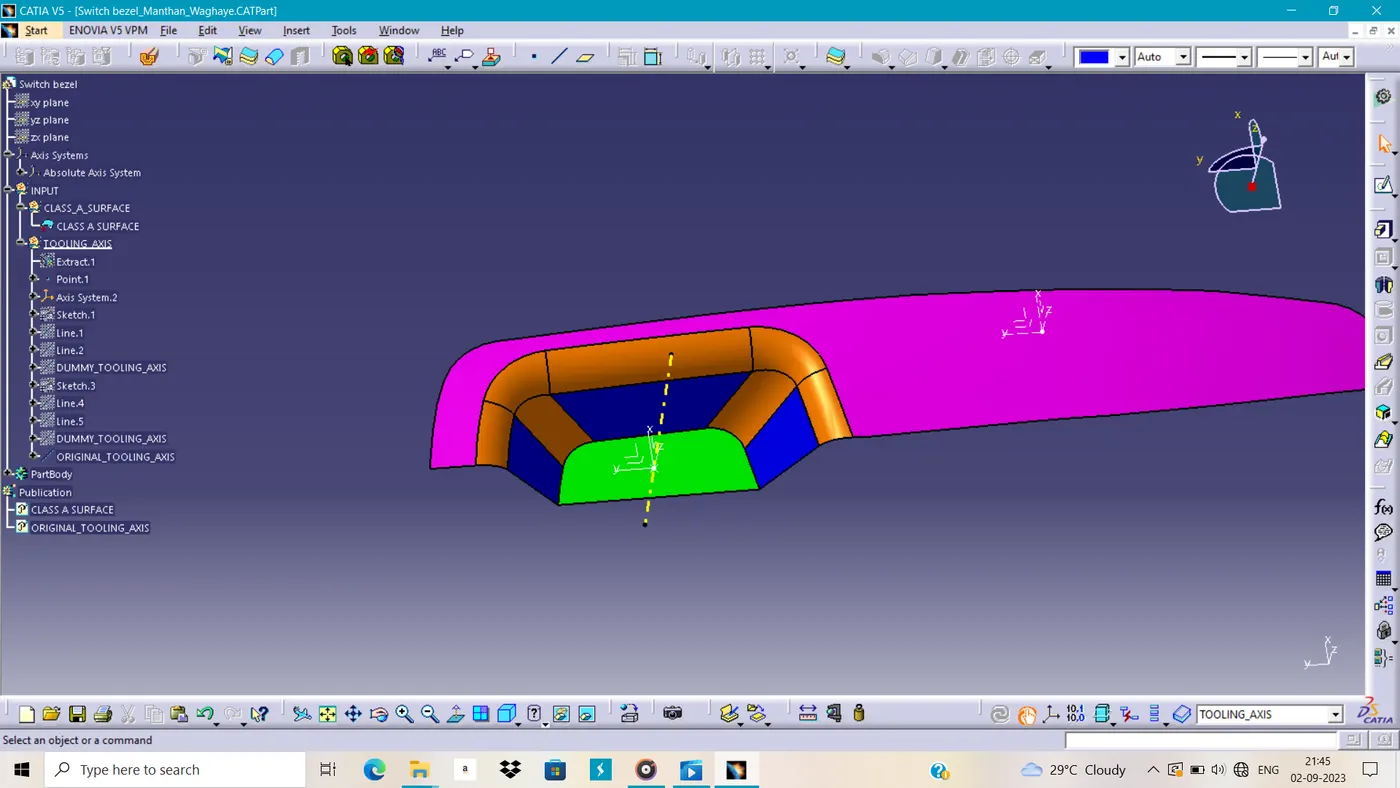
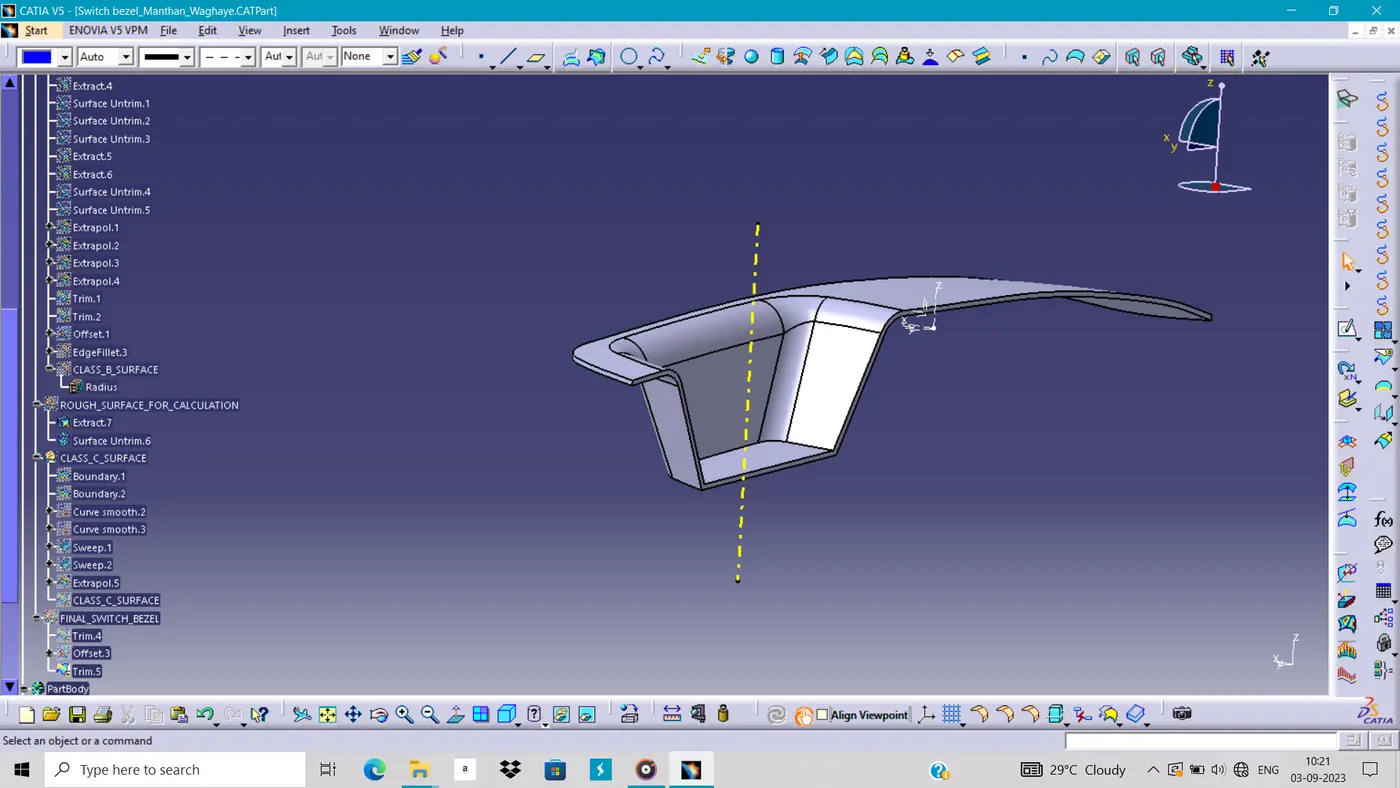
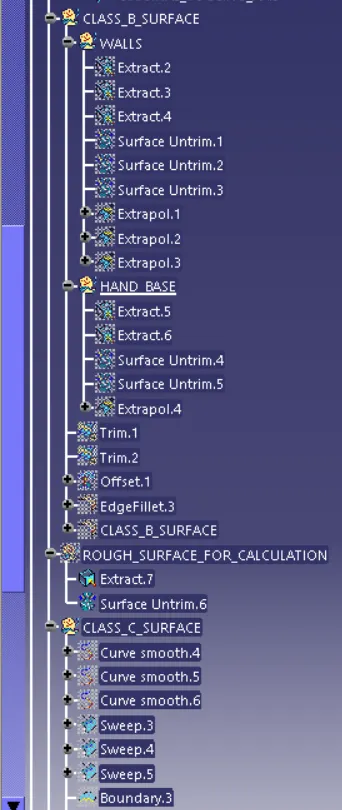
After the creating the tooling axis we have to creating the B surface from the A surface so we extract the surface as wall and base surface for the fillet are not easy to make the the thick surface so we extract.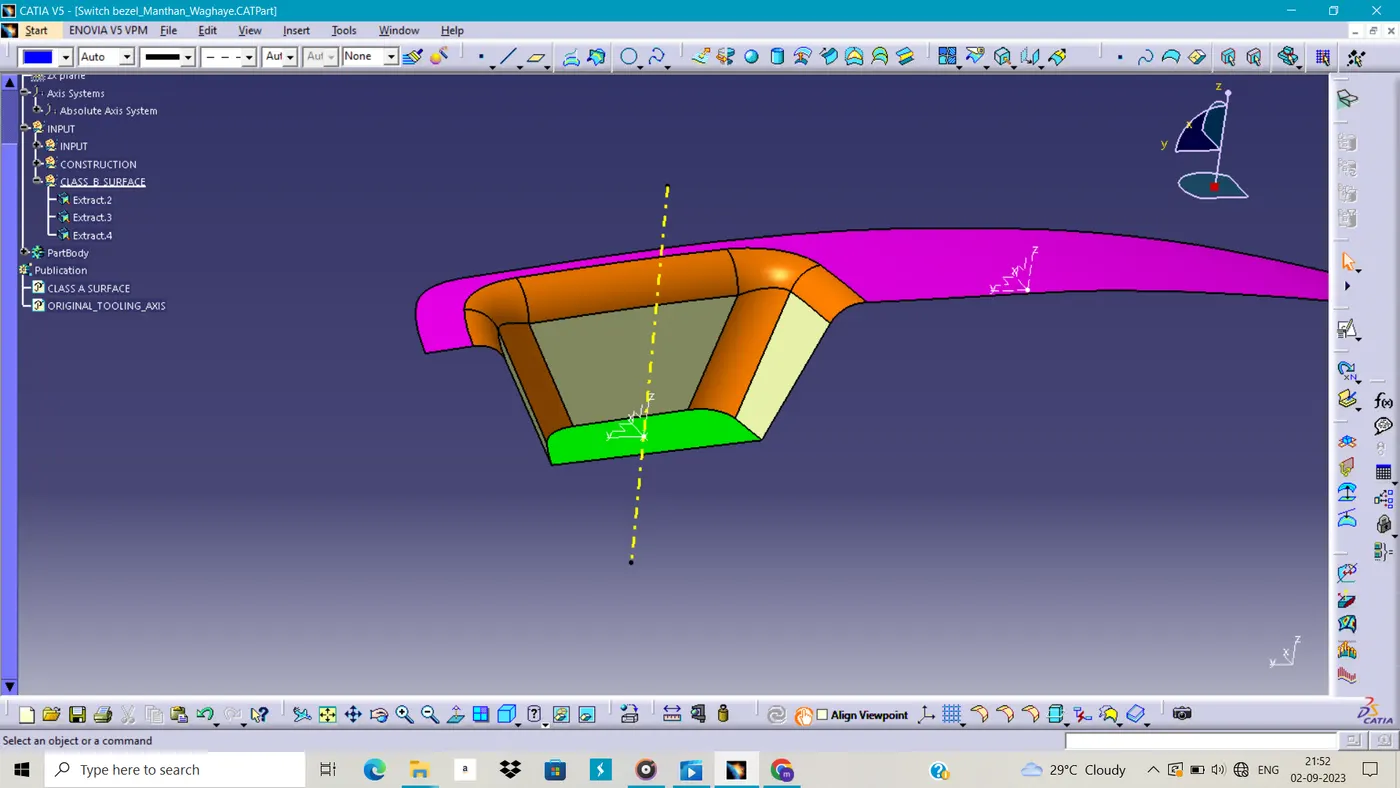
Then extrapolate the surface.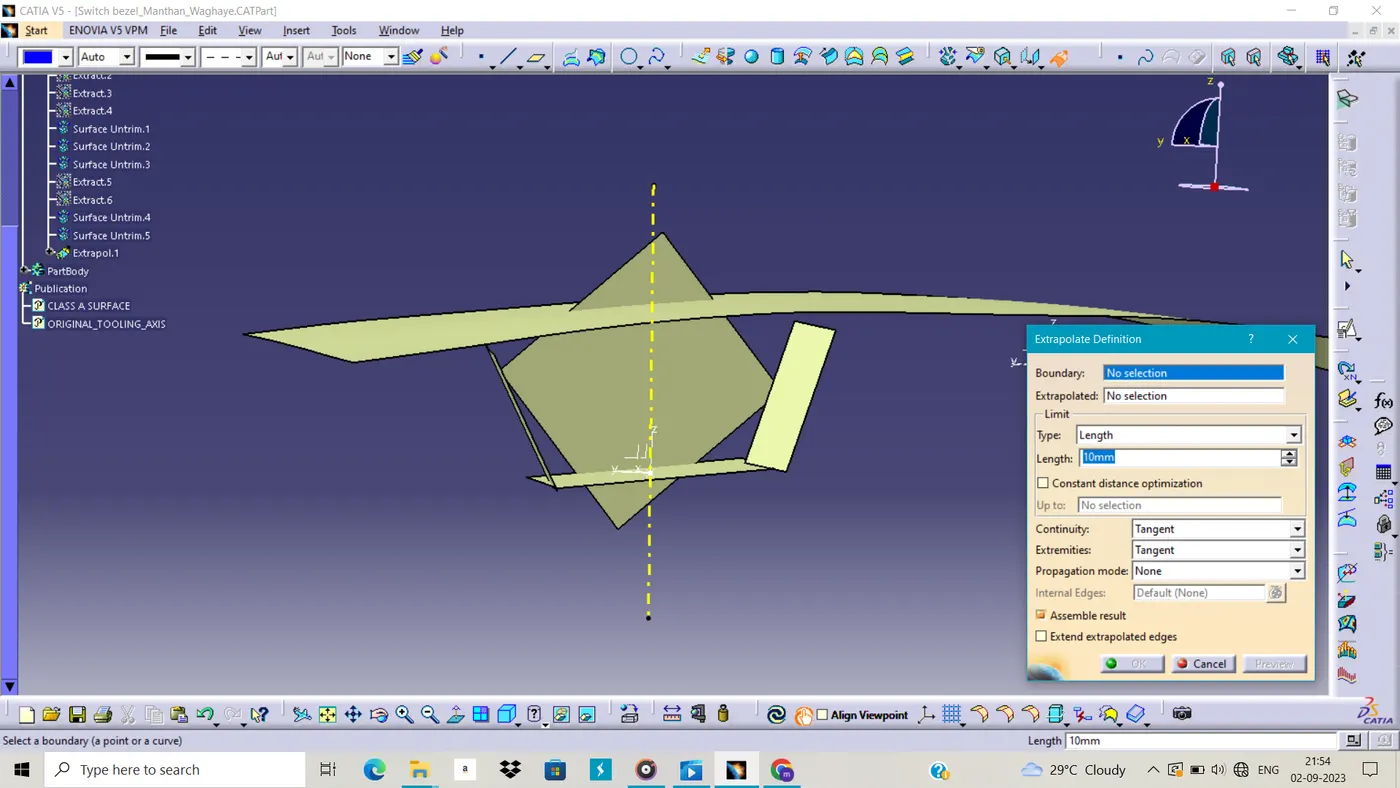
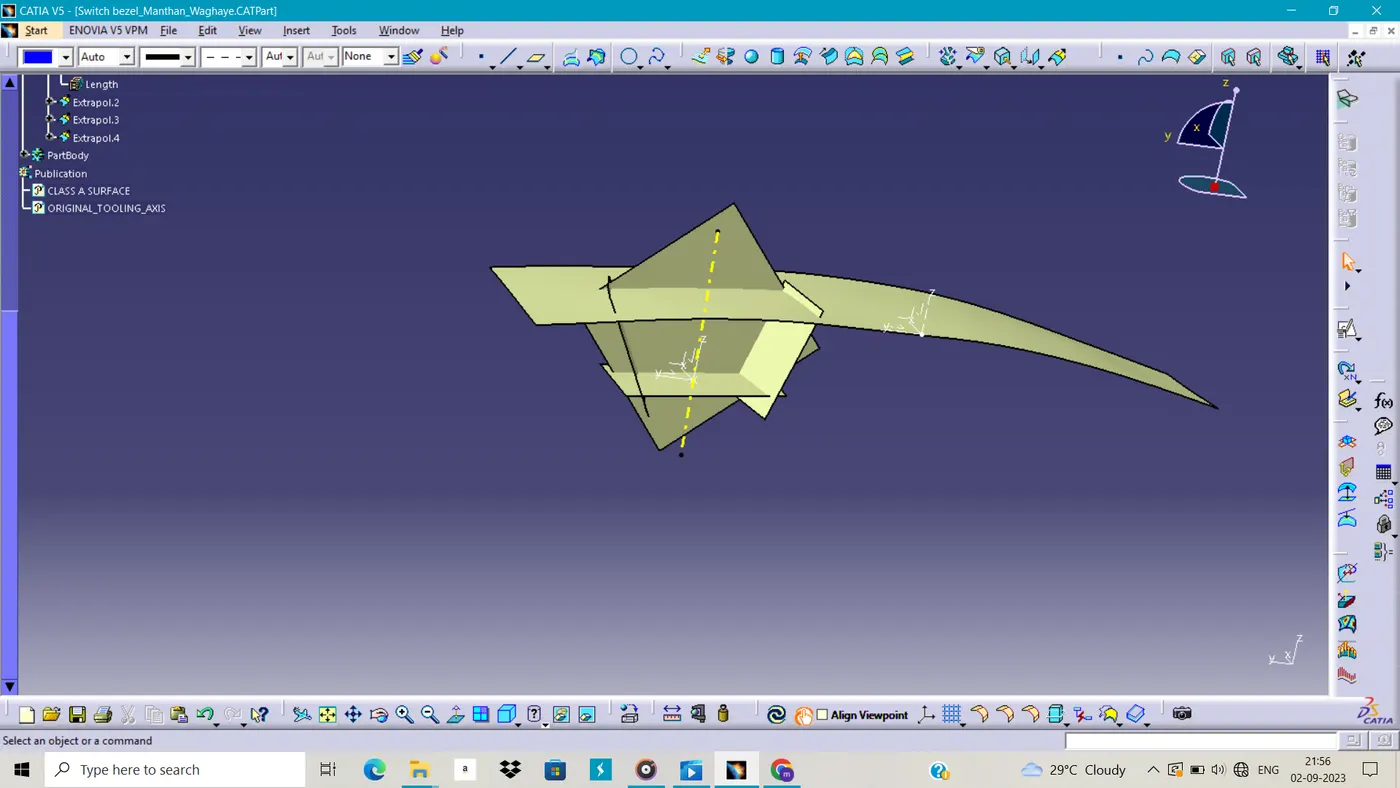
Then offset the surface as the thickness of the part 2.5mm and trim the surface.
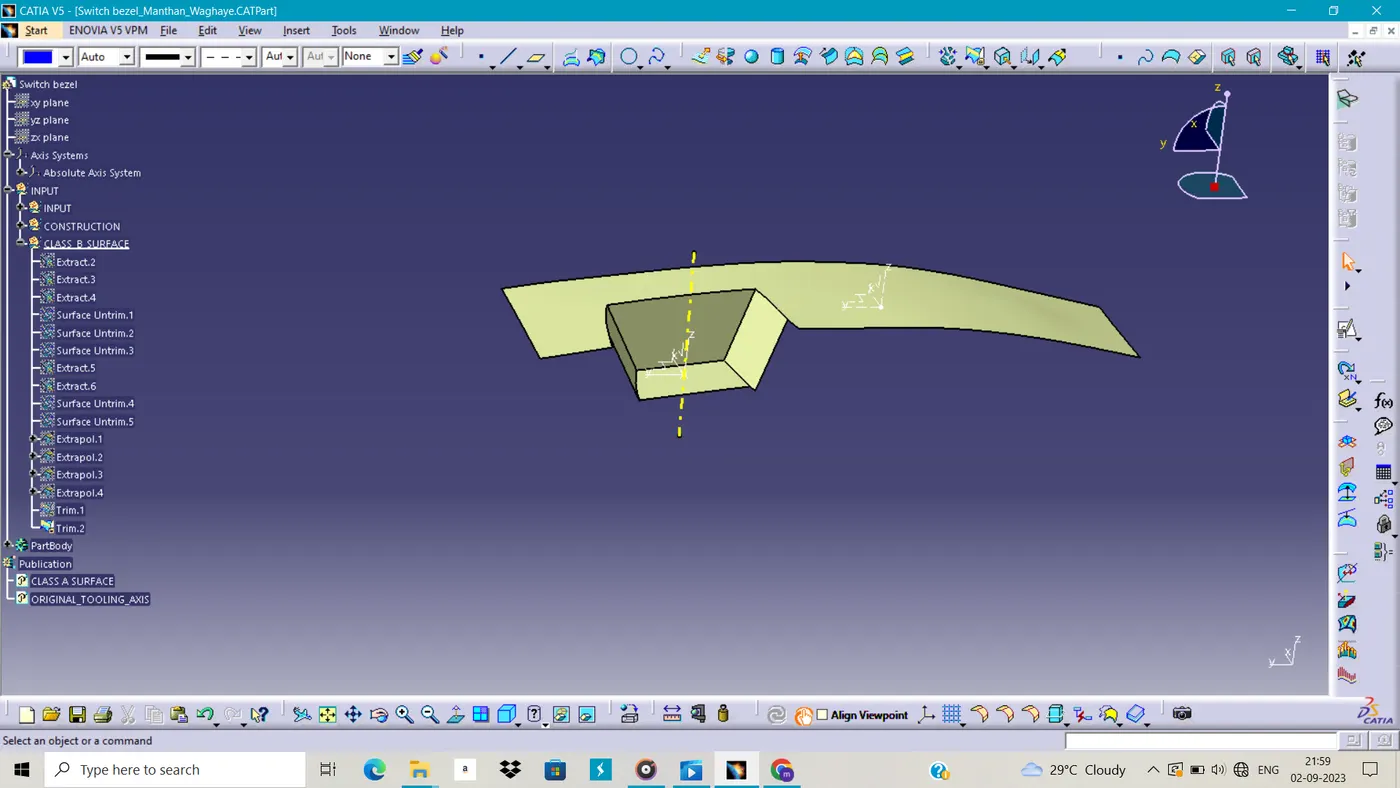
After that we have to create the edge fillet by measuring the A class surface and when we are doing the edge fillet if we are taken the surface offset inside then add the thickness and radius of fillet if we have creating the offset outside then minus its thickness from the radius value.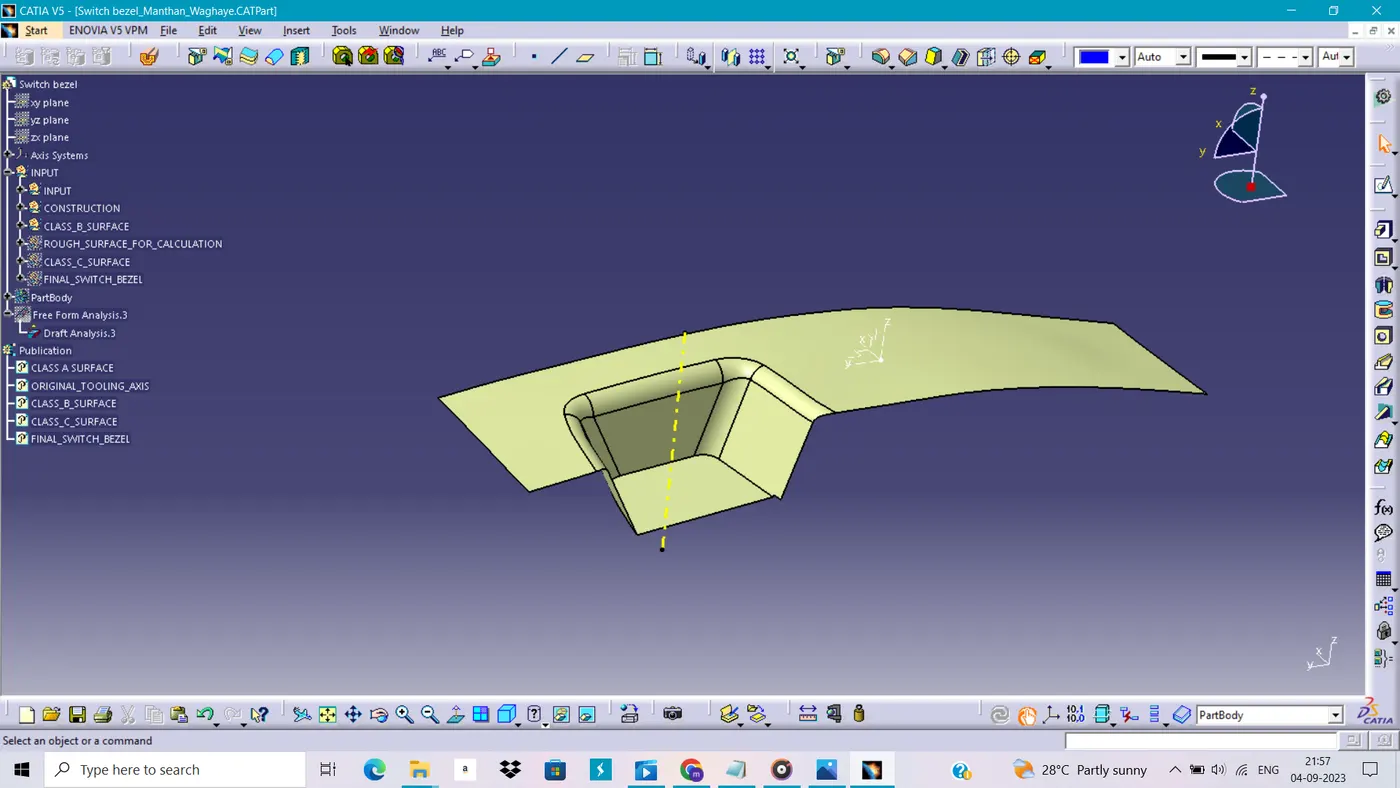
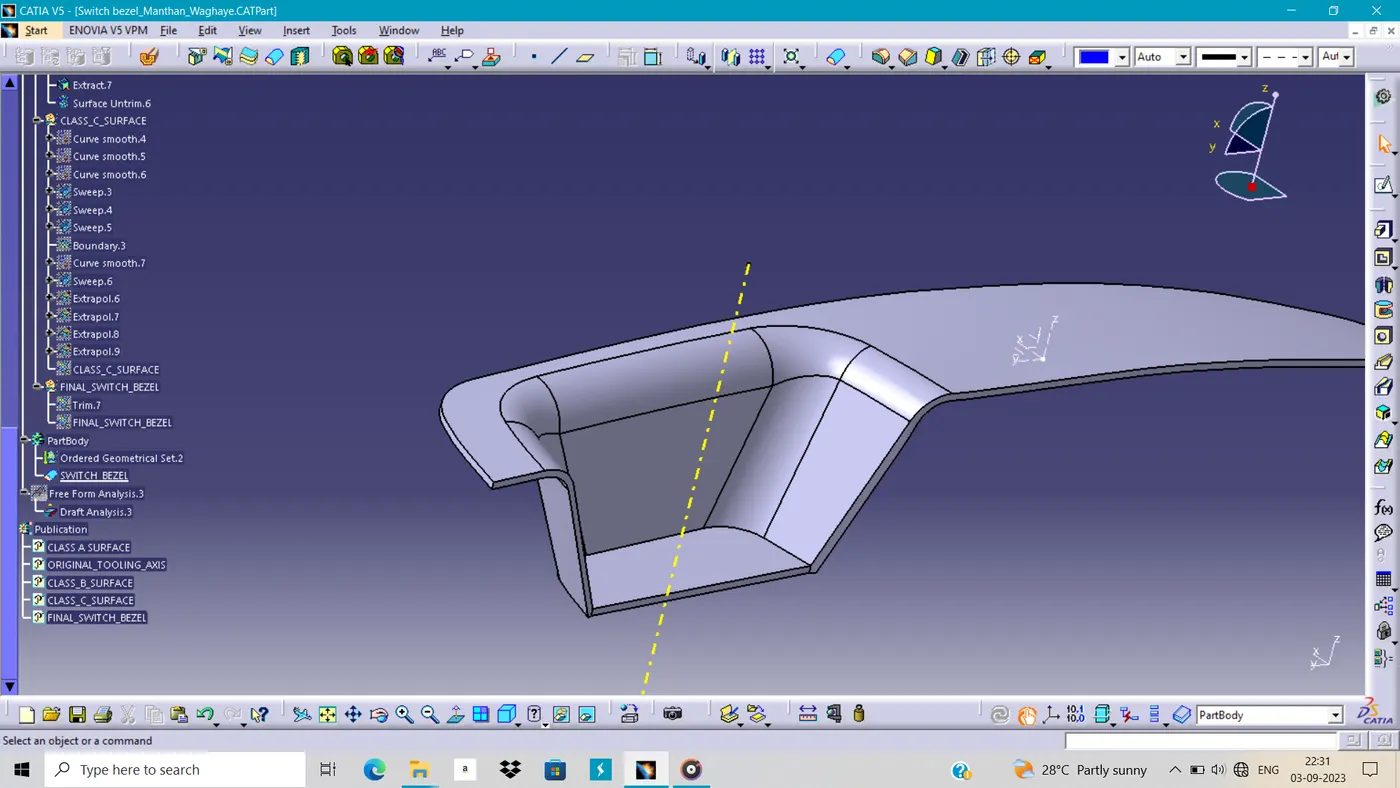
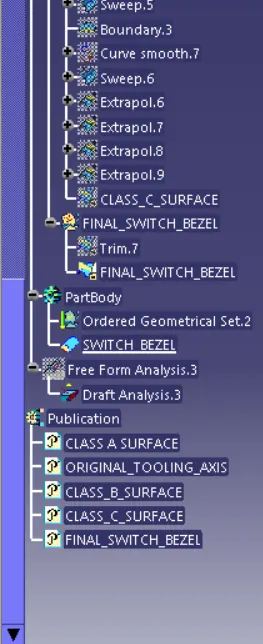
After creating the B surface we have to create the C surface from the edge which are closed or the closed the surface and then we have to trim the B surface with the C surface and then join the A surface and trim surface and then we get the final surface of base bracket for the creating the C surface we have to use the boundary and the multiple extract tool to get the edge to create the surface.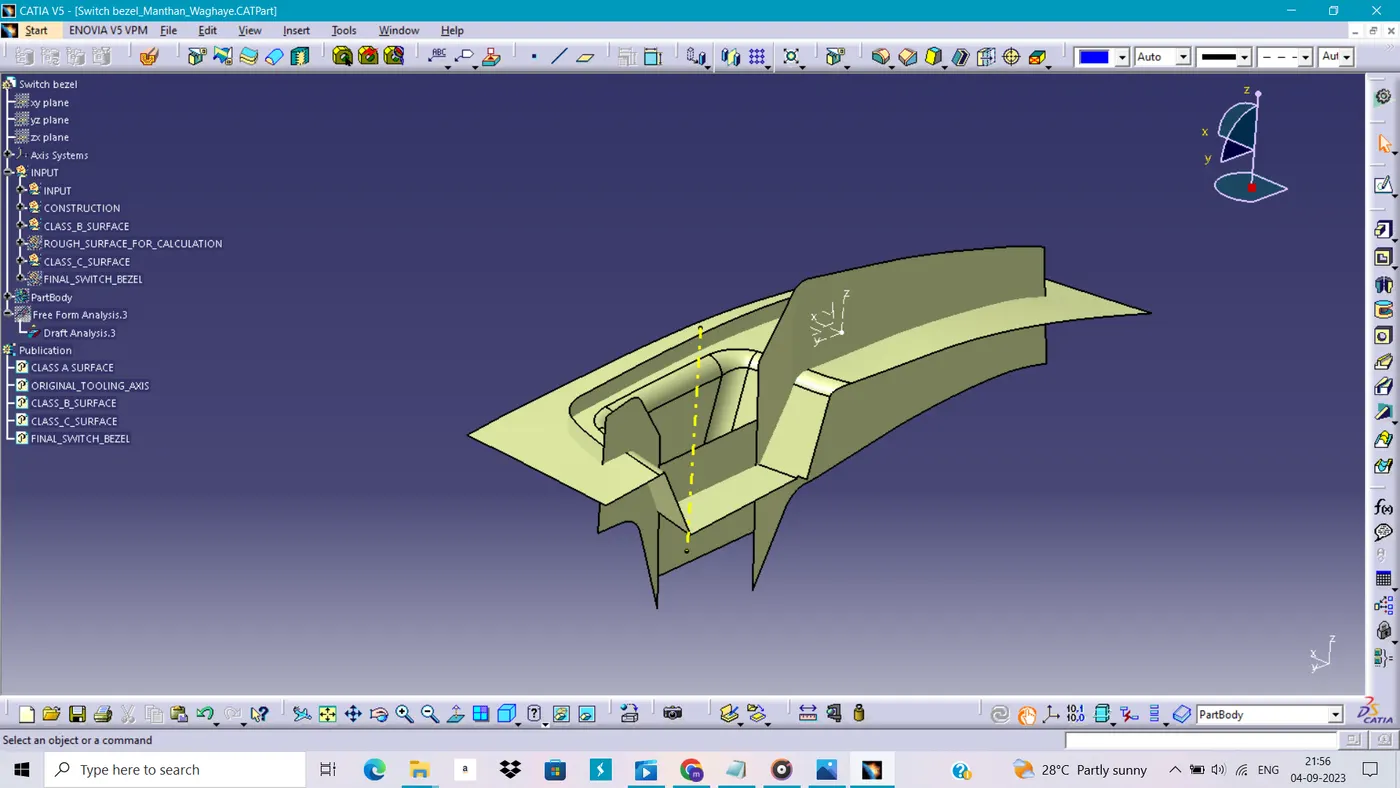
After that we have to create the thick surface in the part design workbench before that we have to check the surface is closed or not then we craete the thick surface.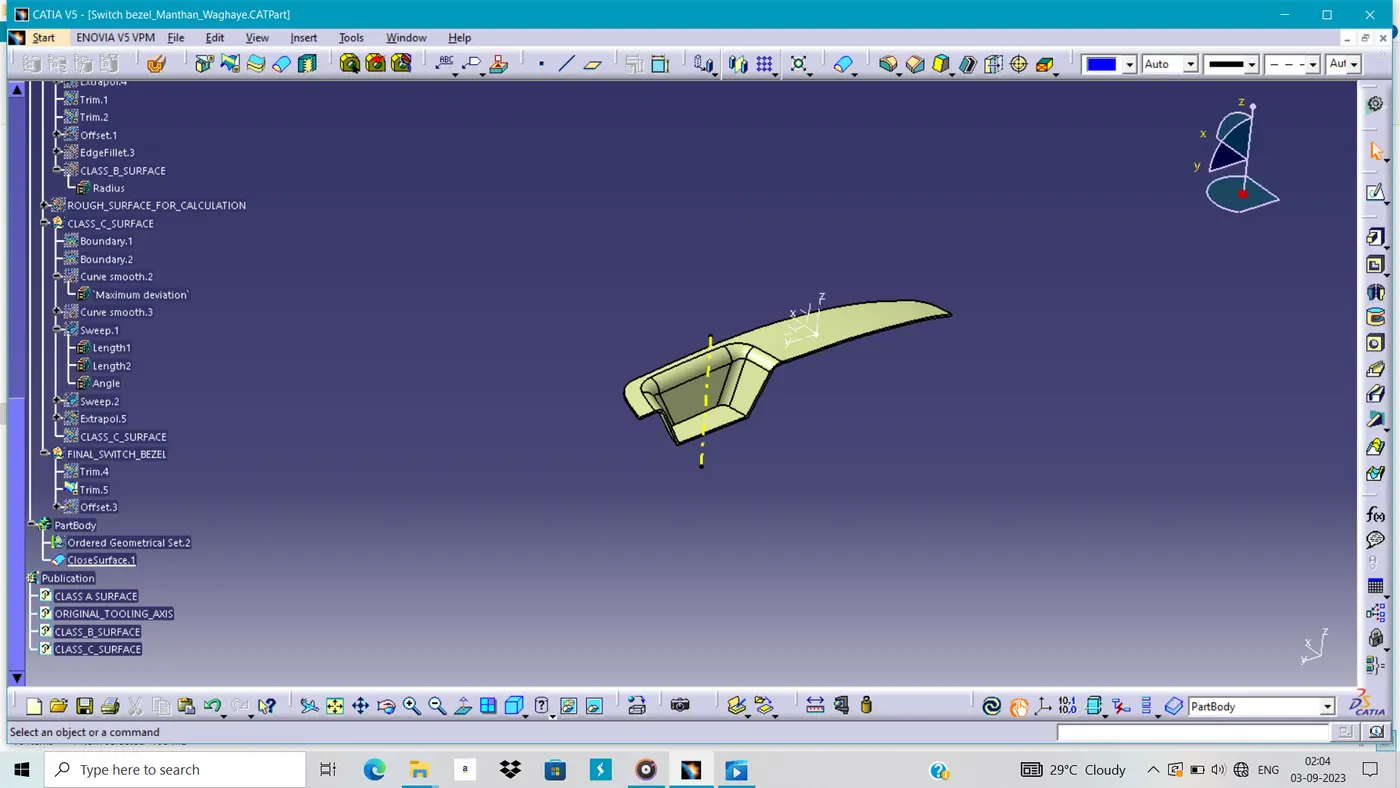
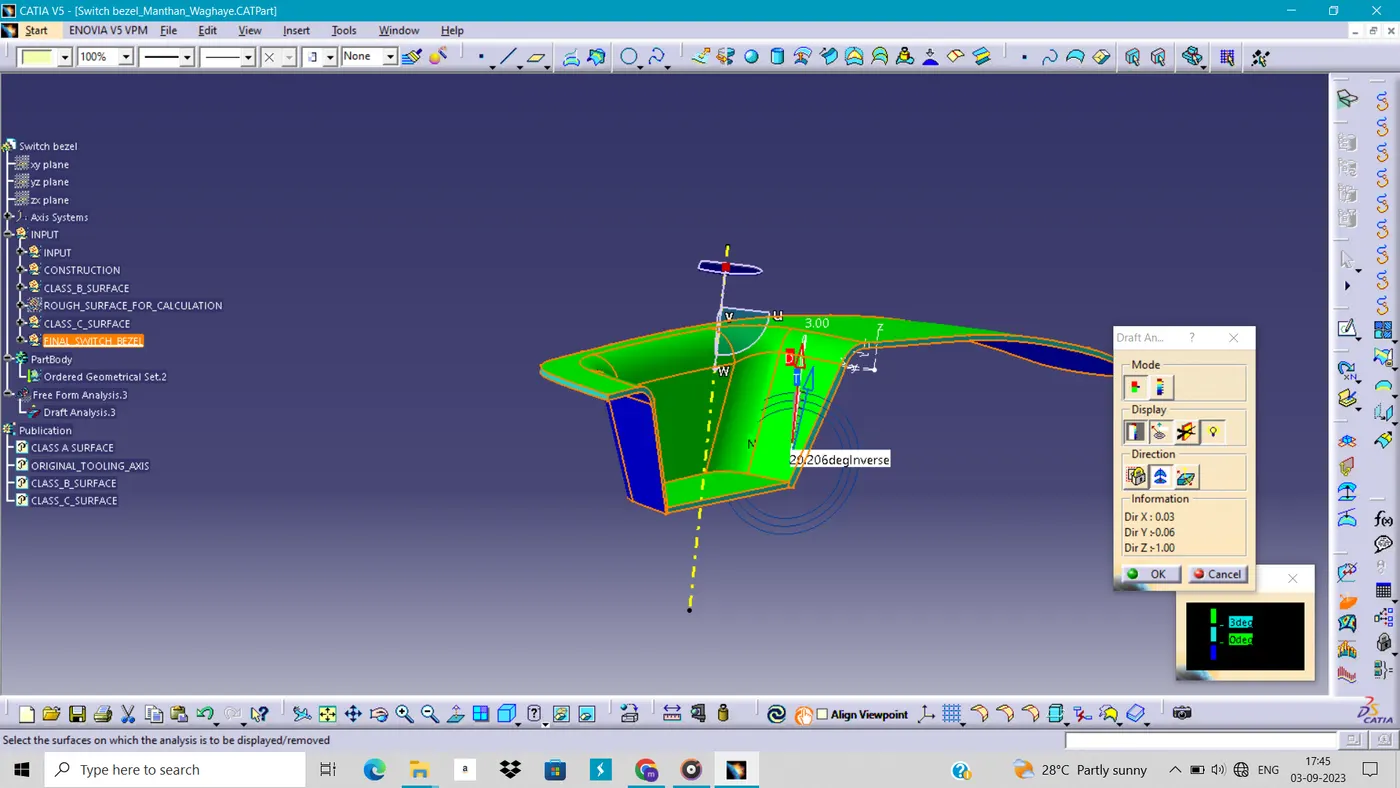
In draft analysis we can see the Green and blue color which so the Green means draft below the 3° and blue for draft minus.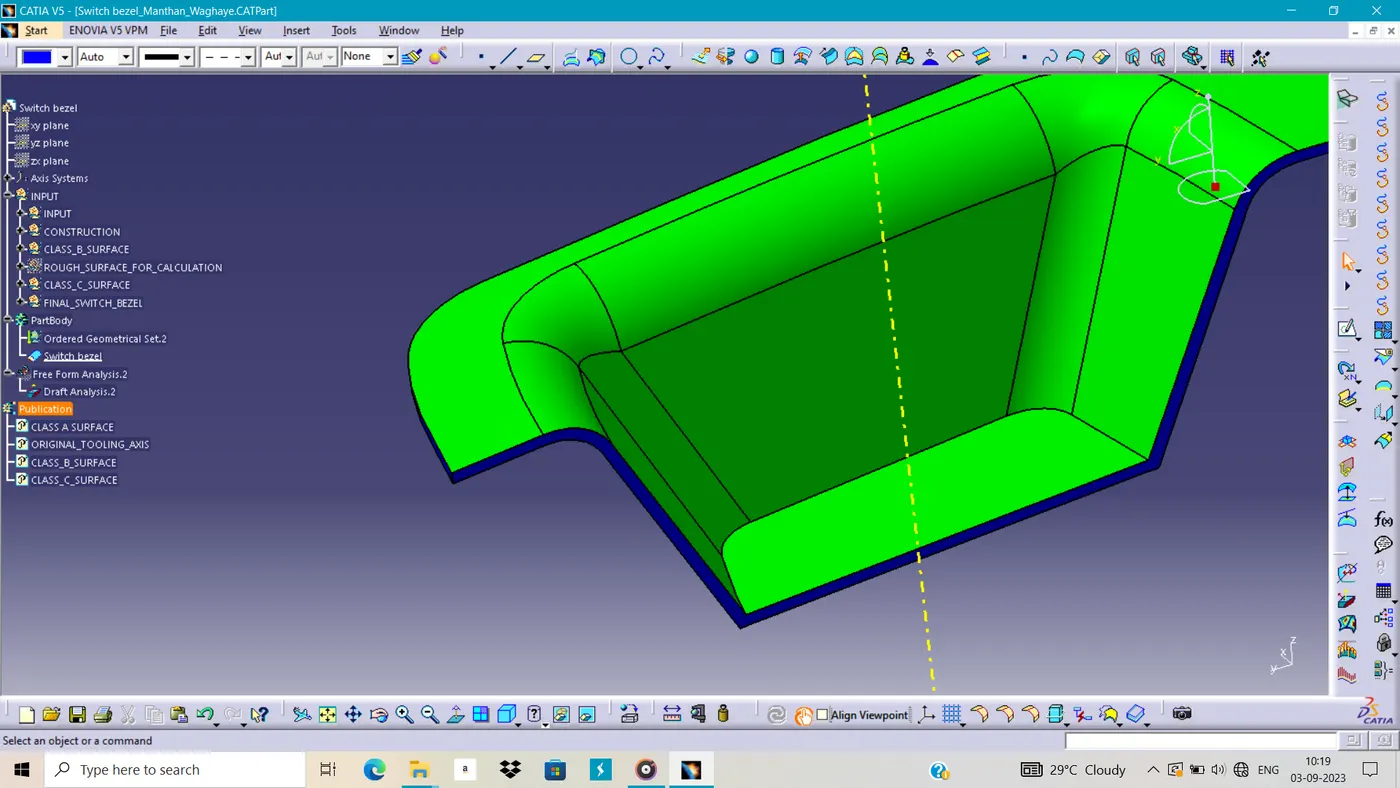
We have to check the all the draft value of side and all surface so it need to be equal to the 3° or below it.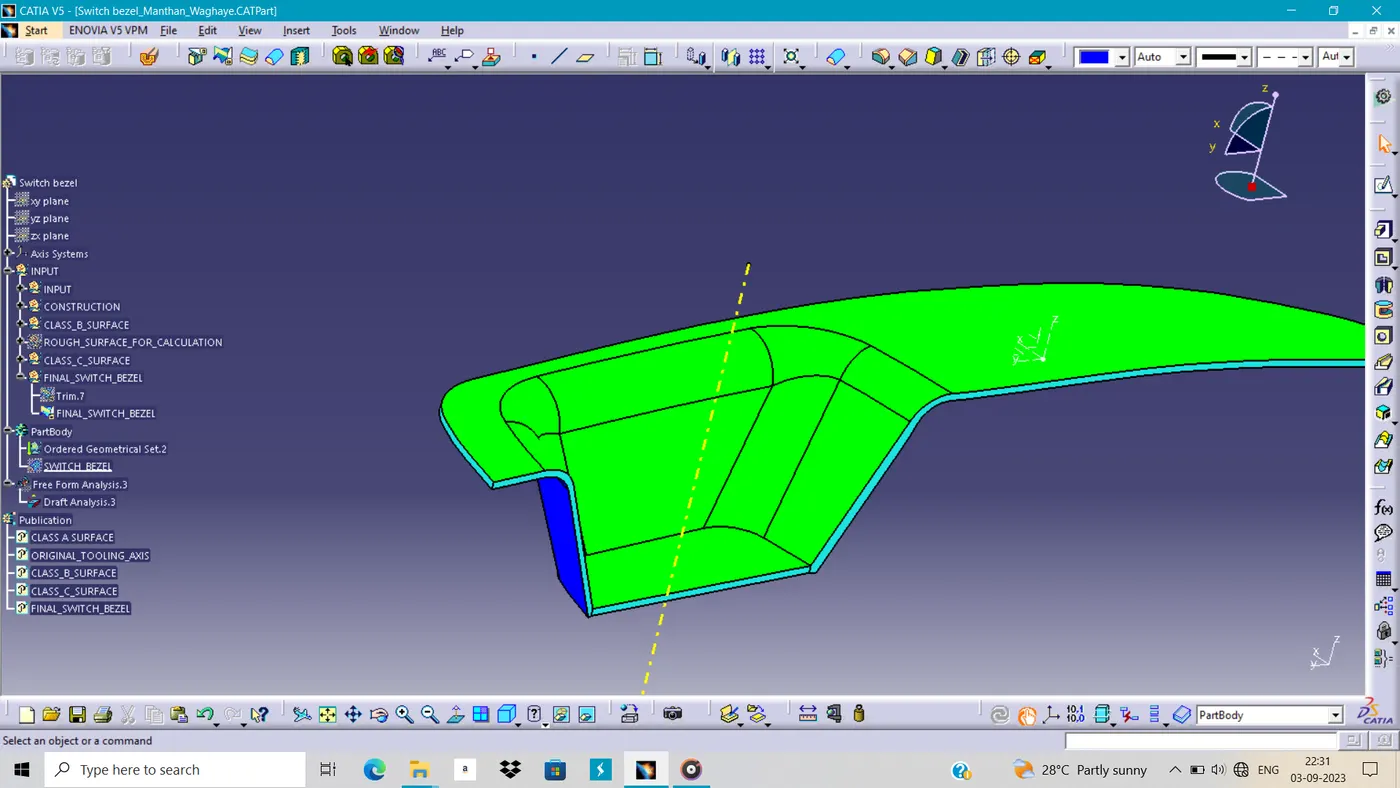
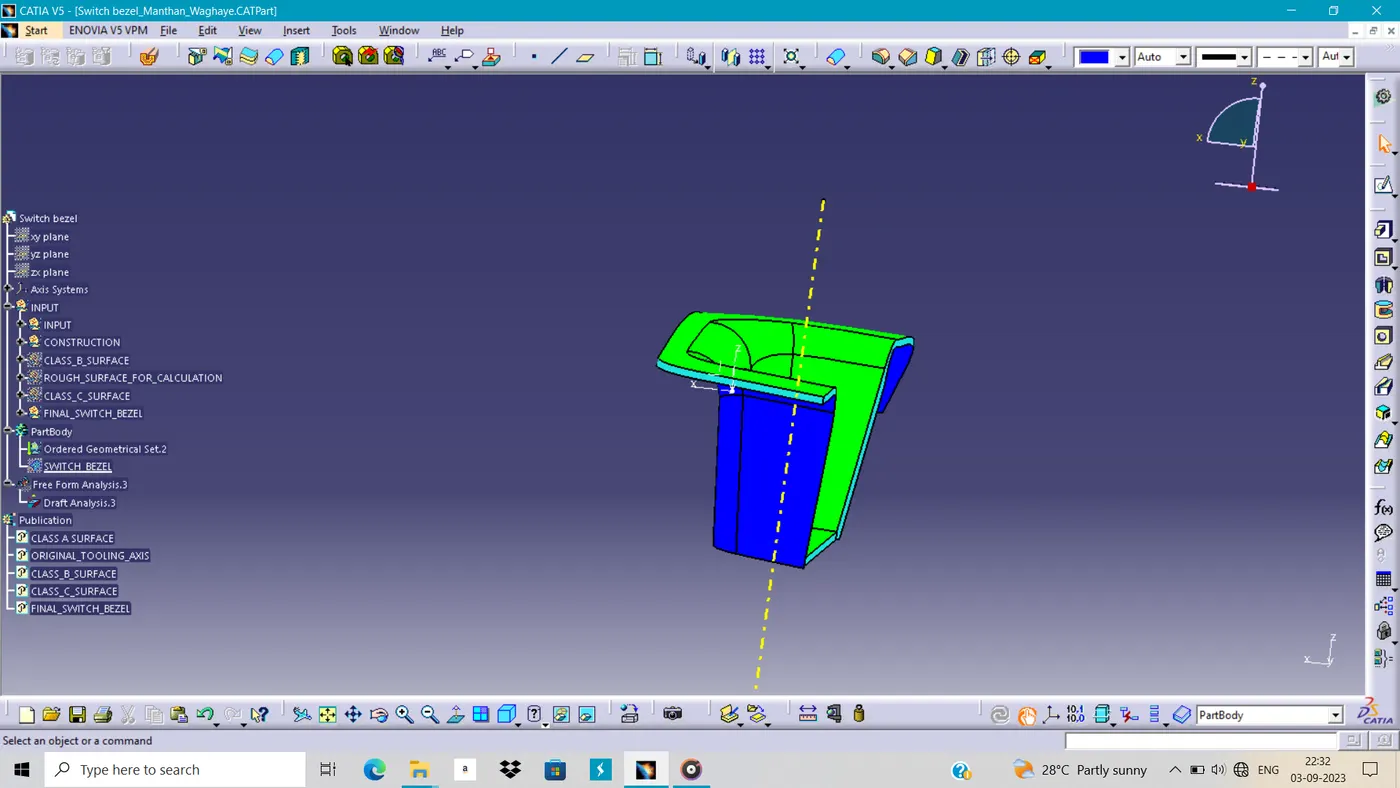
Then we have used the closed surface to create the thick part of the switch bezel.