Week 9-Challenge
AIM:
To mesh the given Component with a Mesh size of 5mm.
To create connector and Attach the various parts of the given model
1. Right_Rail_2 & Front_truss_1:- Seam-Quad(angled+capped+L)
2. Left_Rail_2 & Front_truss_1:- Quad elements
3. Front_truss_2, Front_truss_1 & Right_Rail_1:- Spot weld with 3 Layers and 5 mm Diameter
4. Front_truss_2, Front_truss_1 & Left_Rail_1:- Hexa (Adhesive)
5. Rear_truss_2 & Right_Rail_2:- Bolt Connector
6. Rear_truss_2 & Left_Rail_2:- Bolt Connector
7. Right_Rail_1 & Right_Rail_2:- Spot-weld with Rigid Elements
8. Left_Rail_1 & Left_Rail_2:- Spot-weld with Spring Elements
9. Rest all the component left Join them with suitable connectors
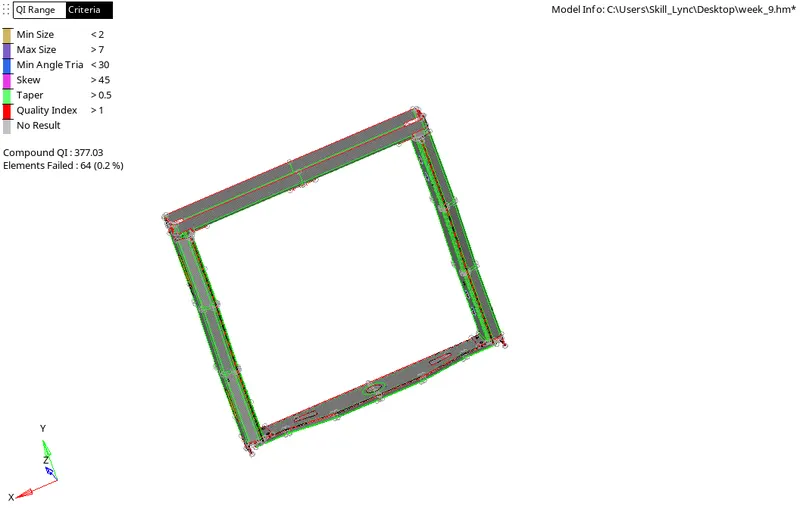
CAD MODEL:
PROCEDURE:
step 1: MESHING THE COMPONENTS
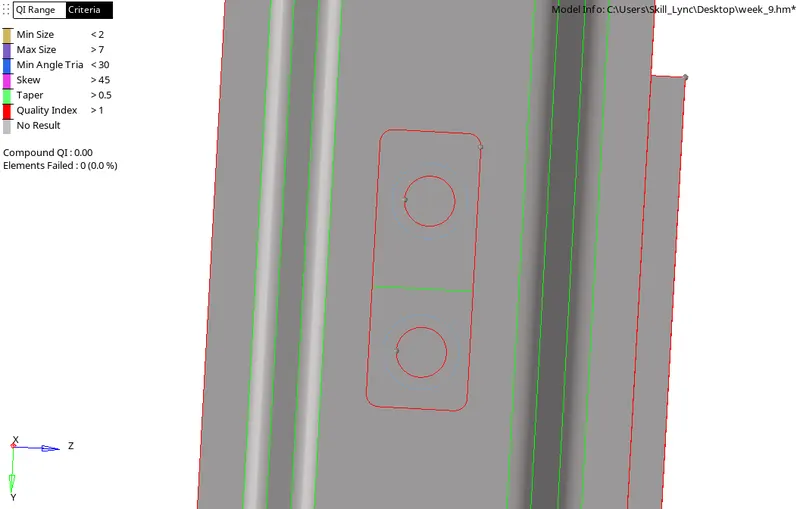
- Mesh the complete com[ponent with 5mm element size.
- Before meshing, make sure that the solids are deleted completely.
- solids can be deleted by selecting delete option and then selecting the complete solids diplayed and then delete entity.
- Go to 2D tool and select automesh.Select the complete surface displayed and set target element size as 5mm and click on automesh to mesh the component seperately.
step 2: CREATE CONNECTORS
1.
Right_Rail_2 & Front_truss_1:- Seam-Quad(angled+capped+L)
- Since it is given in the question for seam connectors, go to 2D>CONNECTORS>SEAM.
- From seam option, select SEAM-QUAD(angled+capped+L) connectors.
- Set tolerance as 10.
- asssign spacing as 4.
- Select the nodes that have to be connected.
- Select the components that need to be connected.
- then click create.
2.
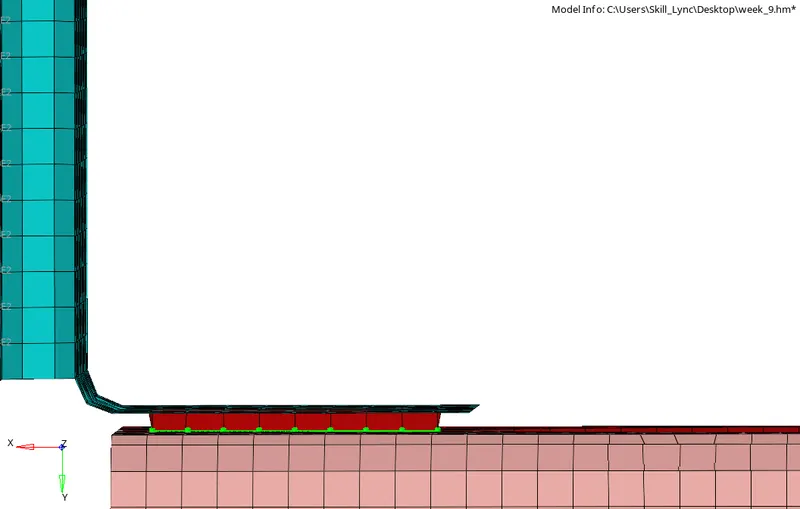
Left_Rail_2 & Front_truss_1:- Quad elements
- In order to create quad connectors, go to 2D>connectors>seam
- Then select the type as quad.
- Give tolerance value of 10
- give spacing as 4.
- Select the nodes that require connections.
- Also select the components that need to be connected.
- then click on create.
3.
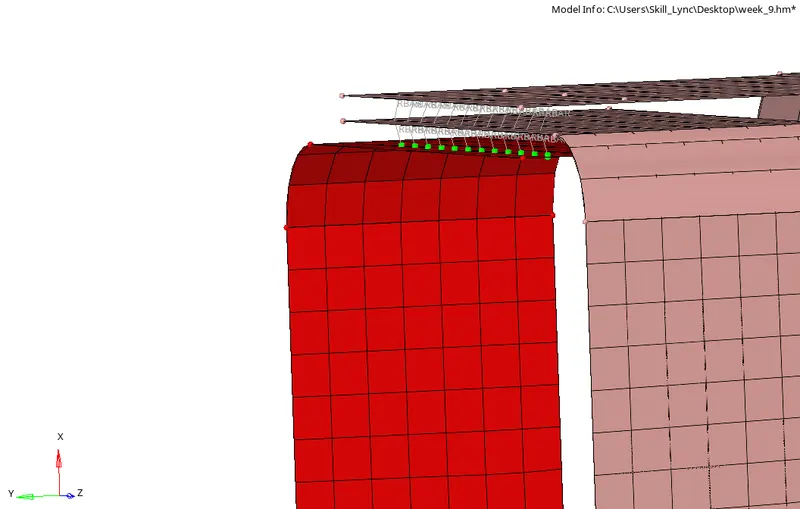
Front_truss_2, Front_truss_1 & Right_Rail_1:- Spot weld with 3 Layers and 5 mm Diameter
- In order to create spot weld with 3 layers and 5mm diameter
- Select 2D> connectors> spot
- then select the type as weld
- Give tolerance 20
- assign diameter value as 5
- give number of layers equal to 3 layered.
- Select the nodes that need to be connected
- Also select all the 3 components.
- Click create.
4.
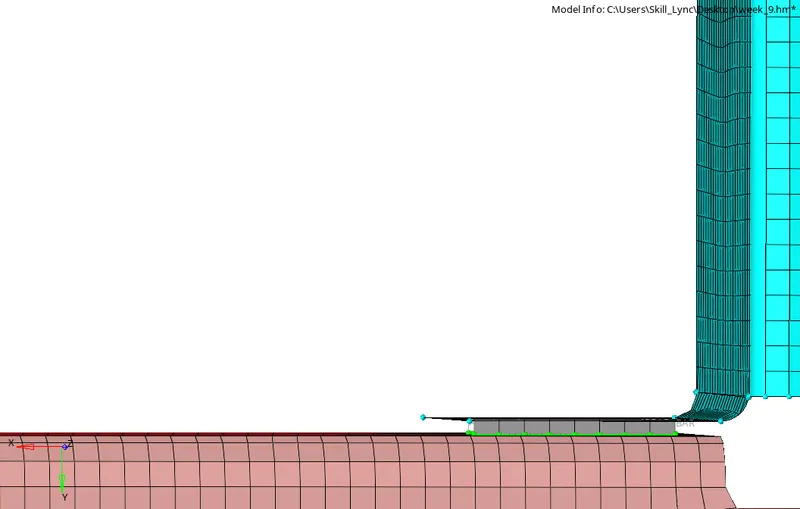
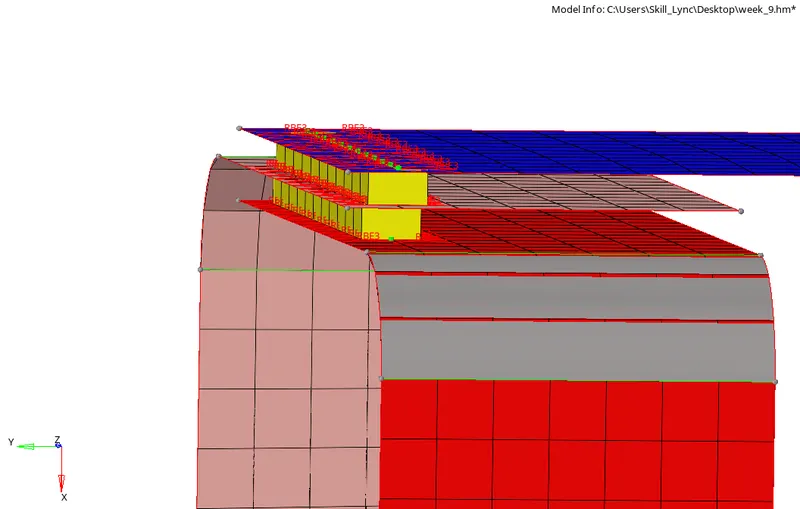
Front_truss_2, Front_truss_1 & Left_Rail_1:- Hexa (Adhesive)
- To create hexa (Adhesive) connectors,
- Go to 2D> connectors> seam
- Selec the type as hexa (Adhesive)
- Give tolerance as 10
- assign spacing as 4
- Select the nodes that need to be connected
- select the components that require connections
- click on create.
5.
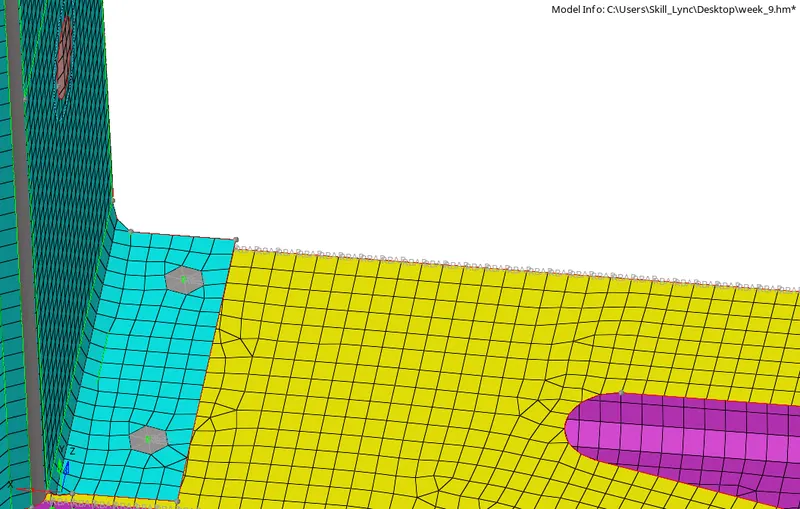
Rear_truss_2 & Right_Rail_2:- Bolt Connector
- To create bolt connectors
- Go to 2D> CONNECTORS> BOLT
- Selec type as general
- Select create hole if none option
- give tolerance as 10
- Give number of layers 2
- Select the nodes to be connected
- Also selec the components that require connection
- Click on create
6.
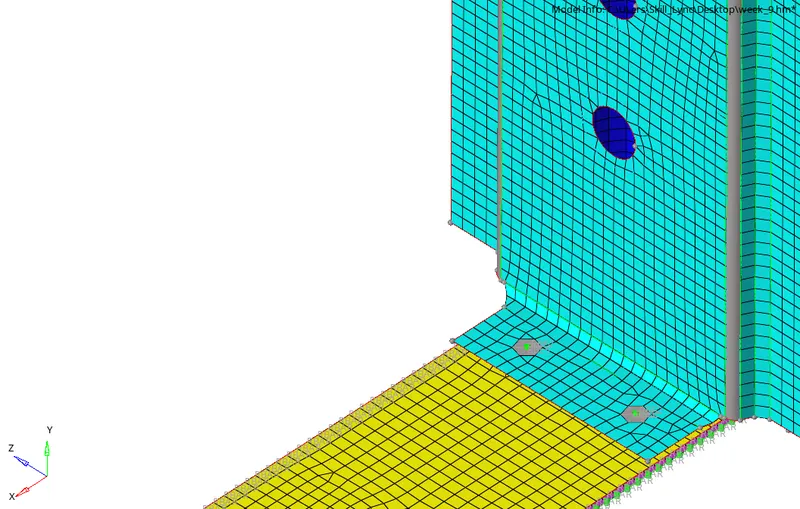
Rear_truss_2 & Left_Rail_2:- Bolt Connector
- To create bolt connectors
- Go to 2D> CONNECTORS> BOLT
- Selec type as general
- Select create hole if none option
- give tolerance as 10
- Give number of layers 2
- Select the nodes to be connected
- Also selec the components that require connection
- Click on create
7.
Right_Rail_1 & Right_Rail_2:- Spot-weld with Rigid Elements
- To create Spot-weld with rigid elements
- Go to 2D>connectors>spot
- Select type as rigid
- Give tolerance 10
- give diameter 5
- give the number of layers as 2
- Select the nodes to be connected
- Select the components that require connecction
- Click on create
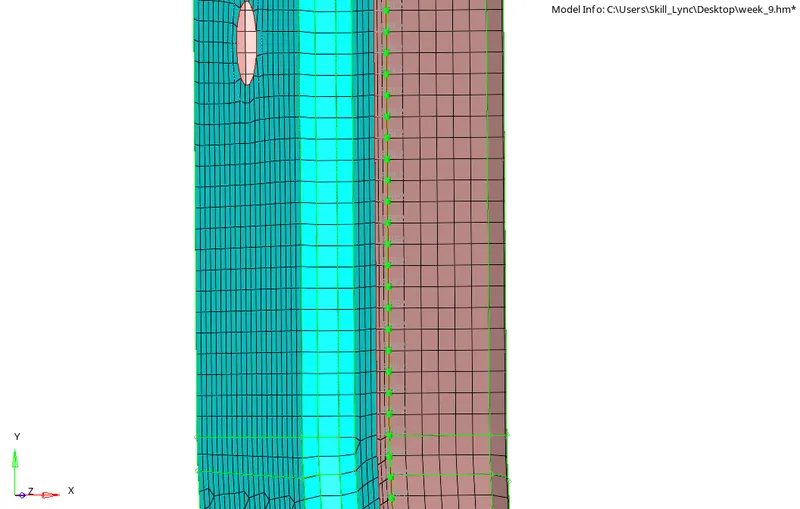
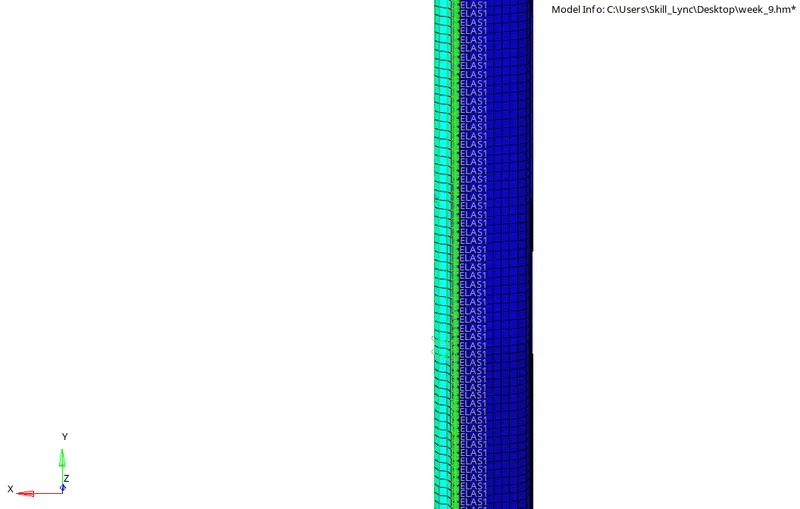
8. Left_Rail_1 & Left_Rail_2:- Spot-weld with Spring Elements
- To create spot weld using spring elements,
- Go to 2D>connectors>spot
- Select the type as spring
- Give tolerance 10
- Give diameter 5
- give number of layers as 2
- Selec the nodes rto be connected
- Selec the components that require connection
- Click on create
9.
Rest all the component left Join them with suitable connectors
- I tried diffferent connectors for connecting reamining parts
- Some places i used different weld types and some places i used different quad and seam connectors.
- I also used spot rbe3 (load transfer) connectors.
- I did this from 2D tool by slecting connectord and then spot.
- And then selected the type as rbe3(load transfer).
FINAL MODEL:
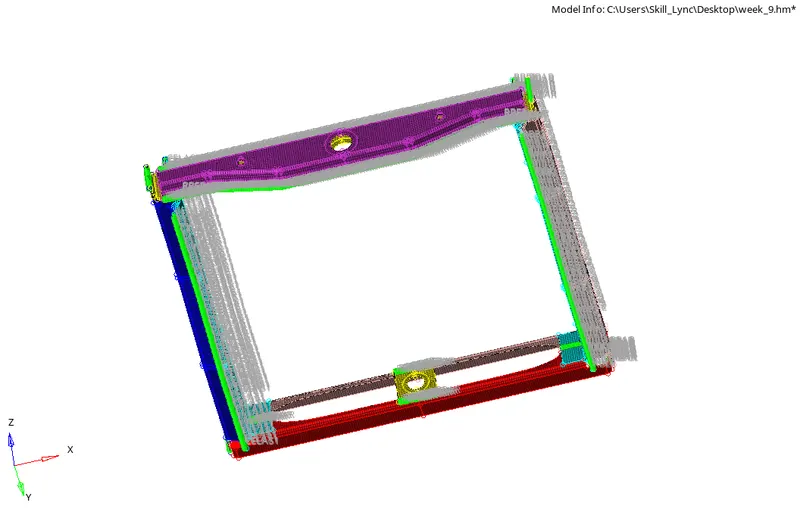
RESULT:
Created connectors and attached various parts of the component.