Week 12 - Project-1
OBJECTIVE:
To perform geometrycleanup and meshing on car sider door panel made of plastic component. Also apply thickness and assign the properties and check for the normals.
PROCEDURE:
STEP 1: Component study
1. Inner side door panel of a car.
2. panel made of plastic. So will be having varying thickness.
3. The base part has got the thickness of 2.8.
4. The rest part consist of many ribs and features.
5. Ribs are assigned to give strength for the component.
6. There is also a circular part where the speakers can be placed.
7. While going through the geometry we can find that there are many deformations formed while importing the geometry to hypermesh.
STEP 2: GEOMETRY CLEANUP
1. Import the model to hypermesh and check for deformations.
2. In some places we can see some gaps. Theses can be fixed using filler surface. Go to quick edit tool from geometry and use filler surface tool and click on the boundary of the gap and the gap can be filled.
3. In some places we can notice that instead of regular patterns there are some irregular shapes. This can be fixed by replacing the points at the end of the deformation.
- Go to quick edit>replace points, click on the points and then click on the point where to be replaced.
- Then click on retain and click on the points to which the selected points to be replaced.
- similiarly replace the points to get the good geometry.
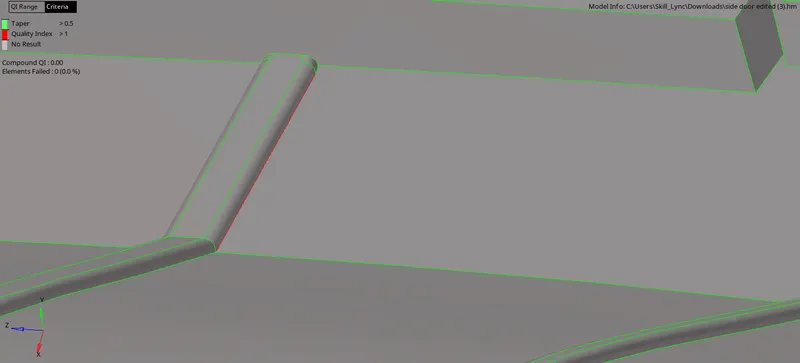
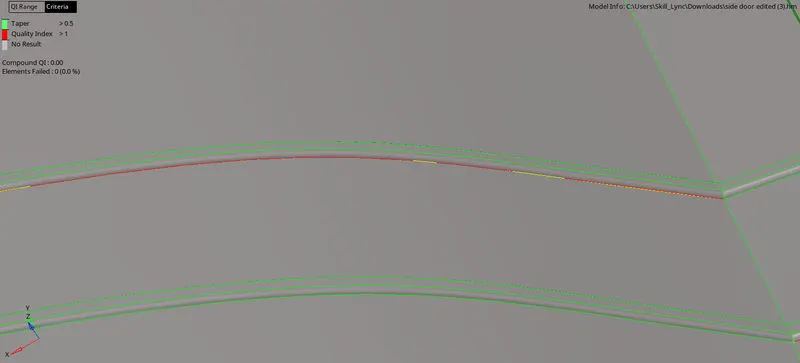
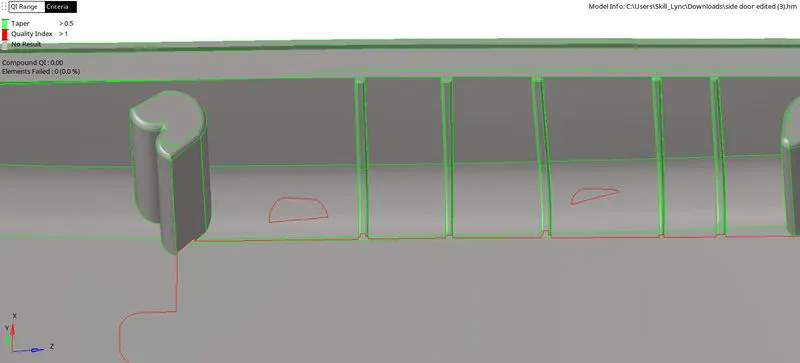
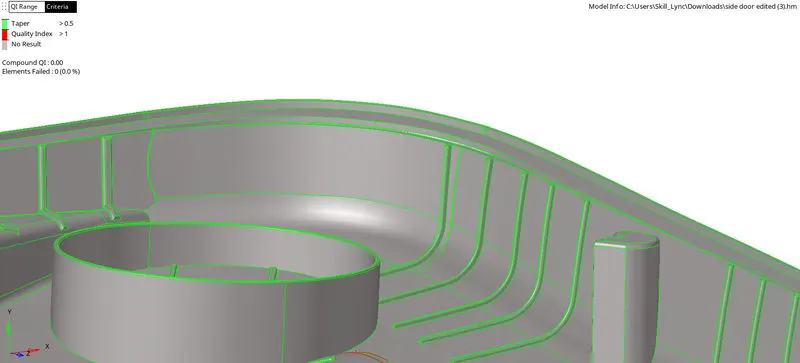
3. While taking the ribs we can notice that all the ribs are having fillets at the edges. This can be an issue while taking the midsurface.
- In order to attain a good midsurface we can defeature the the surface fillets on the ribs.
- In defeauture, use surface fillets option.
- Use second option which is 'find fillets in selected' under that choose surface.
- Give minimum, and maximum radius, fillets in between this range will be deleted.
- click on find.
- This will show us the fillets between the range.
- From that we can choose the surface to be deleted from the 'fillets to remove' option.
- At the same time we can also use other tool named 'ignore edge association' which will help us to deselect some edges which were automatically selected by hypermesh.
- Then click on remove so that we can remove the fillets and will get a good sharp edged ribs.
- But in some cass we cannot use defeauturing,or if we even use the defauture,the defeautering will not be done properly. In this case we can use the combination of some tools like distance tools or linelist tool to take the midline.
- We can also use drag option from surfaces to increase the length of the midsurface of the ribs according to the required.
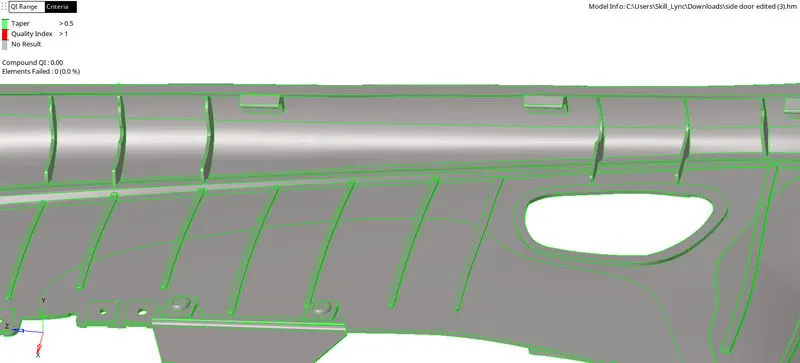
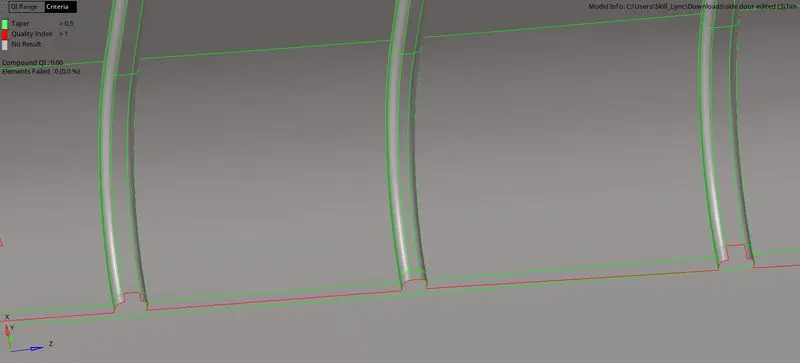
4. We can also notice that some parts may have slipped away. This can be solved by deleting the extra surface and creating a new surface connecting the two sides.
- We can use 'delete surface' tool to delete the surface .
- 'Ruled' option or 'drag' option to create a new surface.
- 'trim with surface' can be usec to trim the surfaces that are extra.
STEP 3: midsurface generation and geometry cleanup of midsurface.
1. There is 'automidsurface' option but we cannot use that in here because it might delete some features that are required. But we can create one in order to get an idea about how the midsdurface willl look like.
- For auto midsurface extraction go to 'geometry>midsurface'.
- Go to 'extraction option' and choose skin offset for better offset.
- Then go back to autop extraction and select the parent surface body which we want to create the migdsurface of and then duplicate it to current component and cloick in extract option.
2. Manual midsurfacing:
- Since this component is a plastic component, they will be having varying thickness.
- Hence the thickness should be calculated seperately for each surface.
- Calculating the thickness at the edges is easy,but calculating the thickness on the areas except the sides is difficult.
- Hence create temp nodes on both sides of th required surface on the parent surface.
- Then use distance option(F4) to m,easure the distance between the nodes in order to attain the thickness.
- For extracting midsurface manually, go to surface edit>offset>select the surface to offset

- Then assign the half of the thickness from the parent body.
- Duplicate the surface to current component and then click on offset.
- While manually extracting the midsurface, it cannot be done in one shot.
- We have to seperately offset for each parts that are having different thickness , at the same time the surface with same thickness can be offset at the same time together.
- It is easy to extract he midsurface iof the main body, but in the case of ribs it is not the same. This is because the ribs might have different shapes at both the sides.
3.Different ways of extracting the midsurface of the ribs
- If the ribs re having different shapes at both sides, we can use line list tool from lines option to draw the midline.

- Then this midline can be projected on the body by using trim with lines option from the surface edit tool.
- These lines created can be filles using ruled option from surface tool in geometry.
- If the ribs are of same size in both the sides, we can use offset option.
- Measure the thickness and assign the half of the thickness to offset.
- Select the surface to offset and then duplicate to current component.
- Check for the vector normal to know the direction of offset and we can also click on reverse normal if we want it in the oppposite direction.
- Then click on offset option to attain the midsurface.
4. Cleaning up the midsurface.
- Small gaps and unnecassary holes can be filled using filler surface tool from quick edit tool.
- Small deformations can be cleared using the replace point option from quick edit panel.
- Lines which have the chances of failing for minimum length can be toggled using toggle edges tool from quick edit panel.
- Proper connection should be established between lines.
STEP 4: Setting up quality criteria
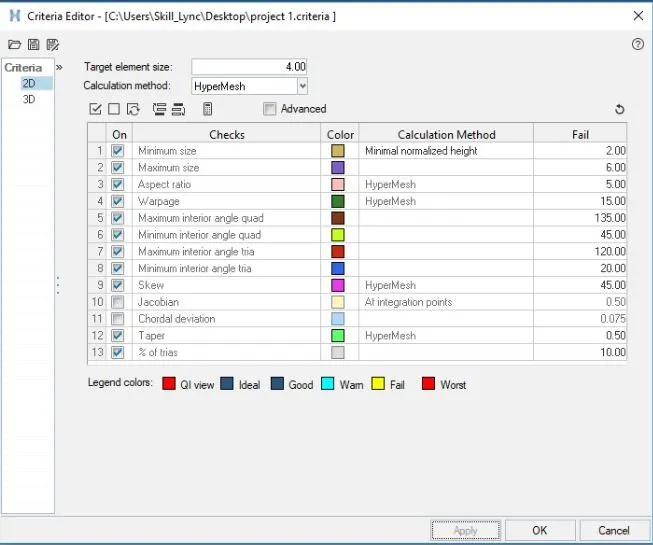
1. For setting up the quality criterias as given, this can be done from preference menu on the top of the screen.
2. Select preferences>criteria file settings and assign the value for given purposes.
3. Sve the criteria file as per the project in order to reduce the time usage for assigning each and single time while working on the particular project.
4. Click on apply followed by an OK.
STEP 5: MESHING
1. After assigning the values for quality criteria, we can start meshing.
2. 2-D > Automesh.
3. After selecting on the surface box select the surfaces to be meshed.
4. Give element size as 4 as it is given.
5. Give the mesh type as mixed.
6. 'element to surface component' is choosen to add the elements to the surface.
7. Keeo connectivity is selected to make sure that the elements are in a connective pattern.
8. Tick on the align and size options for a better mesh flow.
9.Click on mesh.
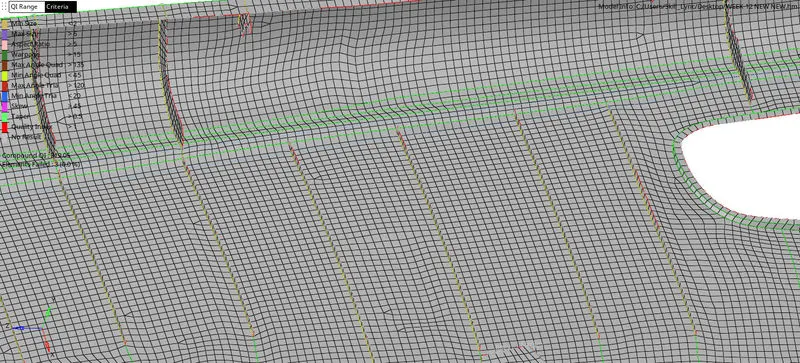
10. We can change the surface to elements and select the required elements that are not accurate to be remeshed in order to Attain a better mesh flow.
11. The mesh we get might have too many trias. Trias shoukd be avoided ijn order to attain more accurate results.
12. Number of trias can be reduced by merging the opppositely faced trias and also remeshing again anad again.
13. Trias and elements can also be individually edited for an accurate mesh type.
14. This can be done by using cleanup tools from quality index in the 2-D option.
15. We can remove trias and get good mesh flow by using cleanup tools.
Main points to remember in tria management:
- No trias on corner and edges.
- No opposite trias.
- No back to back trias.
- No trias at hemmings or fillets or keep it minimal as possible.
- No rotational quads.
- No trias should share a boundary with feature line.
- Connectivity between elements.
- Split and perform the mesh.
- Use mixed type mesh for irregular surfaces and quad type for only rectangular and square surfaces.
The main tools used while eliminating the trias:
2-D > Quality index > Cleanup tools.
Place node: Used to manually move a node.
Smooth: Used to smooth the elements to get better mesh flow.
Swap edge: To swap the sides of the element.
Node optimize: Place the node in an optimize position in order to reduce the errors.
Element optimize: Optimize the elements in order to reduce errors.
Split\collapse edges: Used to split the elements.
Drag tria elements: To move the trias in the mesh.
Split quad elements: To split the quad elements.
Combine tria elements: Used to combine tria elements.
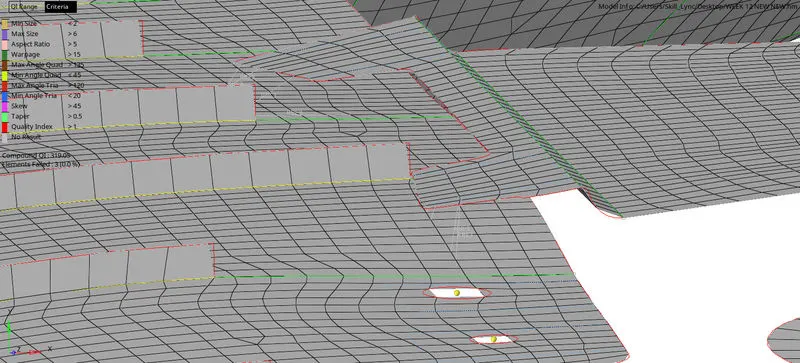
STEP 6: Connections
1. If there are many parts and no connection between them, we should establish connections between them.
2. In order to do that we should go to 1-D>connectors>Rbe2.
3. In location tool , select the nodes where you want to get connection.
4. From connect what select the components that we want to connect.
5.Choose elements because we are giving connections to elements.
6. In number of layers give the number of layers we want the connection in.
7. Assign tolerance value according to the distance we want the connections in.
8. Select the type pf spot connection we want to give.
9. Click on create.

Step 7: Checking the normals and free edges.
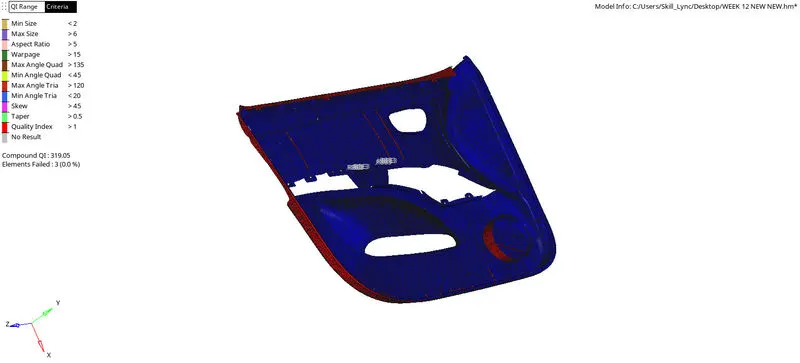
1. To check normals:
- Go to tools>Normals.
- Choose the elements.
- Select displayed 2-d elementsfor selecting the whole elements.
- Colour display inorder for the colour representation.
- Click on display.
- Then we can see all the elements in blue and red.If all the positive sides are in 1 colour and all the negative sides are in another colour, then it is okay.
- If one side is having all the colours then we have to change the normals.
- By clicking on adjust, almost all the errors will be cleared.
- If not cleared, then change the elements from displayed and select whichever elements are showing error and clear again.
- Select on reverse to change the normals.
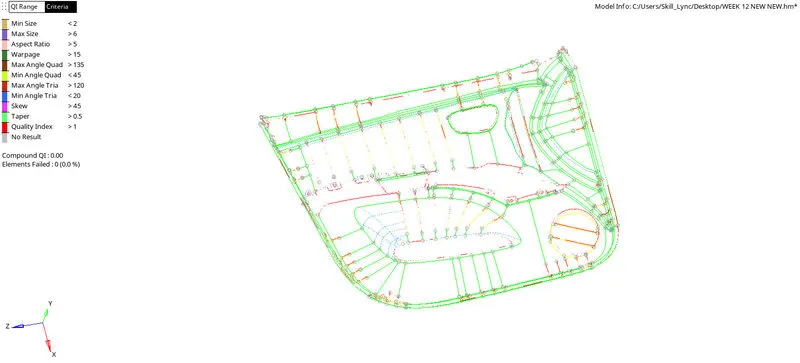
2. To check for free edges:
- to check for free deges , go to tool> edges.
- Choose elements and then select the whole elements.
- Click on find edges.
- Now hide other parts and make edges mesh only visible.
- Now check if there is any red line on the areas other than the boundary.
Step 8: Assigning thickness
- After the whole meshing is done, we can assign the thickness to the mesh in order tomake the 2D mesh exact as the real product.
- First step for assigning thickness is to move parts with same thickness to the same component.
- To create a component, right click on the model view area> create> component.
- Now rename the component with thickness value for easy workflow.
- Move the parts to the assigned components based on the thickness.
- TOOLS>ORGANISE>COLLECTORS.
- Select the element and choose the elements we want to move.
- In destgination component, choose the components we want to move these elements to.
- Click on move.
- After creating all the components, we have to assign properties for all these components.
- To assgin the properties, right click on model view area and first create the properties.
- Rename the properties with thickness value.
- Then set the thickness for each propertties according to the need.
- When clicked on a property, we can find a menu below. Among that the thickness value should be assigned as required near the 'T' option.
- To apply these properties to the components, right click on the component and select assign option.
- Then choose the required property from the popup box that has appeared.
- Click on apply followed by an OK.
- In order to see the mesh in 3-d, choose the 2d detailed elements representation.
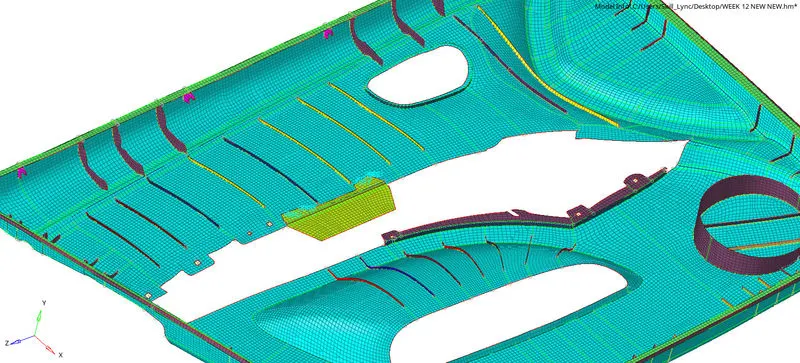
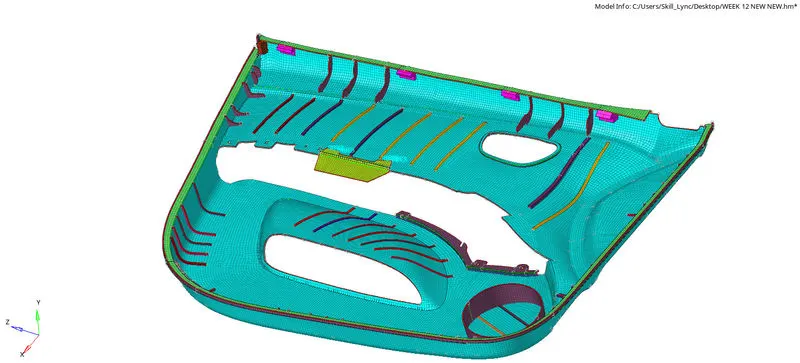
FINAL MODEL:
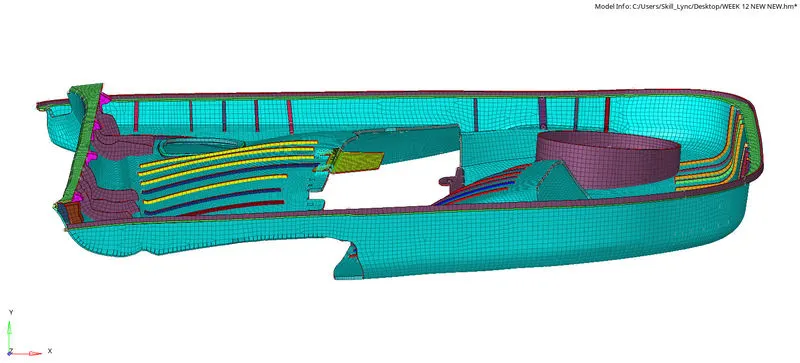
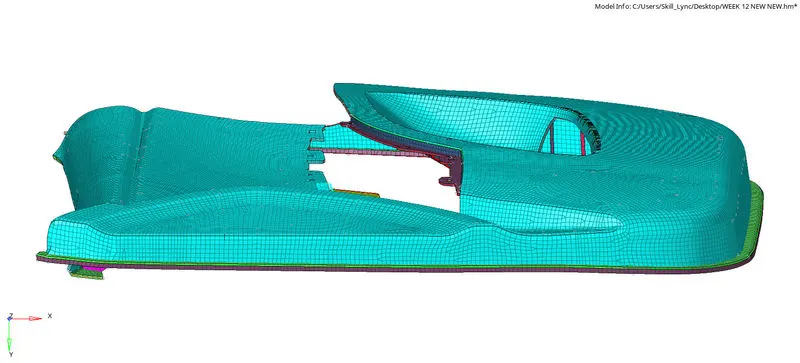
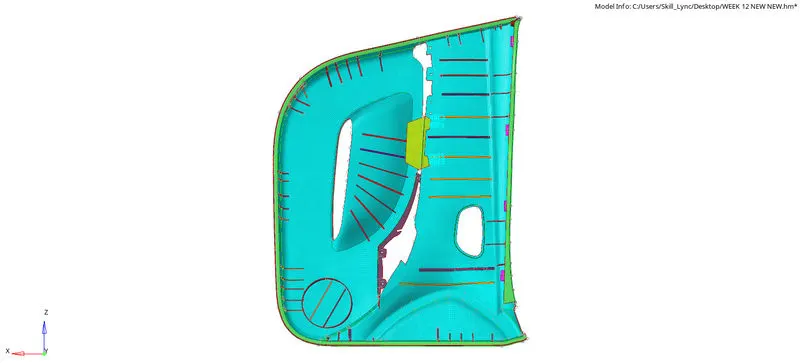
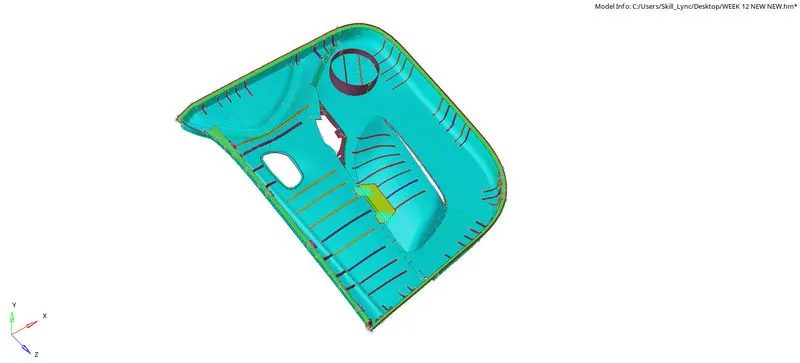
RESULT:
Finished extracting midsurface and meshingof the side door panel of the car made of plastic component with no fail of quality criteria and minimal tria percentage. Also checked for normal and free edges and also applied the thickness to the components.