Week 9-Challenge
AIM:
To create connector and attach the various parts of the given model .
1. Right_Rail_2 & Front_truss_1:- Seam-Quad(angled+capped+L)
2. Left_Rail_2 & Front_truss_1:- Quad elements
3. Front_truss_2, Front_truss_1 & Right_Rail_1:- Spot weld with 3 Layers and 5 mm Diameter
4. Front_truss_2, Front_truss_1 & Left_Rail_1:- Hexa (Adhesive)
5. Rear_truss_2 & Right_Rail_2:- Bolt Connector
6. Rear_truss_2 & Left_Rail_2:- Bolt Connector
7. Right_Rail_1 & Right_Rail_2:- Spot-weld with Rigid Elements
8. Left_Rail_1 & Left_Rail_2:- Spot-weld with Spring Elements
9. Rest all the component left Join them with suitable connectors
CAD MODEL:
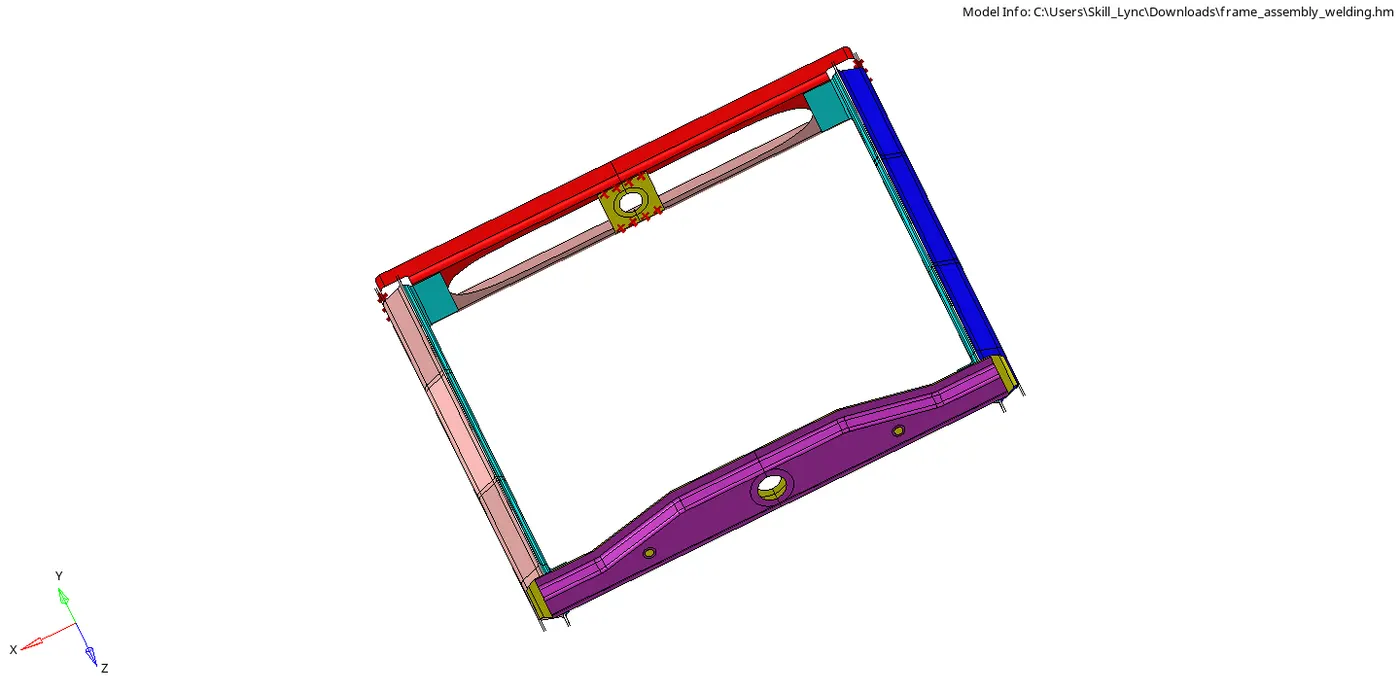
PROCEDURE:
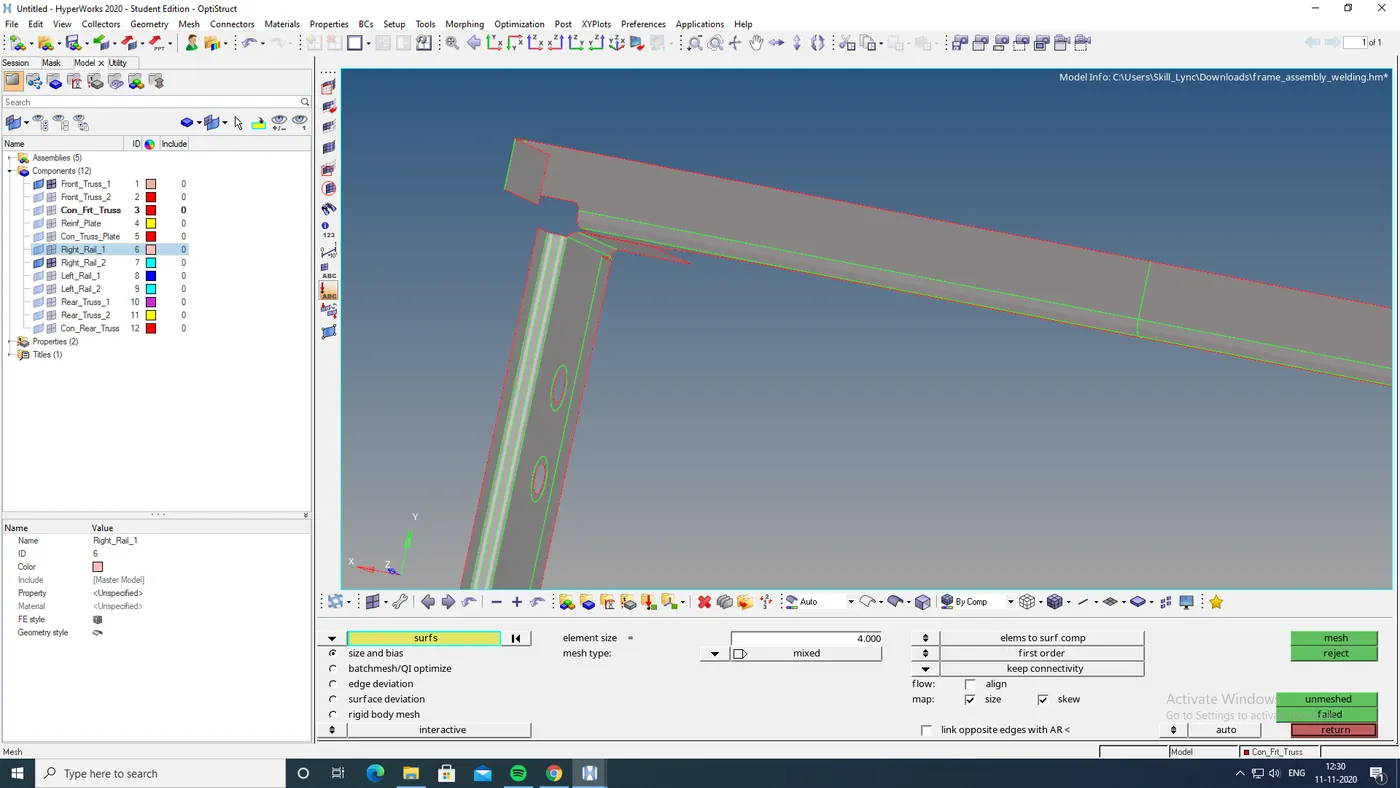
STEP 1: MESHING THE COMPONENTS.
- To do meshing first i need to delete the whole solid in the goemetry
- and then go to 2d>automesh> and select the surface and given element legth as 4 and done meshing the whole component seperatly
STEP 2 : CREATE CONNECTORS
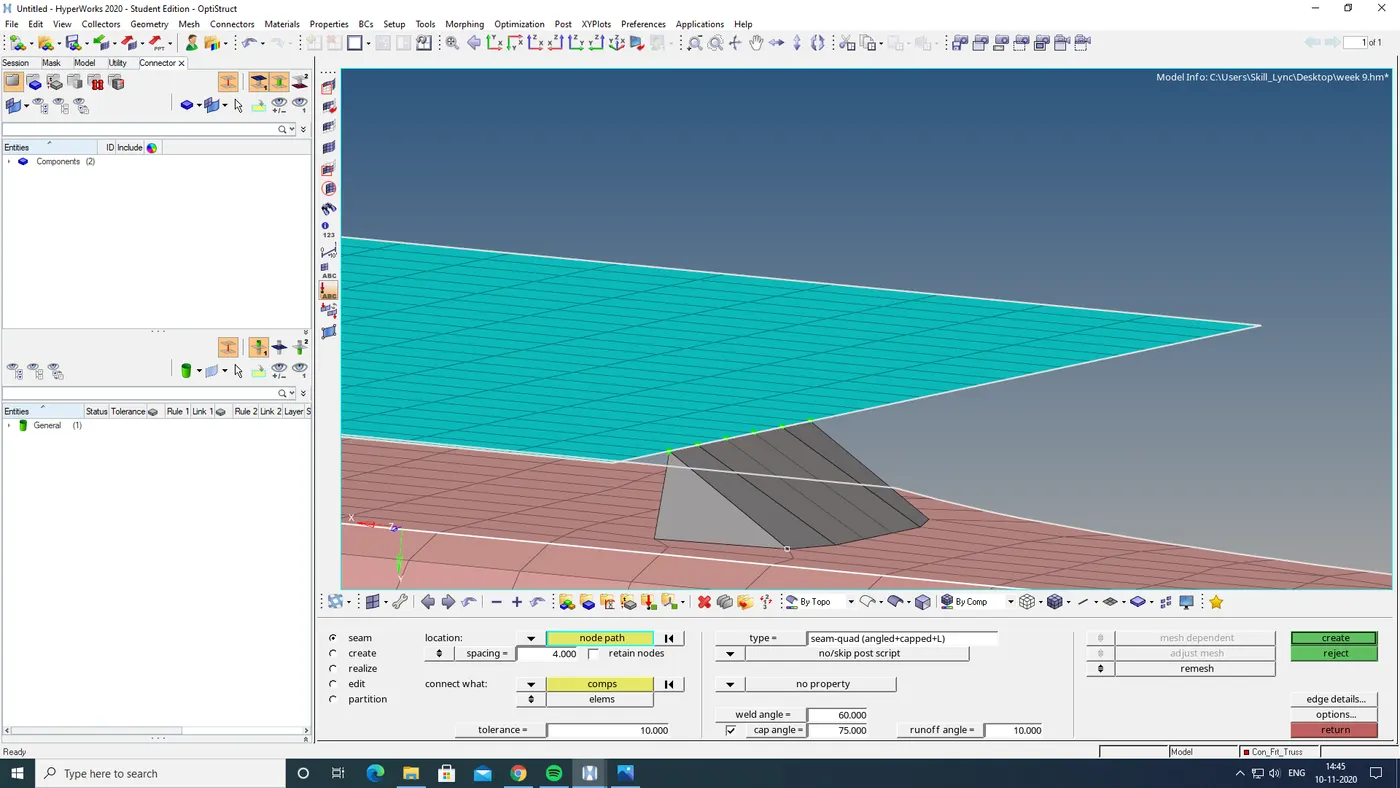
1. Right_Rail_2 & Front_truss_1:- Seam-Quad(angled+capped+L)
- inorder to create a seam connector we go to 2d > connectors>seam.
- select type as Seam-Quad(angled+capped+L)
- give tolerence 10
- give spacing 4
- slect the nodes needed to be have those connections
- and select the components which is going to be connected
- and click create.
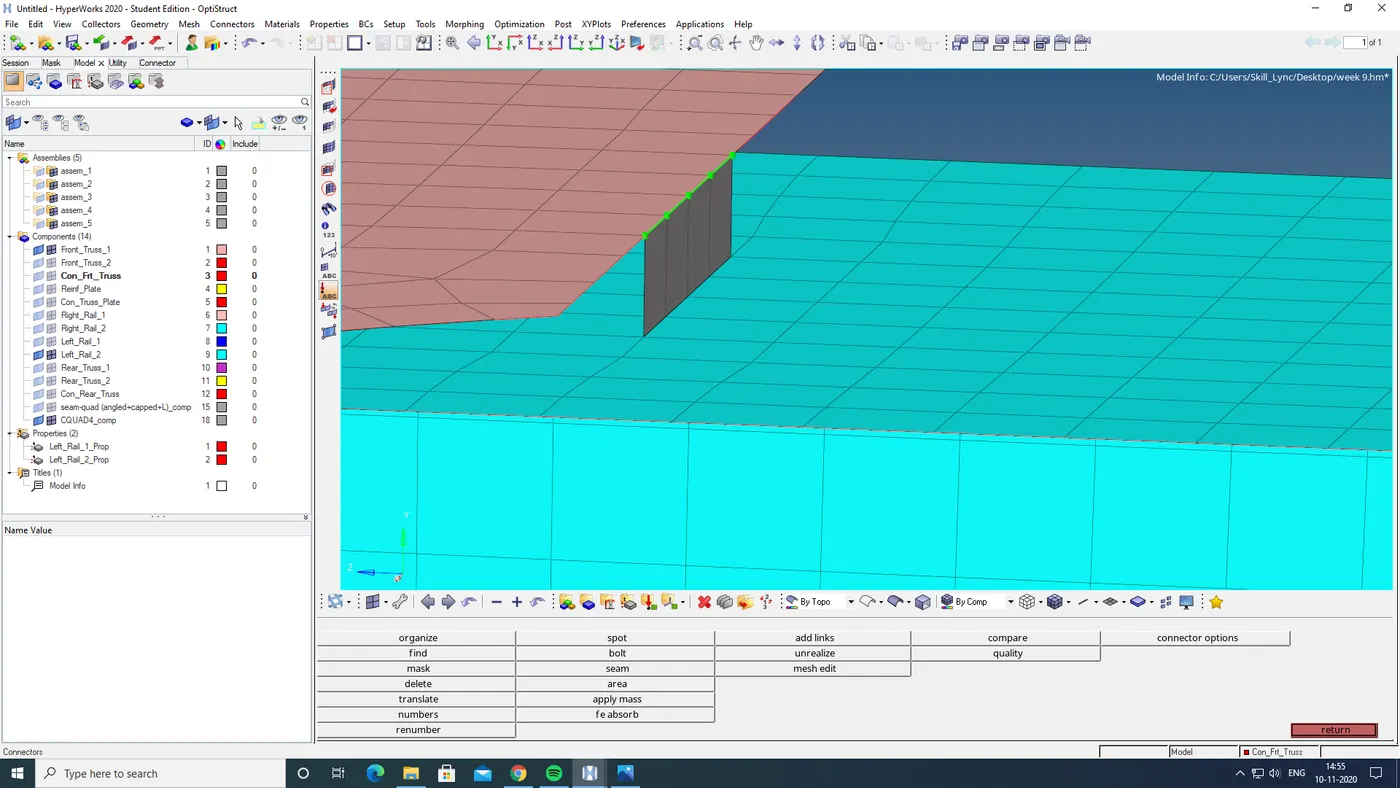
2. Left_Rail_2 & Front_truss_1:- Quad elements
- inorder to create a Quad elements go to 2d> connectors> seam
-
select type as Quad
- give tolerence 10
- give spacing 4
- slect the nodes needed to be have those connections
- and select the components which is going to be connected
- and click create.
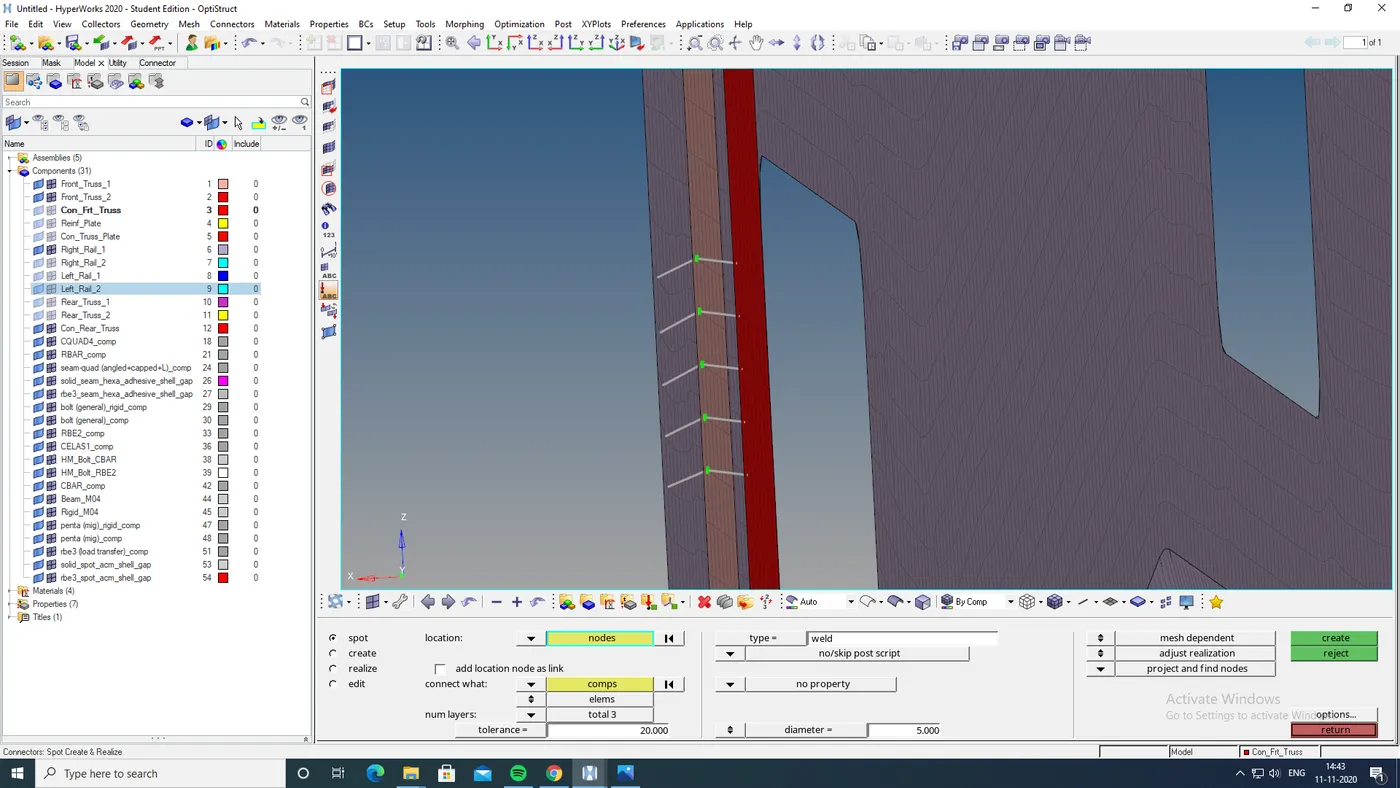
3. Front_truss_2, Front_truss_1 & Right_Rail_1:- Spot weld with 3 Layers and 5 mm Diameter
- inorder to create a Spot weld with 3 Layers and 5 mm Diameter
- select 2d> connectors > spot>
- select type as weld
- give tolerence 20
- give diametre 5
- give number of layers equal to 3
- select the nodes neeeded to be connectod
- select the 3 components
- click create
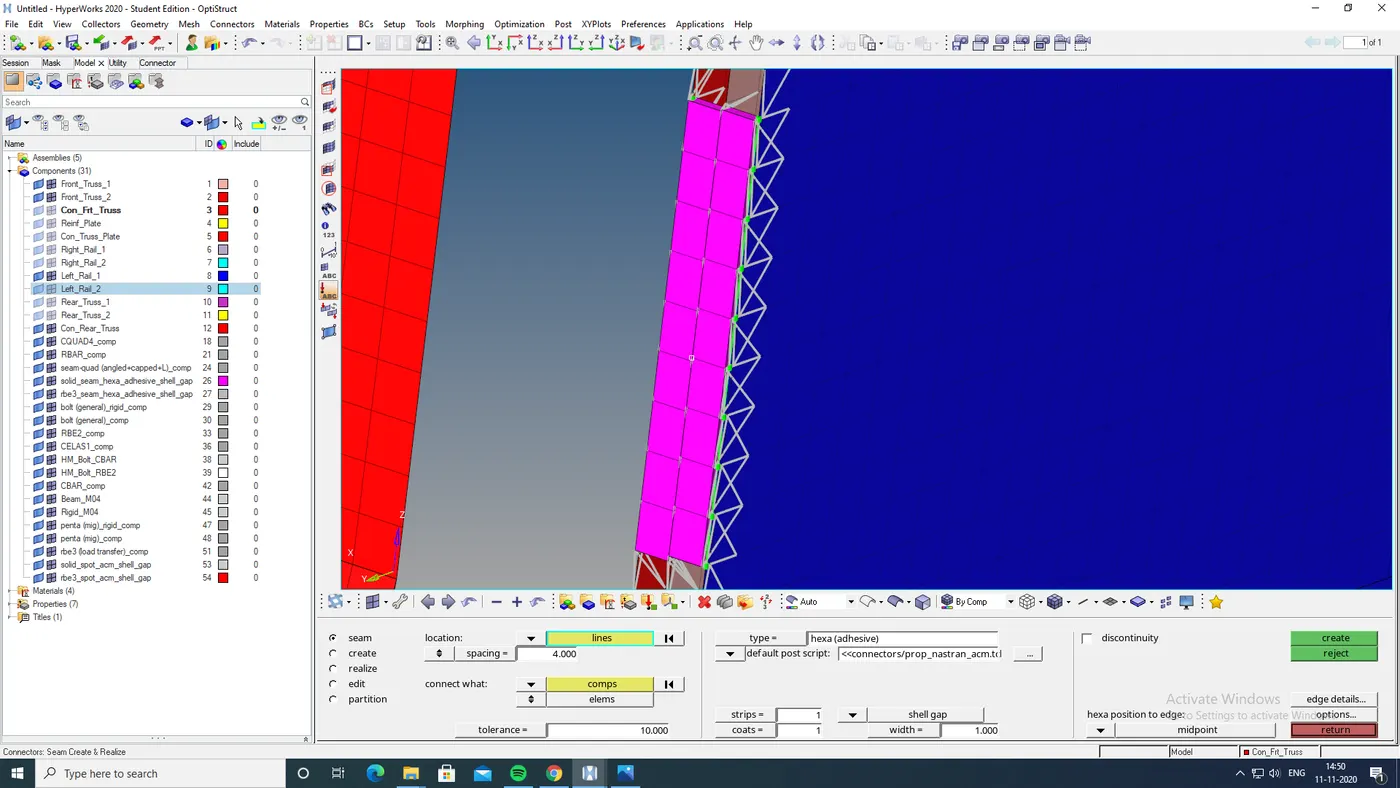
4. Front_truss_2, Front_truss_1 & Left_Rail_1:- Hexa (Adhesive)
- to create Hexa (Adhesive) connectors go 2d> connectors >seam>
-
select type as Hexa (Adhesive)
-
give tolerence 10
- give spacing 4
- select the nodes to be connected
- select the components
- click create
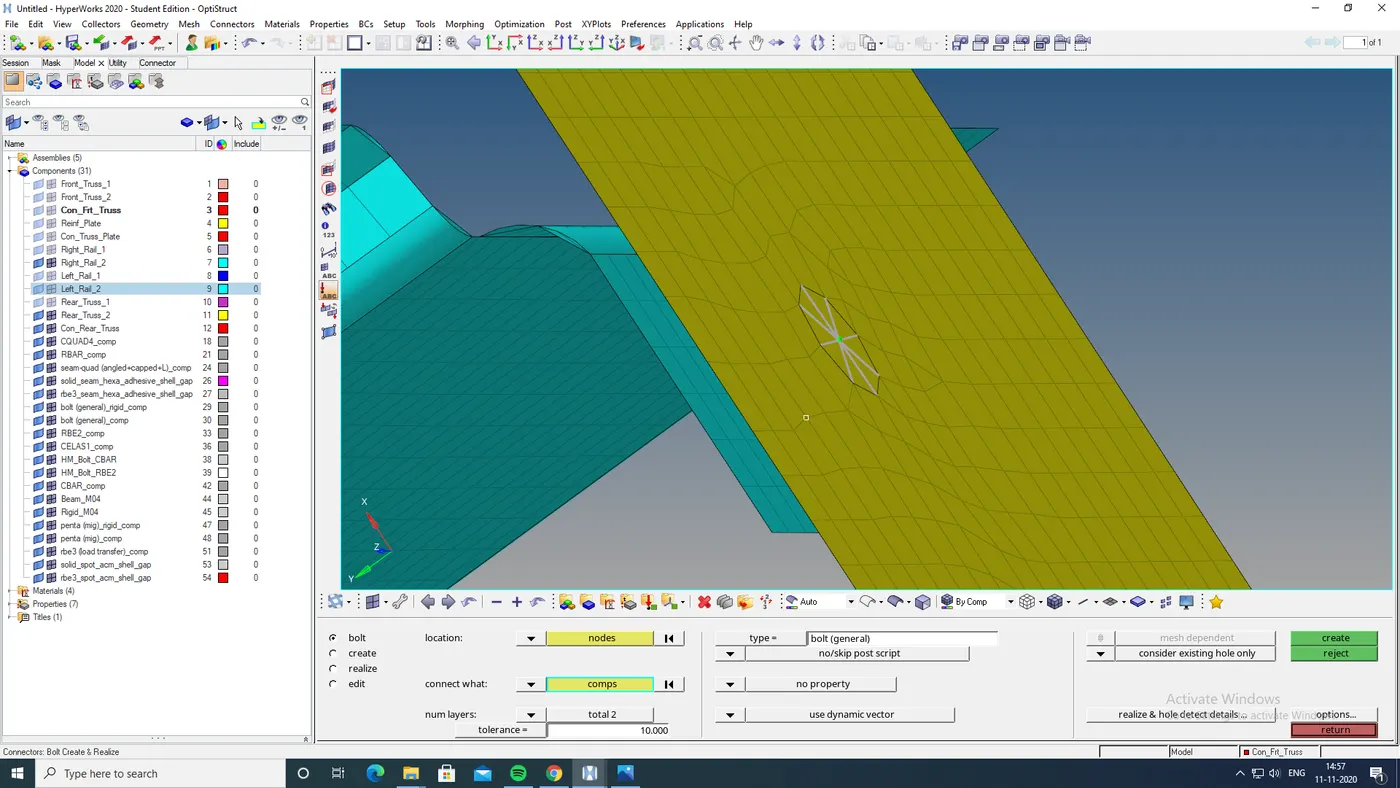
5. Rear_truss_2 & Right_Rail_2:- Bolt Connector
- to create bolt connectors we go to 2d > connectors> bolt
- slect type as general
- and slect create hole if none option
- give tolerence 10
- give number of layers 2
- select the nodes to be connected
- select the components
- click create
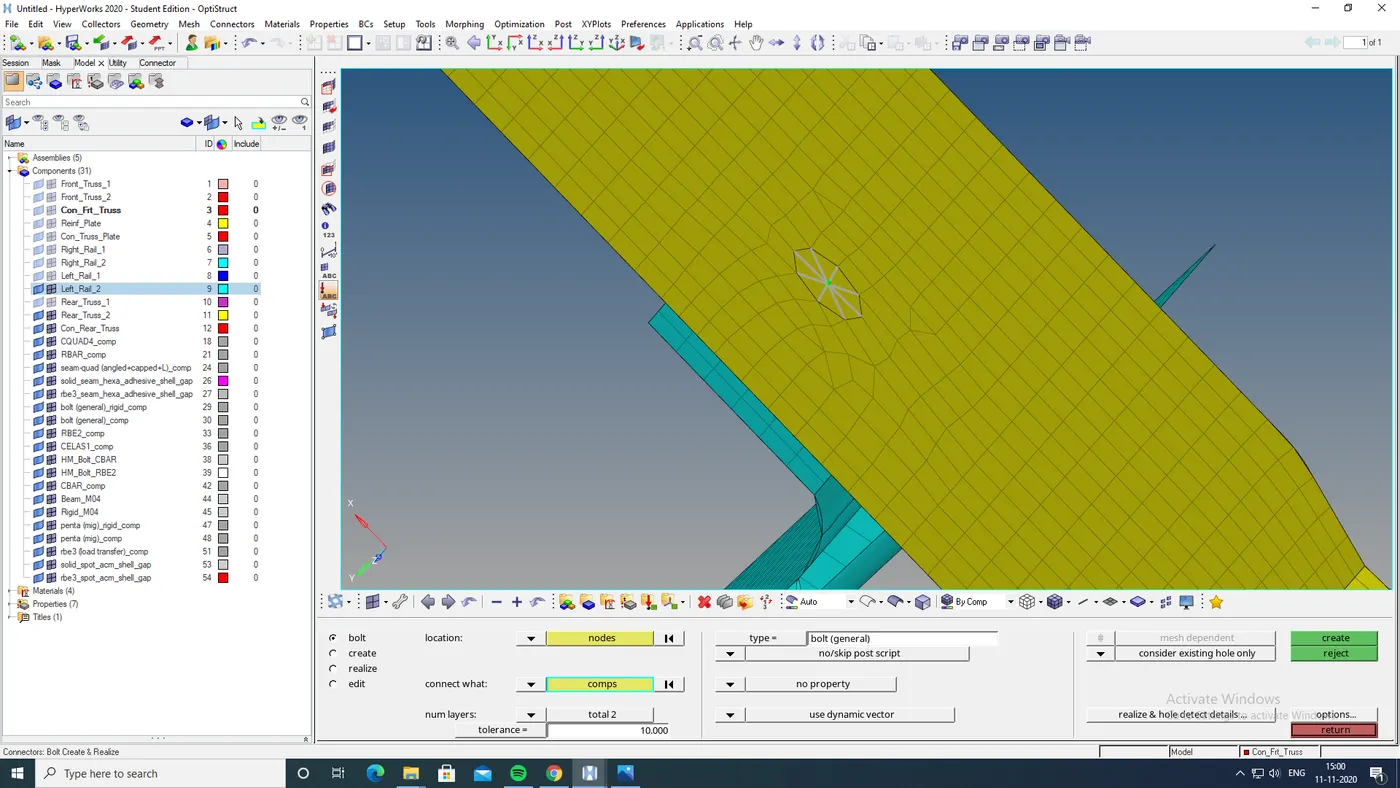
6. Rear_truss_2 & Left_Rail_2:- Bolt Connector
- to create bolt connectors we go to 2d > connectors> bolt
- slect type as general because the type is not specified.
- and slect create hole if none option
- give tolerence 10
- give number of layers 2
- select the nodes to be connected
- select the components
- click create
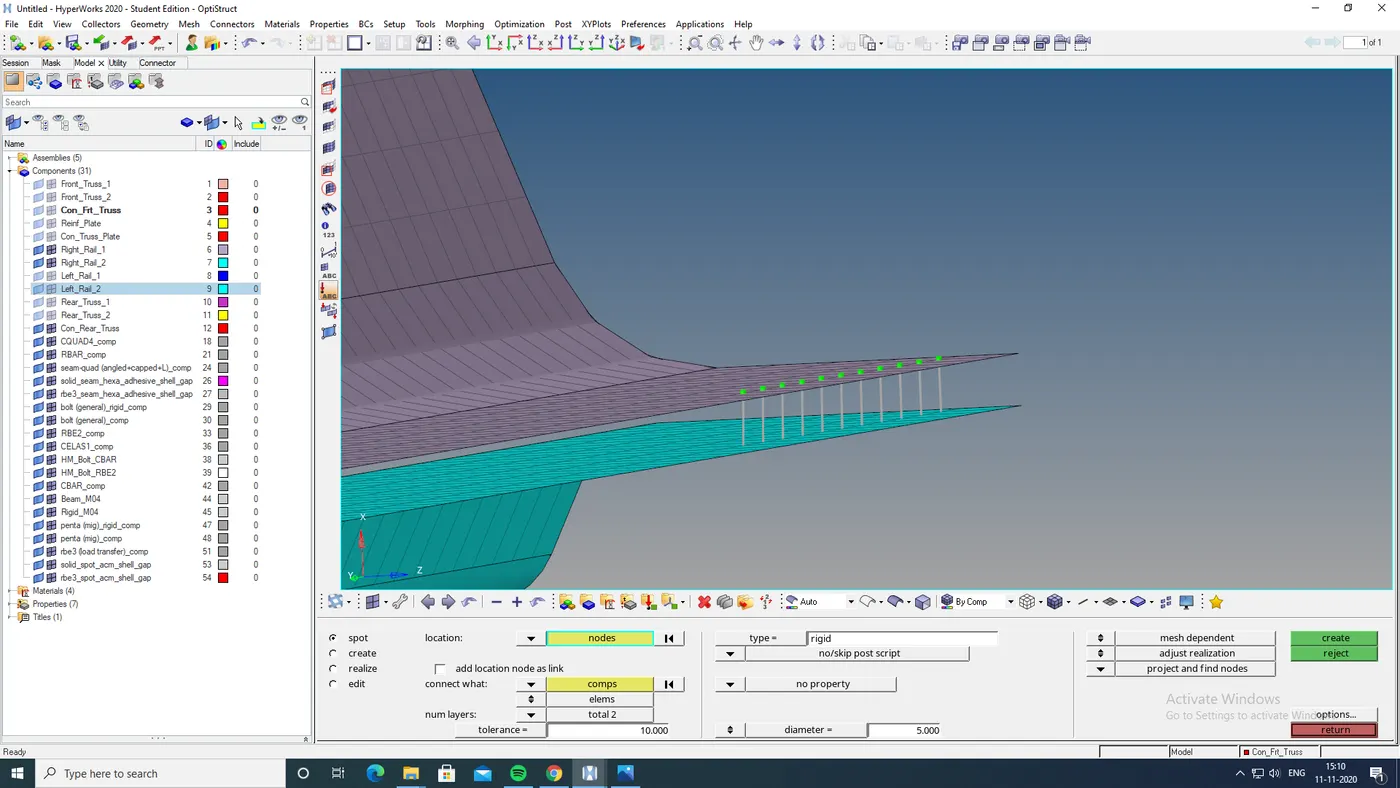
7. Right_Rail_1 & Right_Rail_2:- Spot-weld with Rigid Elements
- to create Spot-weld with Rigid Elements we go to 2d> connectors> spot >
- select type as rigid
- give tolerence 10
- give diametre 5
- give numpber of layers 2
- select the nodes to be connected
- select the components
- click create
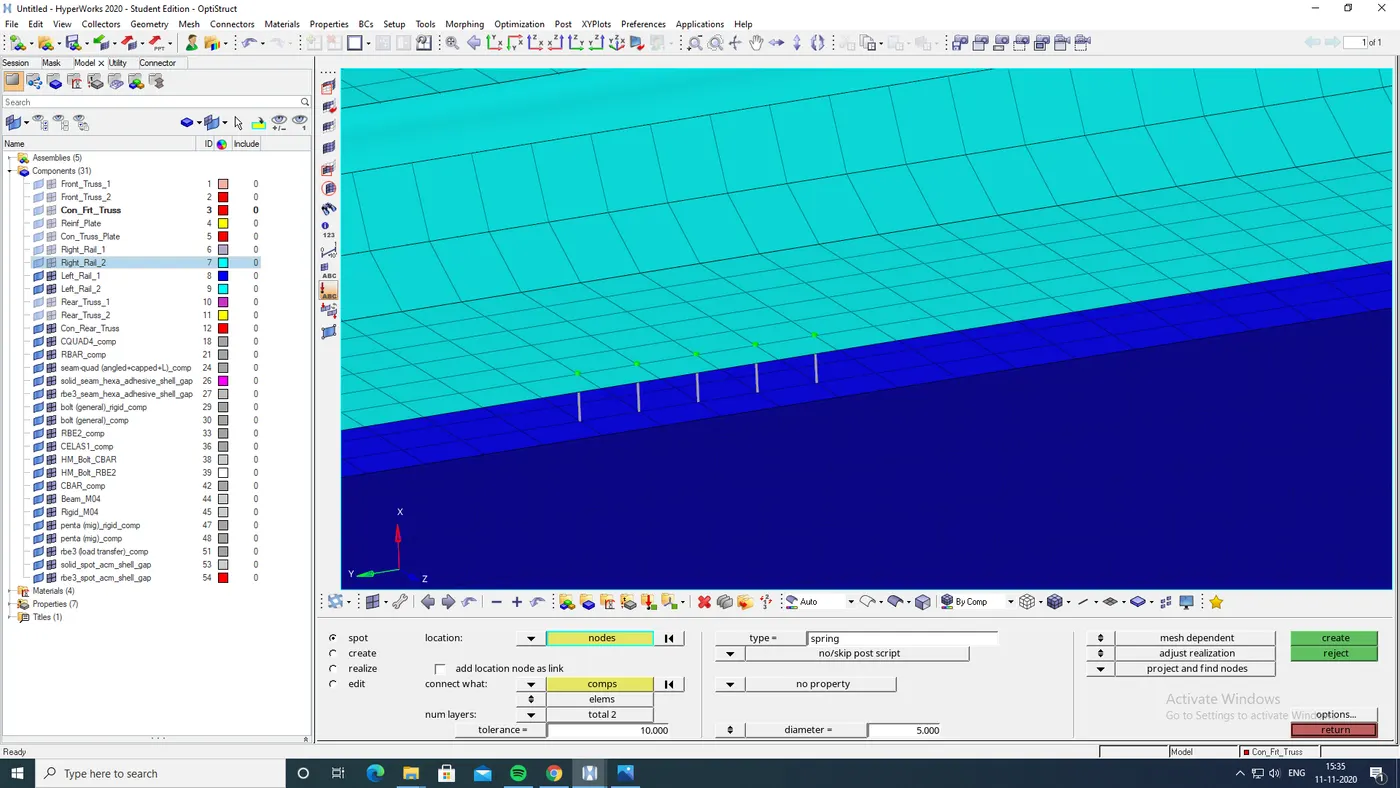
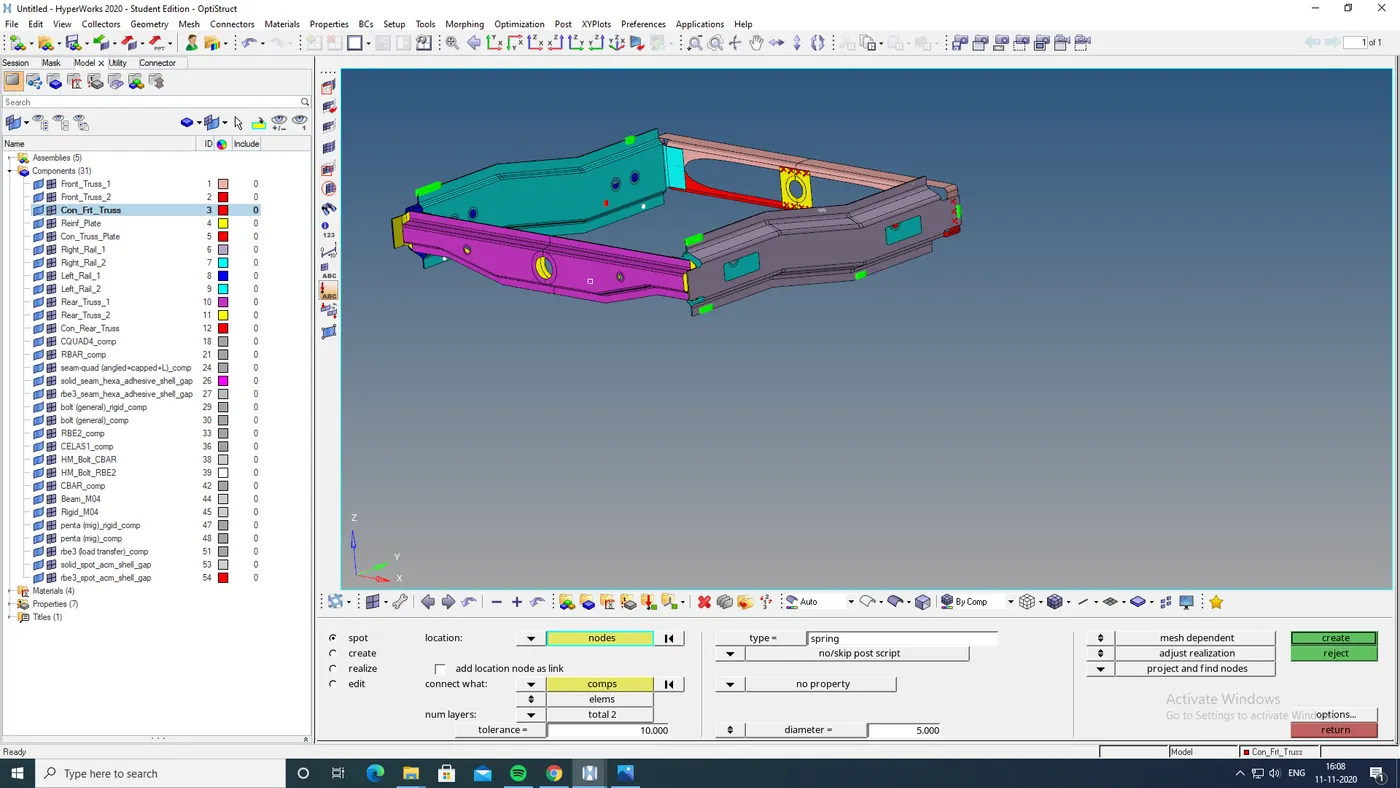
8. Left_Rail_1 & Left_Rail_2:- Spot-weld with Spring Elements
- to create Spot-weld with Spring Elements go 2d> connectors>spot
- select type as spring
- give tolerence 10
- give diametre 5
- give numpber of layers 2
- select the nodes to be connected
- select the components
- click create
9. Rest all the component left Join them with suitable connectors
Here i connected some of the sufaces with some connectors .
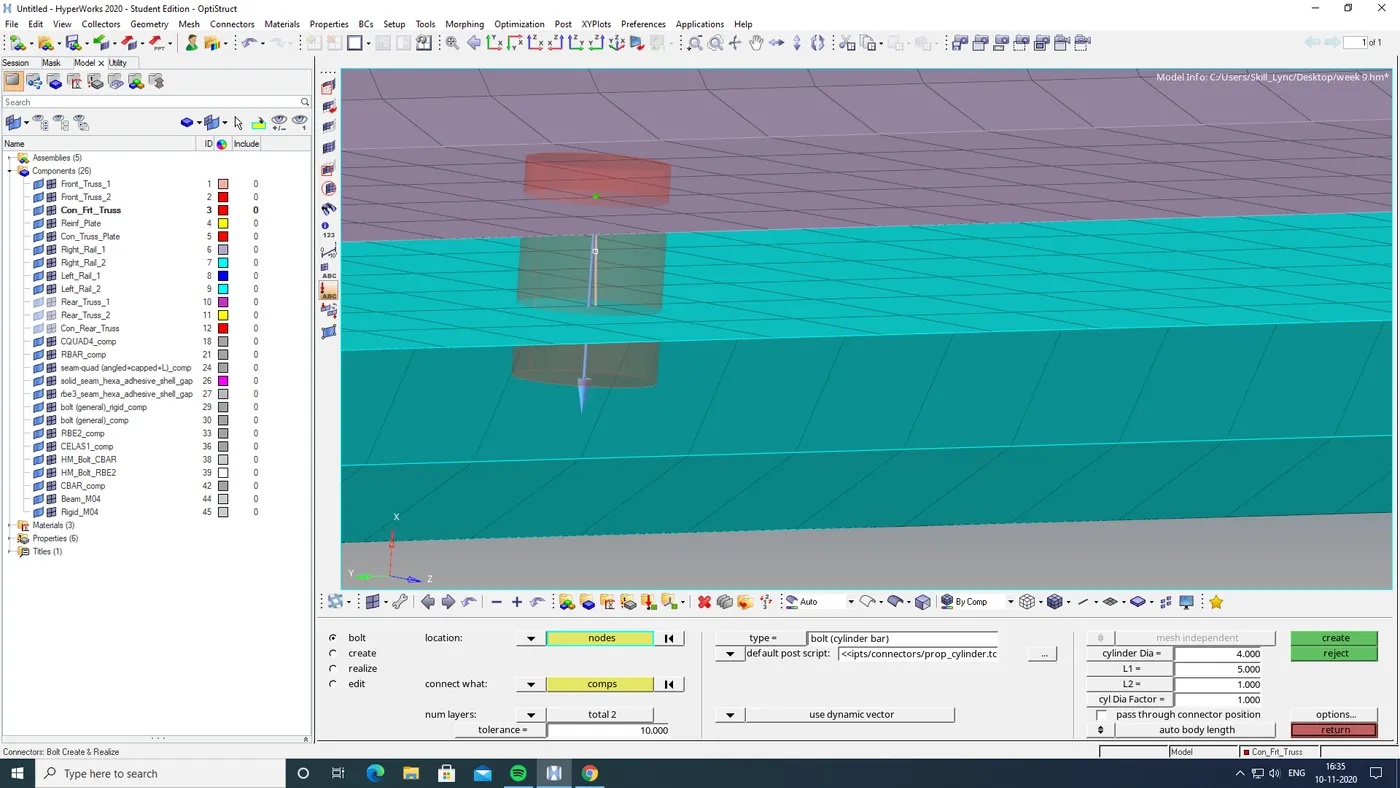
- 1. bolt cylinder bar connection
- here i give tolerence 10
- cylinder dia 5 and cylinder l1 and l2 as 4
- and give numper of layers 2
- and select the node to get created
- and selected the components needed to be connected
- and click create
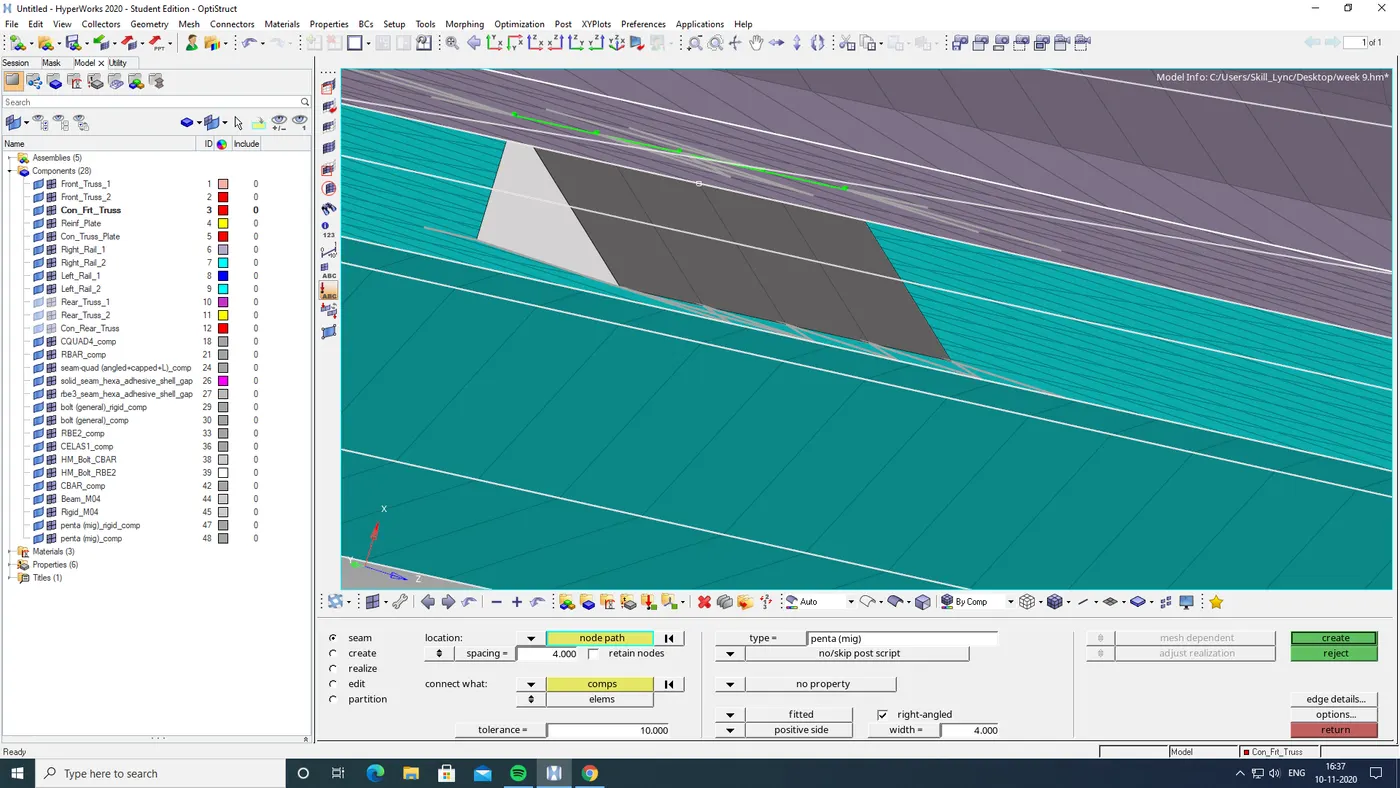
- 2.seam penta (mig)
- to create penta (mig) go 2d> connectors> seam>
- select type as penta mig
- give tolerence 10
- give spacing 4
- and tick right angled
- and select the node to get created
- and selected the components needed to be connected
- and click create
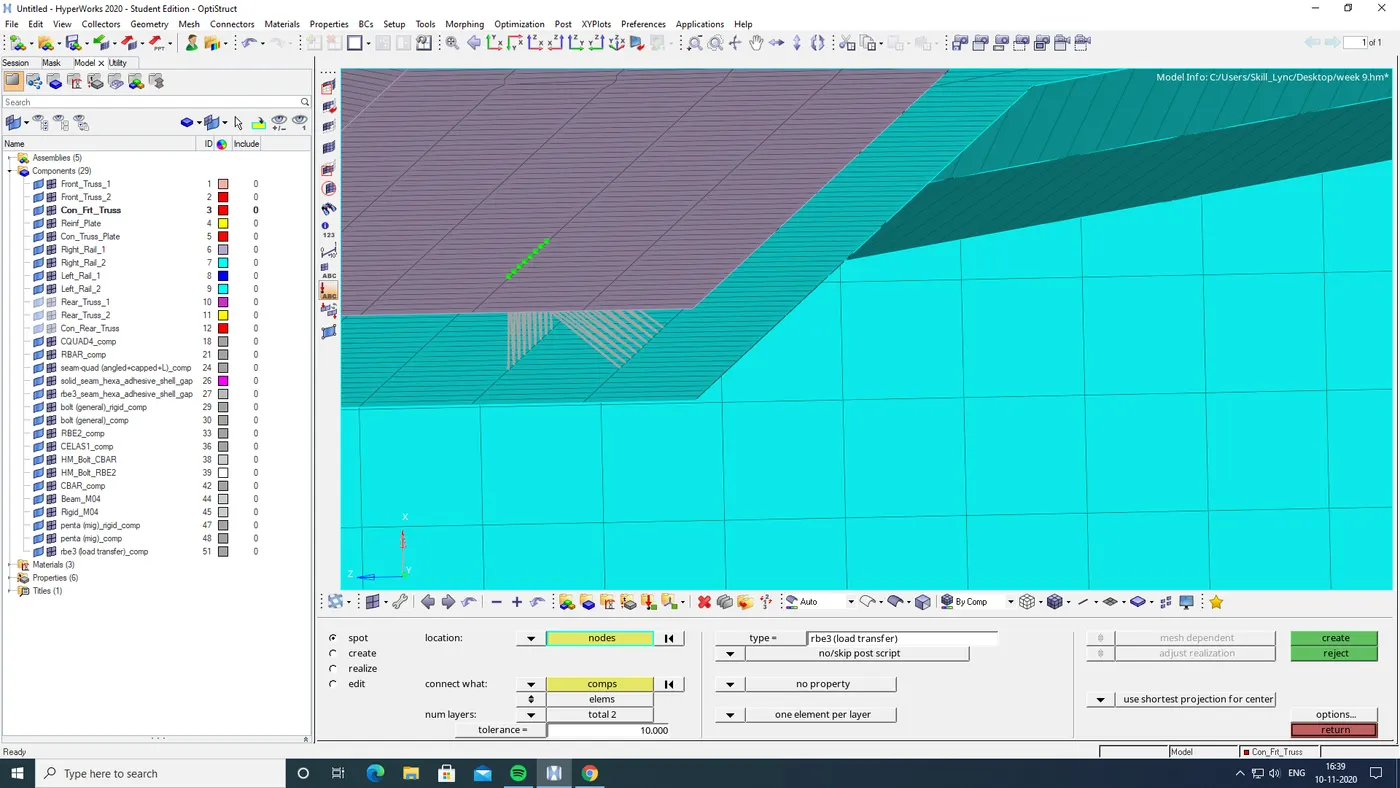
- 3. spot rbe3 ( load transfer)
- here to connect surface with spot rbe3 ( load transfer) i go 2d> connectors>spot
- select type as rbe3 ( load transfer)
- give tolerence as 10
- give number of layers 2
- and select the node to get created
- and selected the components needed to be connected
- and click create
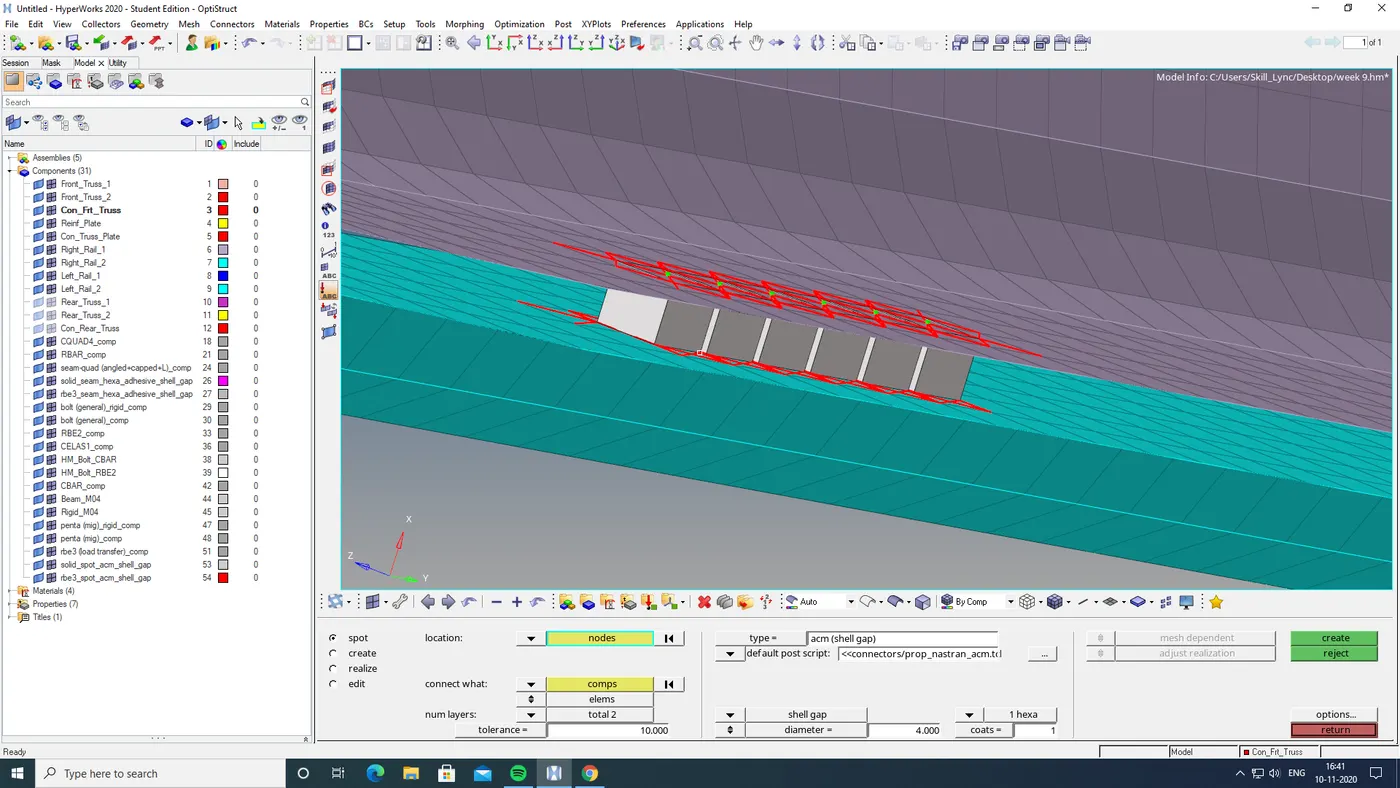
- 4. spot acm (shell gap)
- here to connect surface with spot rbe3 ( load transfer) i go 2d> connectors>spot
- select type as acm (shell gap)
- give tolerence as 10
- give number of layers 2
- give diametre 4
- and select the node to get created
- and selected the components needed to be connected
- and click create
FINAL MODEL:
RESULT:
Createed connectors and attached the various parts of the given model.