Week 9 - Challenge 1 - Base Bracket Design
AIM:- Create the Base Bracket Plastic component through the given Class-A surface.
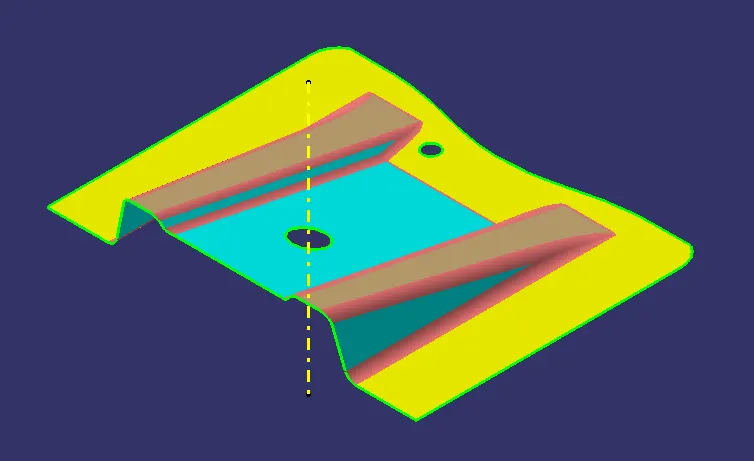
GIVEN CLASS-A SURFACE: -
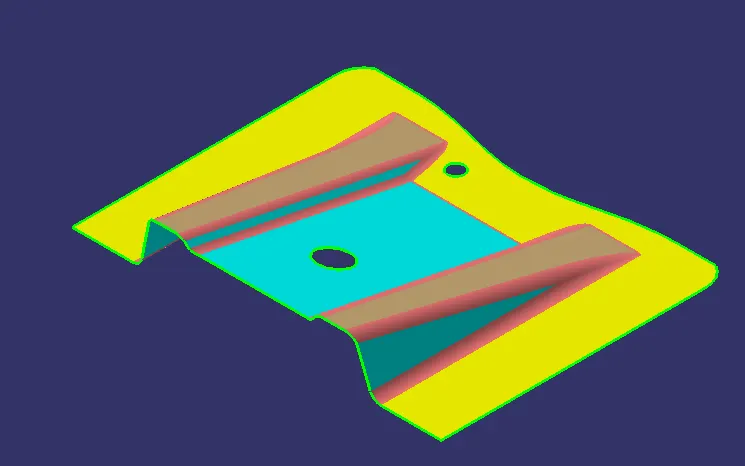
Examine the Class A Surface's Connectivity
With the join command, ensure no gap between the components.
We may inspect it visually or by using the boundary command.
It has three boundaries: one on the outside and two on the inside.
As a result, the first check has been performed.
CREATING TOOLING AXIS: -
Determine the component's tooling axis. The tooling axis is nothing more than the opening of the mould or hollow.
Check visually which is the best possible tooling axis.
Examine all three axes.
Along x, it is doable but expensive, while along y, it is impossible.
The best possible tooling axis is z.
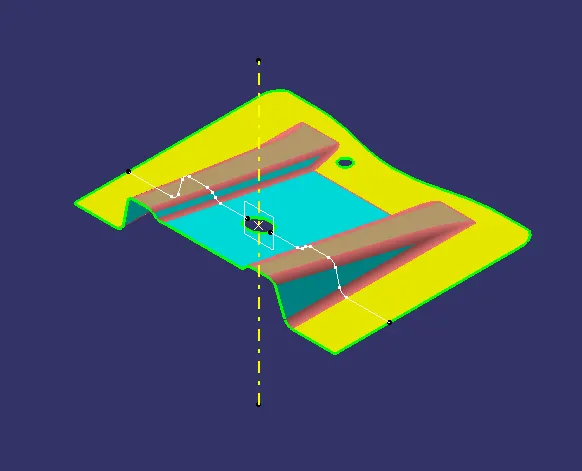
Two lines must be drawn from the points—use any two of the inclination lines as a guide.
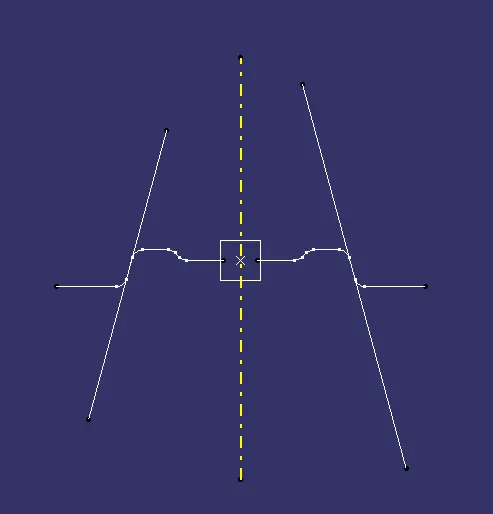
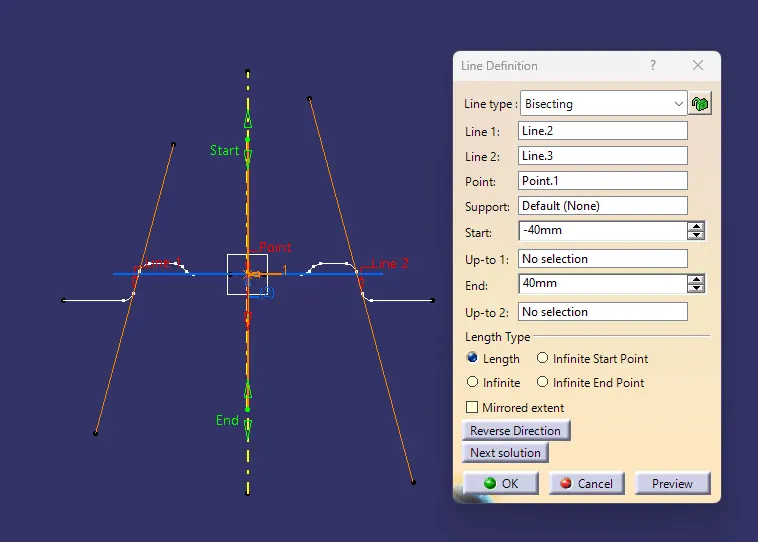
Draw a bisecting line between the inclination lines.
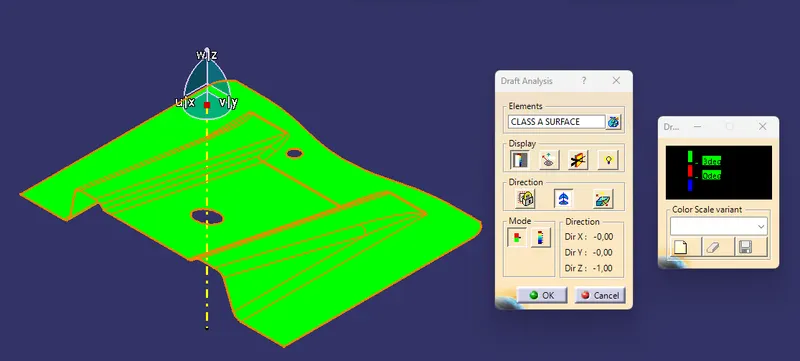
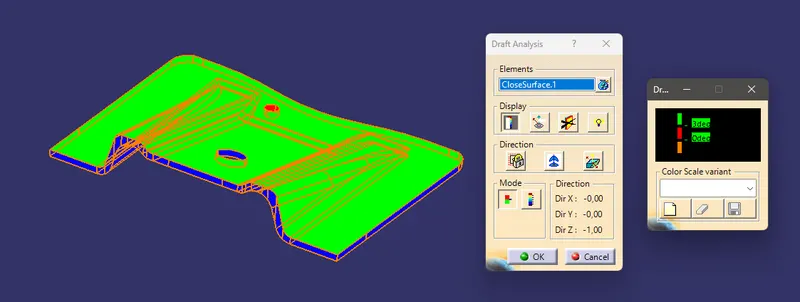
DRAFT ANALYSIS OF CLASS-A SURFACE: -
Now, in the tools, use the Featured Draft Analysis tool to do the Draft analysis. Finally, after opening the draft analysis toolbox, choose the compass and align it with the tooling axis before clicking on the lock symbol and then on the surface.
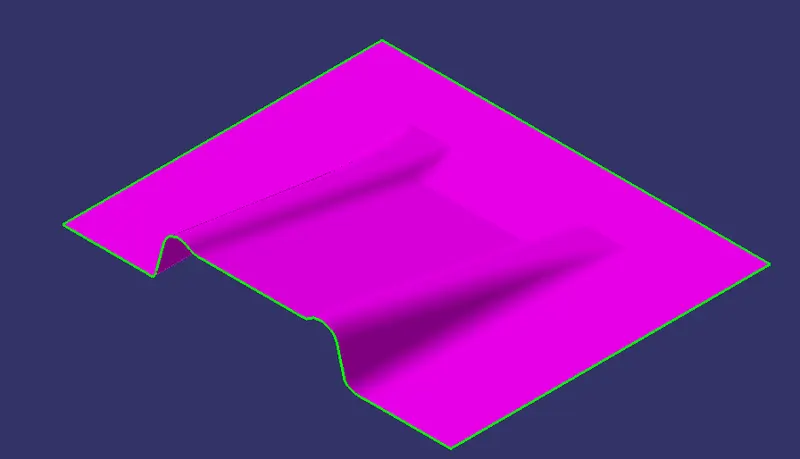
CREATING CLASS B SURFACE: -
Now, create a Class B Surface by first removing the right side rib from Class A Surface using the extract option.
Then perform Extrapolate in order to increase the length
Trim the surfaces to the desired surfaces now.
The surface is then offset to get the desired thickness.
Create the left side rib in the same way.
Similarly, obtain the slanted and flat surfaces and offset them to the appropriate value.
Now, trim to get the desired surface.
Fillet the surface to the desired depth now.
CREATING CLASS C SURFACE:
Selecting the boundary of CLASS B SURFACE and applying the boundary command to it and both the circle. Then apply the sweep command to the boundary of the class B surface and both the circle.
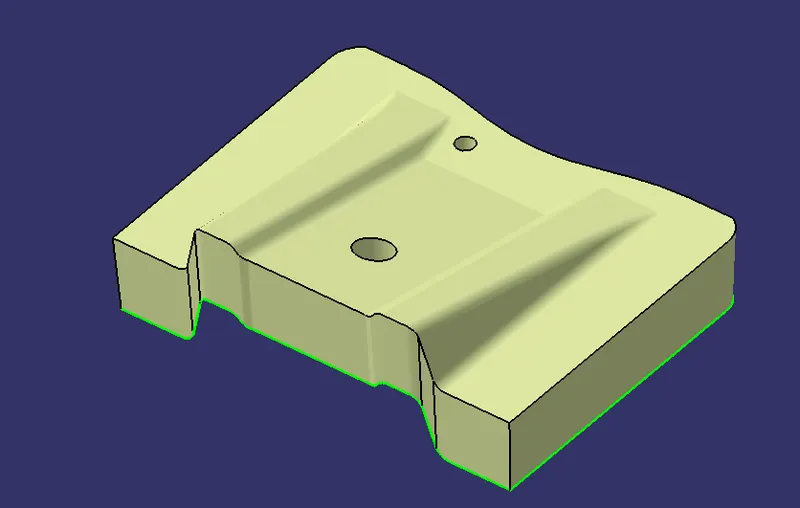
FINAL PRODUCT: -
Then, trim the CLASS B SURFACE with the CLASS C SURFACE.
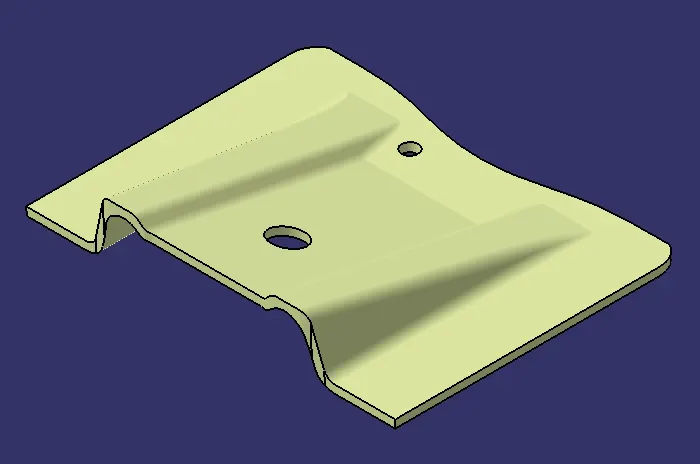
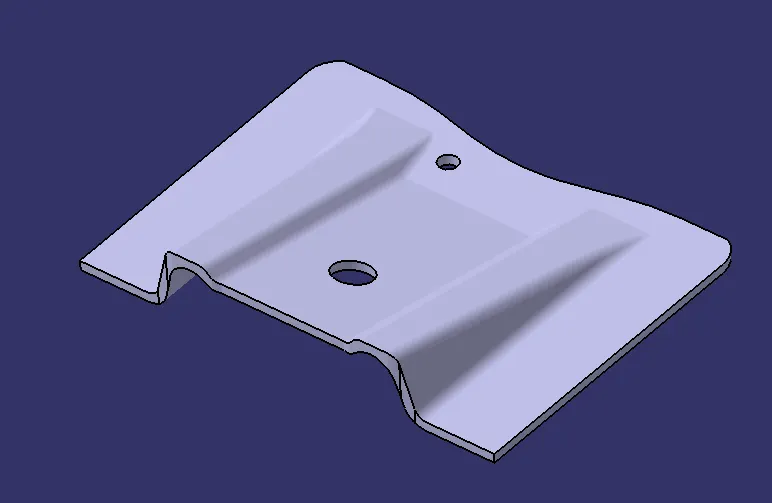
FINAL PRODUCT SOLID: -
Now, go to the part workbench and apply the closed surface command and the product is ready.
DRAFT ANALYSIS FOR THE FINAL PRODUCT: -
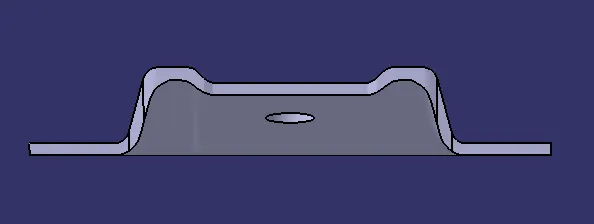
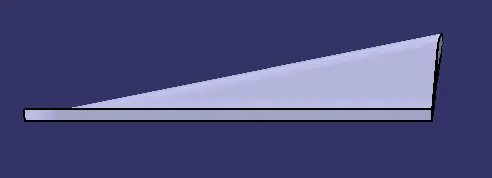
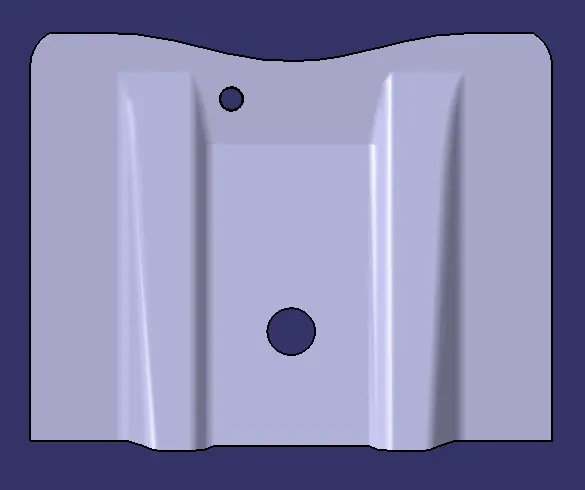
Screenshots of the Solid Model (Isometric, Front, Side, and Top View)
Front View
Right Hand Side View
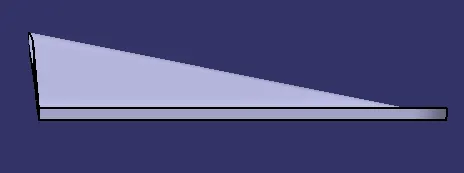
Left Hand Side View
Top View
Isometric View