Week 9 - Attachment Feature Creation (Ribs & Screw Boss) - Challenge 1
% Creating the rib for the Drill Handle considering the design rules.
1] DRAFT ANALYSIS
- For molded or cast parts, the draft angle is the amount of taper perpendicular to the parting line. It is measurable in degrees. Because plastic shrinks and sticks on molding surfaces as it cools, we draft the walls of the plastic part so that it ejects or breaks free from the molding surfaces more easily and without dragging. To reduce the risk of damage to the parts and ensure ejection, a functional injection molding part must have drafts on both the cavity and core sides.
Nominal values for Draft angles
- 3 Degrees is a nominal draft angle.
- 5 Degrees can also be manufactured. Increasing the manufacturing cost.
- 7 Degrees is considered for Textured surface parts.
Importance of Draft in injection molding
- Reduces the possibility of part damage due to friction during the release.
- Reduces mold wear and tear.
- Ensures a uniform, smooth, unscratched finish.
- Ensures the integrity and uniformity of other surface finishes and textures.
- Reduces overall cooling time by reducing or eliminating the need for unusual ejection setups.
Steps followed for Draft Analysis
- The created part must be changed to the material mode in the display frame.
- Compass is enabled and placed in the direction of the Tooling Axis.
- The lock command is then used to fix the compass along the tooling axis.
- Colour codes are classified and Draft angle is applied.
- Running point analysis is used to display permissible draft angle.
2] TOOLING AXIS
In injection molding, the Class A surface is first analyzed to determine the axis or tooling direction that separates the molds. Tooling direction is critical for plastic product design because it determines mold direction.
TOOLING AXIS CREATION
- Tooling axis here created is by selecting one of the natural axes as it clears the draft.
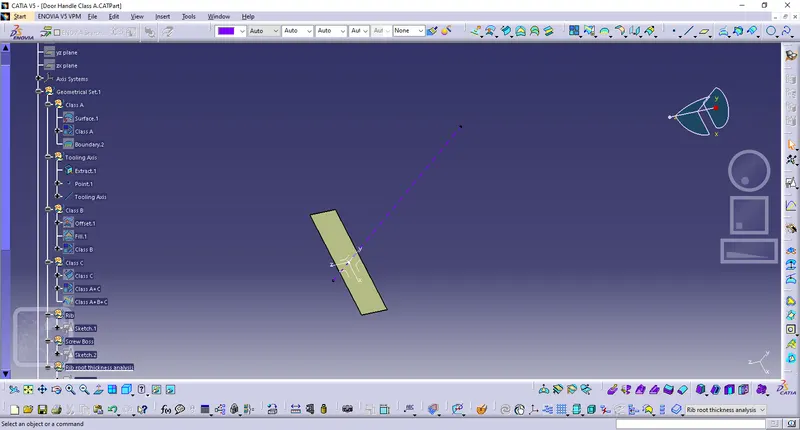
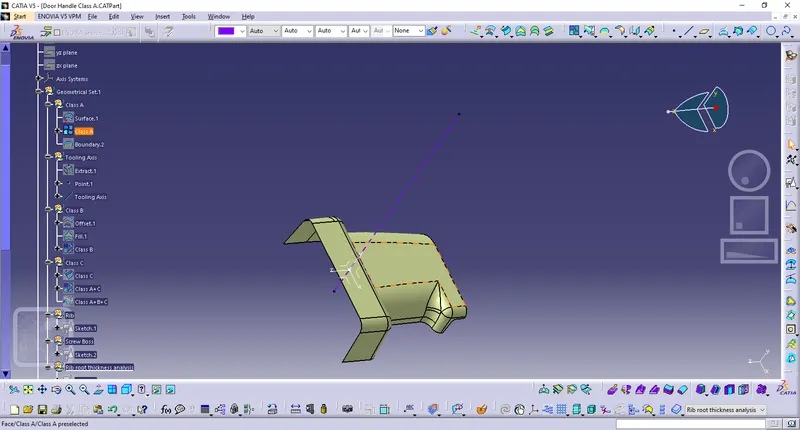
- Here, tooling axis is created by extracting one of the surfaces for creating a point and a new axis is created at that point.
- So, a flat face is extracted and created a point at its centre. Axis is also created at that point.
- Now, line is created using line tool and giving line type as point-direction and selected the point and direction for creating tooling axis and tooling axis is created along x direction.
3] CREATING THE RIB
- Ribs are thin wall protrusions that extend perpendicularly from a wall or plane. They are usually found in clusters offering support to a plane that would have otherwise been too thick, but can also be stand-alone support for a single wall. They are commonly used to provide additional support and strength to a part. Thickness and location are essential to rib design.
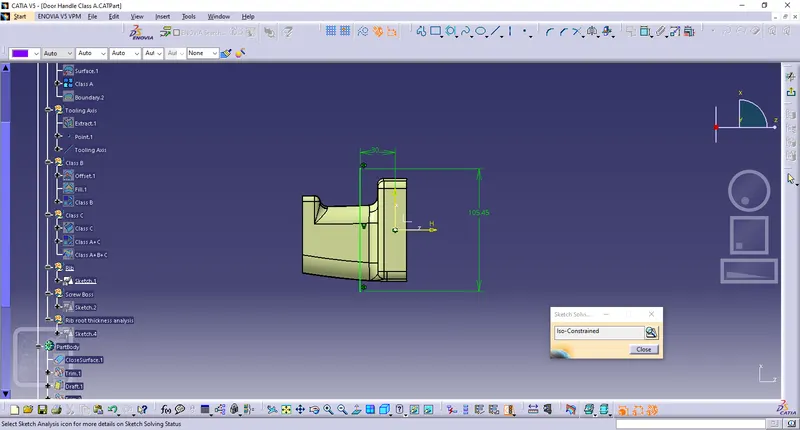
- First, the base surface where the rib has to be created is extracted using the Extract command. A positioned sketch is created and the profile for the rib is drawn.
- Next, the profile is extruded, to find the height,h=Wall thickness * 5
=2.5*5
= 12.5 mm
Therefore, the height is 12.5 mm
- The extruded surface is thickened,
Thickness,w=0.4*t
=0.4 2.5
=1mm
Therefore, the thickness of the rib is 1 mm
- The draft is applied to the sides of the ribs. As per the design rule, the ideal draft angle is 0.5 deg.
- Then fillet is applied to the faces of the rib. As per the design rule, the fillet can be 0.25 mm.
-
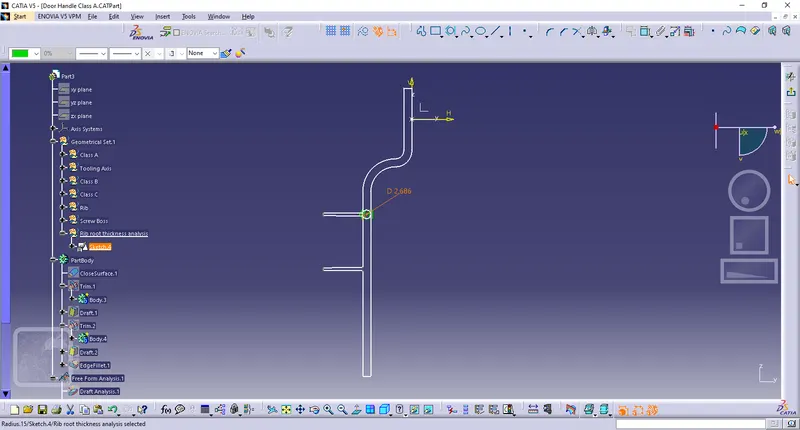
Now, we have to check for the Rib root thickness.
To check for the Rib root thickness, We have to take an Intersection with the XY plane and the Coin holder component. Once we get to the intersection we have to create a tri-tangent circle at the rib area and measure it. The value must be within 30% greater of the wall thickness.
4] CREATING THE SCREW BOSS
- Screw Boss features are commonly found in injection molding designs. They are used to aid in the assembly of molded parts by providing a channel for a screw. Their primary use is to strengthen holes or slots in the surface present in the part model.
- The construction process of creating the screw boss is explained below:
For thickness, the design rule is as follows,
Thickness,w=0.6*T
=0.6*2.5
=1.5 mm
- Therefore, the thickness of the boss can be 1.5 mm per side.
- Next, the draft is given to the boss. As per the design rule, the draft given for screw boss is 0.5 deg.
- Then fillet is applied to the faces of the rib. As per the design rule, the fillet can be 0.25 mm.
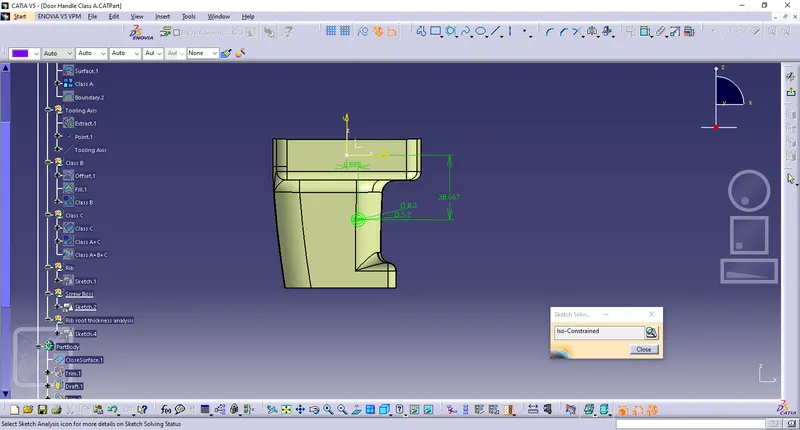
5] Screenshots of the Draft analysis report for both the given Class-A surface and the final plastic component
Procedure for performing Draft Analysis:
- Go to the Insert menu and select the Analysis option.
- Select Feature Draft Analysis.
- Select the Material option and select the surface.
- Drag the compass and place it on the tooling axis.
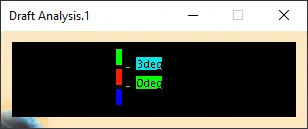
- Make sure that the top surface is in green color as the draft angle should not exceed 3deg.
- Click on Okay.
Class A
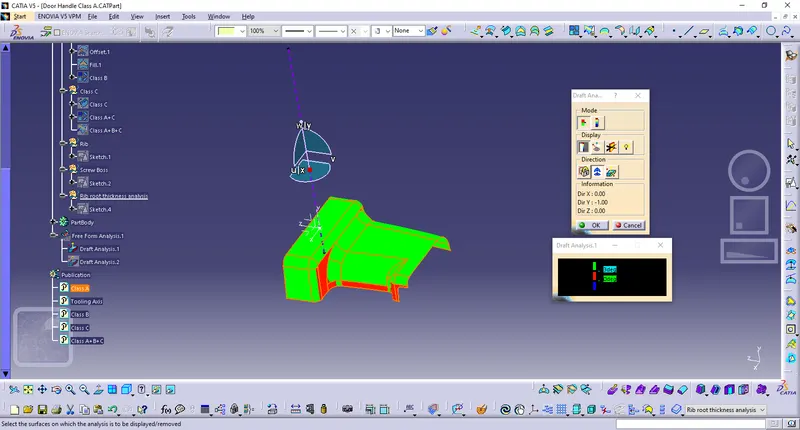
Image of the complete Draft analysis
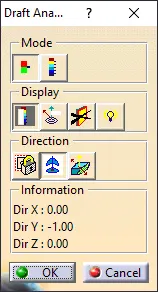
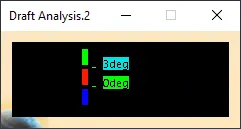
Images of the colour scale variant
Final Plastic Component
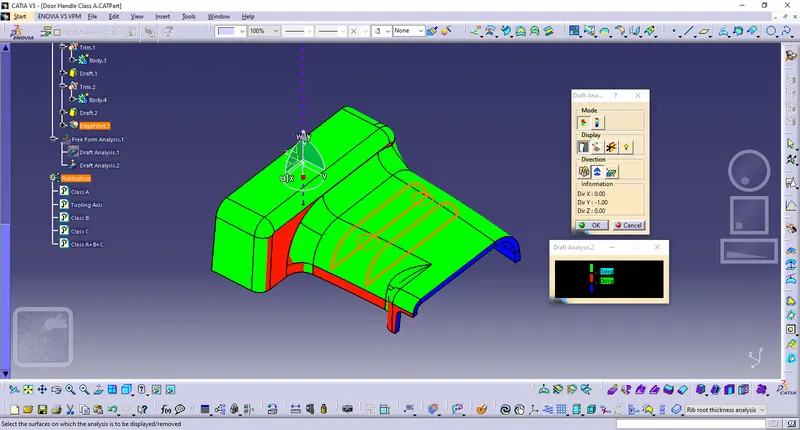
Image of the complete Draft analysis
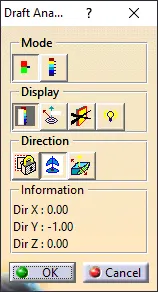
Images of the colour scale variant
Class B Features
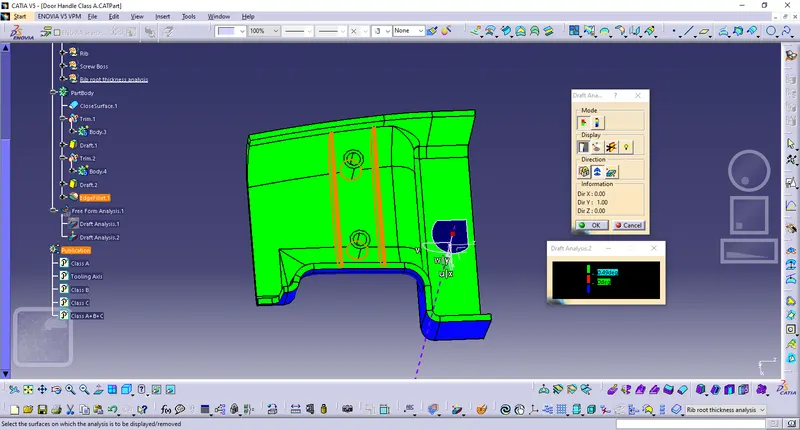
Image of the complete Draft analysis
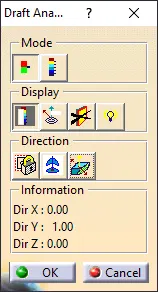
Images of the colour scale variant
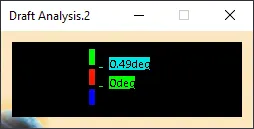
6] Screenshots of the solid model with the proper colour code of the draft angle in various orientations (Isometric, Front, Side, and Top View)
a] Isometric view
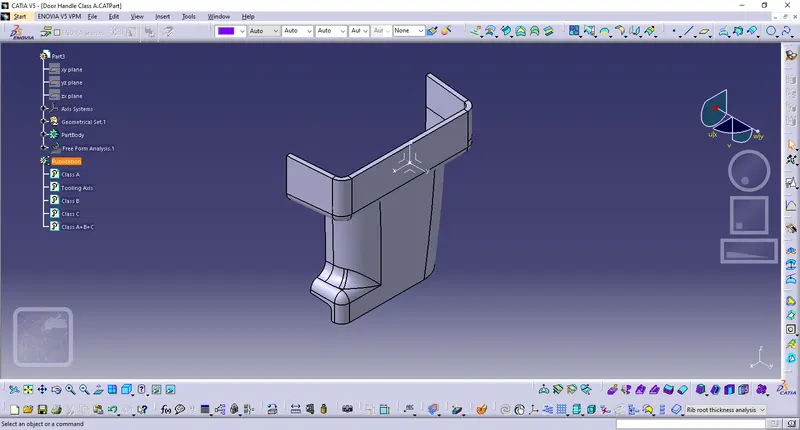
b] Front view
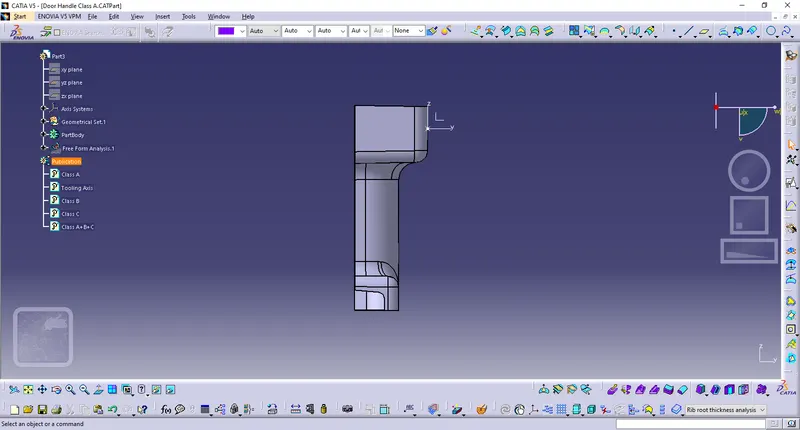
c] Left view
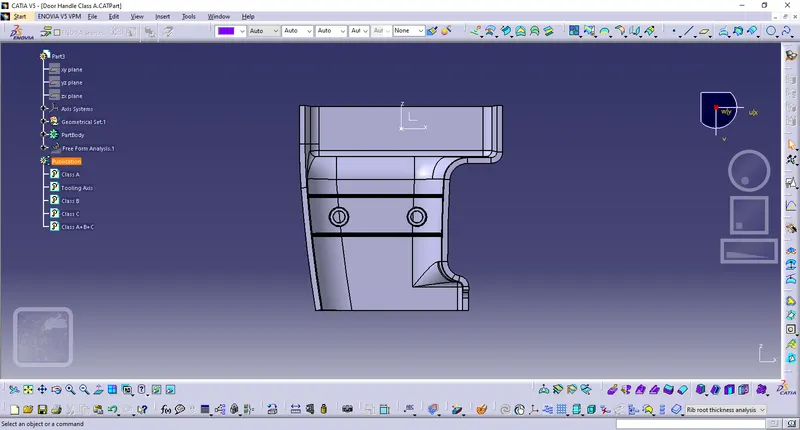
d] Right view
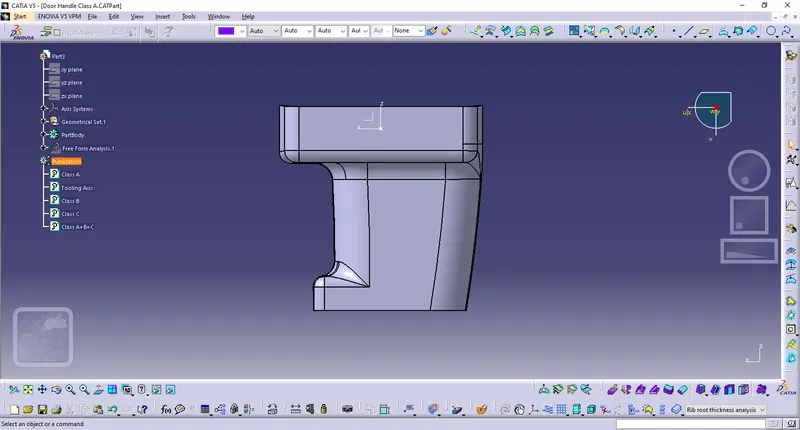
e] Top view
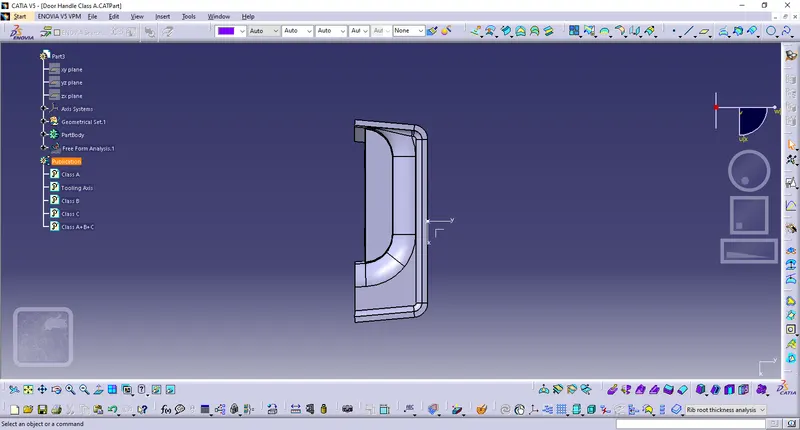
f] Multi view
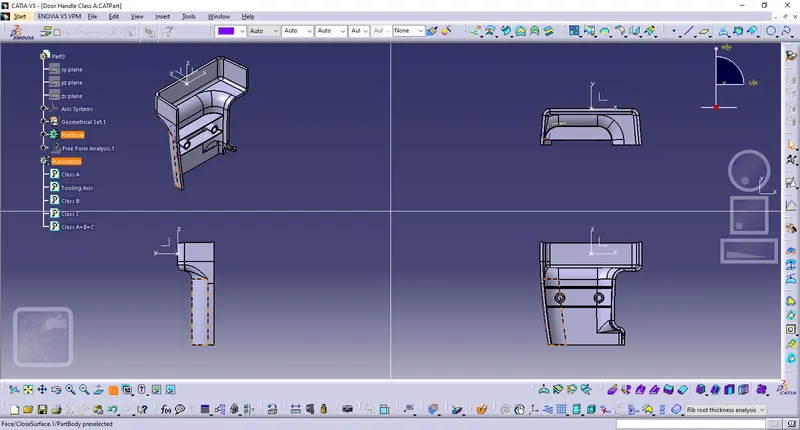
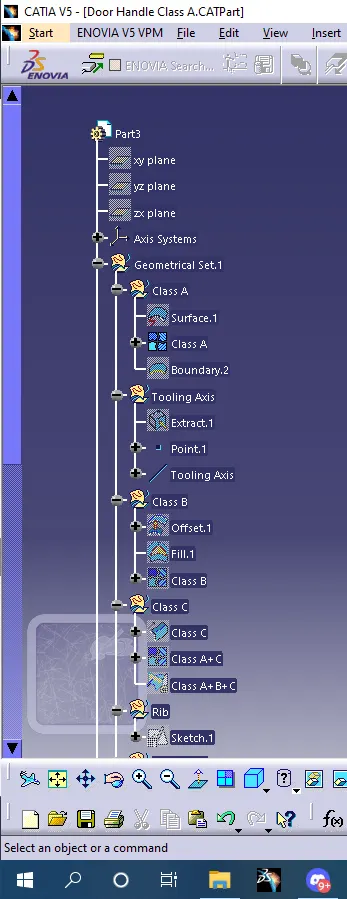
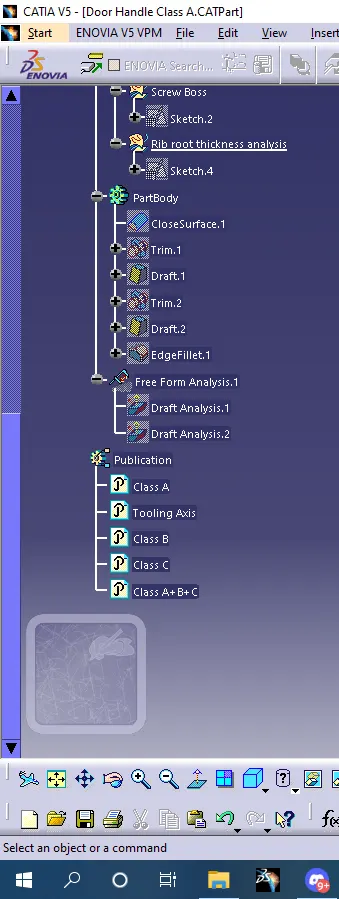
7] Screenshots of the tree structure with Geometrical sets having a proper name based on the sketches present inside of it.
7] Conclusion
Created ribs and screw boss for the Drill Handle considering the design rules mentioned in the video and general guidelines given in the question.